
Deus Ex: Invisible War has no traditional gold pile or repeatable enemy dungeon, but you can level quickly and build a serious credit reserve by clearing Seattle thoroughly, completing faction objectives, looting apartments, and selling duplicate weapons before spending on biomods. Prioritize Computer, Electronics, and one weapon skill early; combine them with the Black Market Biomod, Spy Drone, and cloak-style augmentations to open more routes, finish objectives cleanly, and avoid the expensive ammo sink that slows most first playthroughs.
One important terminology note: the currency is called credits, not gold. Skill points are also not earned through endless enemy farming. Invisible War rewards exploration, mission progress, discoveries, and selected objective outcomes, so the fastest route is an efficient sequence of high-value interactions rather than shooting every guard you see. This guide is built for a normal campaign, with no console commands or exploit abuse.
If you enjoy this kind of route planning, the same resource-first thinking applies to our weapon tier list for smarter runs and our guide to secret caches and hidden rewards.
Start with the Seattle money loop
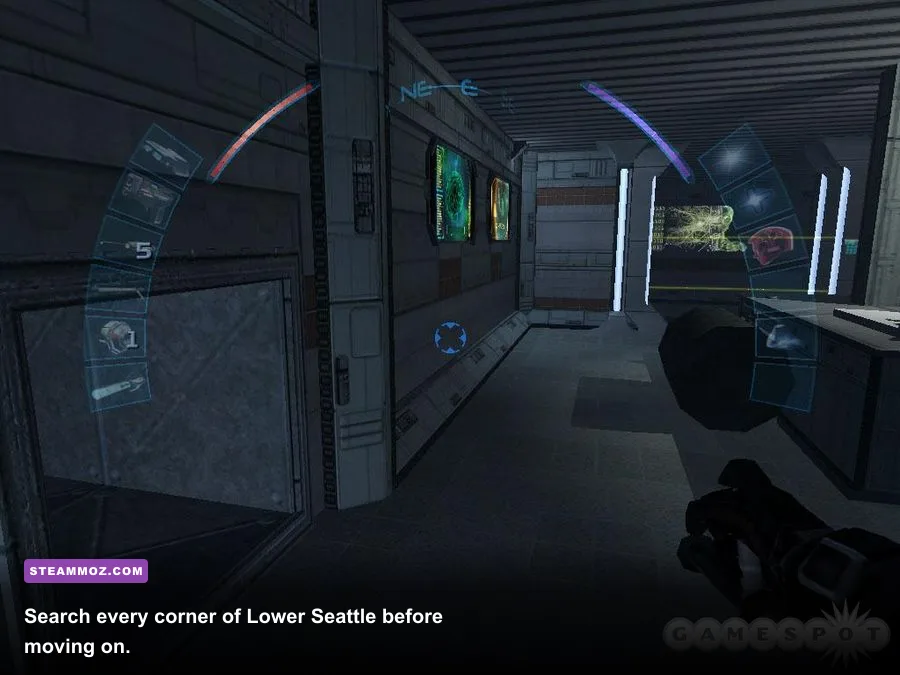
Seattle is where the campaign quietly hands you its best economic lesson: exploration pays better than combat. The first hub and Lower Seattle contain apartments, offices, vents, locked rooms, security terminals, ammo boxes, med items, and faction characters packed into a compact area. Search them before accepting every available mission. A five-minute detour through a maintenance corridor can produce a weapon, multitool, or upgrade item worth more to your build than the credits from a firefight.
Begin by checking your apartment and nearby public areas, then sweep the slums and industrial spaces around Lower Seattle. Look upward and behind scenery. Invisible War hides useful containers on shelves, inside side rooms, and along alternate paths rather than placing every reward beside the mission marker. If a door is locked, don't immediately burn a multitool. First check for a vent, a keypad, a nearby security terminal, or a breakable route. Electronics and Computer skill levels convert these discoveries into permanent savings.
Talk to every named character before leaving a hub. Mission rewards are often more valuable than raw credits because they grant access, equipment, or later options. The Omar and Order paths also expose different conversations and objectives, so a completionist sweep can generate more progression than rushing the critical path. Save before committing to a faction task if you want to compare rewards, but don't repeatedly reload expecting enemy drops to become a farming loop; the game is designed around finite resources.
| Seattle action | What it produces | Why it speeds progression | Best habit |
|---|---|---|---|
| Search apartments and offices | Credits, ammo, weapons, tools | Raises inventory value without combat | Check shelves, vents, and bathrooms |
| Hack terminals | Access codes and alternate routes | Reduces multitool use and unlocks objectives | Save before risky hacks |
| Complete faction objectives | Mission progress and unique options | Advances skill progression faster than grinding | Speak to all available contacts first |
| Loot defeated guards | Ammo, weapons, consumables | Creates resale stock and prevents resupply costs | Take high-value gear, not every duplicate |

🎮 Deus Ex: Invisible War
Looking to experience this game? Grab your digital key directly on our store for $1.74.
View on Steammoz Store →Build the skill package that opens every route

For fast leveling, the strongest opening is not a pure gun build. Put early skill investment into Computer and Electronics, then take a reliable weapon skill. Computer improves terminal interaction and hacking efficiency, while Electronics supports security devices and electronic locks. Those skills do double duty: they produce more information and access while saving multitools, which can otherwise force you to buy replacements.
Pick Pistol if you want the cheapest combat route. Pistol ammunition is common, the weapon is easy to carry, and accurate shots can handle ordinary guards without a large credit bill. Choose Rifle if you prefer safer medium-range fights and can tolerate heavier ammunition consumption. Training is useful for players who want broader weapon access, but spreading points across Pistol, Rifle, Heavy, and Melee creates a mediocre character that spends more on ammo and misses more often.
Stealth is the real credit multiplier. Sneaking past a guard costs nothing, and a disabled camera doesn't need to be fought twice after an alarm. The Environmental Training skill is especially valuable when your route includes hazardous areas, because it makes environmental protection more efficient. Medicine is a lower priority if you already use medkits carefully; raising it early can be comfortable, but it doesn't create as many new routes as Computer or Electronics.
Invisible War's skill grades are broad rather than granular, so wait until a new level clearly changes what you can do. Don't dump points merely because you have them. A single upgrade that lets you bypass a terminal or land reliable pistol shots can be worth more than several scattered improvements. For a detailed approach to optimizing older PC games, compare this mindset with our settings guide for faster puzzle interaction.
| Priority | Skill or focus | Recommended timing | Payoff |
|---|---|---|---|
| S-Tier | Computer | Opening Seattle | Terminals, codes, cameras, and safer objective routes |
| S-Tier | Electronics | Opening Seattle | Electronic locks and devices with fewer tool costs |
| A-Tier | Pistol or Rifle | After utility skills begin | Reliable damage without wasting ammunition |
| A-Tier | Environmental Training | Before hazardous hubs | Less dependence on consumable protection |
| B-Tier | Medicine | Mid-campaign | Better recovery, but limited economic upside |
| B-Tier | Heavy, Melee, Explosives | Only for a committed build | Powerful specialization with higher resource demands |
Spend credits on multipliers, not clutter
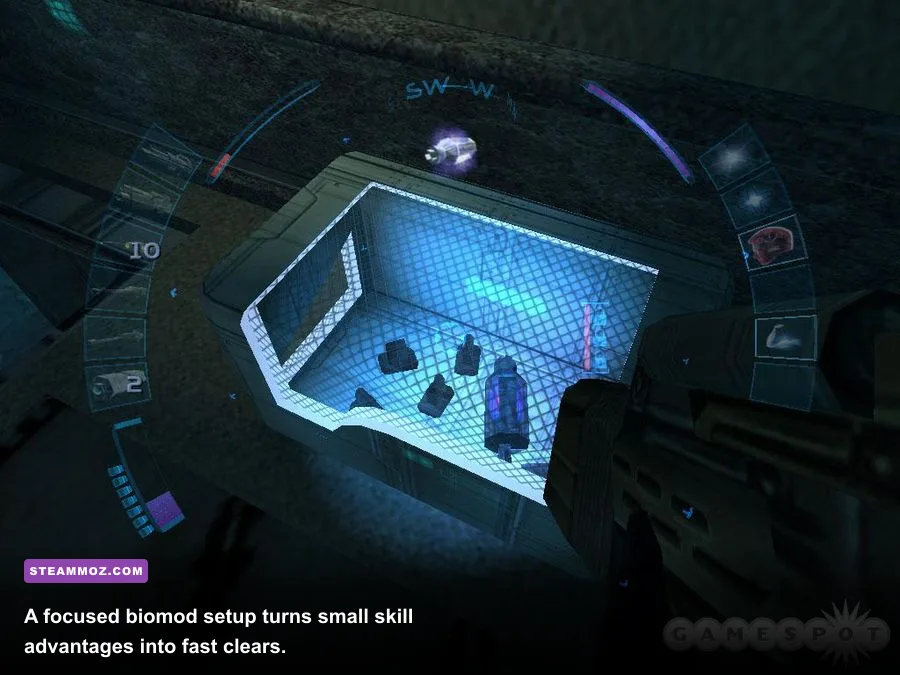
The fastest way to become poor is buying every weapon upgrade and every piece of ammunition from the first vending machine. Credits should purchase options that save credits later. A useful early order is one core weapon upgrade, a small supply of multitools or medkits when your inventory is low, and then biomod-related equipment that improves stealth, hacking, or survivability. Keep a reserve rather than spending down to zero; later hubs can ask you to buy access, supplies, or mission-specific equipment.
Use the weapon upgrade system selectively. A damage or accuracy improvement on the pistol is worthwhile when that pistol is your main answer to guards, but applying upgrades to three different firearms spreads the benefit too thinly. The same rule applies to ammunition: carry the ammo type your build actually uses. Sell duplicate low-priority weapons when a vendor or kiosk allows it, but keep unusual tools, grenades, and weapons until you're certain they won't solve an upcoming obstacle. The resale value is helpful, not infinite, and a replacement purchase can erase the profit.
Inventory space has economic value. Carrying five duplicate pistols means you may miss a useful multitool or medkit. Keep one primary weapon, one quiet or specialized option, and a backup for emergencies. Grenades and environmental objects can replace expensive firefights, especially in tight rooms. A well-placed explosive can clear multiple enemies, but don't turn every encounter into a demolition project; explosives are powerful precisely because they are limited.
There is no reliable infinite-credit enemy respawn loop worth building around. If a guide promises endless gold from repeatedly killing one guard, treat it skeptically. The campaign's real economy comes from route knowledge, finite loot, faction rewards, and avoiding unnecessary purchases.
Use biomods to multiply your route options

Biomod canisters are more important than a slightly larger credit wallet because they change how you interact with the map. When choosing between a combat augmentation and a utility augmentation, ask how many future encounters it can bypass. Spy Drone is a standout utility choice: it can distract enemies, interfere with security, and create openings that would otherwise require ammunition or healing items. Black Market Biomod is another strong economic pick because it expands your augmentation flexibility instead of locking you into a narrow combat solution.
Stealth-oriented options reward patience. A cloak-style augmentation can turn a guarded corridor into a free passage, while vision and targeting aids make it easier to identify patrols and avoid wasting shots. Don't activate energy-hungry augmentations casually. Watch your bioelectric meter, use the environment to break line of sight, and reserve activation for cameras, elite guards, or a route that contains several obstacles in sequence.
Biomod canisters present a real decision: install a new augmentation or upgrade an existing one. For a fast-leveling and credit-saving character, utility should usually win early. A stronger combat augmentation matters when you fight everything, but a hacking, stealth, or drone tool can skip multiple encounters across several hubs. Keep a mental record of every locked route you couldn't solve; that tells you which future biomod will return the biggest value.
| Biomod choice | Economic value | Best use | Common mistake |
|---|---|---|---|
| Spy Drone | High | Distraction, security disruption, safe room entry | Activating it without a clear escape route |
| Black Market Biomod | High | Flexible augmentation planning | Using the slot for a narrow combat bonus too early |
| Cloak-style augmentation | High | Bypassing patrols and cameras | Draining bioelectric energy in open areas |
| Combat augmentation | Medium | Direct fights against elite enemies | Building around combat before utility skills |
Repeat the route in Cairo, Trier, and Antarctica
Once Seattle is complete, repeat the same rhythm in every major hub: talk first, map the exits, identify faction objectives, loot side rooms, then spend. Cairo rewards careful exploration around its dense facilities and restricted areas. Trier has numerous technological routes where Computer and Electronics continue paying off. Antarctica is less forgiving, so arrive with a functional weapon, medical supplies, and enough environmental protection rather than assuming you can shop your way out of trouble.
Before each mission, make a three-part checklist. First, decide whether the objective can be completed without a firefight. Second, carry the tool that matches your skill investment: multitools, medkits, grenades, or a preferred ammunition type. Third, leave two or three inventory slots open. That final point sounds minor, but it prevents valuable weapons and upgrades from being abandoned mid-mission.
During combat, learn enemy telegraphs instead of trading damage. Guards expose themselves when they round corners, cameras follow predictable arcs, and dense rooms often contain explosive or electrical objects. Break line of sight, reposition, and return when the enemy is isolated. The best fight is usually the one that costs one accurate magazine instead of six. If an alarm triggers, don't panic and empty your inventory. Retreat through a doorway, let pursuit separate, then use a vent or alternate route.
Faction choices can alter available rewards and later access, so there isn't one universal perfect credit route. The key is consistency: complete side objectives while you're already in the area, take the route that matches your skills, and avoid buying solutions for problems your build can bypass. For more mission-first planning, our essential new-player tips and secret-location guide follow the same exploration logic.
| Hub | Primary objective | Resource strategy | Combat policy |
|---|---|---|---|
| Seattle | Build core skills and contacts | Loot every apartment, office, and side path | Use stealth to preserve early ammo |
| Cairo | Exploit dense restricted areas | Spend only after completing local exploration | Disable cameras and isolate guards |
| Trier | Leverage technology routes | Prioritize electronics and terminal access | Use alternate entrances before shooting |
| Antarctica | Survive long, less forgiving missions | Carry protection and a proven weapon setup | Fight selectively and keep healing reserves |
The cleanest fast-leveling routine
Use this repeatable order whenever you enter a new area. Scan the hub without triggering the main objective. Speak with named characters and accept every side task that doesn't immediately force a commitment. Search public and private spaces, then hack terminals and inspect vents. Mark locked doors that require skills you don't yet have. Complete the easiest objective first, return to vendors, sell duplicates, and spend only on your main weapon, tools, and the next high-value biomod.
After that, tackle faction missions in the order that minimizes backtracking. Carry a quiet option for isolated targets and a reliable firearm for emergencies. When a fight starts, use cover and environmental hazards before burning grenades or heavy ammunition. Loot the room after the danger passes, but don't fill the inventory with junk. This routine steadily raises your effective power because every skill point opens a route, every saved multitool becomes a future purchase you don't need, and every avoided firefight leaves credits available for genuine upgrades.
For reference on the original game and its PC release, check the official Steam page for Deus Ex: Invisible War, the official Deus Ex website, and Ion Storm’s archived developer site. For more equipment-focused route planning, see Steamoz’s best gear ranking guide.
The short version is simple: explore before you buy, specialize instead of scattering skill points, use Computer and Electronics to create cheap alternate routes, and treat biomods as economic tools rather than flashy combat toys. Invisible War never becomes an endless gold-farming game, but with that loop, you'll hit the late campaign with better skills, more credits, and far fewer moments where a locked door or empty magazine decides the mission for you.