The shotgun is Gato Roboto's best all-purpose weapon, missiles take the top spot against bosses and large targets, and the standard blaster remains the safest tool for platforming-heavy rooms. The game does not expose conventional damage numbers, DPS readouts, or weapon spreadsheets, so this tier list ranks equipment by practical performance: damage per opening, ammunition efficiency, range, room-clearing speed, and how often each tool lets Kiki attack without taking a hit.
That distinction matters. Gato Roboto is a compact Metroidvania built around deliberate positioning rather than gear grinding. You don't upgrade a weapon through random drops, and there isn't a late-game rarity system waiting to invalidate your early choices. Each weapon has a clear job, and the best players swap tools around enemy behavior instead of blindly sticking with the newest pickup.
For the official release details, check the Gato Roboto Steam page and the developer's official doinksoft site. This ranking reflects the complete campaign, including the mech suit, submarine suit, weapon pickups, exploration upgrades, and the final stretch of the station.
The Gato Roboto weapon tier list at a glance
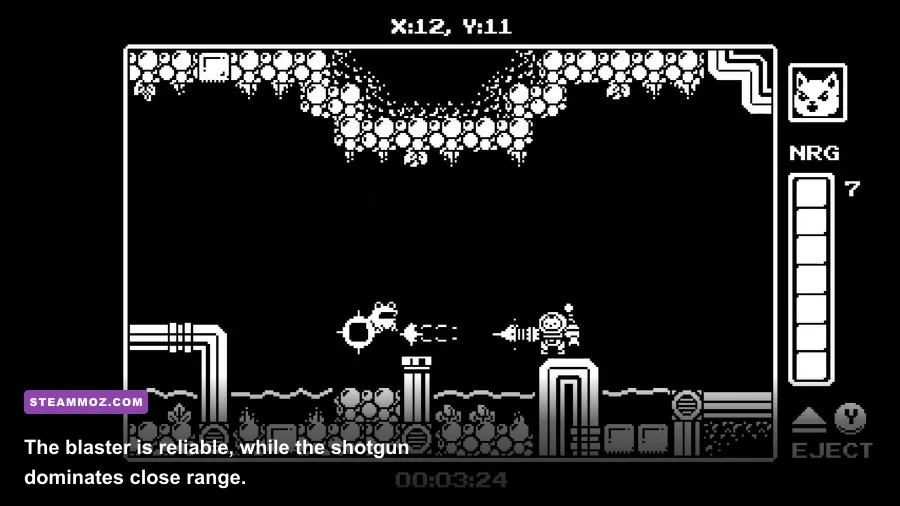
Gato Roboto's weapon roster is deliberately small, but the differences between the tools are meaningful. The blaster has the strongest general-purpose profile because it works in nearly every room, can be fired while you reposition, and doesn't demand that an enemy stand directly in front of Kiki. The shotgun is more explosive in practice, though its short range makes careless use dangerous. Missiles are slower and more limited, yet their burst damage and splash effect make them the premier answer to chunky enemies and bosses.
| Tier | Weapon or equipment | Why it ranks here | Best situation |
|---|---|---|---|
| S-Tier | Shotgun | Huge close-range burst and excellent stagger potential | Armored enemies, narrow rooms, boss openings |
| S-Tier | Missile Launcher | High burst damage, splash damage, strong target tracking by positioning | Bosses, large enemies, clustered targets |
| A-Tier | Standard Blaster | Reliable range, safe repeat fire, ideal for aerial targets | Exploration, platforming rooms, unknown encounters |
| A-Tier | Mech Suit | Best protection and access to the main weapon set | Most combat zones and damage races |
| B-Tier | Submarine Suit | Excellent underwater mobility but highly situational outside water | Flooded passages and aquatic enemies |
| B-Tier | Plain cat form | Fast and flexible, but extremely vulnerable | Vents, switches, tight passages, escape routes |
There is one important caveat: the shotgun and missiles are not universally superior. A weapon that kills faster is not automatically better if using it forces you into contact range or burns scarce ammunition before a more dangerous encounter. The blaster's consistency is why it stays close to the S tier in a real playthrough.
S-Tier: Shotgun
The shotgun is the strongest damage tool when Kiki can safely get close. Its spread lets multiple pellets connect with large bodies, and that turns brief openings into substantial chunks of damage. Against armored or slow enemies, step inside their attack range, fire once, and immediately retreat or jump away. That rhythm is more effective than standing still and trying to empty repeated shots.
Its weakness is obvious: the spread loses value at distance. Fast flying enemies, vertical targets, and anything that punishes proximity can make the shotgun awkward. Don't force it in a room designed around long sightlines. Use the blaster until the enemy commits to an attack, then switch to the shotgun for the punish.
S-Tier: Missile Launcher
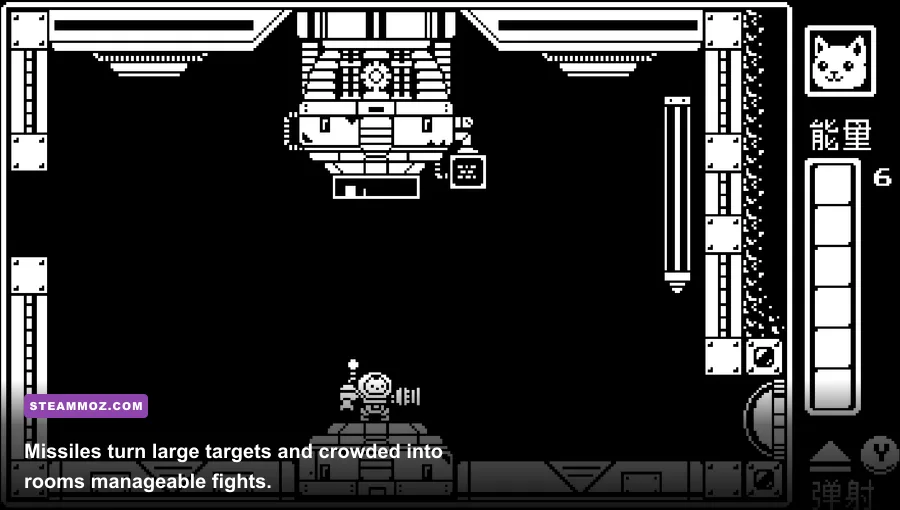
Missiles earn their S-tier placement through burst and coverage. They are especially effective against large targets whose hitboxes make direct hits dependable. Fire during a boss's recovery animation, when it is locked into a charge, or immediately after a projectile pattern ends. The launcher is less about constant pressure and more about converting safe windows into meaningful damage.
Missiles also help in rooms with several enemies packed together. Their splash damage can remove a secondary threat while the direct impact hits your main target. The trade-off is slower handling and limited ammunition, so don't spend them on a basic enemy that the blaster can dispatch safely. Treat missiles as a damage multiplier for dangerous encounters.

🎮 Gato Roboto
Looking to experience this game? Grab your digital key directly on our store for $1.19.
View on Steammoz Store →Why the blaster is still your best default
The standard blaster is the weapon you'll use most often, and that isn't a consolation prize. It gives Kiki the safest way to test a room, poke enemies from outside their attack range, and keep firing while jumping between platforms. In a game where environmental hazards can be as threatening as enemies, that dependable range is a major advantage.
Use the blaster against small airborne enemies, enemies positioned across gaps, and anything with a clear projectile telegraph. It is also the correct choice when you don't yet know a room's layout. Fire a shot, watch how the enemy reacts, and preserve your health rather than charging forward with the shotgun.
The blaster becomes particularly valuable when Kiki is outside the mech suit. Cat form is more agile and can access routes the suit cannot, but it is fragile and lacks the same combat safety. If a room requires cat-form movement, clear threats from a distance first whenever the layout allows it. The few seconds spent controlling the room are worth far more than a risky close-range attack.
Blaster technique and positioning
Don't hold the fire button and hope the room solves itself. Fire in short, deliberate strings while moving through the space. This keeps your attention on enemy projectiles and platform timing. Against enemies that leap, shoot as they begin the jump, then move underneath or away rather than waiting for them to land on top of you.
The blaster is also the best weapon for learning bosses. On your first attempt, prioritize survival and observe the telegraphs. Identify the moment the boss becomes vulnerable, then replace one or two safe blaster shots with a shotgun blast or missile. That progression produces cleaner attempts than immediately burning your strongest ammunition without understanding the pattern.
For a broader look at performance-minded PC play, Steamoz's maximum-FPS graphics settings guide covers the kind of frame-rate troubleshooting that helps in fast reaction games. Gato Roboto is lightweight, but stable frame pacing still makes jumps, projectile dodges, and rapid weapon swaps feel better.
Best equipment ranking: suits, mobility, and exploration tools
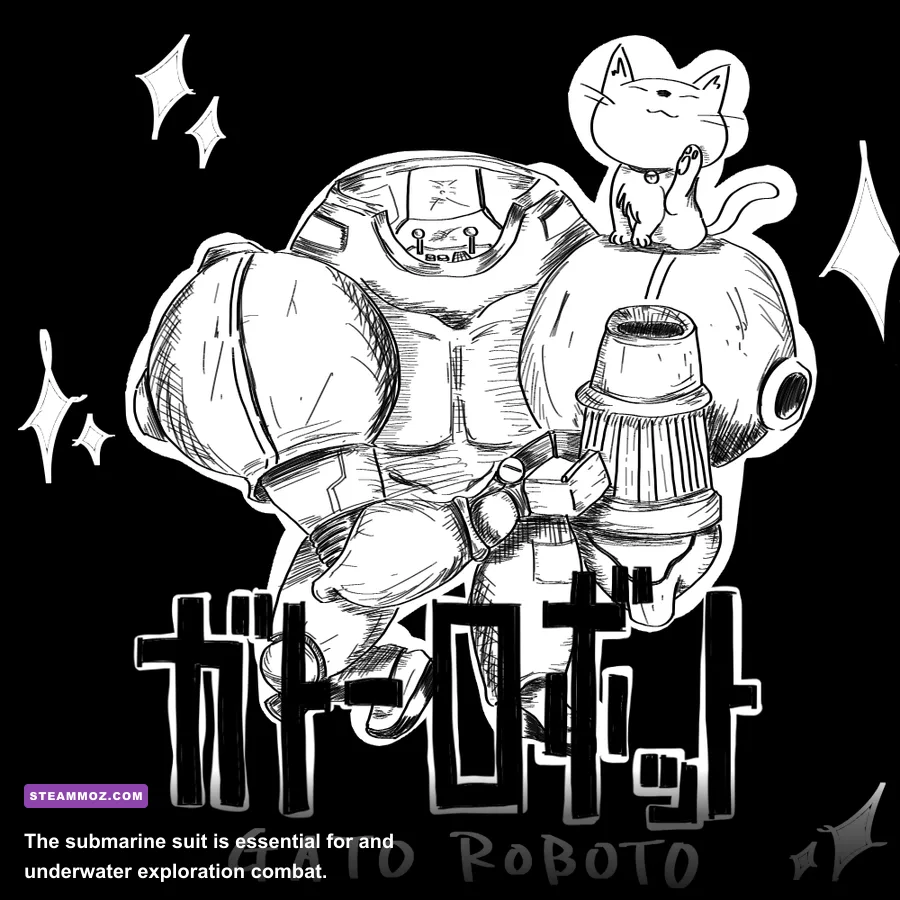
Weapons get the flashy tier-list treatment, but Gato Roboto's equipment upgrades are what actually reshape the map. The mech suit is the combat anchor, the submarine suit opens an entirely different movement layer, and cat form remains the key to routes too small for either vehicle. None of these options replaces another one completely. The best equipment depends on the room's geometry.
| Equipment | Tier | Main strength | Practical limitation |
|---|---|---|---|
| Mech Suit | S-Tier | Durability, firepower, and access to the core arsenal | Too large for vents and narrow passages |
| Submarine Suit | A-Tier | Underwater movement and combat access | Only valuable in flooded sections |
| Cat Form | A-Tier | Fits through small routes and handles tight platforming | Low survivability in open combat |
| Double-Jump Upgrade | S-Tier exploration tool | Reaches elevated ledges and changes route planning | Does not solve horizontal gaps by itself |
| Map and scanning upgrades | A-Tier utility | Reduces backtracking and exposes unexplored structure | Improves information, not direct combat power |
Mech Suit: the best combat equipment
The mech suit is the strongest equipment choice whenever the game lets you bring it into a fight. Its protection gives you room to absorb a mistake, while its weapon set lets you tailor your attack to the enemy. That extra margin is vital in rooms where enemies arrive from multiple angles or where a hit can knock Kiki into a hazard.
Don't confuse durability with permission to face-tank. The suit still benefits from movement discipline. Use its bulk to hold a favorable position, not to stand in every projectile. Back into open ground, keep the blaster ready for distant threats, and save shotgun or missile bursts for enemies that commit to an approach.
Submarine Suit: specialist equipment that becomes essential
The submarine suit ranks below the mech only because it has a narrower use case. In underwater sections, however, it is not optional flavor. It gives Kiki the movement and offensive access needed to navigate flooded corridors, fight aquatic enemies, and reach passages that are impossible to explore on foot.
Underwater rooms often make distance harder to judge, so the blaster remains a strong default there. Use the submarine's mobility to create space, then switch to burst weapons only when a large enemy's movement is predictable. Rushing into a corner with the shotgun is a reliable way to lose health before the room even begins.
How to combine weapons without wasting openings
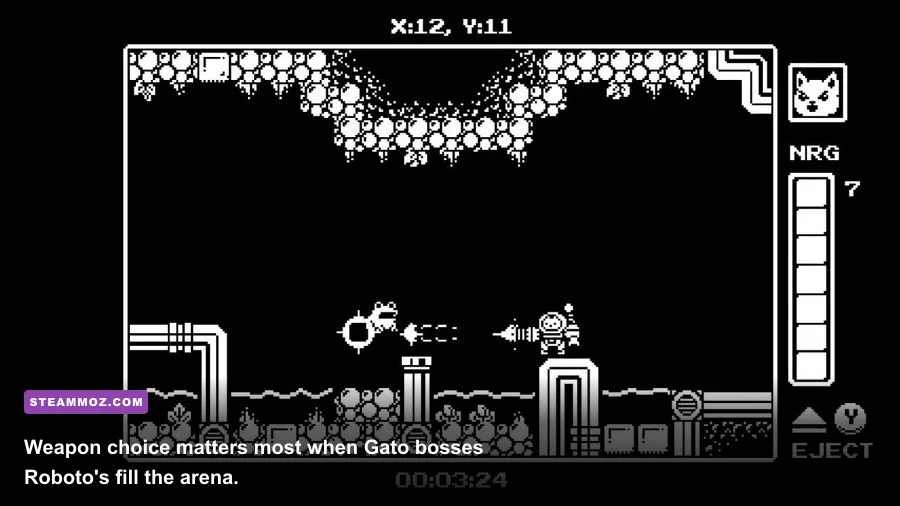
The best Gato Roboto loadout is not a permanent weapon choice; it's a simple rotation. Open with the blaster to control distance, use the shotgun when an enemy enters a safe close-range window, and reserve missiles for large targets, boss phases, or groups that would otherwise force you into a bad position.
| Encounter type | Opening tool | Follow-up | What to avoid |
|---|---|---|---|
| Small flying enemies | Blaster | Keep moving and fire across their approach | Shotgun chasing in open space |
| Armored ground enemy | Blaster to bait movement | Shotgun during recovery | Standing beside it after firing |
| Large slow target | Missile Launcher | Blaster while waiting for the next opening | Burning missiles during invulnerable frames |
| Clustered enemies | Missile Launcher | Shotgun for the nearest survivor | Entering the group without a retreat route |
| Unknown room | Blaster | Map the hazards before committing | Opening with limited ammunition |
Weapon swaps are most valuable before the attack, not after it. If you know a large enemy is about to expose its weak point, have the missile launcher selected as you enter the room. If you are crossing a platform section, return to the blaster before the jump. The fewest mistakes happen when the weapon matches the room before the danger starts.
A clean combat loop looks like this: establish distance, trigger the enemy's telegraph, move through or away from the attack, punish the recovery, then reset. The shotgun fits the punish step. The blaster handles the reset. Missiles replace the punish when the target is large enough or the recovery window is unusually valuable.
This is also why collecting health and ammunition before a boss matters more than chasing a theoretical damage maximum. Exploration upgrades improve your consistency by giving you more route knowledge and more opportunities to enter an arena prepared. Steamoz's beginner build guide for Alone in the Dark approaches a different game, but its broader lesson applies here: build for repeatable decisions, not a single perfect attempt.
Boss-ready rankings and the mistakes that cost runs
Boss encounters are where the tier list becomes most useful. Large bosses give missiles reliable value, while the shotgun can punish close openings if the arena offers enough room to retreat. The blaster remains important because most fights include downtime between burst windows, and wasting missiles during those periods leaves you with fewer tools when the pattern becomes dangerous.
Before a boss, enter with the mech suit if the route permits it, check your ammunition, and decide what attack you are using for each phase. Don't improvise every shot. If the boss becomes vulnerable after a dash, plan a shotgun punish. If it pauses after a projectile fan, plan a missile. If it stays mobile, use the blaster and prioritize survival.
| Boss situation | Best-ranked tool | Reason | Counterplay |
|---|---|---|---|
| Large exposed hitbox | Missile Launcher | Reliable direct impact and burst damage | Fire only during a confirmed vulnerable window |
| Short-range recovery window | Shotgun | Highest practical damage at close distance | Exit immediately after the blast |
| Constant movement or flight | Blaster | Safer tracking and no need to overcommit | Keep a clear lane for dodging |
| Hazard-heavy arena | Blaster plus mech mobility | Prioritizes control over burst | Clear minor threats before chasing damage |
The biggest mistake is treating every boss as a damage check. Gato Roboto's bosses are pattern checks first. A missile that hits during an invulnerable animation is not just wasted ammunition; it can remove the option you needed for the next real opening. Watch the telegraph, identify the recovery, and fire once the boss has committed.
Another common error is using cat form as a combat shortcut. Cat form is excellent for routes, switches, and narrow passages, but it should not be your default answer to an enemy room. If the game gives you space to bring the mech, use that protection. Save the cat's speed for the traversal problem it was designed to solve.
Finally, don't overrate collection percentage when you're struggling. Exploration upgrades are valuable, but a new route will not fix a fight you haven't learned. Return to the blaster, practice the boss's first attack cycle, and add burst damage only after you can consistently reach the opening. That approach is faster than repeatedly restarting with an overloaded plan.
For players who enjoy compact games with demanding combat and strange worlds, Steamoz also has recommendations for games like Blood Omen 2 and tactical games like Inkulinati. Gato Roboto is far more streamlined, but it shares that satisfying old-school instinct: give the player a small toolkit, then make every tool matter.
Final ranking: choose the shotgun for close-range burst, missiles for bosses and large targets, and the blaster for everything you haven't solved yet. The mech suit is the best combat equipment, the submarine suit is the best specialist gear, and cat form is the best traversal option. Master those roles rather than hunting for one universally dominant weapon, and Gato Roboto's entire arsenal starts to feel sharper, faster, and much more deliberate.