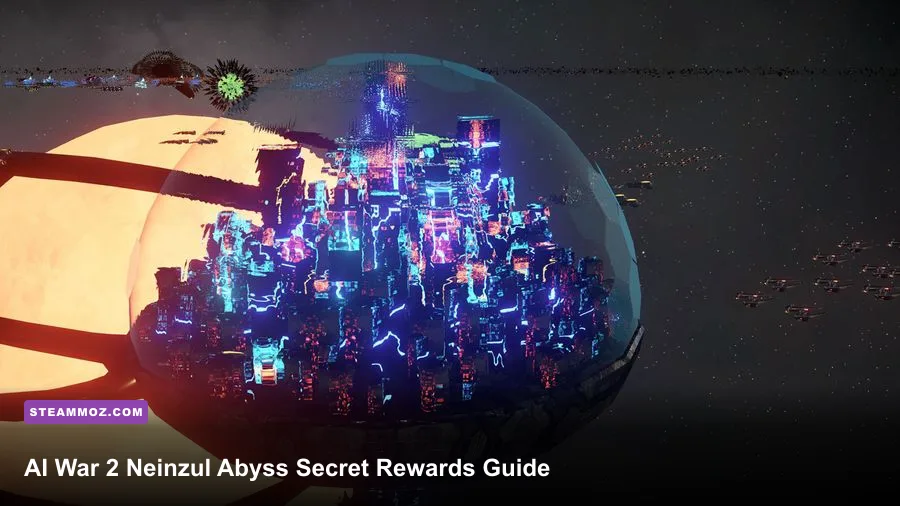
The Neinzul Abyss does not hide a set of fixed, screenshot-friendly treasure coordinates. Its secret locations are generated inside the campaign map, and the rewards depend on which special system objects, Neinzul encounters, and optional objectives appear in your run. The reliable solution is to scout every suspicious system, inspect every non-essential structure, and avoid advancing the AI threat before you have completed the local objective. This guide shows exactly how to find those secrets, how to tell a real hidden opportunity from a normal trap, and which rewards are worth risking your campaign for.
That distinction matters. AI War 2 is not built like a conventional action game where a chest always sits behind the same wall. The galaxy is a strategic puzzle, and the game intentionally makes some rewards emerge from map generation, faction interaction, and exploration order. If you are searching for a universal list of coordinates, you will waste time. If you learn the signs that identify a secret system, you can uncover practically every meaningful reward in The Neinzul Abyss without restarting your campaign.
Before starting, keep the official AI War 2 Steam page open for DLC compatibility notes. The Arcen Games website is also useful when a patch changes faction behavior, while the official AI War 2 wiki remains the best reference for terminology.
How secret locations actually work
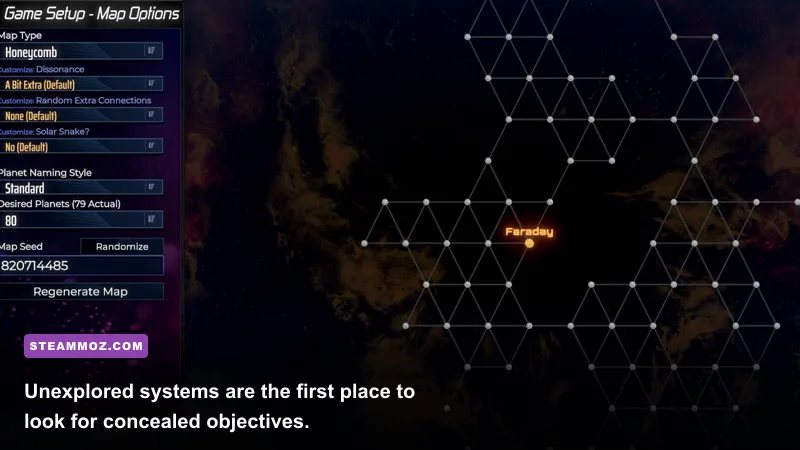
The first thing to understand is that “secret location” is a player-friendly label, not always the name of a single object in the interface. In The Neinzul Abyss, a hidden reward can be tied to an optional encounter, an unusual system layout, a Neinzul-related objective, or an object that only becomes valuable after you meet a condition. The map does not promise that every run contains the same sequence.
Most discoveries fall into three practical categories. The first is an unexplored system containing an unusual structure or encounter. The second is a system whose reward is revealed only after you defeat, disable, or preserve a particular target. The third is a chain objective where the first discovery appears ordinary but points toward a later Neinzul location. Treating all three as “loot rooms” is a mistake; some rewards are strategic unlocks, while others are one-time advantages that help you survive the next phase of the campaign.
Use the galaxy map as a filter. Systems that sit away from your shortest route, contain a strange faction mix, or have a structure that does not match the surrounding systems deserve a scouting pass. Do not assume the furthest system is the secret one. Procedural maps often place valuable optional content close to your starting area precisely because the real test is whether you notice it before the AI escalates.
| Map clue | What it usually means | Best response | Risk |
|---|---|---|---|
| Unexplored system beside a normal route | Possible optional encounter or alternate objective | Send a scout and inspect the system before committing | Low to medium |
| Unusual structure cluster | Reward condition may be tied to a specific target | Pause, read tooltips, and identify the protected object | Medium |
| Neinzul-related encounter | Potential chain objective or faction-specific reward | Preserve the encounter until its condition is clear | Medium to high |
| System behind hostile chokepoint | Optional prize balanced around a costly approach | Prepare a temporary fleet and retreat route | High |
🎮 AI War 2: The Neinzul Abyss
Looking to experience this game? Grab your digital key directly on our store for $3.99.
View on Steammoz Store →Step-by-step method for finding every secret
1. Create an exploration ledger
At the start of the run, pause and mark systems in three groups: explored, combat-cleared, and unresolved. “Explored” only means you have seen the system. It does not mean you have completed its optional content. This small distinction prevents the most common failure, where a player remembers visiting a system and never returns after missing a conditional objective.
Write down the system name, its major structures, the faction present, and anything that looks different from the generated norm. AI War 2 throws enough information at you that memory becomes unreliable, especially when you are managing command stations, guard posts, empire strength, and multiple fronts simultaneously.
2. Scout with something expendable
Do not use your main assault fleet as a discovery tool. A fast, cheap scouting force can reveal defenders, turret coverage, and unusual objects without exposing your best ships to an ambush. Keep enough command capacity and repair support nearby to extract the scout. The goal is information, not a heroic first strike.
Turn on the information panels that show object details, then click every structure that is not obviously part of the standard defensive layout. Read the tooltip completely. A structure that appears decorative may be the trigger for an objective, while a seemingly rewarding target may be protected by a counterattack that scales with your current campaign state.
3. Identify the condition before attacking
When an encounter mentions survival, preservation, escorting, or a specific target, stop attacking until you understand the wording. Many hidden rewards are lost because the player destroys the object that was supposed to survive. If the objective is unclear, save the game, move the fleet into a safe position, and test the least destructive interaction first.
4. Clear the system without ending the objective
Use controlled damage. Remove long-range threats and mobility blockers first, but do not automatically destroy every neutral or unusual object. The Neinzul content rewards patience more than raw fleet power. A clean system is not necessarily a completed system; check the objective panel, revisit the map, and confirm that the reward or follow-up marker has actually appeared.
5. Return after major campaign milestones
Some discoveries only become actionable after you gain the required technology, complete a nearby objective, or alter the local faction situation. Revisit unresolved systems after a major strategic change. This is especially important if the first visit was only a reconnaissance pass. Keep a reserve fleet or transport route available so you can respond without abandoning your main offensive.
Where the best hidden rewards tend to appear
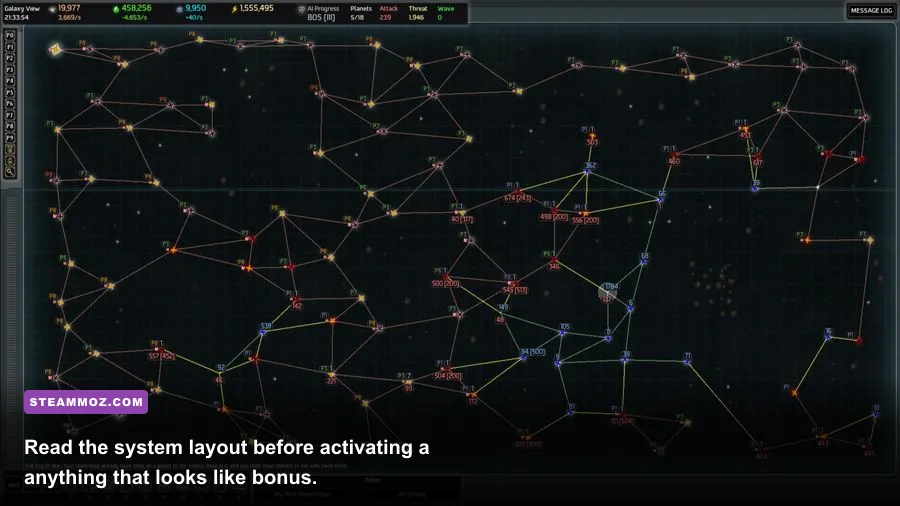
The most valuable secrets are usually not sitting in the safest, most obvious system. They tend to occupy locations that force a strategic choice: take a detour, spend fleet capacity, delay an attack, or leave an enemy alive long enough to complete a condition. That is why a complete guide needs to explain patterns rather than pretend every campaign uses identical coordinates.
Start with side systems near your first expansion lane. They are often safer than deep-map discoveries and can provide the early advantage needed to make later exploration affordable. Next, inspect systems that connect two otherwise separate regions. A hidden objective there may be protected by a stronger-than-average defensive cluster, but completing it can make future movement far easier.
Finally, search dead-end systems. These are easy to ignore because they do not improve your route efficiency. In a campaign built around the AI’s escalating response, however, a dead end can be a deliberate reward pocket: difficult to reach, but less likely to create a second front when cleared. Do not rush directly toward it. First secure the nearest retreat path and determine whether the system contains a command station, a data center, or another structure whose destruction will raise the local danger.
| Location type | Why search it | Recommended fleet | When to visit |
|---|---|---|---|
| Early side system | Low-risk optional reward and early information | Scout plus light combat support | Before your first major offensive |
| Regional connector | May combine a reward with route control | Balanced fleet with emergency retreat tools | After securing one nearby system |
| Dead-end system | Often isolated from immediate counterattacks | Self-sufficient assault fleet | After establishing a safe staging point |
| Deep Neinzul encounter | Highest chance of a meaningful chain objective | Veteran fleet with support and reserves | Once the AI threat is under control |
Do not confuse a large reward with a good reward. A temporary fleet boost can be worth more than a permanent-looking pickup if it lets you destroy a command structure before the AI launches a response. Conversely, a reward that requires a dangerous detour may be strategically negative when your AI progress is already close to a critical threshold.
Neinzul encounters and the rewards worth protecting
Neinzul objectives are where most players lose hidden rewards. The instinct to destroy anything unusual is normally sensible in AI War 2, but it can be exactly wrong when the encounter asks you to protect, observe, or interact with something. Watch for objectives that change after the first wave. The initial task may only reveal the real reward condition once the system is stable.
Use a two-fleet setup whenever possible. The first fleet handles predictable defenses and removes threats that can reach the objective. The second stays outside the main engagement, ready to intercept reinforcements or rescue the protected target. Combining both jobs into one fleet makes it much harder to react when the objective suddenly changes.
Positioning matters more than raw damage. Keep the protected object away from splash damage, avoid firing through it, and do not activate area abilities while you are still identifying friend-or-foe behavior. If an encounter includes a timer, clear the nearest threats first and only then begin the interaction. If there is no timer, patience is usually the superior choice.
The hidden rewards can vary by campaign state, but their practical value usually falls into four groups: fleet reinforcement, strategic technology or capability, access to a follow-up objective, and a local advantage that makes a nearby system easier to attack. The last two are easy to undervalue. A chain marker can be worth more than an immediate combat bonus because it opens the route to the real prize.
| Reward type | Immediate value | Long-term value | Keep it? |
|---|---|---|---|
| Fleet reinforcement | More combat power now | Helps finish a difficult front | Yes, if the AI is escalating |
| Technology or capability | May not change the current battle | Improves future fleet efficiency | Usually high priority |
| Follow-up objective | Little immediate power | Can unlock the most important reward | Always record its location |
| Local system advantage | Safer or cheaper next attack | Improves campaign tempo | Prioritize near active fronts |
Common mistakes that make secrets disappear

The first mistake is clearing a system too quickly. Players see familiar defenses, issue a broad attack command, and destroy the object that contained the optional trigger. Use selective targeting until every tooltip has been read.
The second is pushing the AI while exploring. Hidden rewards do not exist in a vacuum. Every detour costs time, fleet attention, and often threat management. If the AI is close to launching a major response, finish the most valuable nearby objective first. A secret that takes fifteen minutes to reach is not worth losing three core systems.
The third is failing to record unresolved content. Mark the location on the galaxy map and leave a short note about the missing condition. “Visited” is not the same as “finished.” This is also why restarting after a missed objective is rarely necessary; most runs can be repaired by returning with the right fleet and technology.
The fourth is trusting old videos. Map generation, DLC updates, difficulty settings, and campaign options can change the position and composition of optional content. Videos are useful for learning the visual language of an encounter, but not for copying coordinates. For performance tips during long AI War 2 sessions, Steamoz’s general stutter troubleshooting guide and low-FPS settings advice are useful starting points, even though the games differ.
A reliable secret-hunting route
For a clean run, scout the nearest side systems first, then secure the connector that protects your return route. Leave deep Neinzul objectives alone until you have a reserve fleet and a clear AI response plan. Once the local threat is manageable, return to every unresolved system in order of strategic value rather than geographic distance.
That order keeps the campaign stable: early rewards improve your economy and fleet, connector rewards protect movement, and deep objectives are attempted only when failure will not expose your capital. If you find a chain marker, record it immediately and do not assume the next objective is in the nearest unexplored system. Follow the marker, inspect the entire system, and preserve any unusual object until the objective explicitly tells you to destroy it.
For more strategy-game route planning, compare this approach with Steamoz’s secret-cache guide. The underlying lesson is similar: discovery is only half the job; the real reward comes from reaching the location without wrecking the conditions that make it valuable.
The Neinzul Abyss is at its best when you stop treating secrets as collectibles and start treating them as campaign decisions. There is no honest fixed-coordinate list that covers every generated galaxy. The dependable method is to track unresolved systems, scout with disposable assets, read every tooltip, protect unusual objects, and return after major progression changes. Do that, and you will uncover the hidden encounters and rewards that matter while keeping the AI from turning your treasure hunt into a lost campaign.