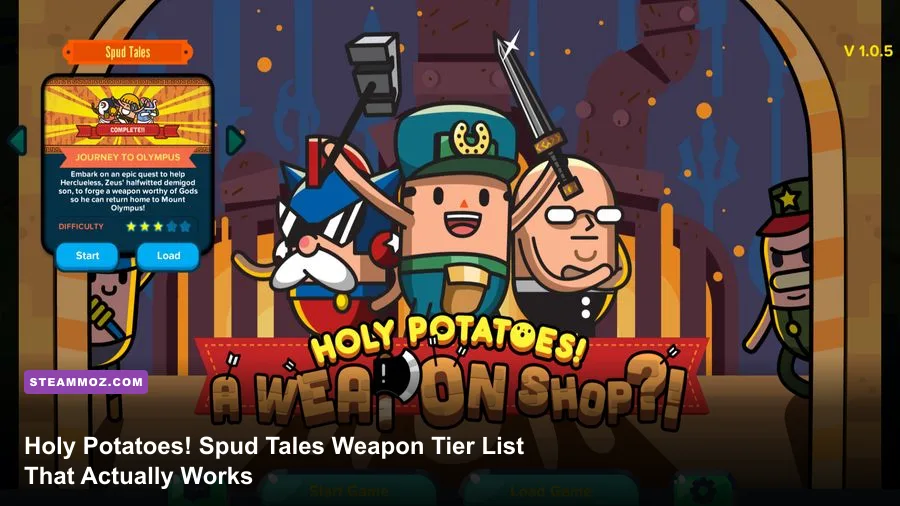
The best Holy Potatoes! A Weapon Shop?! Spud Tales: Journey To Olympus equipment is not simply the item with the biggest damage number. For most runs, prioritize fast Swords and Bows for consistent damage, keep a Staff ready for control-heavy encounters, and treat Axes as specialist burst gear rather than an automatic upgrade. The real tier list comes from the weapon panel's Damage, Speed, Range, and Value ratings, plus how efficiently a blueprint uses your current materials. A high-damage weapon with poor speed can lose more real combat time than it gains on paper.
This ranking focuses on practical performance: early progression, material efficiency, boss reliability, and the point where each weapon type starts to shine. Because Spud Tales uses equipment values that can vary by blueprint quality and upgrade level, the tables below rank weapon families and stat targets instead of pretending every Sword or Bow has one permanent attack value. That distinction matters. The strongest-looking roll is not always the strongest weapon in the shop.

How the Spud Tales weapon system really works

Every equipment decision should begin with the weapon's comparison panel. Damage tells you the size of each successful hit, Speed determines how quickly that weapon converts openings into attacks, Range affects how safely you can pressure targets, and Value helps you judge whether the crafting cost is sensible. Those four numbers form the useful core of this tier list.
Do not compare Damage in isolation. A slow Axe may show the highest single-hit figure in your inventory, but a Sword with roughly 80 to 90 percent of that displayed damage can still outperform it across a full encounter because it attacks more often. The same logic applies to Bows: a slightly weaker ranged roll is usually better if it lets you maintain pressure without walking into melee range.
Quality and upgrade level also distort quick comparisons. A newly unlocked blueprint can look underwhelming beside an older weapon that has received several workshop improvements. Before replacing anything, compare both items at the same upgrade stage, then check the material cost. If the new item needs a rare Olympus component for a marginal stat increase, hold the old gear until the next major progression gate.
| Stat | What it affects | Useful target | Common mistake |
|---|---|---|---|
| Damage | Power of each successful hit | At least 90% of your best current roll | Ignoring attack frequency |
| Speed | How quickly attacks are delivered | Prioritize on Swords and Bows | Trading too much speed for one large hit |
| Range | Safety and spacing during encounters | High for Bows and Staffs | Using melee range against telegraphed attacks |
| Value | Efficiency of the crafted item | Prefer upgrades with clear stat gains | Burning rare materials for tiny increases |
For official baseline information, check the Steam page for Holy Potatoes! A Weapon Shop?! and the Daylight Studios website. Older guides often describe the original shop loop, while Spud Tales' Olympus progression can make those recommendations feel too conservative.

🎮 Holy Potatoes! A Weapon Shop?! Spud Tales: Journey To Olympus
Looking to experience this game? Grab your digital key directly on our store for $1.49.
View on Steammoz Store →S-Tier weapons dominate most Olympus runs
S-Tier: Sword, Bow, and Staff. These are the three weapon families that consistently justify investment. They cover sustained melee damage, safe ranged pressure, and utility respectively, so they remain useful even when enemy patterns change.
S-Tier Sword
The Sword is the safest all-rounder. Its biggest advantage is not raw damage; it is the ability to keep attacking during short openings without committing to a painfully long animation. A high-Speed Sword is excellent for regular encounters and remains dependable against bosses with narrow punish windows. Look for a roll that keeps Damage close to your current best while improving Speed. If a replacement gains only 3 to 5 percent damage but loses noticeable speed, it is not an upgrade.
Use the Sword when the route contains mixed enemy groups, uncertain spacing, or targets that repeatedly interrupt long attacks. It is also the best default weapon when you do not yet know an Olympus encounter's telegraphs.
S-Tier Bow
The Bow becomes exceptional as soon as Range starts saving you from forced trades. It is particularly strong against enemies that broadcast attacks clearly, because you can fire during the warning animation and retreat before the hitbox arrives. A Bow with strong Damage but poor Speed can still work for bosses, but regular rooms usually reward a faster firing profile.
Do not chase maximum Range at the expense of all damage. Once you can attack safely from outside the enemy's immediate threat zone, additional spacing has diminishing returns. Your next upgrade should usually improve Damage or Speed instead.
S-Tier Staff
The Staff is the most matchup-dependent S-Tier option. It may not win a simple damage test, but its Range and control potential make it invaluable when an encounter includes multiple threats or punishes close positioning. Keep one upgraded Staff in reserve rather than selling it for a small amount of Value. That single decision can save a run when Olympus starts stacking pressure from several angles.
| Weapon family | Tier | Best stat profile | Best situation |
|---|---|---|---|
| Sword | S-Tier | High Speed, balanced Damage | Mixed rooms and short attack openings |
| Bow | S-Tier | High Range, strong Speed | Boss telegraphs and safe sustained pressure |
| Staff | S-Tier | High Range, useful control | Multi-target encounters and defensive play |
| Axe | A-Tier | Maximum Damage, acceptable Speed | Short burst windows and stagger opportunities |
A-Tier equipment is powerful with the right matchup

A-Tier: Axe and high-quality specialist variants. The Axe is the obvious example of gear that looks stronger than it feels. Its large Damage number is real, but slow attacks make missed timing expensive. That makes it excellent when an enemy stays vulnerable for long enough to complete the animation and mediocre when targets constantly move, shield, or counter.
Use the Axe after you have learned an encounter, not during your first blind attempt. Watch for the enemy's recovery animation, then commit. If the target has a short punish window, a Sword usually produces better real damage because it gives you more chances to connect. The Axe also benefits heavily from upgrades that improve its weakest stat. A pure Damage roll is tempting, but a modest Speed improvement can be worth more over an entire boss phase.
A-Tier specialist gear includes any weapon with one standout stat that directly answers a route problem. A long-range Bow is better than a balanced Sword against a projectile-heavy room. A control-focused Staff is better than both when enemies arrive in groups. Tier ratings describe general value, not a command to equip the same weapon everywhere.
Material planning is the difference between A-Tier being useful and being a trap. Before crafting, ask whether the item improves your current problem. If your damage is already comfortable but you keep taking hits, buy Range or Speed. If the boss survives every phase with a sliver of health, then a slower high-Damage weapon may finally be justified.
B-Tier weapons still have a place in progression

B-Tier means conditional, not worthless. Low-quality versions of every family can land here, especially when their stat spread is badly skewed. A Sword with poor Speed loses its defining advantage. A Bow with weak Range fails to create safe distance. A Staff with neither useful Range nor control becomes an expensive compromise. The family name does not rescue a weak roll.
B-Tier equipment is most valuable as a bridge between unlocks. Early in the journey, replacing a damaged or badly matched weapon can be more important than waiting for an ideal blueprint. Use the 90-percent rule: if the new item reaches roughly 90 percent of your best current Damage while offering a meaningful improvement in Speed or Range, it is usually worth equipping. Do not hoard materials so aggressively that your active loadout falls behind the zone's demands.
Sell or recycle gear when three conditions are true: it is behind your current upgrade level, it has no unique stat advantage, and its Value does not justify storage. Keep one backup from each useful family, though. Inventory space is less important than having an answer for a range-focused boss or a crowded combat room.
The best upgrade path from shop to Olympus
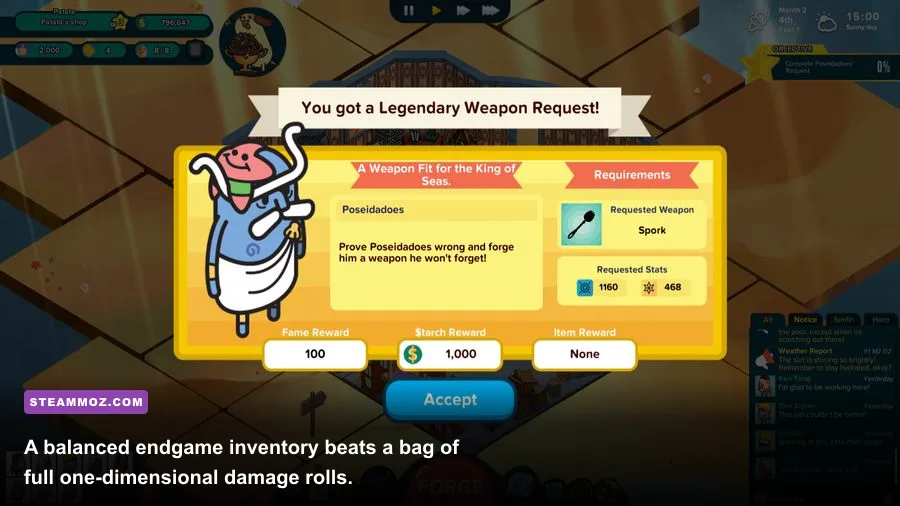
Your workshop should build a reliable foundation before chasing perfect rolls. Upgrade the weapon you use in ordinary rooms first, because it earns more practical value across the entire route. Then improve one boss-oriented option, usually a Bow or Staff, and only afterward invest in a burst Axe.
A good three-slot progression looks like this: a fast Sword for default encounters, a Bow for spacing and boss damage, and a Staff for crowd control or awkward patterns. The Axe becomes the fourth investment once your materials are stable. This setup is more flexible than carrying three different slow weapons, even if those weapons show higher individual Damage.
Pay attention to crafting downtime and resource thresholds. Spending every common component on tiny improvements can leave you unable to craft the next meaningful blueprint. A useful rule is to save enough materials for one complete replacement before upgrading a weapon by a single percentage point. The exact cost varies with the blueprint, but the principle keeps your progression curve smooth.
| Progression stage | Primary weapon | Secondary weapon | Upgrade priority |
|---|---|---|---|
| Early journey | Fast Sword | Basic Bow | Speed first, then Damage |
| Midgame | Balanced Sword | Staff or stronger Bow | Range and matchup coverage |
| First Olympus routes | High-Speed Sword | High-Range Bow | Keep both within one upgrade tier |
| Late progression | Best all-rounder | Specialist Staff or Axe | Spend rare materials only on clear gains |
If the PC version feels sluggish while navigating the shop or combat scenes, our Deponia Doomsday settings guide has useful advice for reducing input delay in lightweight adventure games. For broader optimization, see our settings guide for Don't Be Afraid. Stable frame pacing matters here because delayed menu input can lead to accidental crafting and wasted resources.
Boss-ready loadouts and the final ranking
Before a boss, equip for the encounter's behavior rather than its health bar. If attacks are heavily telegraphed and leave a long recovery, choose the Axe or a high-Damage Bow. If the boss chains quick attacks, use the Sword. If adds or overlapping threats make the arena dangerous, Staff utility and Range become more valuable than a small damage increase.
Start each fight by identifying the safe attack window. Do not spend your strongest resource or commit to the longest animation during the boss's approach. After the first telegraph, you will know whether the fight rewards close pressure or patient spacing. Switch your rhythm accordingly: Sword users should attack in short bursts and retreat early, Bow users should fire during recovery windows, and Axe users should wait rather than force a hit.
The final ranking is deliberately practical. S-Tier weapons solve problems across many rooms. A-Tier equipment can outperform them in a favorable matchup. B-Tier gear is acceptable when it fills a progression gap, but it should not consume rare materials unless its defining stat is unusually strong.
| Final rank | Equipment | Why it ranks here | Do not use it when |
|---|---|---|---|
| S-Tier | Fast Sword | Reliable damage, forgiving timing, excellent all-rounder | You need maximum spacing immediately |
| S-Tier | High-Range Bow | Safe pressure and strong boss consistency | Enemies constantly close distance |
| S-Tier | Utility Staff | Range and control solve crowded encounters | The fight rewards pure burst only |
| A-Tier | Heavy Axe | Best burst when openings are long and predictable | Targets move or punish slow animations |
| B-Tier | Low-roll variants | Useful as temporary progression gear | A better weapon is already upgraded |
For more equipment-focused comparisons, Steamoz's Far Cry New Dawn weapon tier list and Gangs of Sherwood gear ranking follow the same principle: judge the tool by the situations it solves, not by one inflated number. In Holy Potatoes! Spud Tales: Journey To Olympus, that means keeping a fast Sword ready, building a dependable ranged option, and saving rare crafting materials for upgrades you can feel in combat.