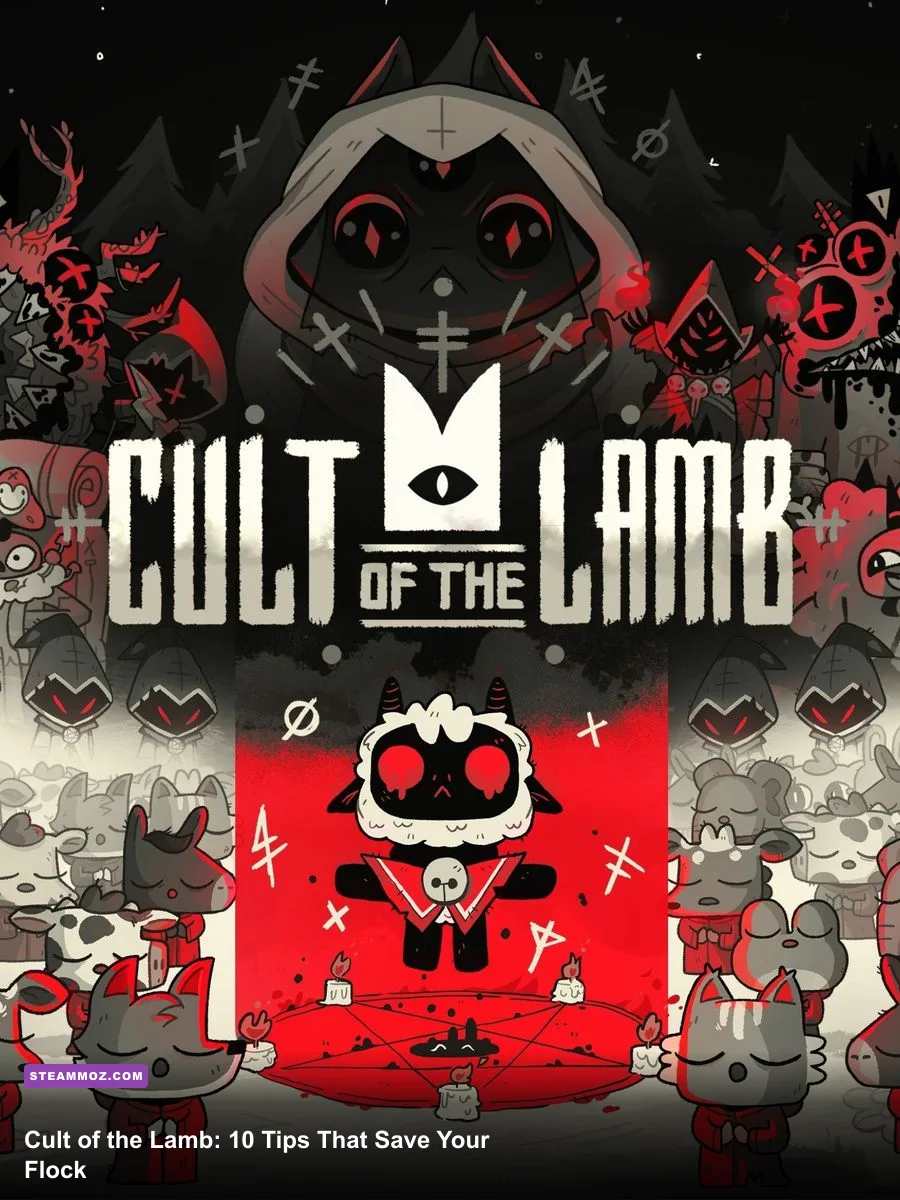
The fastest way to succeed in Cult of the Lamb is to treat every day as a two-part schedule: strengthen the cult at home, then spend a focused crusade collecting resources and unlocking the next boss route. Prioritize sermons, food, beds, and shrine upgrades before decorative buildings; learn enemy telegraphs instead of button-mashing; and spend your first Doctrine choices on systems that prevent dissent. These 10 tips will carry a new Lamb through Darkwood, Anura, Anchordeep, and Silk Cradle without wasting devotion or sacrificing valuable followers.
This guide reflects the modern version of the game, including systems added through major updates. For official patch information, check the Cult of the Lamb Steam page and the developer's Massive Monster website. If your game stutters during crowded settlement scenes, our general frame-rate settings advice is useful for the same kind of 2D action workload.

1. Build your first days around sermons

Sermons are not just a morale animation. They are your main source of Faith and the progression currency for unlocking weapon upgrades at the shrine. Hold one every day whenever the cooldown allows it, ideally before leaving for a crusade. A sermon also gives a temporary Faith boost, so starting the morning with one makes it easier to absorb a bad event or an unpopular ritual later.
Keep the shrine in a central, accessible spot and interact with it whenever several followers are awake. Your first priority is the shrine's devotion track, not cosmetic structures. Each follower who prays contributes devotion, and a full bar unlocks a Divine Inspiration point. Spend those early points on the beds, farm, and basic resource infrastructure rather than rushing expensive decorations.
There is a useful rhythm here: sermon, collect shrine devotion, check the cooking station, then crusade. If you return late and exhausted, your followers can still pray and work while you sleep. The Lamb's own health is not a reason to skip a sermon; the long-term weapon and curse unlocks are worth much more than squeezing in one extra room.
🎮 Cult of the Lamb
Looking to experience this game? Grab your digital key directly on our store for $12.49.
View on Steammoz Store →2. Never let beds, food, or Faith collapse together

Most early-game disasters are compound failures. A follower gets sick because they ate a bad meal, loses Faith because the camp is filthy, then another follower complains because the first one is vomiting beside the sleeping area. Keep the three core systems stable: assign every follower a bed, maintain a small food buffer, and clean up waste quickly.
Unlock the Farming Bundle early and place farm plots near a scarecrow or the central work area. Plant berries and better ingredients as soon as they become available, but don't turn the whole settlement into a farm. A modest supply of seed storage and a few plots are enough at first. Cooking basic meals is safer than hoarding raw ingredients, because hungry followers lose Faith and can become sick or dissenting.
Use the Janitor Station once your settlement grows. Manually cleaning every pile of poop works with three followers, but it becomes a full-time job with ten or more. Sick followers should be treated at the healing bay, while prison cells are for dissenters who need isolation and re-education. If a follower is elderly, don't spend rare materials on a premium role for them; plan a succession ritual or accept the loss and use the body for fertilizer or other unlocked interactions.
| Problem | Early warning | Best response | Why it matters |
|---|---|---|---|
| Low Faith | Red Faith meter or angry speech | Deliver a sermon, perform a cheap ritual, or complete a quest | Low Faith increases dissent and desertion risk |
| Hunger | Followers stop working and request food | Cook a batch and keep berry ingredients stocked | Hungry followers quickly damage productivity and loyalty |
| Sickness | Follower has a disease icon or vomits | Use the Healing Bay and remove nearby waste | Illness can spread and waste precious time |
| Bed shortage | Follower sleeps on the ground | Build a shelter or repair broken beds | Bad sleep lowers Faith and creates preventable complaints |
3. Spend Divine Inspiration on systems, not decoration

Your first building choices determine how forgiving the entire campaign feels. A practical opening route is Sleeping Quarters, then Farming Bundle, then a cooking or storage improvement, followed by sanitation and resource production. The exact order can shift with your follower count, but the principle stays the same: unlock buildings that create resources or remove recurring chores.
After the basic farm is running, the Lumberyard and Stone Mine provide renewable materials, though they eventually break and need replacement. Don't build several of each immediately. One resource building, upgraded beds, and a functional farm usually beat a wide settlement full of half-used stations. Place storage near the buildings that consume those resources, since a compact layout saves walking time and makes it easier to spot a broken station.
Later, the Refinery lets you turn basic materials into advanced ones, while buildings such as the Missionary send followers out for resources at a risk. Use high-level, loyal followers for risky work and avoid sending an elderly or sick cultist unless the reward is absolutely necessary. For more PC optimization ideas when your settlement gets crowded, compare our crash and low-FPS troubleshooting guide; the same basics apply: close overlays, update drivers, and test whether background applications are stealing frame time.
Decorations still have value, especially if a quest or follower request demands them, but they should be your fourth priority. A pretty camp with no beds is not a thriving cult. It is a very attractive disaster.
4. Choose weapons for the room, not your favorite animation

Weapon damage and rarity are rolled during crusades, so don't blindly chase one permanent best weapon. The weapon family matters because each has a different risk profile. Axes hit hard but have slower recovery, swords are the most comfortable all-rounders, daggers attack rapidly but require close positioning, hammers deliver huge damage with a long wind-up, and gauntlets build momentum through their combo before becoming especially potent.
Always inspect the weapon's displayed damage and level before committing to a room. A high-level basic sword can outperform a low-level hammer if you are still learning enemy patterns. On the other hand, a strong hammer becomes excellent against bosses when you understand when to charge and release it. The weapon name tells you the family; the current damage value and any modifier tell you whether that particular drop deserves the slot.
Curses are your spacing and crowd-control tool. Projectile curses let you punish enemies without walking into melee range, while area attacks are valuable when a room spawns several charging foes. Don't spend every Fervour charge the instant you get it. Entering a room with no curse available is especially dangerous when you are carrying a slow weapon.
| Weapon type | Strength | Weakness | Best beginner use |
|---|---|---|---|
| Sword | Reliable speed and reach | Less burst than heavy weapons | Learning enemy timing and clearing mixed rooms |
| Axe | High damage with solid range | Slower recovery after swings | Players comfortable dodging after each attack |
| Dagger | Fast combo and quick repositioning | Short reach and lower per-hit damage | Aggressive players who can stay behind enemies |
| Hammer | Exceptional charged damage | Very slow startup | Boss openings and single-target burst |
| Gauntlets | Combo payoff and strong sustained damage | Needs uninterrupted attacks to ramp up | Confident players who control room space |
5. Learn the dodge window before chasing damage

The dodge roll is your most important combat tool, not a panic button. Use it to pass through danger, then return with one or two attacks. Holding the attack button through every opening is how new players get clipped by a delayed projectile or a charging enemy. Against groups, circle the room's outer edge and let enemies compress into a predictable line before striking.
Watch for the visual wind-up rather than the projectile itself. Most attacks announce themselves with a flash, body animation, reticle, or ground marker. Roll through the attack at the last safe moment, because rolling too early often places you directly in the path of a second projectile. After a successful dodge, punish only if the room is clear; survival is worth more than one extra hit.
Enemies also have different priorities. Ranged cultists should usually die first because they force movement while melee enemies occupy your escape route. Explosive or charging enemies deserve space, and shielded targets should be attacked after their protection drops rather than traded into repeatedly. If a room feels chaotic, stop attacking for two seconds and map where every enemy is. That tiny reset is often the difference between a clean clear and losing half your Red Hearts.
Before harder areas, practice in Darkwood with an intentionally modest loadout. You are training recognition: attack, roll, reposition, curse. That sequence scales better than memorizing a single weapon combo.
6. Turn follower loyalty into permanent momentum
Every follower is both a worker and a progression engine. A loyal follower generates more devotion through prayer, gives better results on tasks, and is safer to use for quests or missionary runs. Interact with followers daily to give gifts, complete requests, or perform the Bless action when available. Small loyalty gains accumulate quickly, especially when you have a compact cult.
Traits matter. A follower with a strong work-speed or devotion trait belongs on the relevant station, while a cultist with a negative productivity trait may be better used for low-risk chores. Don't sacrifice a high-level follower simply because the ritual is available. Keep at least one dependable worker in camp when you leave; returning to a settlement with nobody farming or cooking can start a miserable chain reaction.
When a follower becomes a Dissenter, act quickly. Put them in prison, re-educate them once per day, and stabilize the camp with a sermon or ritual. Ignoring dissent gives other followers a chance to join the rebellion. Murder is a last resort when you cannot contain the situation, because a corpse, a missing worker, and the Faith hit can be more damaging than the original complaint.
7. Pick Doctrines for your actual playstyle
Doctrine choices are permanent on a save, so choose the option that solves a problem you genuinely have. The best early choices are usually the ones that make food, Faith, or follower retention easier. A doctrine that looks powerful on paper can be weak if its trigger rarely appears in your settlement.
For a forgiving first run, Ritualistic Fight Pit gives you a controlled way to manage a troublesome follower, while Belief in Afterlife reduces the sting of death-related decisions. In the Possessions branch, material-focused choices help you reach early building milestones faster, though a more generous tithe option can be useful if you are constantly short on Coins. In the Law and Order branch, marriage offers a reliable loyalty source, while murder rituals create a stronger but more morally chaotic economy.
Remember that doctrines unlock rituals, not just passive bonuses. Read the entire description and consider cooldowns, resource costs, and the number of followers who benefit. You can review doctrine paths through the temple, but you cannot simply respec a choice later. The official Cult of the Lamb site is also worth checking after major updates, since balance patches can change how attractive a ritual feels.
8. Use quests, tarot cards, and rooms to shape each run
Quest rewards are often stronger than the first obvious resource pile. A follower requesting a specific meal or action may unlock loyalty, Coins, or a useful item with almost no combat risk. Check the quest log before leaving, then choose a crusade path that lets you complete several objectives at once.
Tarot cards are temporary run modifiers, so pick them according to your weapon. Attack-speed cards improve daggers and gauntlets more than hammers, while damage or health effects help slow weapons survive their vulnerable startup. A card that grants extra Hearts is rarely exciting, but it can be the correct choice when you are learning a new zone or approaching a Bishop.
Room icons tell you what kind of reward is waiting. Resource rooms are useful early, but follower, tarot, and weapon rooms can provide more long-term value once your camp has basic infrastructure. Don't rush straight toward the boss every time. A few extra rooms can produce a better weapon, more Fervour, and enough health to make the final encounter safer.
9. Beat Bishops by controlling the arena
Each Bishop is a test of movement more than raw damage. Leshy in Darkwood uses burrowing, leaps, and projectile patterns; Heket fills space with area attacks and summons; Kallamar pressures you with dense projectile spreads; and Shamura combines fast melee movement with arena-wide threats. Their attacks become easier when you stop standing in the middle and keep a clear escape lane.
During a boss phase, prioritize survival after every attack string. Hit once or twice, roll away, then watch the next telegraph. When the boss summons smaller enemies, remove the ones that block your movement rather than automatically focusing the boss. A room full of harmless-looking minions can become lethal when a Bishop's projectile pattern arrives.
| Boss | Major danger | Counter strategy | Useful preparation |
|---|---|---|---|
| Leshy | Burrows, jumps, and projectiles | Keep moving around the arena edge and punish after landing | Fast weapon or ranged curse |
| Heket | Area denial and summoned enemies | Clear blockers, then attack during recovery windows | Extra Hearts and crowd-control curse |
| Kallamar | Dense projectile spreads | Stay mobile, roll through gaps, and avoid greedy combos | Projectile curse and health buffer |
| Shamura | Fast melee pressure and arena hazards | Attack briefly, dodge early, and never get trapped at the edge | High-damage weapon with reliable recovery |
If you are consistently dying in one area, don't just repeat the same route. Upgrade sermons, improve follower-generated devotion, and return with a stronger weapon pool. Our beginner build guide covers a similar principle: permanent progression should fix the weakness your failed run exposed.
10. Spend resources with the next milestone in mind
Coins, wood, stone, food ingredients, and devotion all compete for your attention. Before buying a decorative item or expensive ritual, ask what your next bottleneck is. If the shrine is close to a Divine Inspiration point, collect devotion first. If followers are hungry, spend the day farming and cooking. If you are missing a building material, choose the crusade route that offers it instead of taking a random detour.
Keep a small emergency reserve of Coins and food. You never know when a quest, ritual, or recruitment opportunity will demand immediate spending. Sell excess fish and surplus materials only after your camp can function for a full day without your presence. Your first major goal is stability: enough beds, reliable meals, a way to heal sickness, and at least one follower who can keep the farm running while you crusade.
Finally, don't feel pressured to unlock every feature the moment it appears. Cult of the Lamb rewards a focused loop. Upgrade the systems that make your next run safer, then push the next Bishop. If performance issues interrupt that loop, try the practical steps in our settings guide for smoother input and our stutter troubleshooting guide. With a stable settlement, a disciplined dodge rhythm, and Doctrines chosen around your real problems, the Lamb stops feeling fragile surprisingly quickly.