
The M4A1 is the best all-round weapon in Central Intelligence, while the SCAR-H and M24 take the top spots for players who can manage recoil and sightlines. For equipment, armor plates, medkits, frag grenades, and flashbangs are the safest high-value choices. This tier list ranks the current weapons and tactical gear by damage, handling, ammunition economy, and how consistently each item performs in real matches—not just on a perfect firing range.
Central Intelligence rewards clean fundamentals more than flashy loadouts. The winning setup is usually the one that keeps you alive through the second engagement, lets you challenge a different range, and gives your squad a way to clear defended rooms. That makes raw damage only one part of the ranking. A gun with excellent paper damage can still fall behind if its reload is slow, its magazine is tiny, or its recoil forces you to expose yourself for too long.
This ranking assumes the standard weapon roster and normal multiplayer damage model, with body shots listed before armor mitigation. If you are still learning the movement and inventory systems, Steamoz's beginner build advice is useful for developing the same habits: conserve resources, understand your role, and don't spend every advantage on the first fight.
Central Intelligence weapon tier list
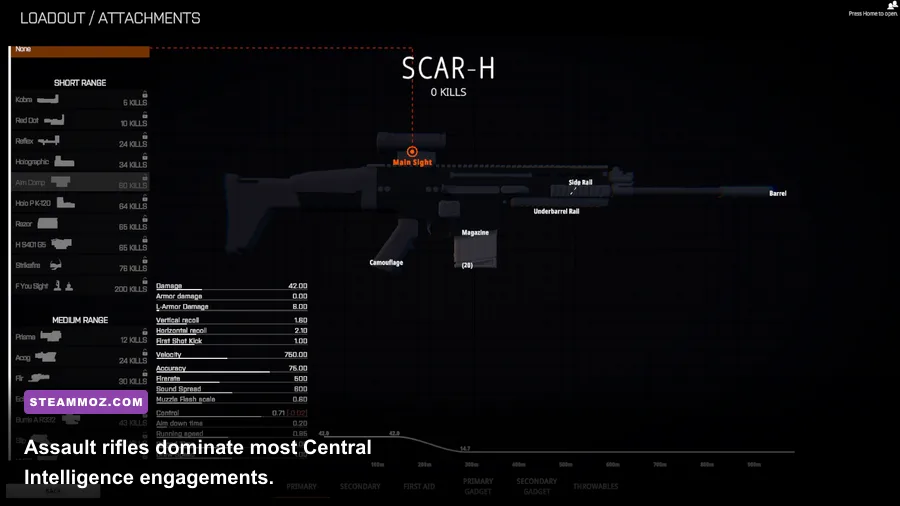
The table below ranks the core firearms from S-Tier to C-Tier. The numbers are practical damage values for the current standard configuration: head and torso damage before armor, approximate rate of fire, and magazine capacity. Damage drop-off still matters, so an AK-47 can outperform an M4A1 at medium range while losing the overall ranking because it is less forgiving during follow-up shots.
| Weapon | Tier | Damage | RPM / Magazine | Best Use |
|---|---|---|---|---|
| M4A1 | S-Tier | 34 torso / 52 head | 800 / 30 | Reliable all-range rifle |
| SCAR-H | S-Tier | 45 torso / 68 head | 550 / 20 | Medium-range stopping power |
| MP5 | A-Tier | 24 torso / 36 head | 900 / 30 | Close-quarters aggression |
| AK-47 | A-Tier | 40 torso / 60 head | 600 / 30 | Controlled medium-range bursts |
| M24 | A-Tier | 100 torso / 150 head | Bolt-action / 5 | Long sightlines and overwatch |
| M870 | B-Tier | 90 maximum / pellet spread | 70 / 8 | Room clearing |
| Glock 17 | B-Tier | 28 torso / 42 head | 400 / 17 | Emergency secondary |
| MP40 | C-Tier | 26 torso / 39 head | 600 / 32 | Early unlock and budget use |
S-Tier picks: M4A1 and SCAR-H
The M4A1 earns the number-one position because it has almost no bad matchup. Its 30-round magazine, 800 RPM fire rate, and manageable vertical climb let you win close fights without becoming helpless at distance. The rifle is especially strong when you fire six- to ten-round bursts rather than holding the trigger. At roughly 20 metres and beyond, that rhythm keeps the sight picture stable while still delivering enough damage to finish an exposed target.
The M4A1's biggest advantage is its recovery speed after a missed opening burst. You can strafe, stop, correct, and fire again without the weapon feeling like it is fighting your input. That matters in Central Intelligence because many engagements begin with a shoulder peek rather than a clean head-on duel. Pair it with armor plates and a flashbang if you play entry, or smoke and a medkit if you anchor a lane.
The SCAR-H is the better choice when your squad expects medium-range fights. Its 45-point torso damage can reduce the number of bullets required to secure a down, and its headshot multiplier is brutal against lightly protected targets. The trade-off is real: 20 rounds disappear quickly, the reload is longer than the M4A1's, and the first-shot kick can pull you off target. Tap-fire it at long range and reload behind cover after every confirmed elimination. Never assume a nearly empty magazine is enough for a second opponent.
A-Tier picks: MP5, AK-47, and M24
The MP5 is the specialist that feels like an S-Tier weapon inside buildings. Its 900 RPM rate of fire melts targets during a slide or corner swing, and the 30-round magazine gives you enough room to transfer between two enemies. Its damage drops sharply outside close range, though, so forcing MP5 fights across courtyards is a fast way to lose a match. Use it with a breaching charge, flashbang, and light armor. Your job is to create chaos, enter first, and finish wounded targets before they can reset.
The AK-47 has the highest practical damage among the automatic rifles, but it demands a calmer hand. The first three shots are excellent; the later recoil rises hard enough to punish panic spraying. Fire two- to four-round bursts, pull down gently, and avoid dueling the M4A1 user at point-blank range unless you already have the first hit. The AK shines when you hold a head-glitch or watch a predictable rotation.
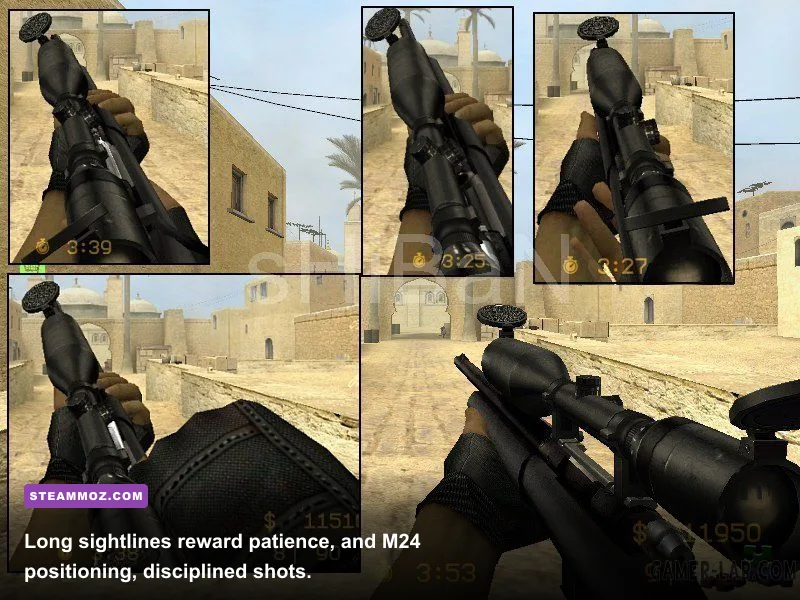
The M24 is an A-Tier weapon because a skilled player can control an entire lane with it. A clean torso hit is usually enough against an unarmored target, while a headshot removes almost any conventional threat. It falls behind the automatic rifles because missed shots reveal your position, the five-round magazine is unforgiving, and every close-range push becomes a pistol or melee problem. Run it with a Glock 17, smoke grenades, and a medkit. Smoke lets you reposition after a shot instead of staying planted and waiting for a counter-snipe.

🎮 Central Intelligence
Looking to experience this game? Grab your digital key directly on our store for $1.49.
View on Steammoz Store →Best equipment ranked for every role
Weapons win duels, but equipment determines whether those duels happen on your terms. The best items either create a timing window, repair a mistake, or deny a route. Do not fill every slot with damage tools. A squad carrying four frag grenades may look aggressive, but it has no answer when a long lane is locked down or a wounded player needs to recover.
| Equipment | Tier | Primary Value | Best Pairing | Main Weakness |
|---|---|---|---|---|
| Armor Plate | S-Tier | Improves survival in the opening exchange | M4A1, SCAR-H | Consumes a preparation slot |
| Medkit | S-Tier | Restores health after disengaging | M24, anchor builds | Leaves you vulnerable while used |
| Frag Grenade | S-Tier | Flushes enemies from cover | Any rifle | Requires accurate timing |
| Flashbang | A-Tier | Creates a reliable entry window | MP5, M870 | Can blind teammates |
| Smoke Grenade | A-Tier | Breaks sightlines and enables rotation | M24, SCAR-H | Does not stop a close push |
| Breaching Charge | A-Tier | Opens defended rooms and alternate routes | MP5, shotgun | Limited placement opportunities |
| Claymore | B-Tier | Protects a predictable flank | Sniper or objective holder | Weak against patient clearing |
Armor plates are the safest universal choice. They don't increase your damage, but surviving one extra rifle round changes the outcome of an opening duel. Apply them before entering a contested area, not after you have already been tagged. The short preparation animation is still dangerous, so use the back side of cover and ask a teammate to watch the approach.
Medkits rank just as highly because Central Intelligence often produces partial wins. You may eliminate one opponent, take 60 damage, and hear another enemy rotating toward you. A medkit turns that situation into a reset instead of a forced pistol fight. The mistake is using it in the same location where you were shot. Break line of sight, move at least one piece of cover away, and heal only after checking the minimap and audio cues.
Frag grenades are the best offensive equipment. Throw them behind cover rather than directly at a player. The goal is to remove the enemy's safe option: a desk, stair landing, doorway, or objective corner. Cook the grenade only when you have a strong read on the opponent's position; otherwise, a fast bounce throw is safer and keeps you ready to shoot. Flashbangs are slightly less versatile but better for committed entries. Throw them high into a room so the effect catches players behind low cover.
Smoke grenades are often underrated by solo players. They aren't just an escape button. Use one to cross an exposed objective, isolate the strongest enemy angle, or force a sniper to relocate. A smoke becomes much stronger when thrown between two pieces of cover rather than directly on top of your team. That creates a visual corridor instead of a cloud that hides both sides equally.
Best weapon and equipment loadouts
The strongest Central Intelligence loadout depends on the distance you want to control. The table below gives each setup a clear job, then the breakdown explains how to use it without wasting its advantages.
| Role | Primary | Secondary | Equipment | Combat Plan |
|---|---|---|---|---|
| Universal rifleman | M4A1 | Glock 17 | Armor Plate, Frag, Flashbang | Take first contact and pressure rotations |
| Heavy hitter | SCAR-H | Glock 17 | Armor Plate, Smoke, Frag | Hold medium lanes and punish peeks |
| Entry fragger | MP5 | Glock 17 | Flashbang, Breaching Charge, Medkit | Clear rooms before opponents can set up |
| Overwatch | M24 | Glock 17 | Smoke, Claymore, Medkit | Watch rotations and relocate after shots |
| Objective defender | AK-47 | Glock 17 | Armor Plate, Frag, Claymore | Anchor cover and punish repeated pushes |
The universal rifleman
Pick the M4A1 when you don't know what the map or team composition will demand. Open with the flashbang if your squad is ready to swing, then use the frag to dislodge anyone who retreats behind cover. Keep the Glock 17 for reload emergencies; switching is faster than reloading the rifle during a second target's push. This build is also the best recommendation for new players because every fight teaches useful rifle fundamentals.
The entry fragger
The MP5 loadout should never be played as a slow, isolated lurk. Move with a teammate, force a reaction with the flashbang, and enter while the enemy is turning away or checking the effect. The breaching charge is strongest when it creates a new angle rather than simply destroying the obvious door. Use it to avoid a predictable choke, then clear the room from the side. A medkit gives this build a second life after the initial entry, but don't heal in the objective room unless your team has already secured the entrances.
The overwatch setup
The M24 build is about information as much as kills. Take one shot, immediately consider your next escape route, and avoid peeking the same pixel twice. Place the claymore on the route most likely to be used by a flanker, not directly beside your body. Smoke is your emergency tool when an enemy rifle starts suppressing your position. If you enjoy methodical positioning, Steamoz's weapon-ranking breakdown covers the same principle: a weapon's value depends heavily on where and how it is deployed.
Why the top weapons win their tier
The tier list is not simply a damage chart. Central Intelligence uses a short time-to-kill window, which means accuracy, recoil recovery, and first-shot consistency are often more valuable than maximum theoretical damage. The M4A1 can lose a perfect damage comparison to the SCAR-H, but it gives you more usable bullets, a faster follow-up cadence, and fewer punishable reloads.
Armor changes the calculation. Against protected targets, the SCAR-H's heavy torso damage remains valuable, but the M4A1's higher rate of fire can catch up quickly when the first bullet lands. The AK-47 sits between them: strong enough to punish exposed players, but less stable when both fighters are strafing. If you struggle with recoil, don't force the AK because a spreadsheet says its damage is higher. The M4A1's consistency will produce more eliminations over a full match.
Range is the other hidden divider. The MP5's damage is impressive in a hallway and disappointing across an open courtyard. The M24 has the opposite profile. The M870 can delete a player with a clean close-range blast, but pellet spread makes it unreliable when the target is moving laterally or wearing protection. That's why the shotgun is B-Tier rather than a gimmick: it is excellent for one specific job, but poor when the fight moves outside its comfort zone.
For more performance-focused advice, Steamoz's FPS troubleshooting guide is worth checking if stutter is affecting your aim. Consistent frame pacing matters in a game where a single missed opening bullet can decide the entire exchange. You don't need maximum graphics quality to compete; you need stable input and clear visibility.
Progression priorities and mistakes to avoid
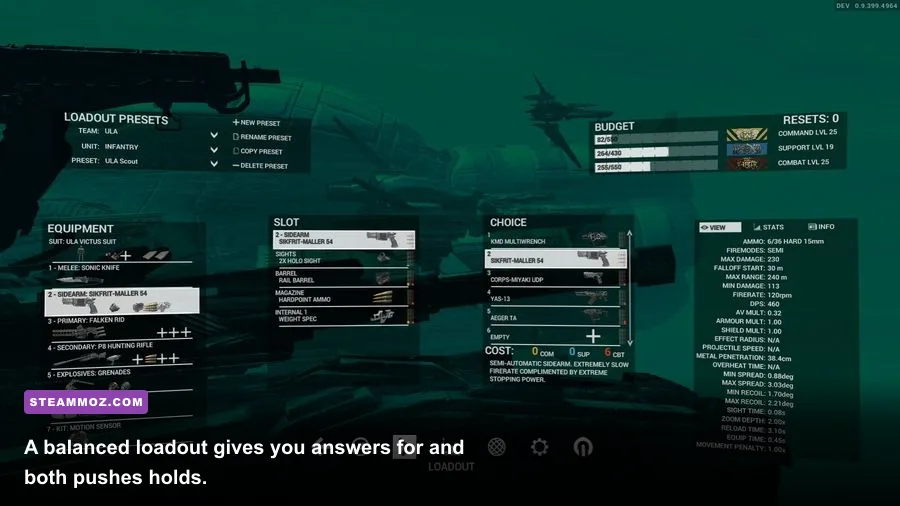
Spend early progression resources on the M4A1 path first unless your squad already has a dedicated rifle player. It offers the broadest return because it works on nearly every map section and doesn't demand a specialist playstyle. After that, unlock the MP5 for close-range rounds, then the SCAR-H or M24 depending on whether you prefer medium lanes or long overwatch positions.
Don't judge a weapon after one bad match. Test it over at least three fights at each intended range: point-blank, medium distance, and the longest sightline on the map. Track how often you lose because of damage, then separate that from losses caused by missed shots, bad positioning, or an empty magazine. Most players blame the gun when the real issue is firing the wrong weapon at the wrong distance.
- Don't carry two tools that solve the same problem. Frag plus flash is usually better than frag plus another damage grenade.
- Don't reload after every elimination. With the M4A1 or MP5, 15 rounds can be enough for a second fight if you keep cover nearby.
- Don't waste smoke on a lost duel. Throw it before crossing or rotating, when it can change the enemy's line of sight.
- Don't hold the same angle after firing the M24. The shot gives away your position even when it misses.
- Don't ignore the secondary. The Glock 17 is a genuine lifesaver when a close opponent forces you off your primary's reload.
Keep an eye on the official Central Intelligence listing for live updates, balance changes, and platform information. Weapon tuning can shift a tier without changing the basic principles: M4A1 for consistency, SCAR-H for impact, MP5 for room fights, M24 for disciplined overwatch, and tactical equipment chosen to create the engagement you want.
For most players, the final recommendation is simple: run M4A1, Glock 17, armor plate, frag grenade, and flashbang. Swap the flashbang for smoke when the map has long exposed crossings, or replace the rifle with MP5 when your team needs an entry player. That setup remains flexible, forgiving, and powerful enough to compete while you learn the maps. The best Central Intelligence gear isn't the loudest option in the armory—it is the loadout that still has an answer after the first plan falls apart.