
The best starting build in Creaks is a patient observation build: learn each creature's light behavior, map every switch before touching it, and treat movement speed as less important than timing. Creaks has no weapons, stats, skill tree, or equipment screen, so the winning beginner setup is a repeatable puzzle routine rather than a character loadout. Start slowly, identify the room's rules, then execute the shortest safe sequence.
That distinction matters if you're arriving from a conventional RPG or action game. Creaks, developed by Amanita Design, doesn't let you grind levels or brute-force a difficult encounter. Its underground mansion is a chain of handcrafted logic puzzles. The game tests whether you can read cause and effect, not whether you found an overpowered sword.
This guide uses “build” as shorthand for your starting habits, route priorities, and puzzle-solving toolkit. Follow it and the opening chapters become much less intimidating without stripping away the delightful moment when a complicated room suddenly clicks.
The Best Beginner Build for Creaks
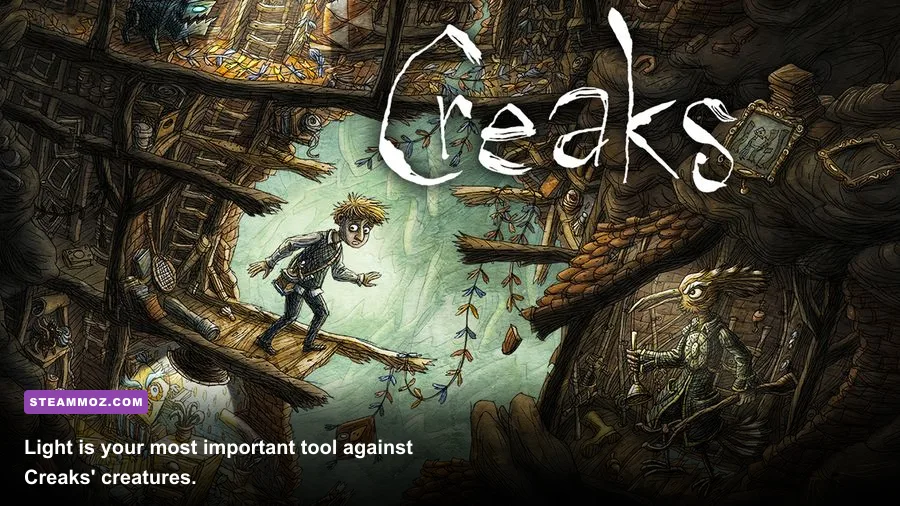
Your first priority is not speed. It's information. Before activating a lever, climbing a ladder, or crossing a room, spend a few seconds watching the environment. Look for lamps, floor switches, movable platforms, ladders, doors, and creatures that change state when exposed to light. Creaks rewards players who understand the room before making their first commitment.
The core “build” has four parts:
- Observation first: identify every interactive object and watch enemy patrol patterns.
- Light control: use lamps to change hostile creatures into harmless furniture-like forms when the room permits it.
- One-action planning: predict what your next switch pull changes before you touch it.
- Exit discipline: once the route is open, move decisively instead of experimenting mid-crossing.
The most common beginner mistake is treating each object as an isolated puzzle element. A lamp rarely exists just to remove one enemy. It may also block a platform, alter a patrol route, hold a door open, or create a safe standing position. The room is the puzzle, and the creature is only one piece of it.
| Build Element | Beginner Priority | Why It Works | Typical Mistake |
|---|---|---|---|
| Room scanning | S-Tier | Reveals dependencies before you commit | Pulling the first lever immediately |
| Light timing | S-Tier | Controls creature behavior and safe routes | Assuming every lamp should stay on |
| Platform planning | A-Tier | Prevents stranded jumps and blocked exits | Moving a platform before checking the return path |
| Collectible hunting | B-Tier | Adds atmosphere and rewards exploration | Breaking a successful solution to chase one too early |
| Fast movement | C-Tier | Useful only after the solution is understood | Trying to improvise while an enemy is active |
Think of this as the opposite of a damage build. You are investing in predictability. A solved room should feel almost rehearsed: switch, wait for the animation, cross, activate the lamp, reverse direction, and leave. If you can't describe that sequence in your head, you probably haven't finished reading the room.
For a useful contrast, our Alone in the Dark starting build guide deals with equipment and combat choices. Creaks has none of that baggage. Your strongest upgrade is simply learning to pause.

🎮 Crea
Looking to experience this game? Grab your digital key directly on our store for $14.99.
View on Steammoz Store →How Creaks' Light and Creatures Actually Work
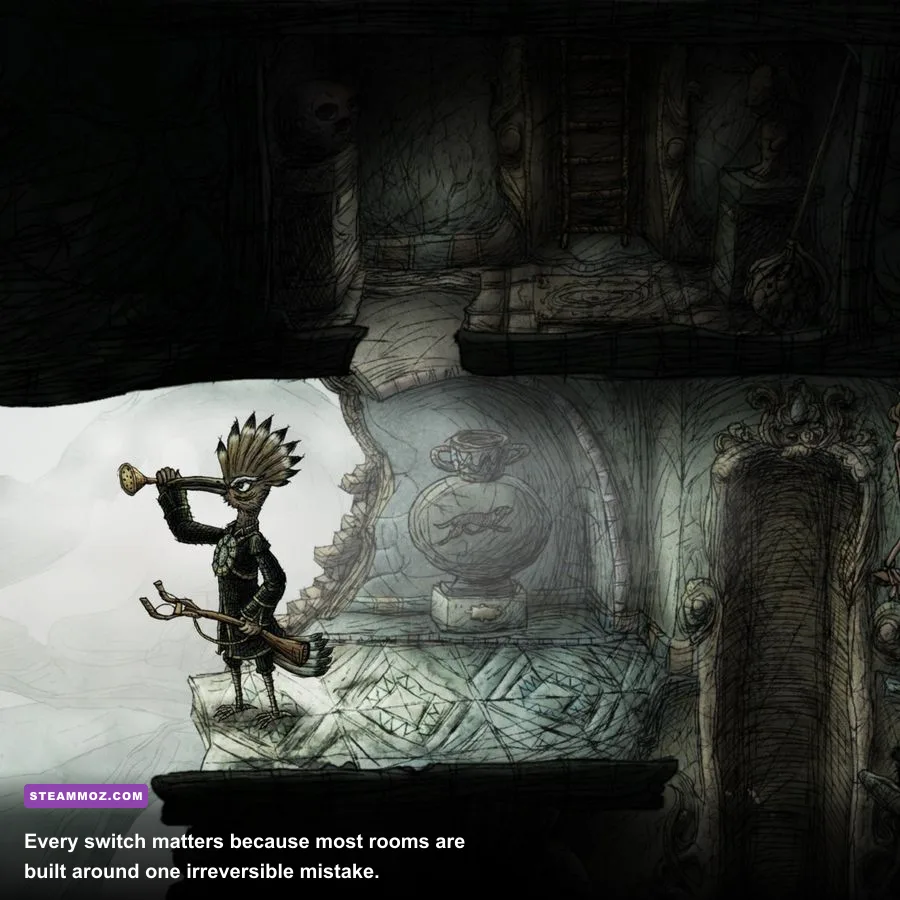
Light is the foundation of Creaks' puzzle language. The game's hostile creatures can often be transformed by a lamp, changing them from active threats into inert objects. That transformation is not just a safety trick; it changes what the room physically allows you to do. A creature that blocks a corridor may become a usable platform, while another can be positioned to hold down a switch or alter the timing of a crossing.
Don't assume that “lamp on” always equals “solution.” Some rooms demand a lamp be switched off at a precise moment. Other rooms require you to preserve an enemy's active state because its movement is what triggers a mechanism. Creaks wants you to understand the rule, then deliberately bend it to solve the layout.
Read the telegraph, not the panic
Creaks' enemies are threatening because they create pressure, but they generally communicate what they're about to do through movement and position. Watch whether a creature walks a fixed route, reacts to a light source, or remains tied to a specific area. If you sprint as soon as it moves, you'll often run directly into the problem the room is asking you to solve.
A better sequence is:
- Stand in a safe location and watch one complete enemy cycle.
- Identify which object changes that cycle: a lamp, switch, platform, or door.
- Test the change only when you know where your escape route is.
- Wait for the creature's animation to finish before moving.
- Cross the room using the new state, rather than reacting to the creature halfway through.
Animation timing is especially important around narrow platforms. A lamp's visual change can make the room appear solved before the creature has fully settled into its new state. Give it a beat. That tiny pause prevents many unnecessary resets.
| Room Element | What to Observe | Safe Beginner Response | Advanced Use |
|---|---|---|---|
| Lamp | Which creatures change state when illuminated | Activate it from a safe side | Use the transformed creature as part of the route |
| Floor switch | Door, lamp, or platform connected to it | Trace the result before stepping on it | Plan a timed return before leaving the switch |
| Moving platform | Start and end positions | Check where it leaves you stranded | Combine it with enemy-state changes |
| Door | Whether it stays open or resets | Confirm the path beyond before committing | Use repeated cycles to create a crossing window |
| Enemy patrol | Route, speed, and light reaction | Wait for a full predictable cycle | Manipulate its position to affect another mechanism |
The best mental model is a circuit board. The lamp sends one signal, the switch sends another, and the creature's state changes the available geometry. If the exit remains closed, don't randomly touch every object. Ask which signal has not yet been connected to the door.
This kind of methodical thinking also helps if you play other deliberately strange puzzle games. Steamoz's guide to games like Inkulinati covers a very different system, but the same lesson applies: understand the rules before chasing flashy solutions.
Opening-Chapter Route and Puzzle Routine
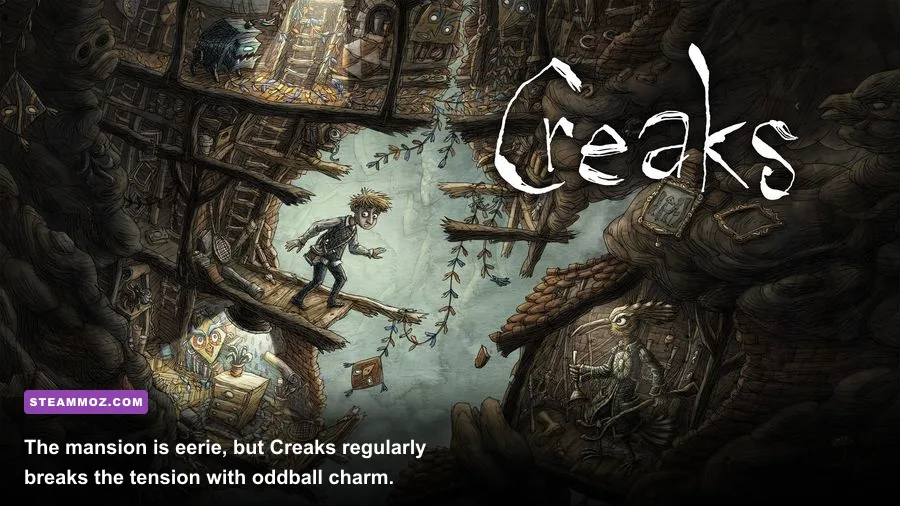
The opening section introduces Creaks in layers. Early rooms teach movement and interaction, then gradually combine lamps, ladders, doors, platforms, and creatures. Don't rush through the tutorial logic. The first safe rooms are where you should build the habits that carry through the mansion.
Step 1: Sweep the room from left to right
When entering a new room, scan from one edge to the other. Note the exit, then work backward: what blocks it, what controls that blocker, and what controls the controlling object? This reverse reading is faster than trying every switch in the order you notice it.
Step 2: Mark permanent and temporary changes
Some interactions create a stable new state. Others only work while you stand on a switch or while a creature remains in a particular position. Separate those mentally. Permanent changes should usually happen first; temporary changes are best saved for the final crossing.
Step 3: Establish a reset point
Before experimenting, identify the nearest safe floor, ladder, or doorway. If a test fails, return there and try one variable at a time. Creaks is generous compared with a traditional survival-horror game, but panic still makes simple rooms look impossible.
Step 4: Solve the route before collecting secrets
Optional artwork and hidden spaces are worth finding, but they shouldn't dictate your first attempt at a room. Open the main route, understand how the room resets, and then inspect side passages. If you chase a collectible while the room's mechanisms are still active, you can accidentally undo the clean solution.
Step 5: Execute without improvising
Once you know the sequence, stop testing. Move through it with purpose. If a platform must be crossed during a creature's inactive state, don't stop halfway to admire the scenery. Creaks' hand-drawn art is gorgeous, but the safest time to look around is after the room is stable.
| Phase | Action | Question to Answer | Failure Recovery |
|---|---|---|---|
| Scan | Observe the whole room | Where is the exit and what blocks it? | Stay still; gather more information |
| Trace | Follow switches to mechanisms | Which object changes the route? | Test one interaction only |
| Stabilize | Create the safest room state | Which enemy or platform must move first? | Return to the reset point |
| Execute | Cross using the planned sequence | What timing window matters? | Wait for the next cycle instead of forcing it |
| Explore | Search side paths and artwork | Can the main solution be restored? | Reload or retrace the known route |
One subtle improvement is to narrate the room in plain language: “The lamp freezes the creature; the frozen creature blocks the platform; the platform reaches the switch; the switch opens the exit.” If you can say the chain clearly, you can usually solve the room. If your explanation contains “maybe,” you need another observation pass.
For players who enjoy environmental storytelling alongside their puzzles, Creaks sits closer to the handcrafted weirdness of exploration-heavy indie adventures than to a conventional action title. Let the setting breathe, but keep your mechanical notes sharp.
Best Progression Priorities and Common Beginner Traps
Creaks doesn't have a conventional progression curve. There are no character levels, perk points, weapons, armor pieces, or upgrade materials. Progression means the game introduces one rule, tests it, and then combines it with an earlier rule. Your personal checklist should therefore focus on mastery rather than inventory.
The best order is to master safe movement, then light-state changes, then switch dependencies, and finally multi-stage timing. That order mirrors the game's learning curve and keeps you from overcomplicating rooms that are still teaching a basic interaction.
| Priority | What to Learn | Why It Comes First | Practical Test |
|---|---|---|---|
| 1 | Movement and interaction range | Prevents accidental switches and unsafe jumps | Move around a room without activating anything |
| 2 | Light-based creature states | Defines safe and dangerous spaces | Watch a full transformation before crossing |
| 3 | Switch dependencies | Explains the room's cause-and-effect chain | Predict the result before stepping on a switch |
| 4 | Timing windows | Combines mechanics under pressure | Wait for a full patrol cycle and cross cleanly |
| 5 | Secret-route recovery | Lets you explore without losing progress | Find a safe return path before detouring |
Trap: activating everything immediately
The first lever you see is not necessarily the first lever you should pull. Activating it may move a platform away from the only safe side or wake an enemy before you know the route. Observe first, interact second.
Trap: assuming enemies are purely obstacles
In many rooms, a creature is part of the solution. Its transformed position can create a step, hold a route, or change how another object behaves. Ask what the creature can become, not only how to avoid it.
Trap: treating a failed attempt as a total loss
A failed crossing still gives you information. Did the platform arrive too late? Did the lamp affect the wrong creature? Did the door close when you left the switch? Change one variable and test again. Randomly changing three things destroys your understanding of the room.
Trap: chasing every secret on the first pass
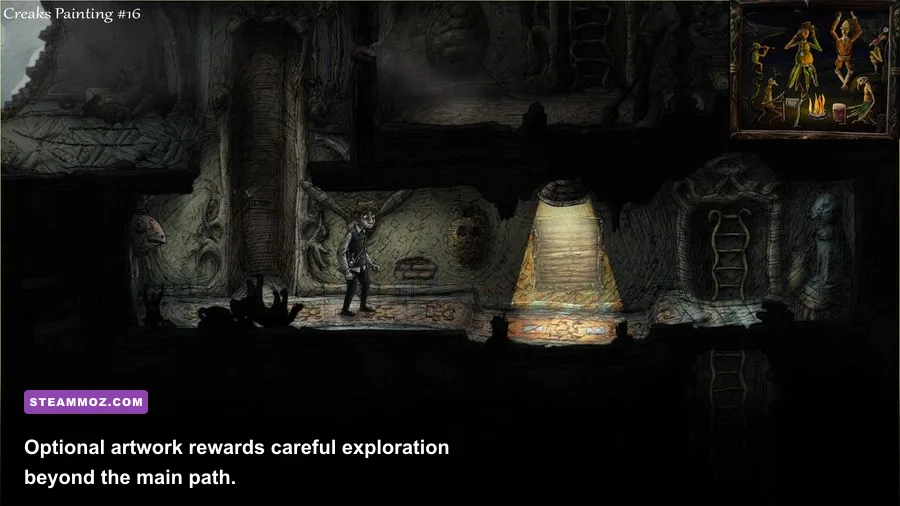
Optional artwork is part of Creaks' charm, but completionist instincts can sabotage a clean first solution. Secure the main route, then return for extras when you know which objects reset and which remain changed.
Creaks is also a good reminder that not every “best starting build” question needs a damage chart. Our Bloodgrounds beginner build guide is about stats and combat synergy; here, your synergy is between attention, timing, and environmental logic.
Performance Settings That Keep Puzzle Timing Clear
Creaks is not a demanding game by modern PC standards, and its slower puzzle design means you don't need competitive-shooter latency. Still, stable frame pacing helps when you're crossing moving platforms or reacting to a creature's animation. The Steam store page lists the official platform and system information, while Amanita Design's official site provides the developer's broader game catalogue.
Use the native resolution of your display first. If performance dips, lower resolution or effects before sacrificing readability. The game's dark mansion relies on contrast, so an excessively low brightness setting can hide visual cues and make a harmless object look threatening.
| Setting or Profile | Recommended Value | Expected Impact | Visual Note |
|---|---|---|---|
| Resolution | Native display resolution | Highest performance cost | Keeps hand-drawn details crisp |
| Fullscreen mode | Fullscreen or borderless | Usually minimal | Use fullscreen if frametimes feel uneven |
| V-sync | On if tearing appears | May add slight latency | Helpful for smooth platform motion |
| Effects and shadows | High on modern hardware | Low to moderate | Preserves the mansion's atmosphere |
| Brightness | Default, then adjust slightly | No FPS impact | Don't wash out lamp and shadow contrast |
| Background applications | Close overlays and recorders if stuttering | System-dependent | Useful on older laptops |
If you're troubleshooting broader PC performance, Steamoz's Deponia Doomsday settings guide has similar advice for keeping point-and-click movement responsive. And if Creaks is sharing a low-power machine with heavier games, compare the optimization approach in our Deep Rock Galactic crashing and low-FPS guide.
Don't over-tune the game before checking whether the issue is actually a puzzle timing mistake. Creaks' animations are deliberately readable, and a stable 30 frames per second is enough to solve every room. A locked 60 FPS is pleasant, not a requirement.
Final Starting Build Checklist
The strongest beginner setup for Creaks is simple: observe the room, understand the light, trace every dependency, and execute only after the solution is clear. You don't need a walkthrough for every chamber if you turn each failure into a specific piece of information.
- Scan the entire room before touching a switch.
- Watch each creature's patrol and transformation cycle.
- Separate permanent changes from temporary timing windows.
- Find a safe reset position before experimenting.
- Use creatures as puzzle components, not just hazards.
- Complete the main route before chasing optional artwork.
- Keep brightness and contrast readable on your display.
- When stuck, change one variable instead of restarting blindly.
That is the real Creaks best starting build guide for beginners: patience, visual memory, and a willingness to let the room reveal its rules. Once those habits settle in, the mansion stops feeling like a maze and starts feeling like a machine you can operate. Creaks is at its best when you earn that understanding yourself, one satisfying click at a time.