
The best Bloodgrounds starting build for beginners is a durable three-role squad: one front-line bruiser, one ranged damage dealer, and one support or control specialist. Prioritize survivability and action economy first, keep your damage dealer protected behind the tank, and save burst abilities for turns when an enemy is already exposed. This setup is forgiving, works across early arena encounters, and teaches the positioning habits Bloodgrounds expects from you.
Bloodgrounds looks approachable because its battles are turn-based, but the game is far less forgiving than a standard party RPG. A wasted movement point can leave a back-liner exposed. A badly timed ultimate can let an elite survive with one hit point and take a second turn. The winning beginner mindset is simple: build a team that can recover from one mistake, then make every turn increase your advantage.

The beginner squad you should build first
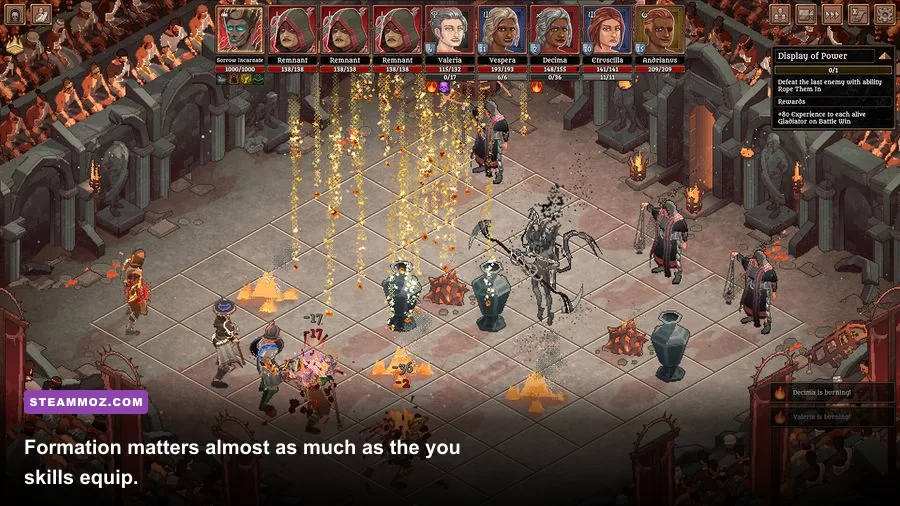
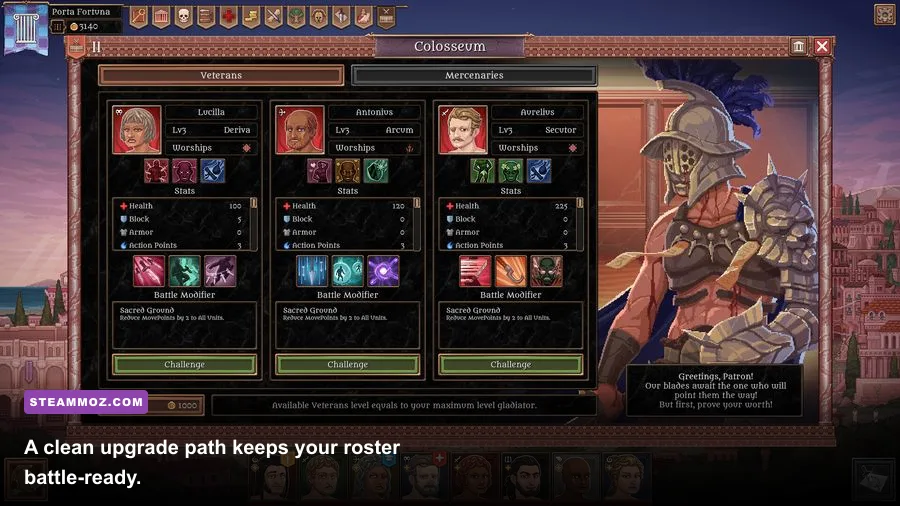
Your opening roster should have clear jobs rather than three characters competing for the same role. The front liner occupies dangerous tiles and absorbs attention. The damage dealer converts safe turns into kills. The support character either restores health, applies control, or improves the team’s ability to act. That division gives you answers to the three problems that end most early runs: incoming damage, tough targets, and bad positioning.
Choose the character with the highest defensive profile as your anchor, even if another recruit appears to deal more damage on the training screen. Early Bloodgrounds battles are decided by how long your team remains functional. A bruiser who survives two extra turns creates more total damage than a glass cannon who gets surrounded immediately.
| Party slot | Priority | Recommended job | Beginner mistake to avoid |
|---|---|---|---|
| Front line | Health, armor, damage reduction | Hold chokepoints and draw attacks | Chasing a low-health enemy too far |
| Back line | Reliable single-target damage | Finish weakened targets | Starting fights from maximum range without cover |
| Support | Healing, shielding, control, or buffs | Extend the team’s effective health | Using utility skills only after an ally is already down |
There’s a useful rule for recruitment: if a new gladiator does not solve a problem your current party has, don’t immediately replace someone. Test the recruit in a low-risk encounter first. Bloodgrounds rewards a compact, upgraded core more than a wide roster of underdeveloped specialists.

🎮 Bloodgrounds
Looking to experience this game? Grab your digital key directly on our store for $9.99.
View on Steammoz Store →Stat priorities and the early upgrade path
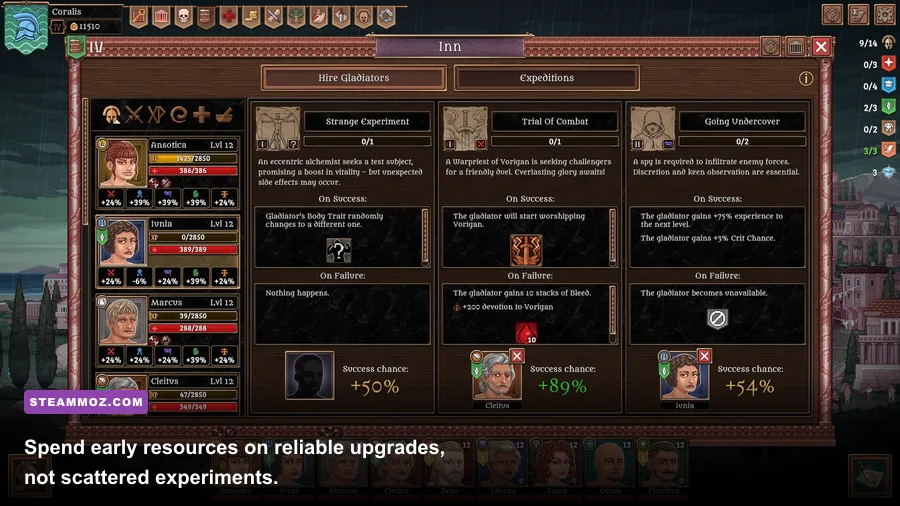
For the front liner, defensive stats come before raw attack. Take maximum health or armor when the choice is close, then choose mitigation, resistance, or defensive scaling. Your goal is not to become invincible; it’s to survive long enough for the support unit to act and for the damage dealer to remove a threat.
The ranged attacker wants accuracy or consistency before a small critical-hit increase. A missed attack is especially painful in Bloodgrounds because it wastes the action you spent creating the firing angle. Once the character can reliably connect, stack offensive scaling and critical effects. Don’t invest heavily in movement until you understand the map layouts. Extra mobility is excellent, but it cannot compensate for poor target selection.
Support characters should usually prioritize whatever improves the frequency or reliability of their key ability. If the unit’s main contribution is healing, improve resource generation and healing output. If the unit is built around stun, slow, silence, or another control effect, prioritize cooldown access and effect reliability. A support unit that performs one job consistently is more valuable than a hybrid that performs three jobs weakly.
| Upgrade stage | Front liner | Damage dealer | Support or controller |
|---|---|---|---|
| First upgrades | Health and mitigation | Accuracy and base damage | Cooldown or resource reliability |
| Middle upgrades | Threat generation and resistance | Critical chance and armor penetration | Control duration or healing strength |
| Later upgrades | Counterattack or damage conversion | Execution and burst scaling | Area utility and emergency recovery |
Don’t spread resources evenly across every available character. Bloodgrounds’ early progression curve favors a reliable core. Upgrade the three gladiators you actually deploy, keep one reserve for specific encounters, and postpone expensive luxury upgrades until your main team has dependable equipment.
Skills that make the opening battles easier
The best beginner skill loadout is built around guaranteed value. Your front liner needs one skill that reduces incoming pressure and one skill that controls space. A guard, taunt, block, or damage-reduction effect is useful even when no enemy is attacking that moment because it shapes where the opposition can safely move. Pair it with a shove, stun, slow, or area threat that prevents enemies from freely reaching your back line.
Your damage dealer should carry one repeatable attack and one finishing tool. The repeatable attack is what you use on ordinary turns; the finisher is reserved for an enemy who has already lost health or defenses. Opening every battle with the strongest attack often leaves you unable to answer the second wave. Bloodgrounds is a game of tempo, not a race to spend every resource on turn one.
The support slot should carry an emergency button as well as a normal rotation skill. A heal or shield used at the correct moment can erase an enemy’s entire turn of progress. Control is equally strong when it prevents a dangerous target from acting. If the support unit can apply a buff before your ranged attacker’s burst, use that sequence rather than firing immediately.
A simple combat rotation
On turn one, place the front liner between the enemy and your vulnerable units. Avoid charging unless the move also denies access to your back line. Use the support unit to establish a shield, buff, or control effect, then make the ranged character attack the enemy with the clearest route to your team.
On turn two, inspect the initiative order before choosing an action. Focus the enemy that will act next, not necessarily the enemy with the lowest health. Removing an imminent attacker prevents more damage than finishing a harmless target. If the front liner is surrounded, use area control or retreat one tile rather than letting the enemy create a chain of attacks.
Save your largest cooldown for one of three moments: an elite is about to act, two or more enemies can be hit together, or your team can guarantee a kill this turn. That last point matters. A dead enemy deals zero damage, so a modest attack that secures a kill can outperform a bigger hit that leaves the target active.
Positioning, cover, and the action economy
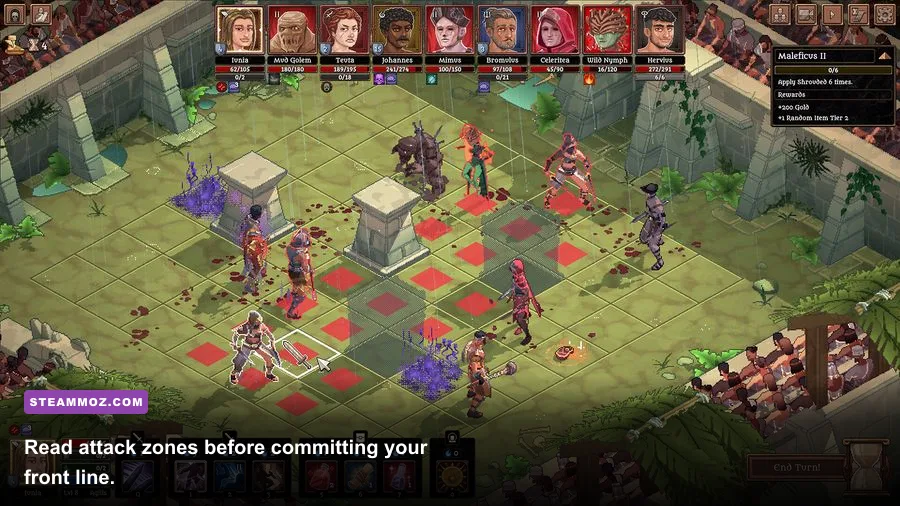
Bloodgrounds rewards players who treat movement as a defensive resource. Don’t spend every available movement point just because you can. Keep your ranged character close enough to contribute but far enough away that a single enemy dash or leap cannot reach them. Your front liner should occupy the narrowest approach whenever possible, forcing enemies to spend movement before they can attack.
Think in threat zones. If an enemy has a wide melee reach, one tile can determine whether your support character is safe. If a ranged enemy has a visible firing lane, step behind an obstacle or break line of sight rather than accepting a trade. You’re not losing a turn by repositioning when the alternative is taking damage and then spending a later turn recovering.
Never split the squad during the opening encounters unless the objective explicitly demands it. Focused teams concentrate buffs, healing, and control. A separated damage dealer may reach a flank, but the moment that character is attacked, your support unit spends multiple actions trying to repair the mistake.
| Situation | Best response | Why it works |
|---|---|---|
| Enemy melee unit approaches | Hold a chokepoint with the bruiser | Limits the number of enemies attacking at once |
| Ranged enemy gains line of sight | Break sight or apply control | Prevents free damage while you handle the front line |
| Elite is next in initiative | Focus, stun, or shield before its turn | Stops the most dangerous action on the board |
| One ally is low but not threatened | Keep attacking and heal later | Maintains tempo instead of wasting recovery too early |
How to handle elites and early bosses
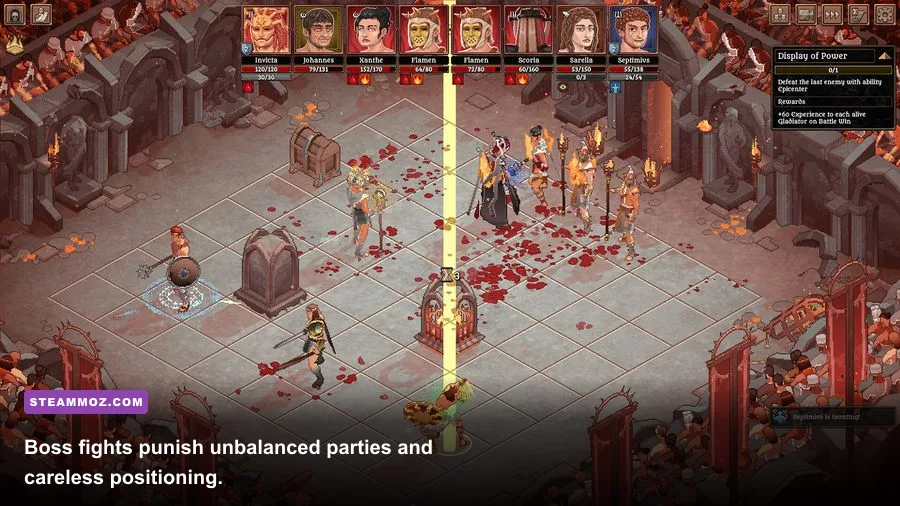
Elite encounters are where a weak starting build reveals itself. Don’t attack an elite simply because it is visible. First identify its attack pattern, movement range, and the turn on which its strongest ability becomes available. Keep the front liner outside the worst area effect when possible, and avoid stacking all three gladiators on one tile or adjacent cluster if the enemy can punish grouped targets.
The safest boss strategy is controlled focus fire. Clear a small enemy that can flank your support, then turn every available attack toward the boss. Leaveing several minor enemies alive is acceptable if they are blocked, slowed, or unable to reach your back line. Conversely, a weak enemy standing beside your healer is a priority even when the boss has more impressive health numbers.
Use defensive cooldowns before the boss attack, not after it. Shields, guards, and resistance buffs are strongest when they prevent a large hit from reducing your team below its recovery threshold. Healing after a devastating attack can still work, but it often forces the support character to spend the next turn recovering instead of controlling the battlefield.
Equipment mistakes that quietly ruin a run
Early gear should reinforce roles. Give defensive equipment to the character who expects to be targeted, offensive equipment to the unit with the safest attack angles, and resource or cooldown equipment to the support. A small bonus applied every turn usually beats a spectacular effect that activates only under awkward conditions.
Watch for equipment that changes your playstyle. A defensive item with a retaliation effect is valuable on a bruiser who will be attacked repeatedly, but it’s wasted on a back-line unit. A critical-focused item belongs on a character who already attacks reliably; stacking critical chance on a unit that frequently misses or loses turns produces disappointing results.
Sell or dismantle obsolete gear when the game makes that option available, but keep one spare defensive set and one spare ranged setup. Those backups let you adapt to a battle with unusual terrain without dismantling your main build.
Graphics and performance settings for smoother turns
Bloodgrounds is turn-based, but stable performance still matters. A hitch while selecting a tile or reading an attack preview can cause an avoidable misclick. Start with the game’s recommended preset, then reduce shadows and post-processing before lowering texture quality. Texture changes usually have a smaller impact on tactical readability than lighting and effects.
| Setting | Beginner recommendation | Performance impact | Visual trade-off |
|---|---|---|---|
| Resolution | Native monitor resolution | High | Keep native unless frame rate is unstable |
| Shadows | Medium | Medium to high | Less depth, but arenas remain readable |
| Effects quality | Medium | Medium | Reduced spell and hit effects |
| Post-processing | Low or medium | Low to medium | Cleaner image with fewer filters |
| Frame limit | Monitor refresh rate | Stability benefit | Reduces unnecessary GPU load |
If you’re troubleshooting, check the official Bloodgrounds Steam page for current requirements and patch notes before changing hardware settings. The Steam Community discussions can also reveal whether a performance problem is widespread after an update. For broader PC troubleshooting, Steamoz’s guides to crashes and low FPS and stuttering fixes cover the usual driver and overlay checks.
When to change the starter build
Keep the starter composition until it fails for a specific reason. If the front liner survives but your damage dealer cannot finish targets, improve offensive scaling or replace a utility skill with a reliable attack. If the team kills quickly but collapses against area damage, add resistance, spacing, or a second defensive tool. Don’t rebuild because one battle felt slow; rebuild when the same failure appears repeatedly.
Once you understand the initiative order and arena geometry, experiment with a second damage dealer or a more aggressive controller. That version clears faster but gives you less room for mistakes. The balanced build remains the better choice for learning new encounters, especially when you’re still discovering enemy ranges and special attacks.
For players coming from other tactical games, Steamoz’s guides to tactical oddities like Inkulinati and beginner-friendly starting builds are useful comparisons, but Bloodgrounds has its own rhythm. You win by protecting action economy, not by pressing the largest button available.
The cleanest beginner plan from the first battle
Recruit one durable front liner, one consistent ranged attacker, and one support or control unit. Upgrade those three before expanding the roster. Build the front liner for health and mitigation, the damage dealer for accuracy followed by damage, and the support around cooldowns or reliable utility. Use movement to deny enemy access, focus the next dangerous target in the initiative order, and treat burst skills as kill-confirmation tools.
That plan won’t produce the most extravagant damage screenshots, but it will teach you the fundamentals that carry into every later Bloodgrounds encounter: role separation, controlled positioning, target priority, and disciplined resource use. Once those habits click, you can swap in stranger combinations without turning every arena into a restart screen. For the first campaign push, though, this is the build that gives new gladiators the best chance to survive the blood.
Keep an eye on the official Bloodgrounds update feed because Early Access balance changes can alter individual abilities and equipment values. The principles above are more durable than any single patch: protect your back line, make every action serve a clear purpose, and never confuse early damage with a winning position.