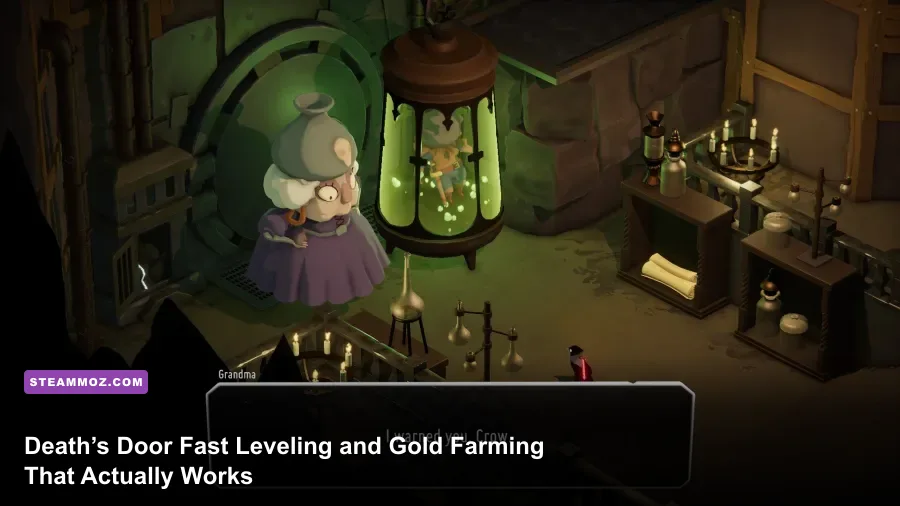
Death’s Door has no character levels, XP bar, or traditional gold. The fastest way to become stronger is to collect every Soul Fruit and Life Seed you can reach, find the four Vitality and four Magic Shrines, then spend Souls on the Reaper’s abilities at the Stranded Sailor. For money-like collectibles, target Shiny Things instead of farming enemies: they are fixed pickups, not repeatable drops, and the game’s best progression comes from exploration rather than grinding.
That distinction matters because plenty of supposed Death’s Door leveling guides describe systems the game simply doesn’t have. You can’t circle a room, kill respawning enemies, and bank enough gold for a new stat tier. Normal enemies provide combat practice and Souls used for ability upgrades, but there’s no infinite gold loop. If you want a stronger Reaper quickly, route the map intelligently, buy the right upgrades first, and stop wasting time on enemies that give you nothing after the encounter.
This guide covers the fastest legitimate progression route, the best early weapon choices, every useful upgrade priority, and the collectible habits that turn a first playthrough into a much smoother run. It also explains what changes after the three Great Souls and why the post-game cleanup is where Death’s Door’s most valuable rewards are hiding.
There Is No Leveling or Gold Farming in Death’s Door
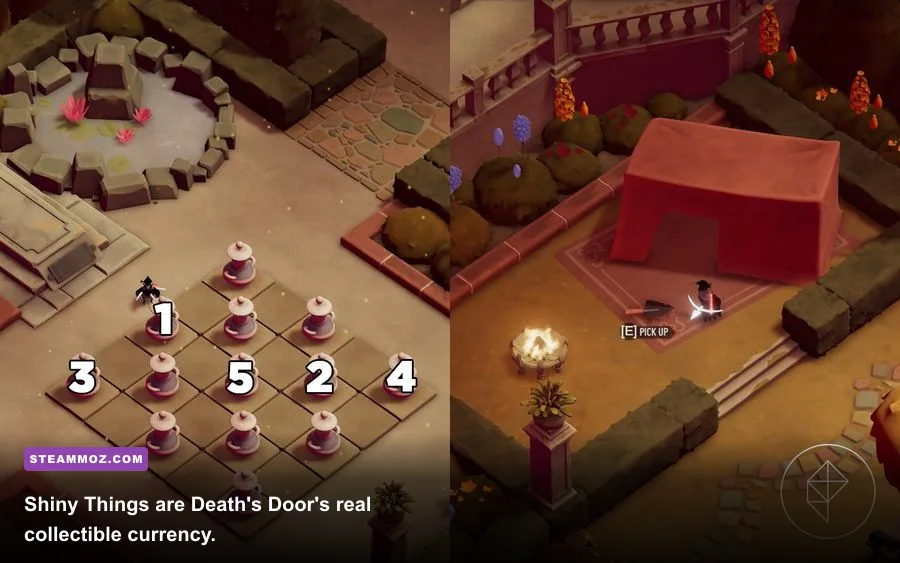
Death’s Door uses a compact upgrade economy built around three resources. Soul energy comes from defeated enemies and is spent at the Stranded Sailor. Life Seeds restore health when planted in green pots and become especially important during difficult boss routes. Shiny Things are collectible curiosities hidden throughout the world. They are not spendable gold, but they are the closest thing the game has to a treasure system.
The Reaper begins with a basic sword, a dodge roll, and a limited magic capacity. Progression comes from four upgrade branches: Haste improves movement speed, Damage strengthens melee attacks, Dexterity improves attack speed, and Magic increases spell capacity. The wording can vary slightly by platform or menu presentation, but the practical roles stay the same: damage makes every opening count, Dexterity improves pressure, Haste makes traversal and evasive play cleaner, and Magic gives you more ranged answers.
Each branch can be upgraded twice, for eight permanent ability improvements in total. That means there is no reason to “save” Souls for a massive late-game purchase. Buy useful upgrades whenever you return to the Stranded Sailor. Enemy encounters are balanced around gradually improving your kit, and hoarding Souls only makes early boss attempts harder.
| Resource | How You Get It | What It Does | Best Farming Advice |
|---|---|---|---|
| Souls | Defeating enemies and collecting soul masses | Buys ability upgrades at the Stranded Sailor | Clear required rooms naturally; don’t grind respawns |
| Life Seeds | Found in pots and optional rooms | Restores health at planted flower pots | Explore side paths before boss doors |
| Shiny Things | Fixed pickups, puzzles, and hidden routes | Collection progress and endgame rewards | Use the camera and revisit opened shortcuts |
| Shrine Gems | Hidden shrine containers | Raises Vitality or Magic capacity | Prioritize shrine detours over enemy grinding |
For a useful technical baseline, the PC version is light enough that stable frame pacing matters more than chasing ultra settings. The official Death’s Door Steam page lists a modest hardware requirement. On a modern PC, use a stable 60 fps cap if your display supports it. The combat is animation-readable, and inconsistent frame delivery can make dodge timing feel worse than the actual difficulty.

🎮 Death's Door
Looking to experience this game? Grab your digital key directly on our store for $3.99.
View on Steammoz Store →Fastest Early-Game Progression Route
Your first objective should be momentum, not completionism. Follow the main path through the Reaping Commission Headquarters and Cemetery, then push into the first Great Soul area. Pick up every obvious Soul mass, open shortcuts, and investigate rooms with suspicious dead ends. Death’s Door rarely hides collectibles behind random chance; visual oddities, unlit braziers, breakable-looking walls, and isolated ladders usually signal a secret.
Step 1: Buy an upgrade after your first meaningful return
Don’t wait until you have a perfect build. The first upgrade that improves your preferred combat rhythm is worth more than a full pocket of unused Souls. If you dodge aggressively and punish with short melee strings, Damage is the cleanest first purchase. If you keep missing attack windows, Dexterity makes the sword feel less committed. Magic is a strong choice for players who rely on charged shots and spell finishers.
Step 2: Grab the early Life Seeds
Life Seeds are effectively extra healing checkpoints. Plant them in the green flower pots you encounter, especially before long stretches involving ladder climbs, moving platforms, or multiple arena fights. You don’t need to consume every seed immediately; the key is converting the portable collectible into a permanent recovery point before a boss attempt.
Step 3: Take side rooms before leaving an area
The Lost Cemetery, Estate of the Urn Witch, Ceramic Manor, and Overgrown Ruins all contain routes that become easier after you unlock doors, ladders, or shortcuts. Sweep the accessible side rooms before moving on, but don’t obsess over a blocked ledge that clearly requires a later ability. Your fastest first clear is a layered route: collect what is reachable now, advance the story, then return when the world opens up.
Step 4: Fight for Souls, never for imaginary gold
Enemies are worth defeating when they guard a door, interrupt traversal, or form part of a required arena. They are not worth farming in an already-cleared hallway. Once an area reloads, most enemies return, but that does not turn them into a profitable gold source. The game’s economy is deliberately paced around exploration and boss progression.
That same “move with purpose” approach works in other demanding indie games too. Our Cult of the Lamb tips and Creaks beginner guide both make a similar point: optional routes are valuable when they improve future attempts, not when they merely inflate a checklist.
| Progress Point | Priority | Why It Saves Time | What to Skip |
|---|---|---|---|
| Lost Cemetery | Open shortcuts and collect nearby Soul masses | Creates reliable returns to headquarters | Locked routes requiring later tools |
| Estate of the Urn Witch | Plant visible Life Seeds before exploring deeper | Gives healing access near repeated encounters | Grinding garden enemies |
| Ceramic Manor | Learn the lantern and hallway ambush patterns | Prevents repeated damage during traversal | Forcing hidden rooms before their clue appears |
| Overgrown Ruins | Collect magic pickups and unlock shortcuts | Improves ranged options for crowded rooms | Backtracking for one unreachable item |
Best Weapons and Ability Upgrade Order
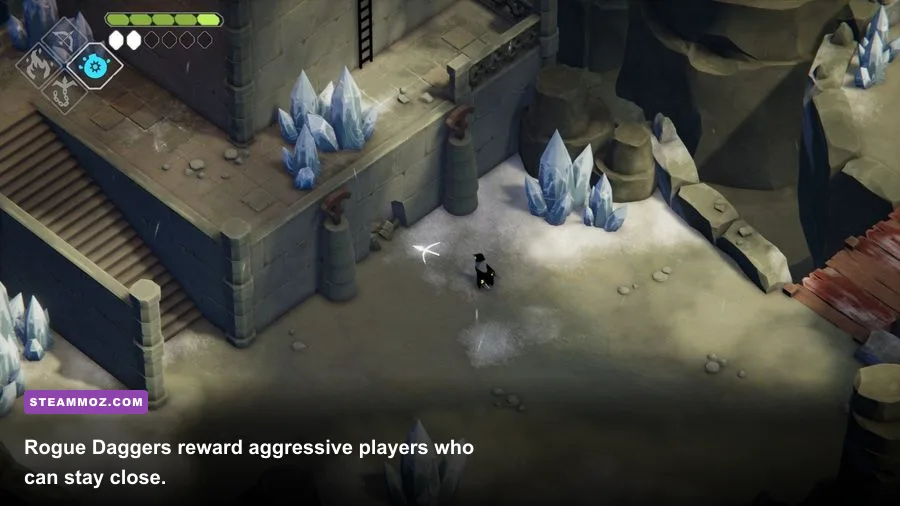
The starting Reaper’s Sword is not a trap. It has dependable reach, consistent recovery, and a forgiving rhythm that makes it the best all-purpose weapon while learning boss telegraphs. The Rogue Daggers attack much faster but have shorter reach and lower impact per hit. They shine against exposed bosses and small targets that can’t punish close pressure.
The Reaper’s Greatsword hits harder and covers more space, but its slower swings demand better positioning. The Thunder Hammer offers a similarly heavy commitment with a strong visual impact and excellent crowd control feel. Weapon choice doesn’t create a separate XP curve, so switching early won’t permanently damage your build. Choose based on the encounter rather than chasing a fake “best farming weapon.”
| Weapon | Strength | Weakness | Best Use |
|---|---|---|---|
| Reaper’s Sword | Balanced reach and recovery | Doesn’t specialize | First playthrough and boss learning |
| Rogue Daggers | Fast attack strings | Short range and lower per-hit impact | Close-range pressure and quick punish windows |
| Reaper’s Greatsword | Heavy damage and wide swings | Slower commitment | Players confident in enemy timing |
| Thunder Hammer | Powerful-feeling crowd control | Requires deliberate spacing | Groups and openings after large enemy attacks |
For most players, the cleanest upgrade order is Damage I, Dexterity I, Haste I, Magic I, followed by the branch that matches your weaknesses. Damage I shortens routine fights. Dexterity I lets you finish a safe string before an enemy recovers. Haste I improves exploration and makes repositioning less awkward. Magic I matters more once you consistently use charged shots, bombs, arrows, or the upgraded spell attacks.
If you’re dying because you run out of health, the answer usually isn’t another attack upgrade. Find the next Vitality Shrine and improve your healing discipline. Death’s Door rewards players who treat the dodge as a positioning tool rather than a panic button. Roll through an attack, land one or two hits, and disengage. Greed is what turns a winning boss phase into a death run.
Shrines Beat Grinding for Permanent Power
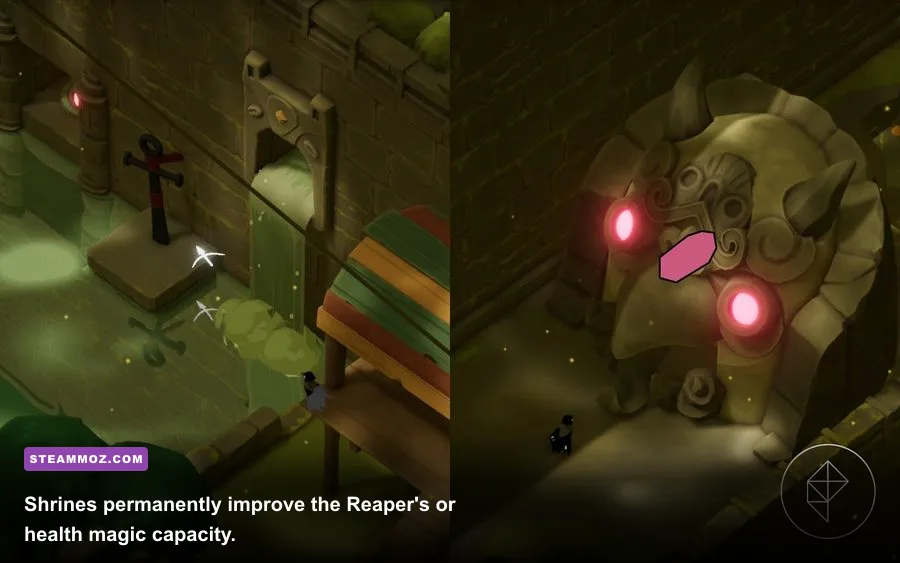
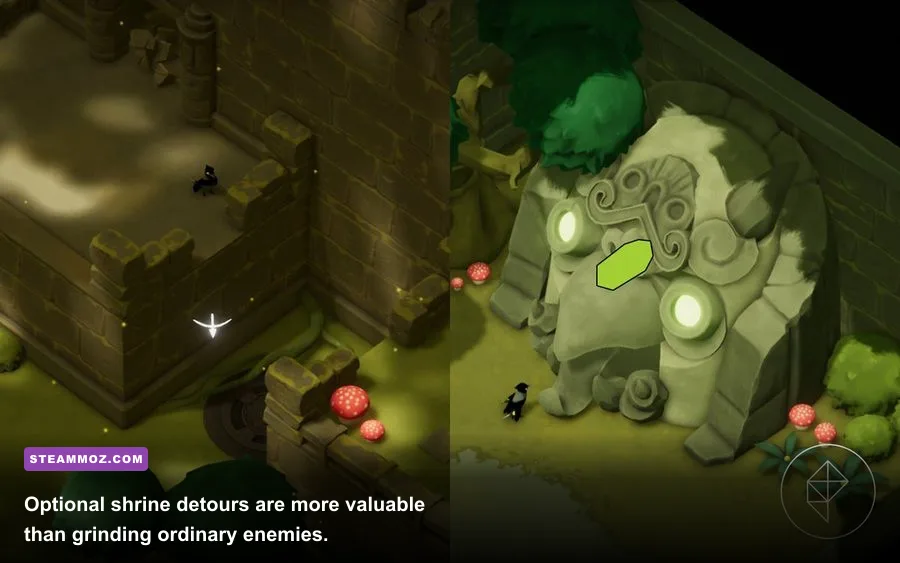
There are eight shrine upgrades scattered across the world: four improve Vitality and four improve Magic. Each shrine requires two matching gem fragments, so you’re looking for pinkish Vitality fragments or blue Magic fragments depending on the shrine. These are among the most valuable pickups in the game because they permanently expand your survivability or spell capacity.
Search aggressively around the Estate of the Urn Witch, Ceramic Manor, Mushroom Dungeon, Flooded Fortress, and the areas connected to the three Great Soul routes. Some fragments sit behind environmental puzzles, while others are tucked into dead-end platforms reached by ladders, bridges, or explosive flower interactions. If a room contains an isolated platform, don’t assume it’s decoration.
Vitality or Magic first?
Vitality is the safer priority for a first clear. More health gives you additional room to learn bosses such as the Urn Witch’s Guardian, Betty, and the Frog King without resetting after every mistake. Magic becomes the better choice for confident players who consistently land ranged attacks and use spells to interrupt or finish enemies.
Don’t confuse shrine hunting with farming. Shrine fragments do not respawn, and there is no shortcut that replaces exploration. The efficient strategy is to mark suspicious routes mentally, unlock every shortcut, and revisit areas after obtaining new access. The game’s world is compact enough that a deliberate cleanup loop is much faster than wandering randomly.
For performance-minded players, Death’s Door has no demanding graphics puzzle to solve. Keep resolution native, use a stable frame cap, and avoid background recording if your system produces stutter. Our low-FPS troubleshooting guide explains the same frame-pacing checks that help when dodge timing feels inconsistent.
Shiny Things and the Real Collectible Route
Shiny Things are fixed collectibles with deliberately strange names and descriptions. They’re hidden in plain sight, behind optional combat rooms, and along puzzle routes. Because they don’t function as spendable gold, the best farming method is simply to clear each region methodically. Check corners after major battles, look behind the camera-facing side of buildings, and revisit the Reaping Commission after new doors become available.
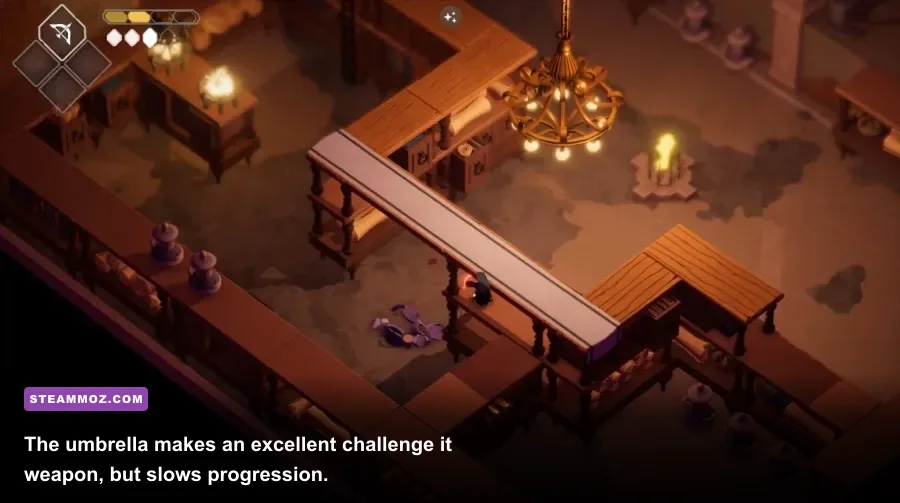
The Umbrella is a particularly important pickup for challenge-minded players. It can be chosen as an alternative starting weapon and deals less damage than the standard sword. That makes it a poor choice if your only goal is fast progression, but an excellent way to raise the stakes once you understand enemy patterns. Don’t use the umbrella on a first run unless you specifically want a tougher combat curve.
After defeating the three Great Souls and completing the main story, Death’s Door opens its most rewarding cleanup phase. Revisit the hub and previously explored regions, inspect new routes, and pursue the remaining collectibles. The post-game content includes a major secret path tied to the game’s lore and a powerful endgame challenge. This is where a complete Shiny Things and shrine route pays off—not through gold, but through mastery, optional rewards, and a better-prepared Reaper.
| Collection Target | Search Pattern | Best Time to Check | Reward Value |
|---|---|---|---|
| Shiny Things | Dead ends, isolated platforms, puzzle rooms | During first area sweep and post-game cleanup | Collection progress and secret progression |
| Life Seeds | Side paths and rooms near long combat routes | Before entering boss territory | Extra healing checkpoints |
| Vitality fragments | Hidden rooms and environmental puzzles | Any time a new shortcut opens | Permanent health capacity |
| Magic fragments | Ranged-access routes and platform puzzles | After learning every spell interaction | Permanent magic capacity |
Boss Preparation Without Wasteful Grinding
Bosses are skill checks, not stat checks. The Urn Witch’s Guardian teaches you to dodge through attacks and punish recovery. The Frog King tests spacing around arena hazards and tells you to stop standing directly in front of a large target. Betty adds relentless movement and area denial. None of these fights become dramatically easier because you killed ordinary enemies for twenty minutes; they become easier because you arrive with the right health, magic, and route knowledge.
A practical pre-boss checklist
- Spend every available Soul at the Stranded Sailor.
- Plant every Life Seed you found on the approach.
- Equip the weapon whose recovery you understand best, not the one with the flashiest animation.
- Enter with full magic and use ranged attacks to punish attacks that leave the boss stationary.
- During the first attempt, watch telegraphs instead of chasing damage.
Charged attacks are safest after a boss commits to a long animation. Don’t charge in the boss’s face while it is neutral; the wind-up gives most encounters time to punish you. Basic arrows, bombs, and spell shots are also useful for finishing a small enemy before it crowds your escape route. The strongest rotation is simple: bait the attack, dodge through or around it, land a short melee string, then reset your position.
If you’re struggling with a boss, consider lowering visual clutter rather than changing the entire build. A stable frame rate, clear audio, and a consistent weapon make telegraphs easier to read. Death’s Door’s difficulty feels sharp because its animations are honest; once you stop button-mashing through recovery frames, the fights become far more predictable.
The developer, Acid Nerve, built the game around compact exploration and deliberate combat, a design philosophy also reflected on the official Devolver Digital game page and the Acid Nerve website. That’s why the best “farm” is a clean route through content you haven’t mastered yet. Every shortcut, shrine, and boss lesson has permanent value; repetitive hallway kills don’t.
The Fastest Route to a Fully Upgraded Reaper
For the quickest overall progression, clear the main route while collecting reachable Soul masses and Life Seeds, buy upgrades at every Stranded Sailor visit, and prioritize Vitality Shrines until your boss attempts feel stable. Once your combat rhythm is comfortable, collect Magic fragments and switch to a faster weapon if its recovery no longer surprises you.
After the three Great Souls, return to earlier zones instead of immediately chasing every remaining pickup at random. Use shortcuts to sweep one region at a time: Cemetery and Commission routes first, then the Urn Witch’s Estate and Ceramic Manor, followed by the Mushroom Dungeon, Overgrown Ruins, and Flooded Fortress. This keeps your mental map intact and reduces the backtracking that makes collectible cleanup feel slower than it really is.
So, the honest answer to “how do I fast level and farm gold in Death’s Door?” is refreshingly blunt: you don’t grind levels or gold because neither system exists. You optimize permanent upgrades, collect shrines, plant seeds, spend Souls immediately, and treat Shiny Things as exploration rewards. Follow that route and the Reaper gets stronger at exactly the pace the game expects—without turning one of the best compact action adventures around into a dull farming simulator.
For more practical PC guidance, see our Crimzon Clover performance settings and Gato Roboto weapon guide. Both follow the same principle Death’s Door demands: understand the mechanics first, then optimize the route.