
The best King's Bounty II Lord's Edition equipment is not always the item with the biggest damage number. S-tier gear is the equipment that improves your hero's action economy, keeps key units alive, and reinforces an army's alignment. For most campaigns, prioritize weapons and accessories that boost damage consistency, movement, initiative, or morale; treat the Lord's Edition cosmetic set as a useful early-game cushion, not a permanent endgame solution.
That distinction matters because King's Bounty II splits power between the overworld hero and the turn-based army battle. A weapon can make Aivar hit harder, but a morale bonus or extra survivability may save more units over a ten-hour chapter. The rankings below cover the practical value of weapon families, armor, shields, and accessories across Aivar, Elisa, and Katharine, with a special focus on the equipment available during a normal Lord's Edition playthrough.
How the Lord's Edition equipment system really works
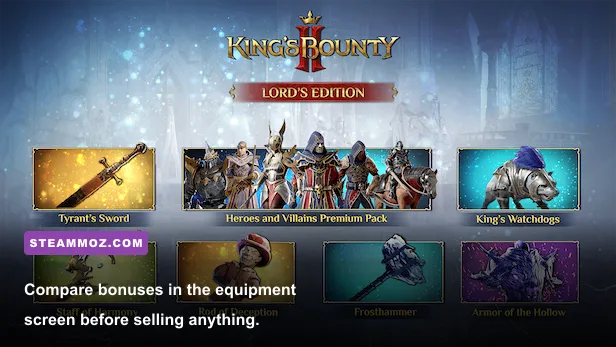
King's Bounty II does not use a traditional Diablo-style weapon treadmill. Equipment appears through merchants, chests, quests, exploration rewards, and story progression. Items occupy defined slots—weapon, off-hand, armor, helmet, gloves, boots, and accessories—and the best loadout is usually a collection of complementary bonuses rather than a matched set.
The Lord's Edition bonus items are most valuable during the opening stretch, when an early armor or weapon upgrade can let you win fights before your army roster fills out. They don't erase the game's level requirements, alignment decisions, or tactical limits. Check every new item against your current hero level and skill investment, then compare the complete stat panel rather than judging an item from its name.
There are four details worth checking before you equip anything. First, confirm the item is usable by your current hero. Second, inspect whether it modifies hero combat or army performance. Third, compare movement and initiative bonuses against raw attack. Finally, look at alignment. Order-heavy equipment is excellent for Elisa but can undermine an Anarchy-focused army if your broader build pulls in the opposite direction.
| Equipment factor | What it affects | Why it matters | Priority |
|---|---|---|---|
| Weapon damage | Hero attacks and abilities | Improves direct pressure but rarely fixes a weak army | High |
| Movement | Overworld reach and tactical positioning | Helps melee heroes reach targets and reduces wasted turns | Very high |
| Initiative | Turn order in battle | Lets fragile units or support actions happen before enemy retaliation | Very high |
| Morale and alignment | Army behavior and bonuses | Multiplies the value of a focused roster | High |
| Armor and resistance | Hero durability | Prevents a single mistake from ending a difficult fight | Medium-high |
For broader tactical context, our IXION weapon tier list covers a very different equipment economy, while the Gangs of Sherwood weapon rankings show why set bonuses can be more important than simple damage.
🎮 King's Bounty II - Lord's Edition
Looking to experience this game? Grab your digital key directly on our store for $4.49.
View on Steammoz Store →King's Bounty II weapon tier list
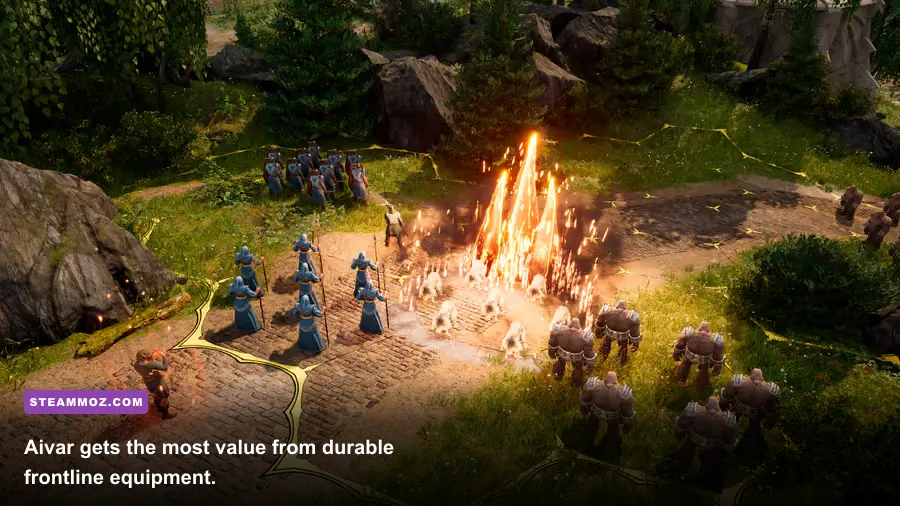
This ranking evaluates weapon roles across the campaign rather than pretending every item has one fixed universal value. King's Bounty II's equipment values are tied to progression and hero requirements, so an early weapon with a useful movement or initiative modifier can outperform a higher-damage replacement that arrives several battles later.
| Rank | Weapon type | Best user | Key synergy | Best situation |
|---|---|---|---|---|
| S-Tier | Sword and shield | Aivar or Elisa | Reliable damage plus frontline durability | Mixed armies and extended fights |
| S-Tier | Staff with spell or mana bonuses | Katharine | Supports repeated spell casting | Magic-focused armies and clustered enemies |
| A-Tier | Two-handed weapon | Aivar | High melee pressure and decisive first strikes | Short fights against exposed targets |
| A-Tier | Spear or reach weapon | Aivar | Safer engagement range and lane control | Chokepoints and defensive formations |
| B-Tier | Pure damage weapon | Any hero | Simple attack increase without utility | Early upgrades or boss burst attempts |
S-Tier: swords, shields, and spell-enhancing staves
The sword-and-shield setup is the safest all-purpose choice because it doesn't ask your army to cover every mistake. Aivar can stand near the engagement, draw pressure, and keep attacking without sacrificing the defensive value of an off-hand shield. Elisa benefits even more when her army is built around Order: keeping the hero alive protects the units that make healing and support turns worthwhile.
For Katharine, the best staff is the one that improves spell access or consistency, not necessarily the one with the highest physical attack. Her value comes from controlling the board with magic while troops occupy enemy lines. A staff that supports mana or spell efficiency can produce a second useful cast across a difficult encounter, which is often worth more than a modest damage increase on a basic swing.
A-Tier: two-handed weapons and spears
Two-handed weapons are excellent when Aivar's build already has enough protection from armor, army composition, and positioning. They reward aggressive turns: move into range, hit the most vulnerable target, and let your troops finish the exchange. The catch is obvious—if the attack doesn't secure meaningful value, the lost defensive layer leaves Aivar exposed to retaliation.
Spears and other reach-focused weapons are less explosive, but they shine on maps with narrow lanes. They let Aivar contribute without walking deep into a formation, and that spacing makes enemy counterattacks easier to read. They rank just below the safest S-tier options because their value depends heavily on terrain and encounter layout.
B-Tier: raw damage without utility
A weapon that only raises attack isn't useless. It can be the correct answer during the first several hours, especially when your current item is underleveled. But these weapons fall off once enemies gain more health and battlefield control. If the upgrade doesn't improve reach, survival, initiative, or alignment, sell it once a more rounded item appears.
Best armor, shields, and accessories by hero
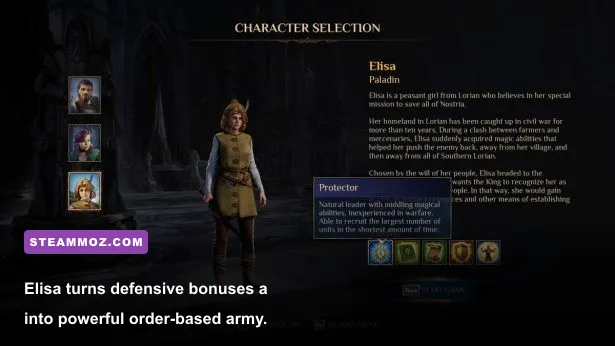
Armor should solve the problem your build actually has. Aivar normally wants durability and movement, Elisa wants protection that lets her support the army safely, and Katharine wants enough defense to survive a mistake while investing the rest of her equipment budget into spell performance. Don't turn every hero into a damage dealer; the army already provides most of the damage in prolonged fights.
| Hero | Best equipment priority | Strong secondary bonus | Common mistake |
|---|---|---|---|
| Aivar | Armor, shield, movement | Melee damage or initiative | Taking a glass-cannon weapon before reaching targets safely |
| Elisa | Armor, morale, Order support | Movement or resistance | Mixing aggressive Anarchy gear with an Order roster |
| Katharine | Staff, mana or spell support | Initiative and resistance | Ignoring defense and losing the hero before the second cast |
Aivar: Build him as the anchor. A shield is usually worth more than a small damage bump because it gives your units time to attack while the enemy focuses on the hero. Movement is particularly valuable: reaching an enemy archer or blocking a lane can change the entire first round.
Elisa: Her strongest equipment path supports Order-aligned armies and steady engagements. Favor armor, shields, and bonuses that keep her close enough to influence the fight without diving into the enemy formation. If your roster includes durable infantry and healing support, Elisa's defensive loadout becomes dramatically more valuable over multiple battles.
Katharine: Treat her like a battlefield controller, not a duelist. Staff bonuses that help mana or spell output belong in the top slot. Initiative is also excellent because acting before enemy archers lets you disable, damage, or reposition threats before they get a free volley. Keep resistance and armor high enough that one surprise attack doesn't end the fight.
Best equipment combinations for campaign progression

The strongest loadouts change as your army develops. Early on, raw weapon damage is perfectly acceptable because your roster lacks depth. In the middle game, utility takes over: movement, initiative, morale, and alignment help your army win favorable exchanges. Late-game equipment should amplify the strategy you have already committed to rather than forcing a complete respec.
Early game: survive the first battles
Use the Lord's Edition bonus equipment if it improves your starting numbers, but replace individual pieces as soon as a meaningful upgrade appears. Aivar should combine a reliable one-handed weapon with a shield. Elisa should favor defensive gear and Order-friendly bonuses. Katharine should take the best available staff and avoid fighting in melee. Keep at least one spare item for each hero because level-gated upgrades can arrive in uneven bursts.
Mid game: align the entire loadout
This is where the tier list starts to matter. Pick Order or Anarchy deliberately, then stop equipping items that pull against the roster's identity. An Order army benefits from consistency, protection, and support. An Anarchy army wants pressure and explosive turns. Finesse and Power choices can change how effectively your hero supports those troops, so check the skill tree before committing rare gear.
Late game: utility beats a bigger number
At high levels, the winning item is often the one that lets you act first, reach the correct tile, or cast one more spell. Before a major battle, compare total bonuses in the character panel and save a manual game. Test the loadout against a representative enemy group, then swap back if the result is worse. King's Bounty II rewards preparation more than blind rarity chasing.
How to spend gold and manage your gear

Don't buy every weapon a merchant offers. Gold is also needed for army recruitment, and an extra unit often contributes more battlefield power than a small hero-stat upgrade. Visit merchants after story milestones, sell obsolete equipment immediately, and keep only items with a clear future use. If a piece has no better damage, defense, movement, initiative, morale, resistance, or alignment value, it's inventory weight with a price tag.
Before entering a difficult fight, make this four-step check:
- Equip the highest-value usable weapon, not simply the newest one.
- Match armor and accessories to the hero's job.
- Confirm your equipment does not undermine your army's alignment plan.
- Spend remaining gold on units that cover the loadout's weakness.
That last step is the difference between a good build and a fragile one. Aivar with a two-handed weapon needs troops that protect his approach. Katharine needs units that hold enemies in place. Elisa wants a formation that can survive long enough for her support tools to matter. The best equipment ranking is really a ranking of how well each item fits that tactical loop.
For more equipment-focused reading, check Steamoz's Gato Roboto gear ranking and Holy Potatoes! weapon tier list. You can also verify edition contents and current platform information on the official King's Bounty II Steam page, the publisher's official site, and Prime Matter.
Bottom line: rank swords and shields, spell-supporting staves, and utility-heavy accessories at the top. Use two-handed weapons when Aivar can safely reach targets, spears when terrain favors spacing, and pure damage gear only as a temporary bridge. The Lord's Edition gives you a strong opening, but smart alignment choices and disciplined equipment management win the campaign.