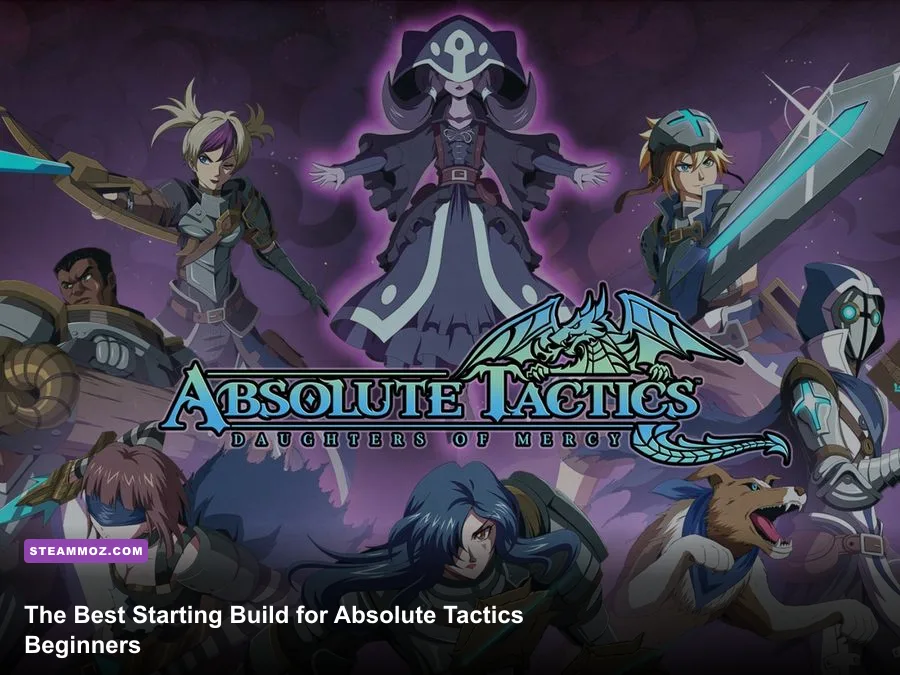
The safest Absolute Tactics: Daughters of Mercy best starting build for beginners is a balanced five-unit core built around Jack as a durable front-liner, a Knight for protection, an Archer for reliable ranged damage, a Mage for area attacks, and a Cleric for healing. Keep that formation together through the opening chapters, spend early skill points on dependable abilities instead of expensive gimmicks, and you'll have answers for armor, crowds, bosses, and attrition without needing to restart your campaign.
Absolute Tactics rewards players who treat every turn as a positioning puzzle. A powerful attack used from the wrong tile can be worse than a basic attack that preserves your formation. The game also makes experimentation relatively friendly, so this isn't a prison sentence if you choose a different class. Still, beginners benefit enormously from a party that covers four jobs: somebody who can absorb pressure, somebody who can restore health, somebody who can hit distant targets, and somebody who can punish groups.
This setup is designed for a normal first playthrough, not a challenge run. It also works well if you're coming from another tactical RPG and want a clear starting point before learning how Absolute Tactics handles movement, ability ranges, elevation, and enemy engagement. For a broader look at beginner-friendly RPG planning, compare this approach with our Edge of Eternity starter build guide.
The beginner party that covers every problem
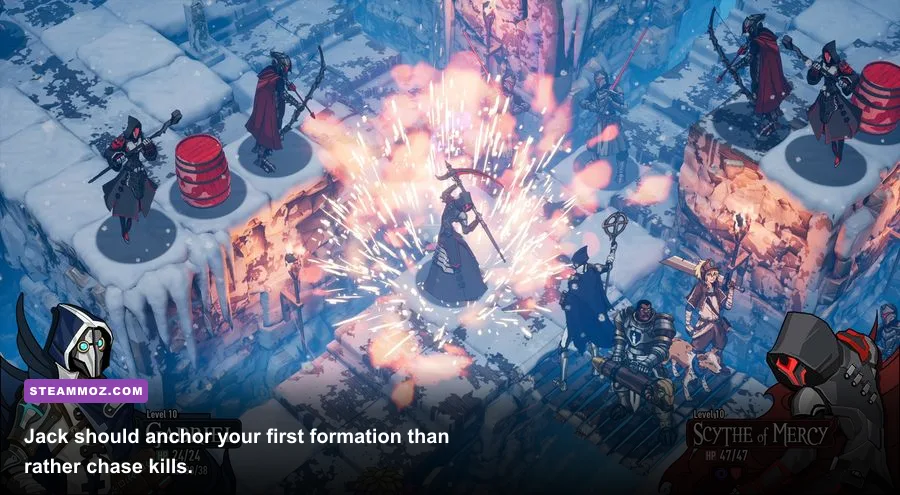
Start by thinking in jobs rather than damage charts. Jack is your flexible centerpiece, but the early game becomes much smoother when he isn't forced to perform every role at once. Give him a defensive identity and let specialists do specialist work.
| Party Slot | Recommended Class | Primary Job | Why Beginners Want It |
|---|---|---|---|
| Leader | Jack as Squire or Knight path | Front-line control | Can take pressure while the party establishes a safe formation |
| Tank | Knight | Protection and engagement | Defensive tools reduce incoming focus fire |
| Ranged damage | Archer | Single-target pressure | Attacks targets without stepping into melee danger |
| Area damage | Mage | Cluster punishment | Turns enemy grouping into a liability |
| Support | Cleric | Healing and recovery | Keeps mistakes from becoming lost battles |
The sixth slot, when available, should be treated as a flex position. Add a Rogue if you need mobility and finishing damage, or use a Bard when buffs and utility are more valuable than another attacker. Don't fill the slot with a second fragile damage dealer just because its numbers look attractive. Early encounters often punish parties that can kill quickly but cannot survive the enemy's next activation.
Your basic formation should look like a shallow wedge. Put Jack and the Knight one row ahead, keep the Cleric behind them, and place the Archer and Mage on opposite sides of the back line. That spacing stops one enemy area attack from catching every important unit. It also creates clean lanes for the Archer while leaving the Mage room to target two or more enemies instead of hitting a single target.

🎮 Absolute Tactics: Daughters of Mercy
Looking to experience this game? Grab your digital key directly on our store for $9.99.
View on Steammoz Store →How to build Jack without wasting early skill points
Jack is the character beginners are most likely to build incorrectly because he feels like the obvious all-rounder. The trap is buying a little damage, a little mobility, and a little defense until he does nothing exceptionally well. For the first several battles, make him a front-line stabilizer. His job is to occupy dangerous tiles, protect the Cleric, and finish enemies after the Archer or Mage has softened them.
Prioritize the defensive side of Jack's available Squire or Knight progression. Skills such as Shield Bash and Taunt are valuable because they change enemy behavior and turn order pressure, not simply because they deal damage. Shield Bash is best used to disrupt a threatening melee unit or create breathing room around your support character. Taunt is strongest when it pulls attention toward Jack while the rest of your party has a safe attack angle; using it in the open before the party is ready can make Jack collapse alone.
Don't rush every active skill as soon as it appears. A reliable defensive ability, a passive that improves survivability, and an upgrade to your basic attack are often more useful than an ability with a long cooldown. Absolute Tactics battles are short enough that a skill you can use consistently usually outperforms a spectacular button you are saving for a perfect moment that never arrives.
| Priority | Jack Investment | Combat Purpose | Common Beginner Mistake |
|---|---|---|---|
| 1 | Shield Bash | Disrupt a dangerous melee attacker and protect a nearby ally | Using it only for damage instead of interruption |
| 2 | Taunt | Redirect pressure when Jack has support behind him | Activating it before the party reaches a defensible position |
| 3 | Defensive passive | Improves consistency across multiple encounters | Skipping survivability for a minor damage increase |
| 4 | Basic attack upgrade | Improves turns when abilities are unavailable | Ignoring ordinary attacks while chasing cooldown skills |
Keep Jack near the center of your formation, but don't place him directly beside every ally. Leave one tile of separation where the map allows it. That makes enemy area attacks less efficient and lets Jack pivot toward either flank. If you want a more aggressive lead later, you can respecialize toward damage after the party has a dependable Cleric and Knight. On a first run, defensive Jack is the better teacher because he gives you extra turns to read enemy telegraphs.
The exact early roles for Knight, Archer, Mage, and Cleric
The Knight is not there to top the damage meter. Move the Knight toward the enemy's most dangerous approach route, then make the opponent pay for trying to pass. Defensive skills and threat control are at their best when the Knight blocks a narrow path, protects the Cleric, or forces melee units to attack from an awkward angle. If an enemy is already trapped beside Jack, don't spend a turn moving the Knight across the map just to join the same fight.
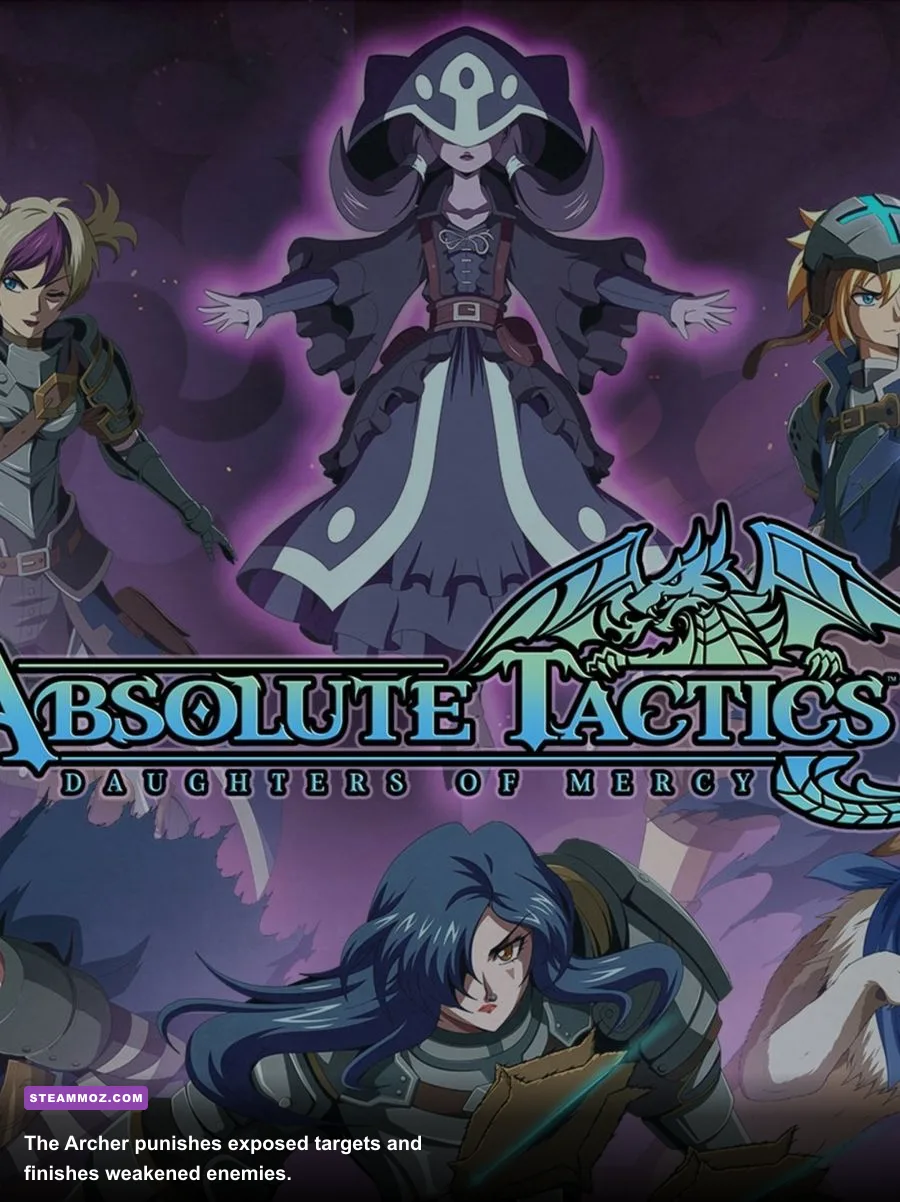
For the Archer, prioritize range, accuracy, and consistent single-target damage. Aimed Shot is especially useful for removing a wounded enemy before it gets another activation. The Archer should normally attack from the second line, not walk forward to claim a marginally better shot. If the target requires the Archer to stand beside an enemy, it probably isn't the right target yet. Let the front line create the opening.
The Mage's Fireball is your main answer to clustered enemies. Avoid throwing it at the first available target. Wait until two or more enemies are committed to the same lane, especially after they move toward Jack or the Knight. A Mage's area attack also has a positioning cost: enemies may survive with just enough health to retaliate, so pair Fireball with an Archer follow-up rather than assuming the spell ends the encounter.
The Cleric should be conservative. Healing a unit before it is in immediate danger can waste the support turn, but waiting until a character is one hit from defeat can leave the Cleric unable to reach them. Keep the Cleric behind the front line and measure every move against the next enemy turn. If the Cleric must step forward to heal, consider whether Jack or the Knight can retreat one tile afterward and rebuild the formation.
| Class | Early Skill Focus | Best Target | Positioning Rule |
|---|---|---|---|
| Knight | Protection, threat control, defensive passives | Enemy melee units or the most direct attacker | Stand between danger and the back line |
| Archer | Aimed Shot, range, reliable damage | Wounded or lightly defended enemies | Never trade safety for a slightly better shot |
| Mage | Fireball and area-damage upgrades | Two or more enemies in a cluster | Stay behind the front line with a retreat tile available |
| Cleric | Healing reliability and support range | Front-liners who will survive the next hit | Keep a clear lane to Jack and the Knight |
For equipment, use the same philosophy. Put the strongest defensive item on whichever unit is expected to be focused, the best offensive upgrade on the Archer or Mage depending on the encounter, and any range or support improvement on the Cleric. Don't distribute upgrades evenly for the sake of fairness. A concentrated advantage is much easier to feel than five tiny improvements.
A turn-by-turn combat rotation that actually works
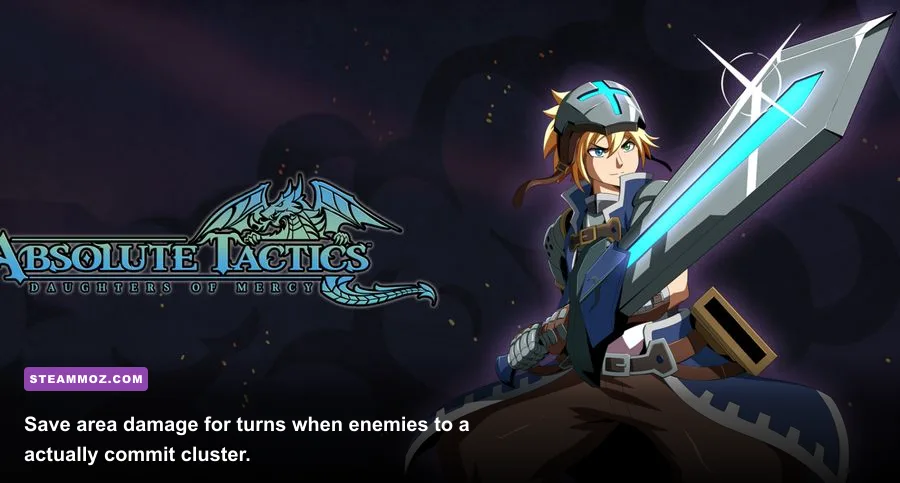
At the start of a battle, resist the urge to sprint toward the nearest enemy. Use the opening turn to establish a formation and identify the opponent that can reach your back line fastest. Jack and the Knight should advance only far enough to create a protective screen. The Archer and Mage should use movement sparingly, because their first job is to preserve a safe firing angle.
Turns one and two: establish the kill zone
Move the front line toward a choke point, corner, obstacle, or other piece of terrain that limits the number of enemies able to attack at once. If the enemy is still outside attack range, don't waste Taunt. Let them approach. The Cleric should remain behind cover when possible, while the Archer picks a target that the party can finish on the following turn.
The Mage should hold Fireball unless the enemy has already created a valuable cluster. This restraint is one of the biggest differences between a clean victory and a slow collapse. Area attacks are strongest after enemy movement, not before it. If enemies split into two groups, attack the group that threatens the Cleric first rather than automatically choosing the larger group.
Turns three and four: focus, then reset
Once a melee enemy contacts Jack or the Knight, focus the same target with the Archer and front-line attacks. Use Shield Bash when it prevents a dangerous retaliation, not simply whenever it is available. If Fireball hits multiple units, finish the weakest survivor with the Archer. Removing one enemy entirely is usually better than reducing three enemies to half health.
After the first kill, rebuild your formation instead of chasing the next target. This is where new players lose battles: the party wins one exchange, spreads across the map, and gives the remaining enemies several isolated targets. Move Jack or the Knight back toward the Cleric, then let the Archer and Mage repeat the process from safety.
| Battle Moment | Front Line | Back Line | Decision Rule |
|---|---|---|---|
| Opening turn | Advance toward cover or a choke point | Hold safe range and identify a target | Don't trigger enemy attacks before your formation is ready |
| First contact | Use Shield Bash or threat control if it prevents retaliation | Focus the same enemy with Archer or Mage | Prioritize a clean elimination |
| After a kill | Reset toward the Cleric | Reposition without breaking firing lanes | Never scatter to chase damage |
| Recovery turn | Protect the lowest-health ally | Heal, reload abilities, and prepare the next focus target | Stabilize before attacking again |
When an enemy telegraphs an area attack, spread the Mage, Archer, and Cleric before the attack resolves. The exact damage is less important than denying the enemy a multi-unit swing. Conversely, when an enemy is isolated, surround it only if doing so won't expose your support line. Tactical RPG instincts from games such as Fire Emblem can be useful here, but Absolute Tactics is less forgiving when you treat every unit as disposable.
Progression traps, respecialization, and difficulty advice
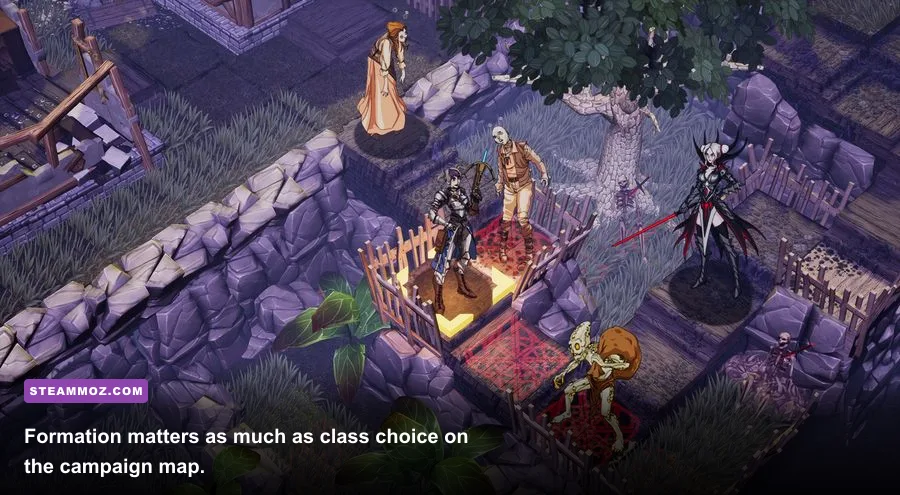
The most expensive beginner mistake is spending every resource on offense because early enemies appear easy. The opening campaign is teaching you the value of formation, and later missions punish parties that have no healing depth or defensive answer. Keep at least one reliable defensive option on Jack or the Knight, one dependable heal on the Cleric, and one ranged option that can contribute without moving into danger.
Don't judge a class by one battle. A Mage may look weak on a spread-out map and become the best unit on a mission filled with clustered enemies. An Archer can feel underwhelming against heavily protected targets but become essential when the encounter includes fragile support enemies behind a front line. The right question isn't “which class has the biggest number?” It's “which unit solves the problem this map is presenting?”
Experiment with secondary classes only after the core party works. Hybrid builds can be excellent, but they often delay the key skill that makes a class reliable. On a first run, a clear role is more valuable than theoretical versatility. If the game gives you a respecialization option, use it to correct a role problem rather than constantly rebuilding after every mission. A Knight that lacks survivability should be repaired; a Knight that simply isn't your favorite can wait until you understand the system better.
| Build Choice | Rating | Strength | Weakness | Beginner Verdict |
|---|---|---|---|---|
| Defensive Jack | S-Tier | Forgives positioning mistakes and protects the Cleric | Lower burst damage | Best first-playthrough anchor |
| Knight front line | S-Tier | Controls engagement distance and absorbs pressure | Can struggle when forced to cross open ground | Core party material |
| Archer finisher | A-Tier | Safe damage and strong cleanup turns | Needs protection when enemies close in | Keep one in nearly every early party |
| Mage area damage | A-Tier | Excellent against clustered groups | Less impressive against scattered targets | Use patiently, not reactively |
| Cleric support | S-Tier | Turns small mistakes into recoverable damage | Vulnerable if the formation collapses | Do not bench on a blind first run |
| Early glass-cannon hybrid | B-Tier | Can win fast when the map cooperates | Collapses after one bad engagement | Save for a later experimental run |
On higher difficulties, the same build still works, but your margin for careless movement disappears. Use manual targeting, inspect enemy ranges, and avoid ending a turn with a damaged unit exposed to two or more attackers. If you want technical troubleshooting before changing your tactics, Steamoz also has guides for crashes, stutters, and low FPS and general PC performance fixes.
Why this build remains strong after the tutorial
This party stays useful because it doesn't depend on one overpowered trick. Jack and the Knight create time, the Cleric converts that time into recovery, and the Archer and Mage turn safe positioning into kills. That structure also teaches the game's central rhythm: control the approach, focus one enemy, reset the line, and repeat.
As you unlock more classes and encounter stranger enemy combinations, the flex slot becomes your adjustment tool. Add mobility when the map is wide, more control when enemies rush, or another support unit when attrition becomes the real threat. Keep the five-unit foundation until you can explain exactly what the replacement does better. If you can't name the problem a new class solves, it probably isn't time to change the party.
Before starting each mission, check three things: where the Cleric can stand safely, which enemy reaches your back line first, and whether the terrain creates a natural kill zone. During the battle, ask the same question after every elimination: can my party survive the next enemy turn? Those habits matter more than squeezing a few extra points out of a weapon or passive.
For official information, check the game's Steam page, the developer's Akupara Games website, and the publisher's Akupara Steam listings. Patch details can alter balance, but the fundamentals here—front-line control, deliberate area damage, protected healing, and focused fire—remain the safest starting point for new players.
Bottom line: build Jack defensively, pair him with a Knight, keep an Archer and Mage behind the line, and protect a Cleric at all costs. Don't rush cooldowns, don't split the party after the first kill, and don't mistake flashy damage for tactical value. Absolute Tactics becomes far less intimidating once every unit has a clear job—and this beginner build gives you the time and flexibility to learn the rest of the game properly.