
Legend of Keepers: Soul Smugglers does not contain fixed secret rooms or hidden map coordinates. The DLC’s hidden rewards come from branching event nodes, optional map paths, unusual encounter choices, and unlock conditions tied to the Soul Smuggler campaign. If you’re searching for a secret chest behind a particular dungeon tile, you’re looking in the wrong place. The real trick is recognizing which apparently ordinary event can produce a relic, recruit, upgrade, or permanent unlock.
This distinction matters because the campaign map is procedurally assembled. A reward that appears in one run may be replaced by a different event in the next, and some nodes only become worthwhile when your party, morale plan, or resource pool is ready for them. This guide breaks down every reliable hidden-reward category in Soul Smugglers, explains how to reach the valuable outcomes, and flags the traps that waste runs.
For the official baseline, compare the Soul Smugglers Steam page with the base game listing. The DLC adds a dedicated campaign and new content; it does not transform the game into a traditional exploration RPG with collectible room secrets.
Are There Any Fixed Secret Locations?

No. There are no permanently hidden rooms, secret walls, fixed coordinates, or universal chest locations in Legend of Keepers: Soul Smugglers. The campaign uses a branching route map, and the meaningful “locations” are node types. Their exact position changes, while their decision logic remains recognizable.
That means screenshots claiming “the secret room is always on the third branch” should be treated cautiously. They may describe one seed, one difficulty, or one campaign state. The same route can also display different rewards depending on your progress, previous choices, available space, and whether a condition has already been satisfied.
Think of every optional node as a concealed reward opportunity. A combat node advertises its danger, but an event node hides its value behind text. A training stop may be more valuable than a treasure choice if it creates a damage-type counter for the next champion. Likewise, an expensive artifact can be a bad pickup when your dungeon still has weak rooms.
| Map Opportunity | What It Can Hide | Best Time to Visit | Main Risk |
|---|---|---|---|
| Event node | Artifacts, resources, recruits, or permanent progress | When you can afford the unfavorable outcome | A choice may cost gold, morale, health, or a future reward |
| Treasure node | Immediate gold, equipment, or consumables | Before a costly upgrade or boss push | Short-term value can weaken your long-term route |
| Training node | Improved monster or trap performance | When your core room is already identified | Over-investing in a unit that later gets countered |
| Combat node | Experience, money, and possible unlock progress | When your roster has a spare frontline | Injuries and cooldown pressure before the next fight |
| Special campaign node | DLC-specific progression or unusual rewards | When your run has stable morale and reserves | Rare options can demand a brutal sacrifice |
The practical rule is simple: don’t skip every node that looks strange, but don’t assume every strange node is a secret. Read the cost first. If an event asks for a resource your build cannot replace, its “hidden reward” may be bait.

🎮 Legend of Keepers: Soul Smugglers
Looking to experience this game? Grab your digital key directly on our store for $2.99.
View on Steammoz Store →How Event Choices Reveal Hidden Rewards
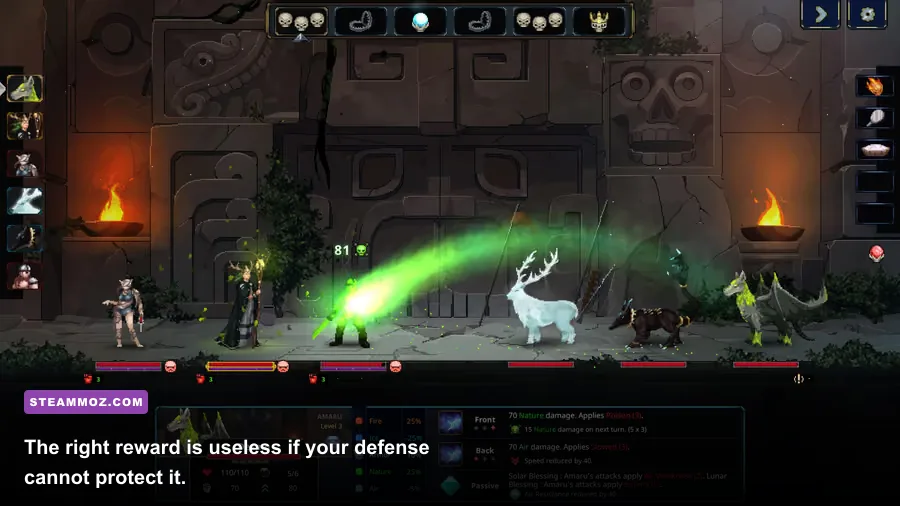
Events are the closest thing Soul Smugglers has to secret locations. The reward is often hidden in the second or third line of the decision, and the profitable choice is not always the one that immediately displays an item. Before selecting an option, check whether it affects gold, morale, monster health, trap durability, employee availability, or the next map branch.
Use a three-pass method. First, identify the guaranteed cost. Second, identify the possible reward. Third, ask whether your next two fights can survive the downside. This prevents the classic mistake of taking a powerful-looking artifact while entering the next battle with an injured core monster and no money for recovery.
The safe choice
Safe choices usually give a small amount of gold, a modest heal, or a low-impact improvement. They are not exciting, but they preserve your route. Take them when the dungeon is already winning fights and your objective is to reach the next keeper milestone without gambling.
The greedy choice
Greedy options trade immediate stability for a better reward. Choose them when you have a spare monster, an uncommitted room slot, or enough gold to absorb the penalty. Never sacrifice the only unit covering a damage type just because the event promises a rare upgrade.
The irreversible choice
Some event decisions permanently alter the run. The game does not always present these as dramatic “yes or no” moments, so save your attention for language involving sacrifice, dismissal, replacement, permanent morale changes, or locked rewards. If the option removes a monster from your roster, consider its future role, not only its current health bar.
| Choice Type | Typical Reward | Use It When | Do Not Choose It When |
|---|---|---|---|
| Resource exchange | Gold, blood, morale, or another currency | You have a surplus and a clear upgrade target | The next room needs immediate healing or repairs |
| Roster sacrifice | Large upgrade or rare progression | The sacrificed unit is redundant | It supplies your only stun, poison, or resistance answer |
| Risk encounter | High-value artifact or campaign progress | Your first two waves are reliable | Your frontline is damaged or your cooldowns are empty |
| Route commitment | Access to a special branch | The branch matches your current build | You need a shop, healer, or training stop first |
| Delayed reward | Future upgrade or unlock condition | You are planning multiple fights ahead | You need power immediately to survive the next champion |
There is no universal best event choice. The best option is the one that protects your win condition. That may be a damage-over-time setup, a morale-collapse dungeon, a physical burst team, or a stall composition built around repeated debuffs.
Hidden Rewards Worth Chasing
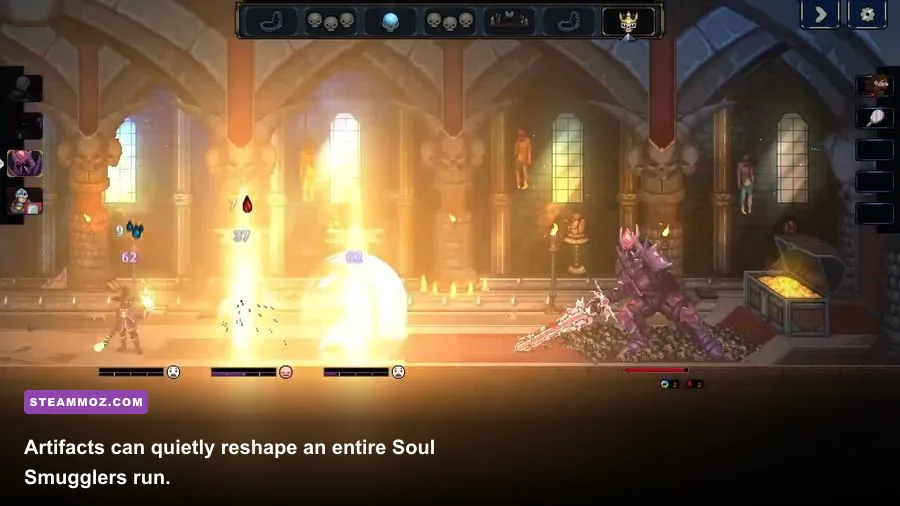
The most valuable rewards in Soul Smugglers fall into four groups: artifacts, roster improvements, permanent campaign unlocks, and route advantages. They do not all have equal value. A rare artifact that improves a weak strategy is less useful than a common upgrade that completes your room sequence.
Artifacts
Artifacts are the most obvious hidden reward, but they should be judged by repetition. An artifact that adds damage to a single attack is fine early; an artifact that improves a mechanic used by all three waves can define the run. Prioritize effects that multiply what your dungeon already does: morale pressure with morale pressure, poison with poison application, or crowd control with turn manipulation.
Don’t buy an artifact simply because it is rare. Check whether its effect activates often enough. If it only helps a monster that sits in reserve, the opportunity cost is real. Gold spent on that item might have funded healing, a stronger trap, or a replacement employee.
Monster and trap improvements
Training and upgrade rewards are hidden power because their value compounds across fights. A monster that survives one extra hit can deliver another status effect. A trap that acts before an enemy reaches your first room can soften every subsequent wave. In practice, these upgrades often outperform a one-time cash reward.
Build around a primary damage plan and a backup plan. If your front wave relies on physical damage, keep at least one answer for enemies that resist or punish it. If your build stacks poison, don’t leave the dungeon helpless when an enemy cleanses or resists the effect. Soul Smugglers rewards flexibility more than single-stat tunnel vision.
Permanent campaign progress
Some rewards are valuable because they unlock future options rather than improving the current battle. These are easy to miss: a run can end with a permanent unlock that never appears as a flashy chest. Track what the campaign has added after each milestone, and don’t abandon a route merely because its immediate payout looks small.
For broader comparisons with the genre, Steamoz’s Iratus weapon tier list is useful for understanding how roguelite upgrades gain value through repeated combat. The same principle applies here: consistency beats novelty.
Best Route Strategy for Finding Every Opportunity
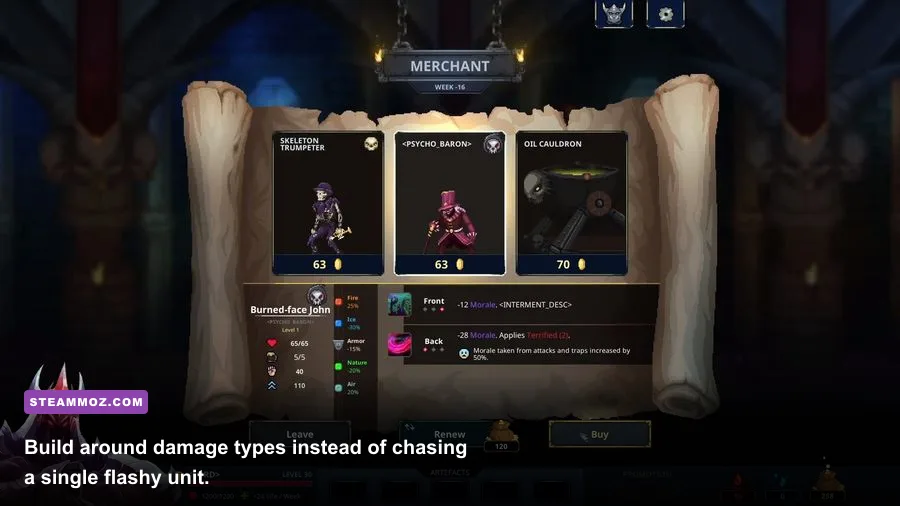
You cannot visit every node in a single run, so “all secret locations” really means maximizing the number of high-value opportunities before the campaign forces a difficult fight. Start by scanning two branches ahead. Mark the next shop, healing point, training node, and elite encounter mentally, then choose the current reward based on that sequence.
Early in a run, favor money and roster stability. Your first goal is not a perfect artifact collection; it is a functional dungeon with enough variety to answer different enemy parties. Mid-run, training becomes more important because the upgraded core of your defense will see the most battles. Late-run, stop gambling unless the reward directly fixes a known weakness.
- Scout the next two nodes. Don’t select an event without checking what follows it. A risky reward is much safer when a healer or shop comes next.
- Separate core units from substitutes. Core monsters should receive healing and upgrades first. Substitute units exist to absorb bad matchups and sacrifice effects.
- Keep one resource buffer. Entering every event with zero gold turns ordinary choices into forced losses. Preserve enough currency for recovery or a replacement.
- Use damage-type coverage. Match physical, magical, poison, and morale tools to the enemies you expect. The hidden reward is worthless if your roster cannot exploit it.
- Recheck the route after every event. Campaign states can change the value of nearby nodes. A training stop becomes stronger after recruiting a high-damage monster.
| Run Stage | Priority | Preferred Hidden Reward | Reason |
|---|---|---|---|
| Opening | Stability | Gold, healing, reliable roster upgrades | Early losses damage every later decision |
| Middle | Specialization | Artifacts and training that reinforce your core plan | Compounding upgrades begin to outweigh raw currency |
| Late | Risk control | Direct counters for the next elite or boss | There may not be enough fights left to recover from a bad gamble |
| Final stretch | Survival | Healing, morale recovery, and guaranteed combat power | A theoretically stronger reward is useless after a wipe |
This is also where difficulty changes the meaning of a secret reward. On normal difficulty, a greedy event can be a reasonable learning tool. On harder settings, the same event may be unacceptable because enemy scaling and reduced recovery leave less room for an unlucky result.
Combat Preparation Before Taking a Risk
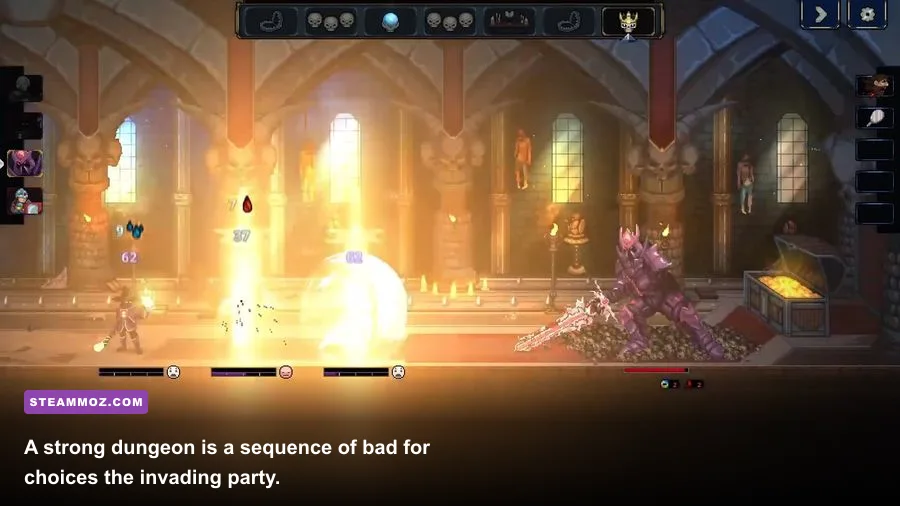
Before touching an optional event, inspect the next enemy party if the route reveals it. Read their resistances, status immunities, and likely attack pattern. Then decide whether your current dungeon can win without spending a limited recovery resource. This preparation is more important than memorizing an alleged secret coordinate.
Build each room as part of a sequence. The first room should create pressure or apply a status effect. The second should exploit that setup or buy time. The final room needs dependable damage rather than a perfect theoretical combo. If a hidden reward gives you a powerful finisher but no setup, it may underperform compared with a modest debuff upgrade.
Morale is a hidden damage multiplier
Morale-focused teams can win fights without simply racing enemy health to zero. The danger is inconsistency: a party that resists your preferred control effect can walk through the dungeon. Pair morale pressure with another damage source so failed fear or panic applications do not end the run.
Status effects need sequencing
Apply damage-over-time effects early enough for them to tick, but don’t waste them on an enemy that is about to die to a basic attack. Use the first wave to establish the effect, the second to exploit it, and the final room to finish targets before they can recover. A reward that increases application chance becomes better when your room order already supports that sequence.
Protect the keeper economy
The keeper’s skills and dungeon resources are limited by cooldowns and currency. Spending a powerful ability to rescue a disposable monster can leave the main defense exposed. Reserve emergency tools for the wave that threatens your core roster, especially after taking a risky event reward.
For performance problems that can make route decisions harder to read, Steamoz’s guides to crashes and stutter fixes and smoother PC settings cover the usual troubleshooting approach. Soul Smugglers is not graphically demanding, but stable frame pacing still helps when you’re rapidly comparing map nodes and combat information.
Common “Secret Location” Myths to Ignore
Several myths keep circulating because the campaign’s procedural structure makes ordinary variance look deliberate. The most common claim is that a particular branch always contains a hidden chest. It doesn’t. Another says that refusing an event once unlocks a better version later. There is no reliable universal rule for that behavior.
Players also mistake campaign unlocks for collectibles. If a new option appears after completing a milestone, it is progression, not an item hidden in a specific room. Likewise, a rare monster appearing in one run does not prove that a secret map location caused it; roster availability, campaign state, and random generation can all affect what you see.
| Myth | What Actually Happens | Better Approach |
|---|---|---|
| There is a fixed secret room | Map nodes are procedurally arranged | Evaluate every optional event by cost and route value |
| The third branch always has the best item | Branch rewards vary between runs | Scout ahead and choose the branch that supports your build |
| Every rare reward is mandatory | Some rewards are build-dependent | Take synergy and survival over rarity |
| A failed event permanently ruins the DLC | Most losses affect the current run | Learn the choice, then reset your route plan next run |
| One monster can solve every encounter | Enemy counters and resistances punish narrow teams | Maintain at least two damage or control plans |
The cleanest way to catalogue your own discoveries is to record the event text, the choice you made, the cost, the reward, and the next node. After several runs, patterns become obvious without pretending that randomized content has fixed coordinates. That’s the reliable version of a Soul Smugglers secret guide.
Final Checklist for Hidden Rewards
Before leaving a promising branch, ask five questions: Do I have enough resources to absorb the event’s downside? Does the reward improve my active dungeon rather than a reserve unit? Can my current roster answer the next enemy’s damage and status profile? Is there a shop or healer later that makes this gamble safer? Does this choice contribute to permanent campaign progress?
If the answer to most of those questions is yes, take the branch. If not, choose stability and keep the run alive. Legend of Keepers: Soul Smugglers hides its best rewards in judgment, not geometry. There are no secret coordinates to memorize, but there is a deep layer of route planning that becomes much easier once you stop searching for invisible rooms.
Players who enjoy that same mix of tactical planning and punishment-heavy progression may also want Steamoz’s guides to King’s Bounty II gear and Absolute Tactics starting builds. For the DLC itself, keep your focus on event choices, route timing, and synergies. That is where every genuine hidden reward is waiting.