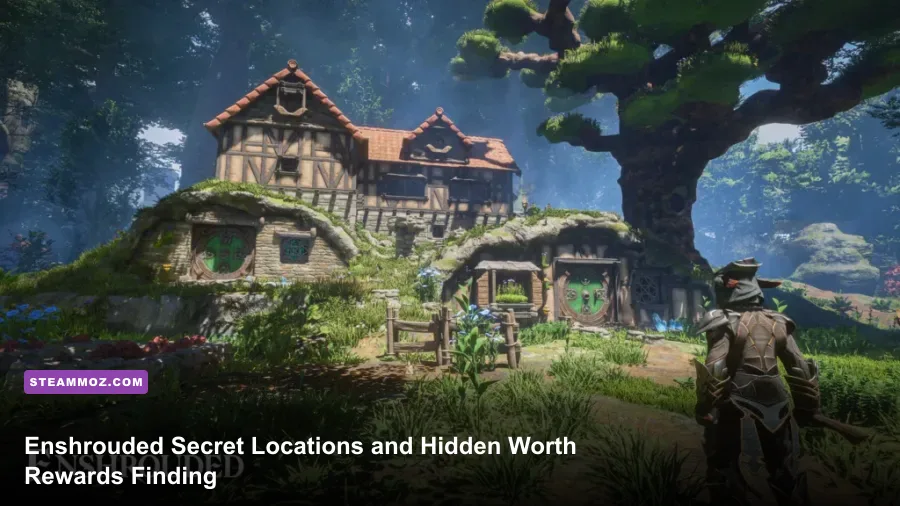
For the best hidden rewards in Enshrouded, search the major ruins around every Ancient Spire, clear nearby Shroud Roots, and revisit locked rooms after unlocking the Blacksmith, Alchemist, Carpenter, and Farmer. The most reliable prizes are silver and gold chests, legendary weapon rolls, survivor side quests, lore books, Flame Sanctum upgrades, and secret puzzle rooms in places such as Pikemead's Reach, the Sun Temple, and Hollow Halls. Chest contents can vary, but the locations and routes below remain dependable.
This guide focuses on secrets that are easy to miss rather than ordinary yellow quest markers. Bring a grappling hook, glider, lockpicks, a bow or wand for switches, and enough Shroud Time to investigate without panic. You can also compare the game's survival loop with our survival-tools ranking if you enjoy games where preparation matters as much as combat.

How secret loot works in Embervale

Enshrouded hides rewards using four familiar tricks: vertical routes, destructible walls, pressure plates, and doors that only open after a nearby objective is solved. A chest sitting in plain sight is often bait. Look above it, behind it, and below the floor. Fire alters some objects, explosive barrels break weak walls, and the grappling hook can reveal ledges that look purely decorative.
There are also two important loot rules. First, chest rarity is tied heavily to the region and dungeon tier. A silver chest in Springlands is not competing with a gold chest in Kindlewastes. Second, most equipment drops are randomized within a level band. That means you may find a legendary weapon at a named location, but its exact stat roll, level, or bonus can differ between worlds and updates.
| Secret type | What it usually gives | Best tool | How often to revisit |
|---|---|---|---|
| Silver or gold chest | Weapons, armor, runes, materials | Glider and grappling hook | After major region progression |
| Shroud Root | Skill point and cleared visibility | Any suitable weapon | Clear once; mark nearby caves |
| Hidden lore book | Journal entry and world history | Lantern and patience | Once per world |
| Survivor side location | NPC, crafting station, recipes | Quest progression | Once unlocked |
| Puzzle room | Chest, weapon roll, cosmetic reward | Bow, wand, fire source | Usually once per world |
Use the official Enshrouded site for major patch changes, because new regions and dungeon revisions can move the value of older routes. For day-to-day performance, our stutter-fixing settings guide is also useful when dense Shroud effects start hammering your frame rate.
🎮 Enshrouded
Looking to experience this game? Grab your digital key directly on our store for $23.99.
View on Steammoz Store →Springlands secrets beginners should not skip

Hidden passages around Braelyn Bridge
The ruins and bridges west of the starting valley contain some of the game's best early lessons in secret hunting. Search under broken road sections and behind climbable walls rather than following the main road. A chest may sit on a ledge that becomes reachable only after you glide from a higher ruin. Clear the nearby Shroud Root first: it improves visibility, removes enemies, and often exposes a cave mouth that was almost impossible to spot through the fog.
Longkeep and the surrounding ruins
Longkeep is not just a combat stop. Check rooftops, the interiors of collapsed towers, and the exterior ledges around the settlement. The most commonly missed rewards are in vertical spaces above normal eye level. The Carpenter's early quests also train you to read this architecture: if a room seems empty, inspect its ceiling beams and damaged side walls before leaving.
Ancient Vaults and survivor routes
Ancient Vaults are fixed points of interest that can hide survivor-related progression behind an entrance that looks like a dead end. Bring a pickaxe, because a thin wall may be the only thing separating the hallway from the reward room. Once you recruit a survivor, revisit the quest chain after building their station. New crafting recipes are often the real treasure, especially early armor upgrades and utility items that make later secret routes much safer.
Don't burn every lockpick on random houses. Save them for chests behind clearly deliberate doors, particularly when the route includes a brazier, a switch, or a suspiciously isolated platform. Enshrouded's puzzles are usually readable once you stop treating every locked door as a key quest.
Revelwood and Nomad Highlands hidden rewards

Kindlewastes approaches and the Nomad Highlands
As you move north and east, secrets become more vertical and more punishing. The Nomad Highlands reward a glider-first approach. Climb towers and cliffside ruins, then scan for isolated platforms with chest silhouettes. A stamina-focused setup helps here: the Green Mage and Ranger paths both offer useful mobility and ranged options, while a heavily armored Warrior can still make the route work by carrying stamina food and avoiding unnecessary fights.
Revelwood vaults and water routes
Revelwood's forest makes hidden entrances harder to read. Search beneath bridges, inside waterlogged ruins, and around the back of buildings rather than only along the obvious path. If you see a chest behind water or a room with no floor access, look for a nearby climb point or a submerged opening. Fire damage is particularly valuable against many Shroud creatures in this stage, but don't assume every glowing object is interactive; genuine switches usually sit near a deliberate puzzle layout.
These zones are ideal for farming upgrade materials between secrets. Clear a route from an Ancient Spire, loot every marked ruin, then return to your base to craft before pushing deeper. The loop is more efficient than wandering randomly, and it prevents the classic mistake of reaching a high-tier chest with a nearly broken weapon.
| Region | Secret-hunting priority | Recommended preparation | Main reward value |
|---|---|---|---|
| Springlands | Survivor quests and vertical ruins | Glider, pickaxe, lockpicks | Recipes and early gear |
| Revelwood | Forest vaults and water routes | Fire damage, ranged weapon | Mid-game equipment and materials |
| Nomad Highlands | Cliff platforms and towers | Stamina food, glider | Better chest rolls and lore |
| Kindlewastes | Sun Temple and desert ruins | High Shroud Time, healing | Late-game weapons and armor |
Pikemead's Reach and the Sun Temple route
Pikemead's Reach
Pikemead's Reach is one of the most rewarding secret locations in Embervale and one of the easiest places to waste time. Treat the fortress like a layered puzzle. Start at the lowest accessible entrance, clear enemies, and check every stair landing before taking the next lift or climb route. Courtyards frequently point toward the main objective while side towers contain the better chests.
Look for climbable banners, grappling points, and broken battlements. The castle's exterior route can lead to upper rooms that are invisible from the central courtyard. If you find a sealed door, search the adjacent wall and roofline before assuming you need a quest item. Keep a ranged weapon equipped: switches can sit across gaps, and shooting them is faster than trying to force a dangerous jump.
The Sun Temple in Kindlewastes
The Sun Temple is the standout late-game puzzle location. Its pressure-plate rooms, elevated walkways, and locked side chambers reward methodical exploration. Light sources and redirection mechanics are important, but the broad rule is simple: when a door has several empty sockets or plates nearby, scan the entire room for a matching target before touching anything. Many players solve the obvious path and leave with the temple's best reward still behind them.
Approach the temple with strong Shroud Time and a reliable healing supply. Kindlewastes enemies punish slow reactions, and the temple's platforming can force you to spend more time in the Shroud than expected. Clear enemies first, then solve puzzles. Trying to read a room while ranged casters are attacking is how a clever secret turns into an expensive corpse run.
| Location | Most-missed route | Counter or tool | Reward type |
|---|---|---|---|
| Pikemead's Reach | Exterior battlements and upper towers | Grappling hook and glider | High-level chest gear and lore |
| Sun Temple | Pressure-plate side rooms | Bow, wand, careful room scan | Late-game chest rolls and collectibles |
| Desert ruins | Roof gaps and isolated platforms | Glider stamina management | Weapons, runes, and materials |
| Ancient Spire approaches | Cliffside caves beneath the tower | Pickaxe and Shroud Root clearing | Fast-travel access and bonus loot |
For broader equipment comparisons, our weapon tier guide covers a different RPG, but the same principle applies here: a weapon's bonus and damage type matter more than a flashy rarity label. A level-appropriate weapon with useful fire or critical bonuses can outperform an older legendary roll.
Hollow Halls, Shroud Roots, and dungeon secrets

How to search Hollow Halls
Hollow Halls is built to punish tunnel vision. The main corridor is rarely the entire dungeon. Check balconies, side cells, broken stairwells, and rooms that appear to contain nothing except debris. Some routes require a glide across a gap; others use destructible scenery or a switch hidden behind an enemy spawn area.
Bring a weapon that can handle clustered enemies and a second option for single-target damage. Wand users can kite through doorways, while melee builds should avoid chasing fast enemies into unlit side rooms. The dungeon's best hidden rewards are only useful if you survive long enough to carry them out, so clear a safe retreat route before opening a high-risk chest.
Shroud Roots are treasure signposts
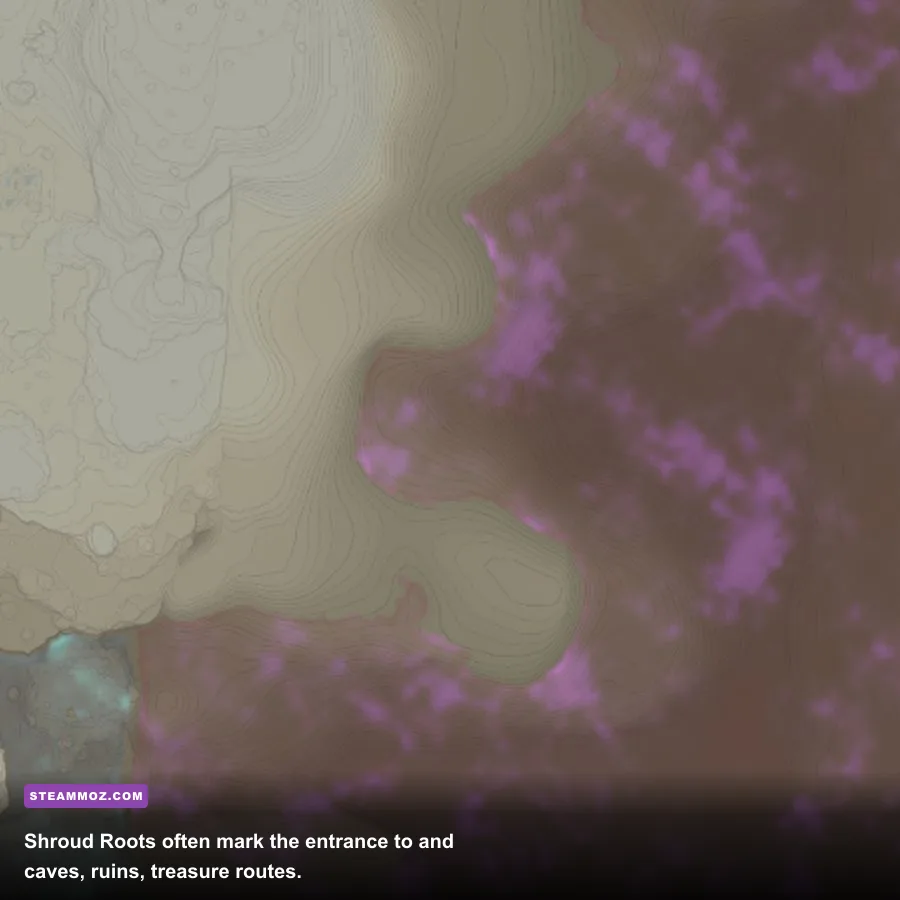
Every Shroud Root grants a skill point when destroyed, making it one of the game's most reliable hidden progression rewards. Don't treat roots as optional decoration. They permanently improve visibility in that pocket, remove the root's enemy pressure, and can expose nearby caves or chest routes. When mapping a new area, mark an uncleared root and circle it after the fight; the surrounding terrain is often worth a second look.
A strong exploration rhythm is: activate the Ancient Spire, clear visible Shroud Roots, inspect the nearest ruins, then mark anything requiring a future tool. This avoids revisiting an entire region just because you found a grappling route later. The official Enshrouded Steam page is the best place to track current feature and update information.
Hidden rewards checklist and best farming circuit
Before leaving a secret location, use this quick checklist. Destroy the nearby Shroud Root, read every glowing lore object, climb the exterior, inspect the ceiling, break suspicious walls, and check whether a chest is behind the entrance rather than inside the obvious room. If a puzzle has a pressure plate, look for a second plate that opens a side route. If a door has a visible switch, search the opposite direction too; designers often use one switch for progress and another for optional loot.
For repeatable equipment, create a circuit between an Ancient Spire, two or three major ruins, and a dungeon entrance. Sleep or return to base when you need to reset your route, then revisit chest locations after the relevant world reset. Don't expect every chest to produce the same weapon: the location is fixed, but loot rolls can change. This is especially useful when hunting a better bonus combination for a melee, Ranger, or magic build.
| Step | Action | Why it matters | Common mistake |
|---|---|---|---|
| 1 | Activate the nearest Ancient Spire | Creates a fast-travel anchor | Exploring before unlocking the shortcut |
| 2 | Clear every visible Shroud Root | Earns skill points and visibility | Leaving roots for later |
| 3 | Search roofs, basements, and walls | Finds vertical and concealed rooms | Following only the main quest route |
| 4 | Solve side puzzles before the boss | Prevents missed chest rewards | Opening the final gate immediately |
| 5 | Mark blocked paths on the map | Saves future travel time | Trusting memory after unlocking new tools |
Finally, don't confuse secret hunting with completionist busywork. The strongest rewards usually improve your next expedition: skill points from roots, survivor stations, fast-travel towers, and region-appropriate weapons. If your gear is lagging, use the same disciplined approach found in our gear-ranking coverage: prioritize a weapon's level, damage type, and useful bonuses over rarity alone.
That combination turns Embervale's hidden spaces into a progression engine. Clear roots for skill points, raid fortress and temple side rooms for gear, revisit dungeons for better rolls, and only leave when you've checked above, below, and behind the obvious path. Enshrouded rewards curiosity—but it rewards a grappling hook and a map marker even more.