Amnesia: The Dark Descent has no weapons at all, so the best equipment ranking is really a survival-tool tier list. The Lantern is S-tier for navigation, Tinderboxes are the strongest limited resource, Oil Vials become essential during long exploration sections, and healing potions sit below them because avoiding damage matters more than recovering from it. If you treat the game like an action horror title, every item feels weak; if you understand how light, sanity, sound, and monster pathing interact, the equipment system becomes brutally elegant.
That distinction matters. Daniel cannot attack the Gatherers, cannot stagger them, and cannot build a combat loadout. His inventory exists to keep him moving through Brennenburg Castle while minimizing exposure. This guide ranks every meaningful survival tool, explains the hidden trade-offs behind each tier, and shows exactly what to carry through areas such as the Archives, Storage, Prison, and Nave.
The recommendations apply to the original game rather than Amnesia: The Dark Descent custom stories or Justine, where item placement and encounter design can change dramatically. For the official PC release, check the Steam game page and Frictional Games’ official Amnesia page.
The Amnesia equipment tier list at a glance
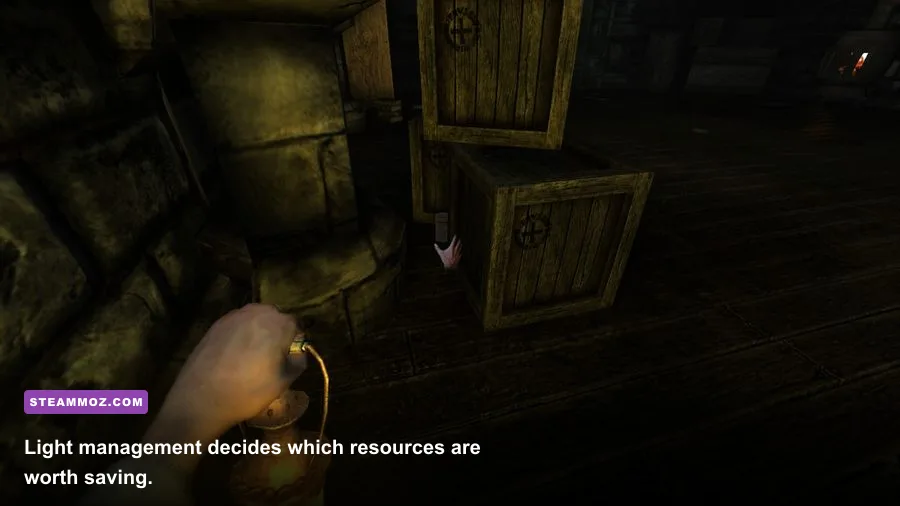
The ranking below measures practical survival value, not rarity or novelty. A tool earns a higher position when it helps in multiple chapters, saves you from a lethal mistake, or directly supports the game’s core stealth loop. Tinderboxes edge out Oil Vials because a single flame can stabilize sanity and reveal a room, while oil only keeps an already-acquired Lantern running.
| Item or tool | Tier | Primary value | Best use |
|---|---|---|---|
| Lantern | S | Reliable visibility and sanity support | Exploration, puzzle solving, emergency navigation |
| Tinderbox | S | Permanent light sources and sanity recovery | Lighting rooms before dangerous encounters |
| Oil Vial | A | Extends Lantern uptime | Long corridors, water sections, and late-game exploration |
| Health Potion | A | Restores lost health | Recovering after unavoidable damage |
| Laudanum | B | Health recovery in specific versions or modes | Emergency healing when available |
| Chest and environmental props | B | Distraction, blocking, and route control | Monster avoidance and improvised hiding |
| Throwables and bottles | C | Noise creation or minor distraction | Redirecting a monster briefly |
There is no damage column because nothing in this list deals meaningful combat damage. Even environmental objects are defensive tools, not weapons. That is the first rule to remember before you waste time testing whether a thrown bottle can hurt a Gatherer: it cannot turn Daniel into a fighter.

🎮 Amnesia: The Dark Descent
Looking to experience this game? Grab your digital key directly on our store for $3.99.
View on Steammoz Store →S-tier equipment: the Lantern and Tinderboxes
1. Lantern — the undisputed S-tier tool
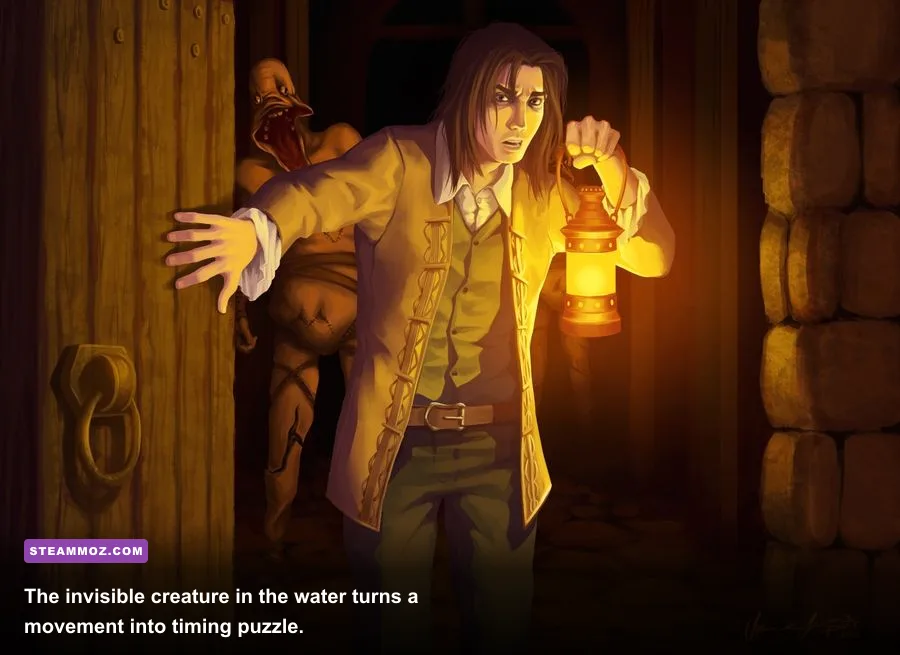
The Lantern is the most important item in the game, but it is not automatically correct to leave it switched on. Darkness increases Daniel’s fear and causes his sanity to deteriorate; staying in darkness too long can trigger visual distortion, unstable movement, and eventually a dangerous loss of control. Light therefore has three jobs: letting you see interactable objects, reducing the psychological pressure of darkness, and helping you read a room before committing to a route.
The catch is fuel. The Lantern consumes oil while active, and its maximum reserve is limited by what you find. Running it constantly from the first hallway is a rookie mistake. Use it for navigation, item searches, puzzle interactions, and unfamiliar rooms. Switch it off in already-memorized corridors, safe rooms, or while waiting for a monster to pass. You can also use fixed candles and wall lamps to preserve oil while keeping sanity under control.
The Lantern is especially valuable in the Archives and the Prison, where darkness, narrow geometry, and confusing door layouts make getting lost more dangerous than the monster itself. It also lets you identify hiding places quickly. A good player does not simply carry a light; they pulse it. Brief illumination, memorized landmarks, then darkness again.
2. Tinderbox — an S-tier resource, not a collectible to hoard forever
Tinderboxes light candles, torches, and lamps throughout Brennenburg. Unlike the Lantern, a lit environmental source does not drain fuel. That makes a Tinderbox effectively more valuable over time: one use can permanently improve a room and create a recovery point for sanity.
Spend them where they solve multiple problems. A candle beside a puzzle table is worth more than one in a dead-end corridor. A lamp near a doorway can help you identify the exit during a chase. Lighting every object you see is wasteful, but refusing to use any Tinderboxes creates needless darkness and can leave you mentally impaired before an encounter.
Tinderboxes are also part of the game’s quiet progression curve. Early areas give you time to learn resource discipline. Later sections ask you to cross larger spaces, solve puzzles under pressure, and decide whether a permanent light source is worth revealing your position. That decision is why experienced players often rate Tinderboxes higher than Oil Vials.
A-tier equipment: Oil Vials and Health Potions
Oil Vial — A-tier because the Lantern is only as good as its fuel
Oil Vials refill the Lantern and are the cleanest way to convert exploration time into safety. Their value spikes in the Water Lurker sequence, the Storage, and the late-game Nave and Choir areas, where dark routes are longer and backtracking is more punishing.
Do not drink oil as soon as you find it. The Lantern has a finite capacity, so topping up a nearly full gauge can waste part of the item. Let the reserve fall far enough that the refill provides its full benefit. This small habit effectively creates extra Lantern time across the campaign.
Oil is also less important in rooms with abundant candles. If you have already mapped the layout and the puzzle is simple, keep the Lantern off and move by remembered landmarks. Conversely, use oil aggressively when searching for valves, levers, and chemicals. A few seconds of uncertainty in a monster area costs more than the fuel you were trying to save.
Health Potion — powerful, but never a license to take hits
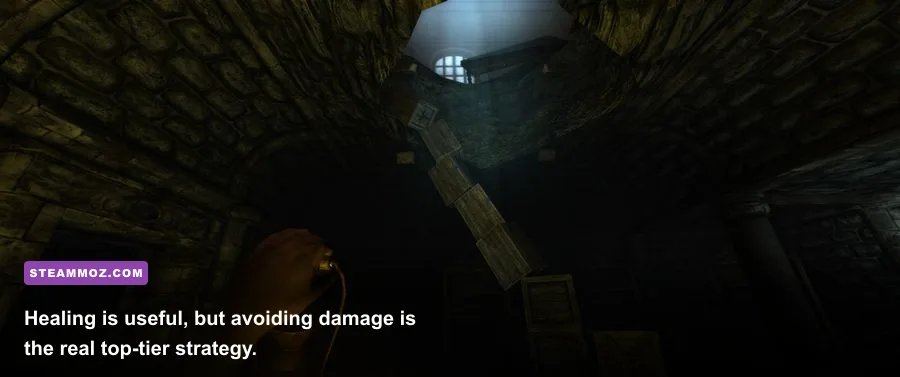
Health Potions restore Daniel after falls, traps, or contact with a Gatherer. They rank below the Lantern because health does not prevent the next mistake. A potion can recover a damaged run, but it cannot repair lost sanity, replenish Lantern oil, or undo a bad hiding spot.
Use one after surviving unavoidable damage or when your health is low enough that a second mistake would kill you. Do not automatically heal minor damage in a safe room if you are carrying several potions and still have difficult encounters ahead. The game’s level design often gives you enough room to avoid future contact, making prevention more efficient than recovery.
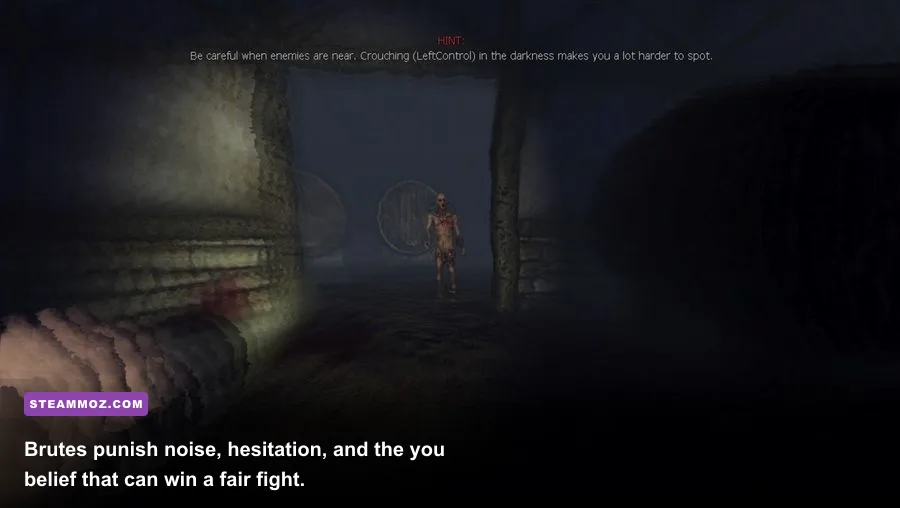
Health management becomes especially important against the Brute and Grunt. Their attack reach is deceptive, and panic-running through a doorway can produce a second hit. Break line of sight, close a door if possible, and heal only once the monster has fully disengaged. Drinking during an active chase rarely saves you.
B-tier tools and the equipment Amnesia barely explains
B-tier does not mean useless. It means situational. Amnesia’s strongest defensive options are environmental, and the game expects you to improvise rather than equip a conventional loadout.
| Tool | Tier | What it actually does | Main drawback |
|---|---|---|---|
| Doors | B | Break line of sight and delay pursuit | Some monsters can force or bypass them |
| Crates and barrels | B | Create noise, block routes, or reach hiding spots | Slow to move and loud when thrown |
| Bottles | C | Produce a sound at a chosen location | Short distraction window |
| Rocks and debris | C | Manipulate physics and create noise | Usually puzzle utility rather than defense |
| Matches and candles | A situational | Provide local light without Lantern fuel | Limited placement and availability |
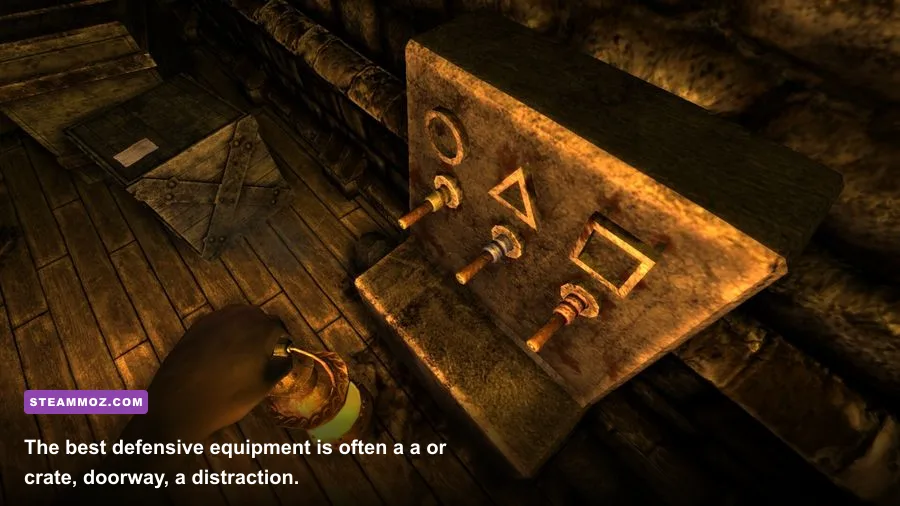
Doors are underrated because they change the monster’s pathing. Closing one after breaking line of sight can buy enough time to reach a side room or hiding place. It is not a universal lock; depending on the encounter, a Gatherer may open it or the game may use a scripted breach. Still, a door is often better than running blindly into another corridor.
Crates are similarly flexible. In the Storage, boxes can help you climb, obscure sightlines, or create a route through an obstacle. During a chase, though, moving furniture is slow and noisy. Use props before the monster appears, not while it is already reaching for you.
Bottles and rocks are distraction tools. Throw them away from your intended route, wait for the monster to investigate, and move only after the sound has redirected its attention. The distraction window is short, so prepare the escape path first. Randomly throwing objects just advertises your position and burns time.
How equipment interacts with sanity, stealth, and monster AI
Amnesia’s equipment system only makes sense when tied to sanity and enemy behavior. Sanity is not simply a health bar for the mind. Low sanity changes the presentation of the world, makes movement feel less reliable, and increases the chance that a tense room becomes unreadable. Light, story progression, and certain safe moments help stabilize it; staring at monsters, remaining in darkness, and witnessing disturbing events push it down.
That creates a simple priority order: avoid direct contact, preserve sanity, then preserve Lantern fuel. A player who turns off the Lantern to save oil but spends several minutes lost in darkness may lose more than they gained. A player who lights every candle may waste resources but arrive at the next puzzle calm and oriented. The best decisions are contextual rather than absolute.
Against Grunts and Brutes, listen for audio cues before moving. Their footsteps, vocalizations, and door interactions tell you whether they are approaching or searching. Hide in darkness only when you have already broken line of sight; standing in a dark corner while a monster watches the room is not stealth. Crouching helps movement noise and visibility, but it does not make Daniel invisible at close range.
The Water Lurker sequence is different because the enemy’s location is communicated through splashes and disturbed water. Keep moving, use floating objects to create a route, and avoid wasting time looking for a conventional hiding spot. The Lantern helps you read the environment, while oil becomes a movement resource rather than merely a comfort item.
For broader PC survival-horror performance advice, Steamoz’s settings guide for Huntdown and PC fixes for Baby Steps offer useful general troubleshooting habits. They will not change Amnesia’s AI, but stable frame pacing makes audio cues and mouse-controlled exploration easier to read.
The best survival loadout for every chapter
You do not choose a character build in Amnesia, but you can choose a resource plan. The strongest route is conservative early, flexible in the middle, and aggressive with light during scripted danger sections.
| Situation | Priority item | Recommended behavior | Common mistake |
|---|---|---|---|
| Safe exploration | Tinderboxes | Light useful permanent sources near puzzles | Lighting every candle automatically |
| Long dark corridor | Lantern and Oil Vial | Use short bursts of light and memorize landmarks | Keeping the Lantern on nonstop |
| Monster search | Doors and darkness | Break sight, hide, and wait for audio confirmation | Running before line of sight is broken |
| After taking damage | Health Potion | Heal only in a genuinely safe room | Drinking during pursuit |
| Water Lurker section | Lantern and route knowledge | Move continuously across floating platforms | Stopping to search for a hiding place |
| Late-game set piece | All remaining light | Spend resources to maintain orientation | Saving oil for a future that may not need it |
In the early Castle Brennenburg rooms, keep enough Lantern oil for unfamiliar spaces but rely on candles once you understand the route. In the Archives, prioritize Tinderboxes around puzzle areas and doorways. In Storage, preserve health by avoiding unnecessary monster exposure rather than trying to sprint through every room. During the Prison and Refinery sections, a lit route is worth more than a perfect inventory because confusion is what creates most fatal errors.
By the time you reach the Nave, you should know the core rhythm: scout briefly, identify the objective, establish a retreat route, then interact. Never enter a room without knowing where you will run if a monster spawns. If you do trigger an encounter, close distance only when necessary, break line of sight, and let the AI search cycle finish.
That is why the final ranking is not really about collecting the biggest pile of items. The winning equipment setup is a Lantern with disciplined fuel use, Tinderboxes spent on high-value locations, Oil Vials reserved for navigation-heavy sequences, and Health Potions saved for genuine mistakes. Everything else is a trick for buying seconds.
For more strategy-focused rankings, compare Steamoz’s Iratus weapon tier list and King’s Bounty II gear ranking. Amnesia is the outlier: its best weapon is knowing when not to fight.
Final verdict: the Lantern and Tinderboxes are S-tier, Oil Vials and Health Potions are A-tier, and environmental props fill the useful but inconsistent lower ranks. There is no secret blade, firearm, or overpowered build waiting in Brennenburg. The game’s entire design is built around making you feel defenseless—and rewarding the player who turns that weakness into careful, frighteningly efficient survival.