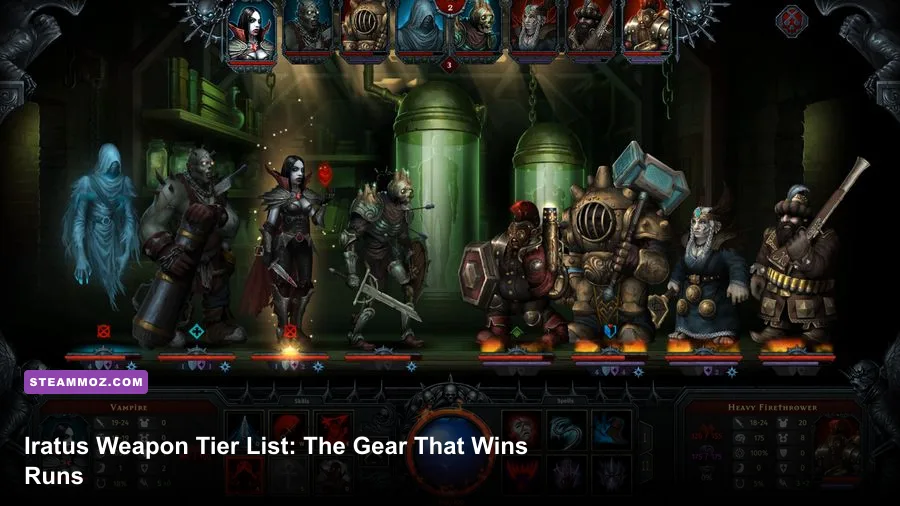
The best Iratus: Lord of the Dead equipment is not the item with the biggest damage number. The strongest weapons and artifacts are the ones that reinforce a minion’s job: accuracy and penetration for physical attackers, stress power and debuff chance for casters, and block, ward, or evasion for units expected to absorb punishment. For most campaigns, prioritize damage consistency over flashy maximum rolls, then build around your party’s damage type instead of mixing physical and stress gear randomly.
That distinction matters because Iratus does not use a simple, permanently fixed weapon catalog like a conventional RPG. Minion equipment and Iratus’s artifacts can roll different bonuses, and an item’s real value depends on its slot, rarity, affixes, and the party carrying it. This tier list ranks the most valuable equipment profiles and explains which minions actually convert those bonuses into winning turns.
Before spending resources, check the official Steam page for the current edition and DLC setup. Balance details can shift between the base game and Wrath of the Necromancer, but the core priorities below remain reliable.
The Best Equipment Profiles at a Glance
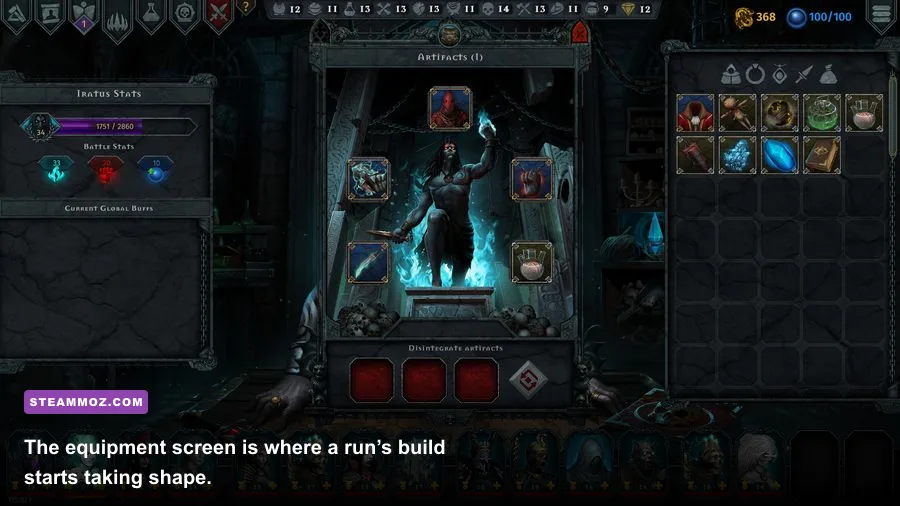
Think of this as a ranking of equipment effects rather than a list of one magical named sword. A high-quality weapon with the correct offensive affixes can outperform a rarer drop built for the wrong role. The table below assumes a normal campaign where your party needs reliable turns, not a gimmick designed for one particular achievement.
| Tier | Equipment profile | Best users | Why it ranks here |
|---|---|---|---|
| S | Accuracy plus physical penetration | Skeleton, Dark Knight, Werewolf | Removes misses and makes armor-heavy enemies much less durable. |
| S | Stress power plus stress penetration | Banshee, Lich, Shade | Scales damage while bypassing enemies built to resist direct hits. |
| S | Ward or block with a useful secondary stat | Zombie, Bone Golem, Dark Knight | Prevents lethal spikes and protects the party’s damage engine. |
| A | Critical chance plus critical damage | Dhampir, Vampire, Head Hunter | Excellent when accuracy is already stable; unreliable as a first priority. |
| A | Evasion plus initiative | Shade, Bride, support minions | Creates safer opening turns and helps fragile units act before enemies. |
| B | Raw attack or raw stress power alone | Most damage dealers | Good early, but loses value when misses, resistance, or armor enter the equation. |
| C | Mixed physical and stress bonuses | Experimental hybrid parties | Usually spreads resources across two systems without excelling at either. |
The key takeaway is simple: accuracy and penetration are consistency stats, while critical chance and raw power are payoff stats. A miss deals zero damage, and a blocked or resisted hit can erase the value of a large damage roll. That is why a modest weapon with accuracy often beats a spectacular weapon that leaves your Skeleton whiffing against armored targets.

🎮 Iratus: Lord of the Dead
Looking to experience this game? Grab your digital key directly on our store for $2.99.
View on Steammoz Store →S-Tier Weapons for Physical Damage Parties
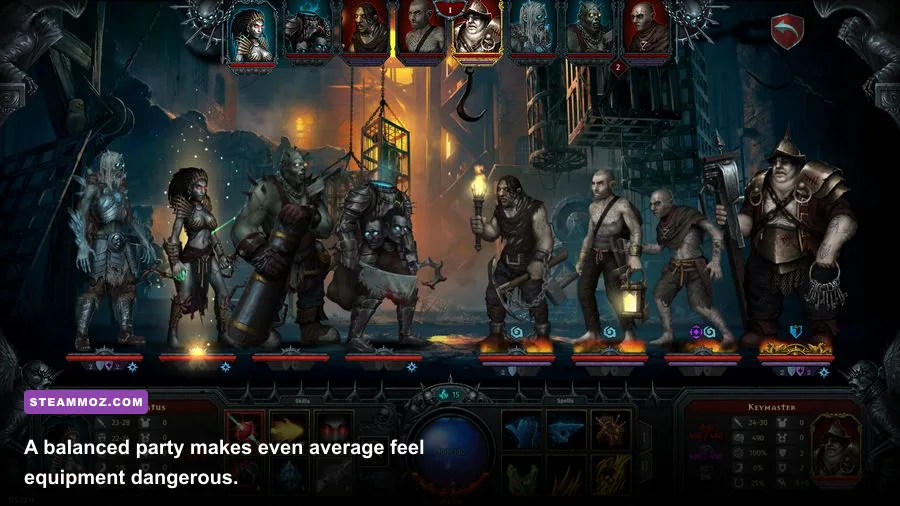
Physical parties want equipment that makes every attack land and keeps armor from flattening the damage curve. This is where the Skeleton, Dark Knight, Werewolf, and Head Hunter shine. The Skeleton is especially effective as a dependable back-row or mid-row damage dealer because it can keep applying pressure without demanding the same healing attention as more fragile minions.
Accuracy and penetration are the real damage multipliers
Give your primary physical attacker the best weapon roll with accuracy first, then physical penetration. Penetration is particularly valuable against enemy formations that stack armor or use defensive buffs. A critical-focused weapon can eventually overtake it, but only after the attacker’s chance to connect is already comfortable.
For the Dark Knight, pair offensive equipment with block or ward rather than chasing pure damage. The Dark Knight often occupies a dangerous position and can protect the rest of the formation; a dead damage dealer contributes nothing, while a slightly slower Dark Knight that survives several extra rounds continues to control the fight.
The Werewolf is the greedier option. It converts high offensive stats into explosive turns, but it appreciates initiative and accuracy before critical damage. If it acts late or misses its opening attack, the party may not get another safe opportunity. The Head Hunter similarly loves critical bonuses, though it should not sacrifice basic reliability for a low-probability jackpot.
| Physical minion | First priority | Second priority | Equipment warning |
|---|---|---|---|
| Skeleton | Accuracy | Physical penetration | Do not overinvest in crit before attacks consistently connect. |
| Dark Knight | Block or ward | Accuracy or penetration | Pure damage gear undermines its frontline purpose. |
| Werewolf | Accuracy | Critical chance and damage | Slow, miss-heavy builds waste its burst window. |
| Head Hunter | Accuracy | Critical damage | Crit damage without enough crit chance is a trap. |
| Dhampir | Initiative | Accuracy or crit | It needs to act early enough to exploit its sustain and offensive tools. |
Physical parties also benefit from a clear target order. Remove enemy supports and armor specialists first, then focus the durable front line. That approach is more effective than spreading damage across every target and allowing healers or buffers to reset the encounter.
S-Tier Equipment for Stress and Debuff Builds
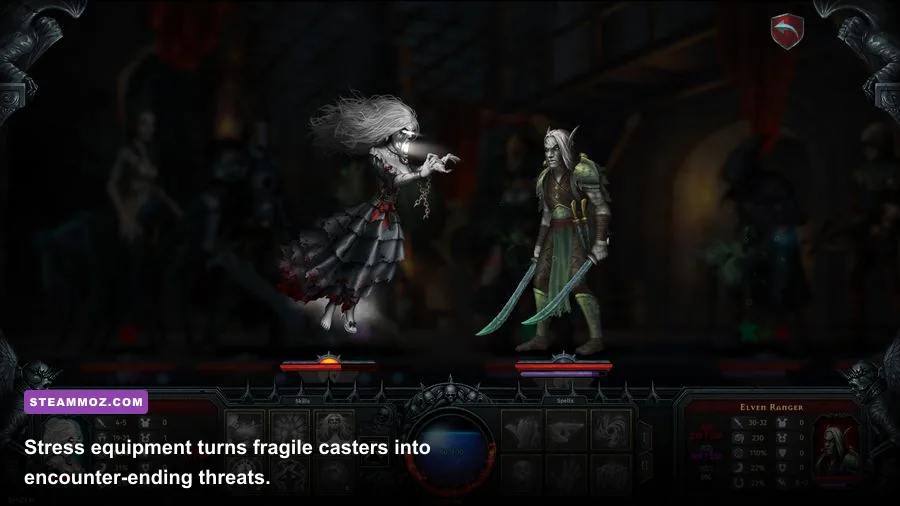
Stress builds are often the most efficient way to dismantle dangerous encounters because they attack a separate defensive axis. Banshee, Lich, Shade, and some support-oriented formations can win fights without trading direct damage into heavy armor. Their best equipment raises stress power, stress penetration, initiative, or the chance to apply debilitating effects.
Why Banshee and Lich want different secondary stats
The Banshee is the clearest stress carry. Stress power is the obvious first choice, but initiative is nearly as important when the party’s plan depends on disabling an enemy before it completes a damaging combo. A Banshee acting early can apply fear or stress pressure while the enemy formation is still intact. A Banshee acting late may be forced to recover from damage instead.
The Lich is more flexible. It can contribute stress damage while supporting a party through magical effects, so equipment with stress penetration and a defensive secondary stat is often better than a narrow glass-cannon roll. Ward is especially useful when the Lich is exposed to magical retaliation or cannot safely remain in the back row.
Shade equipment should usually emphasize evasion or initiative before raw stress. Shade is valuable because it can disrupt positioning and punish vulnerable targets, but it is not built to absorb repeated hits. A fast Shade with enough survivability can create the first opening; a slower one may never get to use its control tools.
| Stress minion | Best equipment profile | Ideal combat role | What to avoid | ||||||||||||||||||||||||||||||||||||||||||||
|---|---|---|---|---|---|---|---|---|---|---|---|---|---|---|---|---|---|---|---|---|---|---|---|---|---|---|---|---|---|---|---|---|---|---|---|---|---|---|---|---|---|---|---|---|---|---|---|
| Banshee | Stress power, stress penetration, initiative | Primary stress finisher | Pure defense that lowers its ability to end fights quickly. | ||||||||||||||||||||||||||||||||||||||||||||
| Lich | Stress penetration plus ward | Hybrid caster and damage support | Physical bonuses that do not improve its main skill set. | ||||||||||||||||||||||||||||||||||||||||||||
| Shade | Initiative and evasion | Disruption and target control | Slow builds that give enemies the first meaningful turn. | ||||||||||||||||||||||||||||||||||||||||||||
| Ghost | Evasion, ward, or stress power | Defensive stress pressure | Stacking only raw damage while ignoring survivability. | </tbody></table></div>
| Defensive stat | Best placement | Strong against | Weakness |
|---|---|---|---|
| Block | Zombie, Dark Knight, Bone Golem | Repeated physical attacks | Less useful when enemies rely on magic or stress. |
| Ward | Lich, Ghost, frontline hybrids | Magical damage and hostile effects | Does not replace health against sustained physical pressure. |
| Evasion | Shade, Bride, fragile supports | Single-hit attacks and opening bursts | Unreliable against repeated attacks or accuracy-heavy enemies. |
| Health | Any unit expected to take damage | Bursts, bleed-through damage, mistakes | Does not improve output or prevent control effects. |
| Initiative | Banshee, Shade, support units | Enemy combos and dangerous opening turns | Has less value if the minion cannot capitalize immediately. |
Use the Preparation screen to identify what your next encounter is asking for. If the enemy lineup contains several direct attackers, move block toward the front. If it features casters, prioritize ward and disruption. The best equipment ranking is always conditional on the room ahead, which is why hoarding every rare item instead of equipping it can be a costly mistake.
Players who enjoy optimizing systems across older PC games may also like our Deus Ex: Invisible War leveling route and Dragon Lapis farming guide. Both reward the same habit: spend resources where they improve the next several decisions, not just the current screen.
How to Spend and Upgrade Equipment Without Ruining a Run
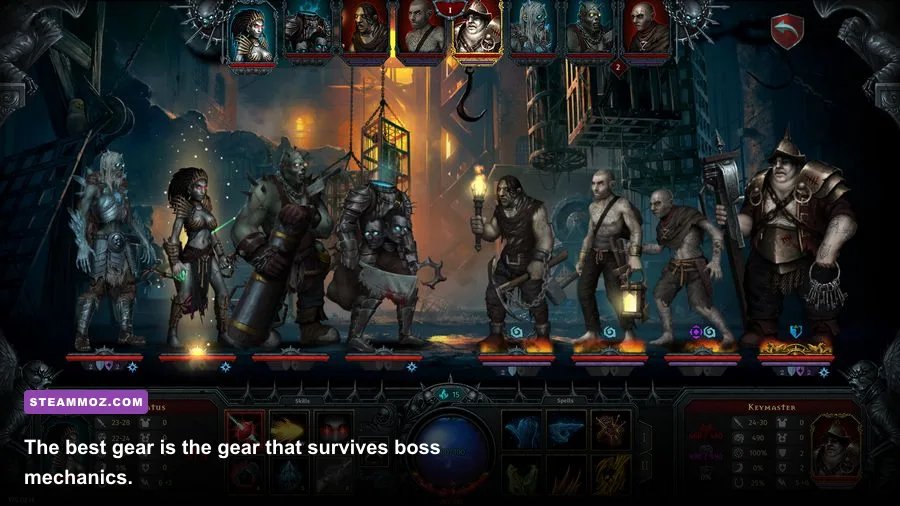
The biggest equipment mistake in Iratus is upgrading every interesting drop. Materials, mana, and bodies are limited, and an expensive item is only good if it supports a minion you expect to keep alive. Establish one primary damage package, one defensive package, and one flexible support package before you start investing heavily.
A practical upgrade order
First, equip your primary attacker with accuracy or initiative. Second, add the relevant penetration stat for the damage type you are using. Third, improve survivability on the minion that protects your formation. Only after those foundations are in place should you chase critical damage, bonus power, or highly specialized status effects.
Keep lower-rarity equipment with clean affixes. A common weapon offering accuracy and penetration can be more valuable than a rare weapon carrying unrelated bonuses. Sell or dismantle gear that mixes physical attack, stress power, and defensive stats unless you are deliberately building a hybrid minion. Hybrid parties can work, but they demand better skill selection and tighter positioning.
Party construction should match the equipment you find. If your early drops favor stress power, develop Banshee, Lich, or Shade rather than forcing a physical formation. If you find accuracy and penetration, Skeleton and Dark Knight become safer investments. This adaptive approach is much stronger than following a fixed party plan while ignoring the loot in front of you.
| Campaign stage | Best investment | Reason | Common mistake |
|---|---|---|---|
| Early floors | Accuracy, initiative, basic defense | Prevents misses and early casualties. | Chasing perfect legendary rolls too soon. |
| Mid campaign | Penetration and role-specific power | Enemy defenses become more specialized. | Keeping mixed-stat equipment on core minions. |
| Late campaign | Crit, stress effects, and boss-specific defense | Builds payoff once reliability is already solved. | Ignoring survivability because damage numbers look impressive. |
| Boss preparation | Initiative plus mitigation | Lets your party survive scripted opening pressure. | Entering with general-purpose gear unchanged. |
Finally, remember that equipment cannot rescue poor positioning. Check the minion’s available skills, movement requirements, and attack range before committing to a weapon. A perfect damage roll is wasted if the user spends half the battle returning to the correct row. For technical PC troubleshooting, Steamoz’s crashing and stutter guide is useful; for strategy, the official Unfrozen Iratus page remains the best place to confirm the game’s current edition details.
Final ranking: accuracy-plus-penetration weapons and stress-power-plus-penetration weapons sit firmly in S-Tier, while block and ward gear are the defensive backbone of serious runs. Critical builds belong in A-Tier until their reliability is established, and raw damage or mixed-stat items should wait for a specific plan. Build around what your minions actually do, upgrade only equipment that supports the next stretch of the dungeon, and even an ordinary drop can become the item that carries the campaign.