
If you want fast levels and a healthy wallet in Dreamscape, stop treating every enemy as equally valuable: clear the highest-density quest zone you can finish without burning through consumables, spend your first 20 levels on one damage stat, and switch to short dungeon loops as soon as your clear time drops below five minutes. The best overall pattern is questing for unlocks, elite events for gear, and repeatable dungeons for gold.
This guide focuses on efficiency rather than blind grinding. Dreamscape rewards players who understand travel time, enemy density, sell values, and the difference between experience per kill and experience per minute. A monster that gives 30% more experience but takes twice as long to defeat is a bad target. The same goes for a dungeon with a spectacular final chest if the entrance run, loading screens, and repair costs erase the profit.
Before following any route, check the game's current official Dreamscape listing and its update notes. Balance patches can change enemy health, quest rewards, and drop tables without changing the basic logic below. For wider grinding advice, Steamoz's Dragon Lapis farming guide covers the same crucial idea: measure the loop, not the most exciting individual reward.
Start With the Fastest XP Route
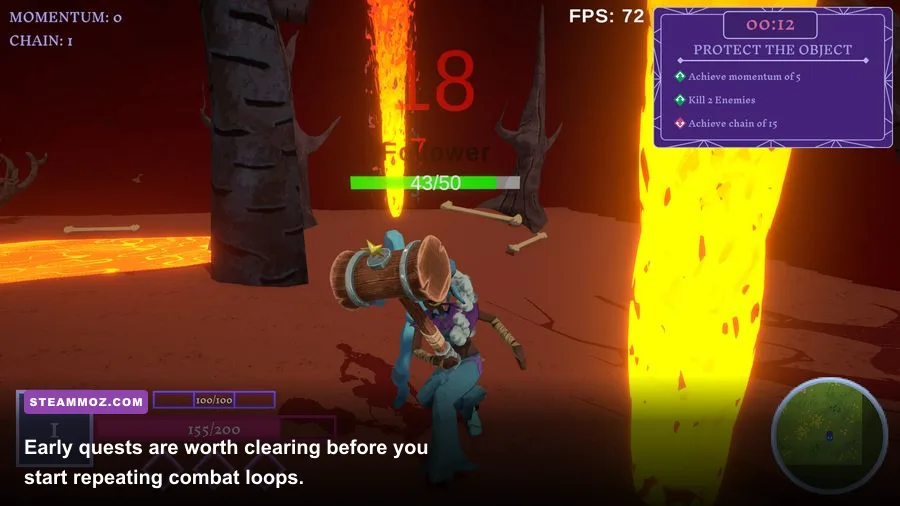
Your first objective isn't maximum gold. It's unlocking the activities that make gold farming worthwhile. In the opening stretch, follow the main quest until the game opens its first repeatable activity, then complete side objectives only when they sit directly on your route. Detouring across the map for a single chest feels productive, but early travel time quietly destroys your experience-per-minute rate.
Use a simple three-part loop. Accept every available combat quest in the same hub, clear the nearest enemy group, and return only after multiple objectives are complete. If the quest board offers “defeat” tasks for the same creature family, stack them before leaving town. A single trip through a dense camp should ideally progress two or three objectives at once.
For the first 10 levels, prioritize enemies you can defeat in three or fewer attack cycles. At that point, your weapon's raw damage matters more than a small amount of bonus loot chance. From levels 10 to 20, move to the next zone when ordinary enemies fall in four seconds or less and you can defeat an elite without using a healing item. Those two benchmarks are more useful than the suggested level printed on the map.
| Progression stage | Best activity | Target clear time | Why it works |
|---|---|---|---|
| Levels 1–10 | Main quests and stacked combat tasks | 3–5 minutes per quest cluster | Unlocks zones, vendors, and core abilities quickly |
| Levels 10–20 | Dense enemy camps and nearby elites | 4 seconds per normal enemy | High XP per minute with minimal travel |
| Levels 20–30 | Elite events plus side quests on route | 8–12 minutes per event | Combines experience with upgrade materials |
| Level 30+ | Repeatable dungeons and boss checks | Under 5 minutes per run | Best balance of XP, equipment, and sellable loot |
Don't spend early gold chasing a perfect weapon. Replace gear when the upgrade gives roughly 15% more attack or noticeably improves your ability cooldowns. Small upgrades that reduce a normal enemy from five hits to four are excellent; upgrades that merely add 2% critical chance usually aren't. Save enough currency for healing items, teleport fees, and the first meaningful inventory expansion.
Daily objectives should be handled before ordinary grinding. Their rewards are often front-loaded, and they can include currencies or upgrade items that would otherwise take several dungeon runs. If a daily asks you to defeat enemies in a zone you haven't unlocked, keep progressing the main story rather than forcing an inefficient detour.

🎮 Dream
Looking to experience this game? Grab your digital key directly on our store for $14.99.
View on Steammoz Store →Build for Clear Speed, Not the Character Sheet
Fast leveling in Dreamscape comes down to reducing downtime. A build with slightly lower peak damage can outperform a glass cannon if it has an area attack, a reliable movement tool, and enough defense to avoid stopping after every pack. Put your early stat points into your primary damage attribute until your normal attacks kill standard enemies in one fewer hit. After that, add survivability only when incoming damage is slowing the route.
For a general-purpose damage build, use a 3:1 split between your primary attack stat and health or defense through the early game. If your class has a resource stat such as energy or mana, add points only when you cannot cast your main area skill on every second pack. Overinvesting in resource regeneration feels comfortable, but it delays the damage breakpoint that makes farming faster.
Your skill bar should include one opener, one area attack, one mobility or crowd-control skill, and one emergency button. Open with the area skill when enemies are grouped, use the mobility skill to pass through or reposition behind the pack, and reserve the emergency skill for elites. Don't waste a long cooldown on the final enemy in a group. That habit is responsible for more slow dungeon runs than weak equipment.
| Build element | Early priority | Farming priority | Common mistake |
|---|---|---|---|
| Primary damage stat | Highest available investment | Maintain one-hit or one-cycle breakpoints | Splitting points across every attribute |
| Area skill | Unlock as soon as possible | Use on grouped packs every rotation | Saving it for bosses only |
| Mobility skill | Useful but secondary | Shortens travel and resets positioning | Using it offensively and losing an escape |
| Defensive skill | Needed for elites | Prevents healing downtime | Replacing it with a tiny damage boost |
| Critical or loot stat | Low priority | Worth adding after damage breakpoints | Stacking it before clear speed is stable |
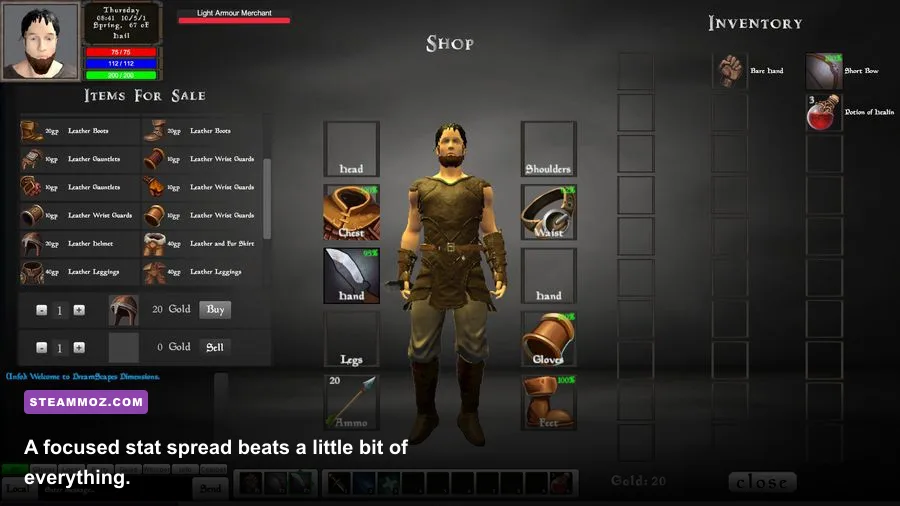
Gear upgrades should follow the same rule. Equip the weapon with the best effective damage, not automatically the one with the highest item level. A weapon with 90 attack and a useful cooldown bonus can beat one with 100 attack if the bonus lets you cast your area attack every pack. For armor, prioritize health until you can survive an elite's telegraphed attack, then favor defensive bonuses that reduce recovery time.
Keep a second weapon or loadout only if swapping takes seconds and the game rewards it. A dedicated boss setup can be worthwhile later, but carrying multiple underpowered sets during the opening hours just drains gold through upgrades. Players who enjoy testing builds can compare this approach with Steamoz's credit-route breakdown, which also treats downtime as a hidden cost.
Turn Dungeons Into a Reliable Gold Engine
Once you can clear a repeatable dungeon in about five minutes, start tracking profit per run. The ideal dungeon has a dense opening, enemies that drop equipment consistently, and a final chest that can be reached without a long puzzle or escort sequence. Your gold result is not the number shown on the completion screen. It is vendor income plus direct currency minus repairs, consumables, entry fees, and the value of time spent returning to town.
Run the dungeon three times before judging it. The first run includes learning the route, the second reveals your normal pace, and the third shows whether cooldowns and consumables are sustainable. If you finish with less than 10% of your healing stock or need a full repair every run, move down one difficulty. A slower difficulty with no downtime usually earns more over an hour.
Kill optional elites only when they are positioned near the main route. Their drop chance can be attractive, but a 90-second detour is rarely justified unless the elite drops a material needed for your next weapon upgrade. Skip low-value side rooms after you have checked their loot table. Farming isn't about clearing every visible enemy; it's about removing the enemies that contribute to your next meaningful reward.
| Dungeon behavior | Keep doing it when | Skip it when | Efficiency target |
|---|---|---|---|
| Opening enemy packs | They die in one area rotation | You need multiple defensive cooldowns | 30–45 seconds per pack |
| Optional elite | It is within 20 seconds of the route | It requires a separate room or reset | Under 60 seconds including travel |
| Side chest | It is on the direct path | It adds a long backtrack | At least one useful item every 3–4 runs |
| Final boss | Kill is consistent and under 90 seconds | Mechanics cause frequent deaths | Zero deaths across five runs |
Sell common equipment in batches instead of returning after every inventory slot fills. Keep crafting materials until you know their use, but sell duplicate low-level weapons, outdated armor, and excess consumables. If the game has a dismantle option, compare the material value with the vendor price. Dismantling is only better when those materials directly support an upgrade you plan to make soon.
Do not buy random gear from the first merchant you see. Merchant equipment is usually a convenience purchase, not a profitable investment. Spend gold on guaranteed upgrades, permanent inventory capacity, and travel tools. The exception is a weapon that immediately changes your clear breakpoint; that kind of purchase can pay for itself through faster runs.
Use Bosses and Events Without Wasting Time
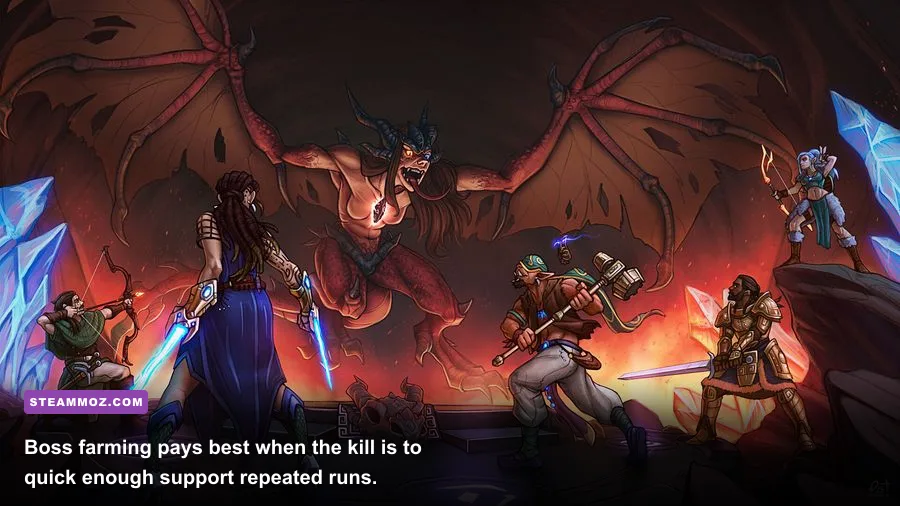
World events and bosses are excellent supplement income, but they shouldn't replace your main farming loop unless the reward table is unusually strong. Check the event timer when you enter a hub, then continue questing or run a dungeon while waiting. Dropping everything to stand beside a spawn point is lost experience and lost gold.
Learn the boss's telegraphs before increasing difficulty. Most Dreamscape bosses signal a wide attack with a ground marker, a targeted attack with a player indicator, and a lethal sequence through a short arena animation. Stay at medium range until the marker appears, then move laterally rather than backward. Backpedaling often runs you into a wall or keeps you inside the damage zone.
Your damage rotation should be built around the boss's vulnerable window. Use short cooldown attacks while the boss is active, hold your strongest burst for a stagger, shield break, or exposed phase, and keep one mobility skill ready for the arena-wide attack. A dead player produces zero gold, so defensive timing matters more than squeezing out one extra hit.
Events are worth prioritizing when they provide upgrade materials, guaranteed currency, or gear above your current dungeon quality. They are less attractive when participation rewards are fixed and the boss has a long invulnerability phase. Record the total time from travel to reward, not just the combat duration.
| Encounter signal | Danger | Counter | Best reward window |
|---|---|---|---|
| Large ground marker | Delayed area damage | Move sideways before the marker fills | Immediately after the attack lands |
| Targeted player icon | Projectile or charge follows one player | Lead it away from the group | When the boss finishes the cast |
| Arena-wide animation | High damage or instant defeat | Use cover, immunity, or the marked safe zone | During the recovery animation |
| Stagger or exposed phase | Short burst opportunity | Spend stored cooldowns together | Use your strongest damage skills |
For players who like route planning, Steamoz's hidden-reward guide is a useful reminder that optional content should be judged by reward density. In Dreamscape, a secret chest is worth chasing when it sits along a regular route. It isn't worth building an entire farming session around a low-probability drop.
Protect Your Gold and Build a Repeatable Hour
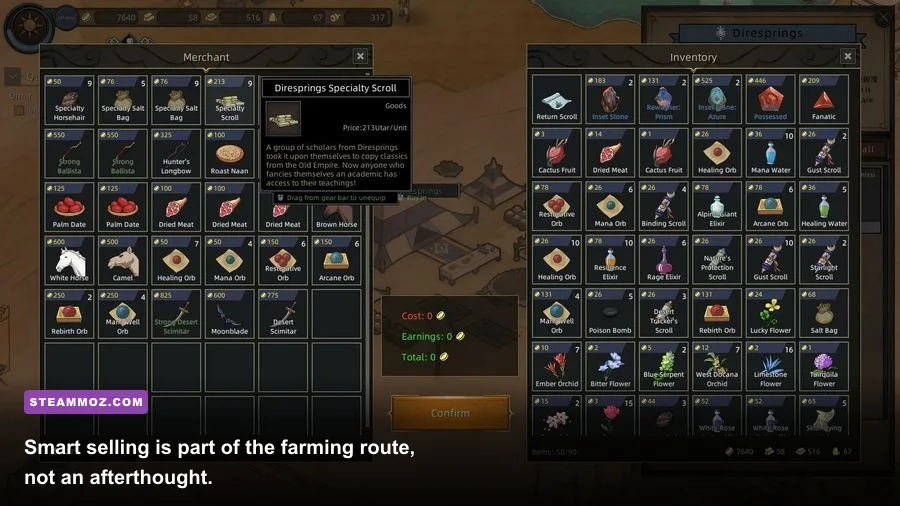
The strongest Dreamscape farming session is predictable. Start by collecting daily rewards and nearby quests, complete one event if its timer is convenient, then run your fastest dungeon until your inventory is nearly full. Return to town, sell in one batch, repair, restock only what you used, and repeat. This rhythm avoids the two biggest economy leaks: unnecessary travel and impulse spending.
Keep three separate mental budgets. Your operating budget covers repairs and consumables. Your upgrade budget covers the next weapon, skill, or inventory expansion. Your reserve is money you don't touch unless the game introduces an unexpected fee or a valuable guaranteed upgrade. A good rule is to keep enough currency for five dungeon repairs before buying cosmetic items or speculative gear.
Track four numbers for every serious route: experience gained, gold gained, consumables used, and total minutes including town trips. After three runs, calculate the average. If a route gives 12,000 gold in 20 minutes, that is 36,000 gold per hour before costs. If another gives 9,000 gold in 10 minutes but requires a costly repair every run, compare net income rather than the headline reward.
| Session segment | Action | Time goal | Reason |
|---|---|---|---|
| Opening | Collect dailies and nearby objectives | 3–5 minutes | Front-load guaranteed rewards |
| Progression | Clear quest or event route | 10–15 minutes | Earn XP while waiting for profitable activities |
| Farm block | Repeat fastest sustainable dungeon | 30–40 minutes | Reduce travel and stabilize loot income |
| Town reset | Sell, repair, restock, upgrade | Under 3 minutes | Keep non-combat downtime under control |
Inventory management deserves special attention. Mark your current weapon, best armor pieces, crafting materials, and event tokens as protected if the game supports locking items. Everything else should be evaluated immediately after a run. Keeping ten obsolete items “just in case” creates clutter and makes it easier to sell the one material you actually needed.
For technical performance, favor stable frame pacing over maximum visual quality. Lower effects and shadows first if crowded fights cause stutter, and keep the camera distance high enough to read attack markers. A stable 60 frames per second makes telegraphs easier to react to and can indirectly improve gold per hour by reducing deaths. Steamoz's PC stutter troubleshooting guide has useful general fixes, while its graphics-settings breakdown explains why shadows and effects are usually the first cuts.
The short version is simple: quest until the next repeatable activity unlocks, stack objectives, build around one damage stat and one dependable area skill, then measure dungeon profit after costs. Farm events while they are convenient, not while they are merely flashy. Once you know your average gold and experience per minute, Dreamscape stops feeling like an endless grind and starts behaving like a route you can optimize.
For patch-specific changes, check the developer's official community channels and the game's official update resources before committing to a new farm. The best route will always change when enemy health, dungeon rewards, or vendor values change, but the winning principle won't: clear quickly, travel less, spend carefully, and measure the whole run.