
Frostpunk: The Rifts has no weapons, character equipment, or conventional gear screen. The DLC is an Endless Mode map built around bridges, steel logistics, heat coverage, and carefully staged expansion. So the honest tier list ranks the systems that determine survival: Automatons and advanced industry sit in S-Tier, bridge infrastructure and efficient heating belong in A-Tier, while most military-sounding ideas simply do not exist. If you’re searching for the best equipment in The Rifts, spend your resources on Workshops, Steelworks, Hothouses, and the technologies that keep workers productive through the storm.
That distinction matters because Frostpunk rewards a completely different mindset from an RPG or survival shooter. There’s no rifle to upgrade, no armor set to farm, and no boss weak point waiting behind a quest marker. Your “loadout” is the city’s production chain. A bad bridge placed too early can hurt more than any enemy attack, because it drains steel, stretches your workforce, and opens another heating problem before your first island is stable.
This guide is based on the PC version of Frostpunk and the mechanics added by The Rifts DLC on Steam. It also pairs well with our broader PC strategy-game settings guide if you’re tuning performance for a large late-game settlement.
The Rifts “weapon tier list” explained
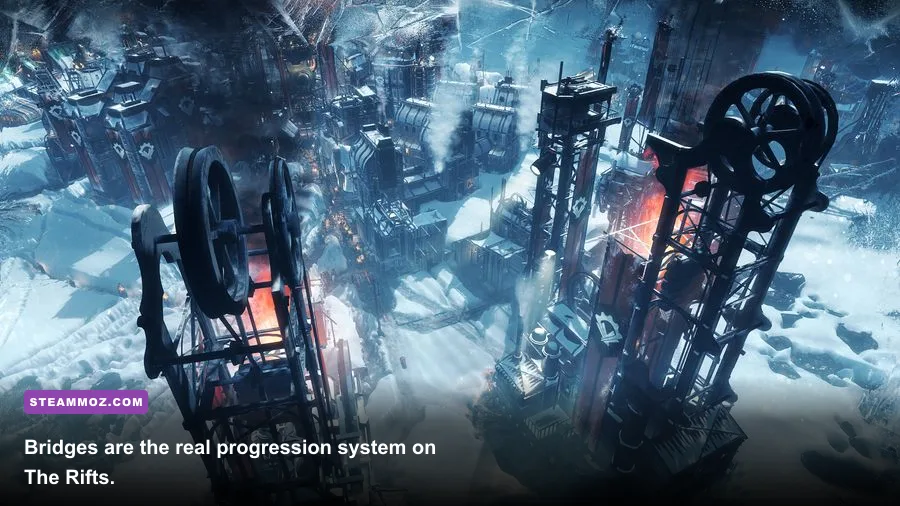
The first ranking is simple: there are no weapons in Frostpunk: The Rifts. The game’s citizens can become workers, engineers, children, or Faith and Order followers, but they don’t equip guns, melee weapons, shields, or armor. The Captain’s authority comes from laws, hope, discontent, and infrastructure rather than combat stats.
The closest equivalents to equipment are production upgrades and specialized workforce tools. A Workshop unlocks technologies, a Factory creates Automatons and Prostheses, a Steelworks converts coal into steel, and a Hothouse provides food with a smaller footprint than a full hunter system. These are the choices that change your settlement’s effective power.
| Rank | System | Why it matters | Best timing |
|---|---|---|---|
| S-Tier | Automatons | Work around the clock and ignore sickness | Mid to late game, once Factory research is affordable |
| S-Tier | Advanced Steelworks | Supports bridges, industry, and late-game research | Before major island expansion |
| A-Tier | Steam Hubs | Extend heat without enlarging the generator zone | When remote industry comes online |
| A-Tier | Hothouses | Compact food production for crowded islands | After coal and steel stabilize |
| B-Tier | Medical upgrades | Protect workforce uptime but produce no resources | When sickness threatens production |
| Not applicable | Weapons and armor | Not present in Frostpunk | Never |
That final row isn’t a technicality. Guides that list pistols, axes, weapons, or character gear for The Rifts are mixing Frostpunk with another game. The strongest “equipment ranking” is really a priority ranking for industrial capability.

🎮 Frostpunk: The Rifts
Looking to experience this game? Grab your digital key directly on our store for $0.74.
View on Steammoz Store →S-Tier: Automatons and the industrial engine
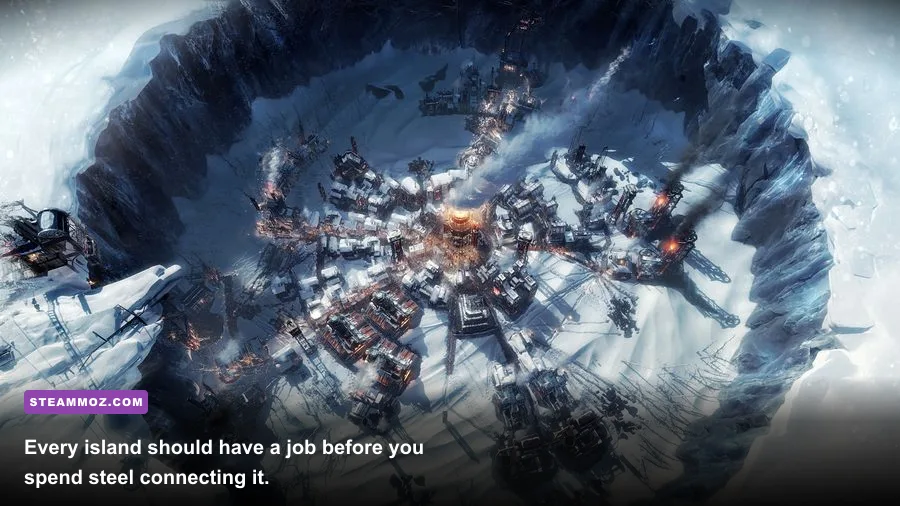
Automatons are the best late-game asset in The Rifts because they solve three problems at once: labor shortages, sickness-related downtime, and the brutal working conditions created by distant islands. An Automaton can operate a workplace continuously, including through the night, and it doesn’t care whether the building is chilly enough to make human workers sick.
That doesn’t mean you should rush the Factory on day one. The research path requires a serious investment in engineering capacity, steam cores, and steel. Your early settlement still needs people gathering wood, coal, and steel while Workshops unlock core technologies. A Factory built before the economy can feed it is an expensive monument.
The best Automaton targets are high-value industrial buildings: Steelworks, Coal Thumpers with gathering support, Wall Drills, and late-game resource sites. Avoid assigning one to a low-output building simply because the option is available. The point is to free human workers for construction, medical care, scouting, and bridge work.
Automaton efficiency upgrades become much more valuable when your city operates several remote sites. Research that improves their workplace output and lowers the resource burden of keeping them running turns one machine into a reliable replacement for a large labor block. The exact payoff depends on your difficulty, but the strategic rule is consistent: put machines where a sick workforce would create a chain reaction.
Why Advanced Steelworks beats almost everything
Steel is the pressure point of The Rifts. You need it for structural expansion, advanced buildings, research infrastructure, and the bridges that unlock new islands. A food shortage hurts immediately, but a weak steel economy can freeze your entire plan because you can’t connect the next resource source or finish the technology that fixes your current bottleneck.
Build your first Steelworks as soon as your wood and coal economy can support it. Upgrade the building when the additional steel will be used, not merely because the button is available. A Steelworks that sits idle while your city starves for food is not an S-Tier asset; it’s a very expensive distraction.
For another perspective on ranking weapons and gear in games that actually have them, see our Biped 2 weapon tier list. Frostpunk’s difference is the important part: your “damage output” is measured in resources per hour and healthy workers.
A-Tier: Bridges, heat, and compact production
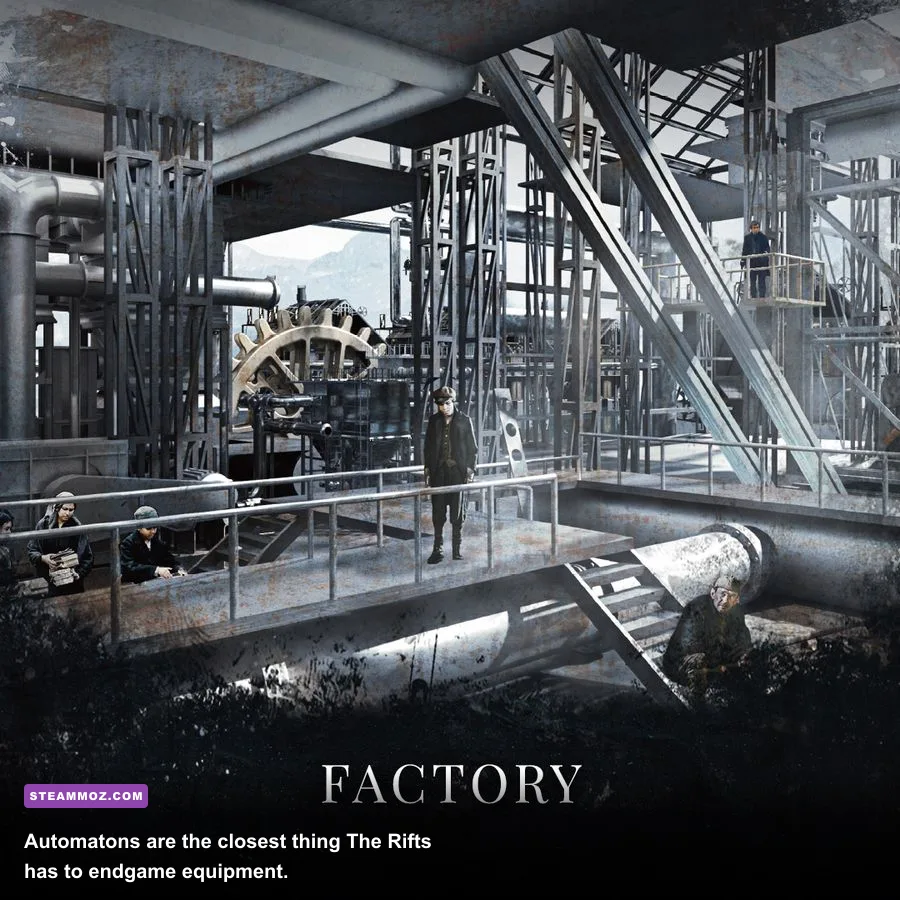
Bridges are The Rifts’ signature mechanic, but they’re not automatically S-Tier. A bridge is only valuable when the island beyond it solves a specific problem. Connecting every available route as soon as possible can leave your settlement with scattered workplaces, longer walking paths, extra heat demand, and too many construction projects competing for the same steel.
Before committing to a bridge, write down the payoff. Does the destination contain a needed resource? Does it create room for housing? Can you staff or automate the buildings there? If the answer is “not yet,” hold the steel. The strongest players treat bridges as investments with a break-even point, not as exploration collectibles.
Steam Hubs are usually better than trying to drag the generator’s full heating radius across a sprawling network. Place them close to dense work clusters and remember that overlapping heat zones waste coal. The ideal layout has a compact residential core around the generator, then small industrial islands covered by carefully scheduled Steam Hubs.
Hothouses also deserve A-Tier status because The Rifts punishes inefficient land use. Hunters need room and workforce time, while Hothouses turn a compact footprint into a dependable food source. They consume steam cores, so they’re not free, but a Hothouse can be the cleaner solution when bridges and island boundaries leave you with little room for sprawling hunter facilities.
| Tool or building | Tier | Main strength | Main drawback |
|---|---|---|---|
| Bridge | A | Unlocks new land and resource nodes | Consumes steel and expands logistics |
| Steam Hub | A | Efficient remote heat coverage | Raises coal demand if left running constantly |
| Hothouse | A | High food density in limited space | Uses a steam core and needs heat |
| Wall Drill | A | Reliable wood supply for a growing city | Requires a suitable wall location and labor |
| Gathering Post | B | Improves early collection efficiency | Becomes less valuable as deposits are exhausted |
The practical lesson is to build vertically in value before expanding horizontally in distance. Upgrade the industries that support your next bridge, then build the bridge. Doing it in reverse is how a promising run becomes a cold, underfunded sprawl.
B-Tier: Medicine, laws, and the human workforce
Medical infrastructure belongs in B-Tier only because it doesn’t directly expand production. It can still save a run. The Rifts’ separated work zones create long travel routes and make sudden sickness especially painful. A sick worker is not just one missing pair of hands; it can be the person staffing your only Steelworks during a bridge push.
Build Medical Posts early enough to prevent a sickness pileup, then consider an Infirmary when your population and illness levels justify it. Overbuilding medical capacity before the economy is stable wastes engineers who could be researching the technologies that solve the original problem. The right target is enough beds to absorb a bad shift, not a hospital district with nothing to treat.
Law choices also function like equipment modifiers. The Adaptation path can improve food, health, and workforce resilience, while the Purpose path can raise hope and unlock powerful social tools. Emergency Shift and Extended Shift can push a crucial building through a deadline, but repeated use drives discontent and risks accidents. Treat them like cooldown abilities, not permanent buffs.
Radical Treatment and Overcrowding are powerful early tools when used with a plan. Overcrowding increases medical capacity without immediately spending more space, but it makes a later sickness wave harder to manage. Radical Treatment saves treatment time at the cost of amputations, which can eventually make Prostheses and a Factory strategically valuable.
Child Labor can provide a major early workforce increase, especially for safe workplaces, but it carries obvious safety and hope consequences. If you choose it, use the extra labor to reach a stable production threshold quickly rather than normalizing dangerous assignments forever. Frostpunk is built around these tradeoffs, and The Rifts gives you fewer safe places to hide a bad one.
The best research order for The Rifts
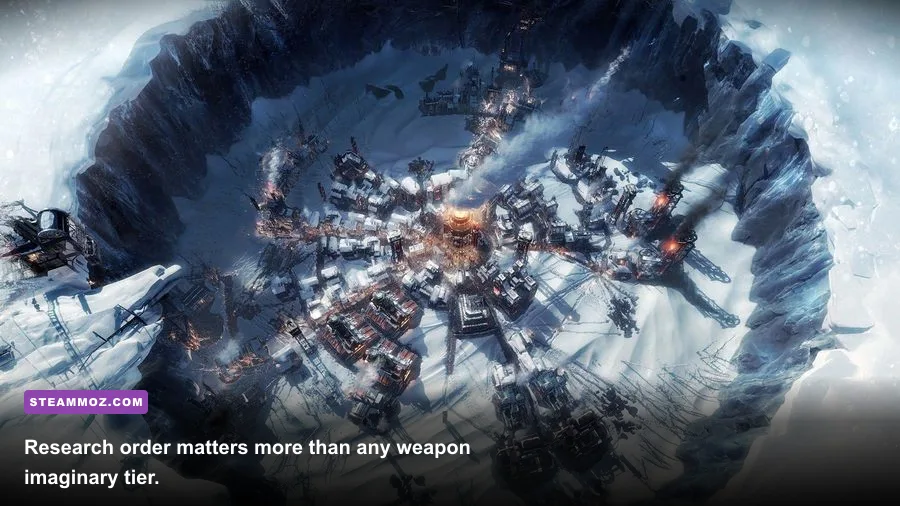
Research is your real skill tree. The strongest opening does not chase every attractive technology; it targets the next constraint. Start with enough resource-gathering and heating research to keep people alive, then build toward the industry that pays for your first serious expansion.
Beacon research can be valuable for exploration and additional people, but The Rifts’ bridge economy means you shouldn’t treat scouting as a substitute for internal production. Heating research becomes urgent as soon as remote workplaces appear. Steam Hubs, Generator Range, and efficiency improvements are not glamorous, yet they prevent coal from swallowing the settlement.
In the resource branch, prioritize technologies that improve the deposits you’re actively using. A Wall Drill is a powerful long-term wood answer, while improved Steelworks technologies support the bridge network. Coal Thumper upgrades are useful when you can staff the gathering posts; otherwise, the technology’s paper output won’t match the labor it demands.
When the economy can support it, move into the Factory and Automaton technologies. The payoff is strongest when the machine works around the clock in an industrial building. Keep engineers in Workshops during the research sprint, and consider Extended Shift there if the discontent cost won’t destabilize your laws.
| Stage | Priority research | Reason | Do not overcommit to |
|---|---|---|---|
| Opening | Basic heating and resource gathering | Prevents early sickness and resource collapse | Luxury production upgrades |
| First expansion | Steam Hubs and steel production | Supports remote work and bridge construction | Scouting without food or housing support |
| Mid game | Hothouse, Wall Drill, upgraded industry | Raises output in cramped island layouts | Buildings you cannot staff |
| Late game | Factory and Automaton upgrades | Converts steam cores into permanent labor efficiency | More bridges than your economy can supply |
For official background on the game’s design and updates, check the 11 bit studios Frostpunk page and the community wiki entry for The Rifts. Use the wiki for map-specific reference, but make decisions from your actual resource flow rather than copying a build order blindly.
A winning loadout for every stage
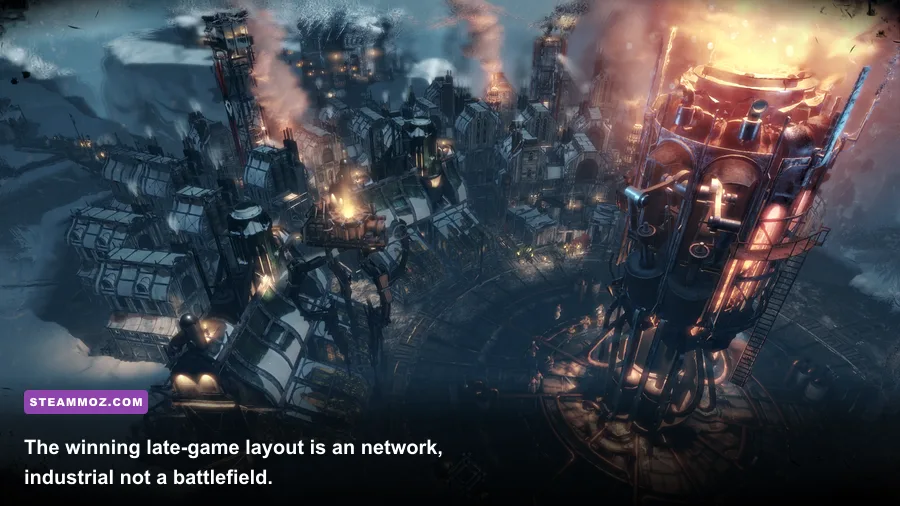
Since there is no equipment menu, think of your loadout as a four-part package: one production engine, one heating solution, one food solution, and one workforce policy. The best combination changes as the settlement grows.
In the opening, use Gathering Posts to consolidate nearby resources, keep housing close to the Generator, and place Workshops early enough to maintain research momentum. Don’t spend your first steam cores casually. They represent future Hothouses, Automaton production, advanced industry, and other upgrades that can change the entire shape of the colony.
During the mid game, establish a dedicated steel plan before the bridge network expands. Keep coal stockpiled for heating spikes and avoid staffing every island with permanent human crews if an Automaton can cover the most dangerous or distant workplace. A remote Steam Hub that runs only during work hours can save a huge amount of coal, provided workers aren’t freezing during travel or shift changes.
In the late game, your goal is redundancy. Have more than one source of critical resources, enough medical capacity for a bad day, and a food reserve that can survive a missed hunting cycle. Use Automatons on the jobs that would be hardest to recover if sickness spreads. This is where The Rifts stops feeling like a standard city builder and starts behaving like a logistics puzzle.
Here’s the practical ranking to keep beside your save file:
| Settlement phase | Best “equipment” package | Primary objective | Common mistake |
|---|---|---|---|
| Days 1–5 | Gathering Posts, Workshop, compact Generator zone | Secure wood, coal, steel, and research | Building too many roads or spending steam cores early |
| Early mid game | Steelworks, Steam Hub, Hothouse planning | Prepare for the first profitable bridge | Expanding before coal and food are stable |
| Mid game | Upgraded industry and medical backup | Keep remote islands productive | Leaving distant workplaces understaffed |
| Late game | Factory, Automatons, redundant resource chains | Run a resilient multi-island economy | Using every steam core without a production plan | </tbody></table></div>