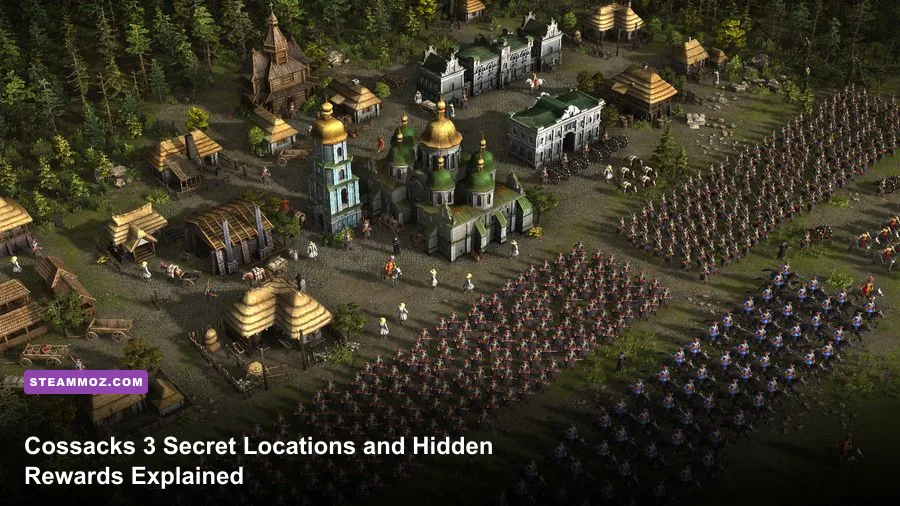
Short answer: Cossacks 3 does not have a universal collectible system with fixed secret chests in every campaign. Its hidden rewards are scenario-specific: optional objectives, concealed settlements, map-edge resource deposits, neutral troops, diplomacy bonuses, and event triggers that can change between campaign versions or custom maps. The safest way to find them is to scout before destroying neutral assets, inspect every road and corner, save before completing major objectives, and read the mission briefing as if it were a treasure map.
That distinction matters. A lot of online “all secret locations” lists quietly mix Cossacks 3 with other real-time strategy games, or present a random skirmish map as though it contained a permanent Easter egg. Cossacks 3 is built around authored scenarios and a powerful map editor, not a shared collectible database. If a guide gives one screen coordinate without naming the campaign, mission, difficulty, and map version, treat it with suspicion.
This guide focuses on the repeatable methods that uncover genuine hidden rewards, then explains where the game tends to place them. It also shows how to verify a reward instead of wasting an hour searching a procedurally generated skirmish map. For broader RTS efficiency, the same scouting discipline pairs nicely with Steamoz’s weapon-tier planning guide, even if the games approach progression very differently.
How Secret Rewards Actually Work in Cossacks 3
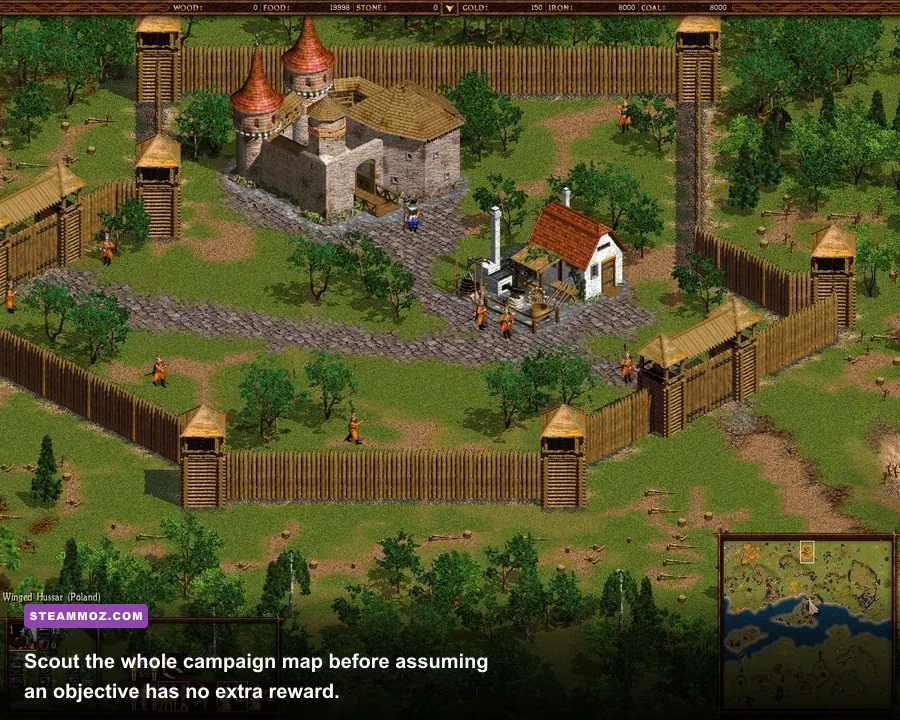
Cossacks 3 gives you a huge battlefield, but not every interesting object is a scripted secret. The game’s campaigns can contain objectives that only appear after a conversation, a rescue, a destruction event, or a visit to a neutral settlement. Other rewards are simply concealed by the fog of war. You may find a mine, artillery position, warehouse, or friendly force that makes the next phase dramatically easier.
There are four categories worth separating:
- Optional objectives: rescuing an ally, protecting a village, capturing a position, or eliminating a secondary target can produce a new objective, diplomatic advantage, or immediate military support.
- Hidden map assets: mines, forests, farms, neutral buildings, artillery, and small troop groups often sit away from the obvious route. They are not always “secret” in the achievement-hunting sense, but they are easy to miss.
- Scripted event rewards: a trigger may activate only when a named unit reaches a location, an enemy structure is destroyed, or a timer expires. Completing the main objective too quickly can skip the event.
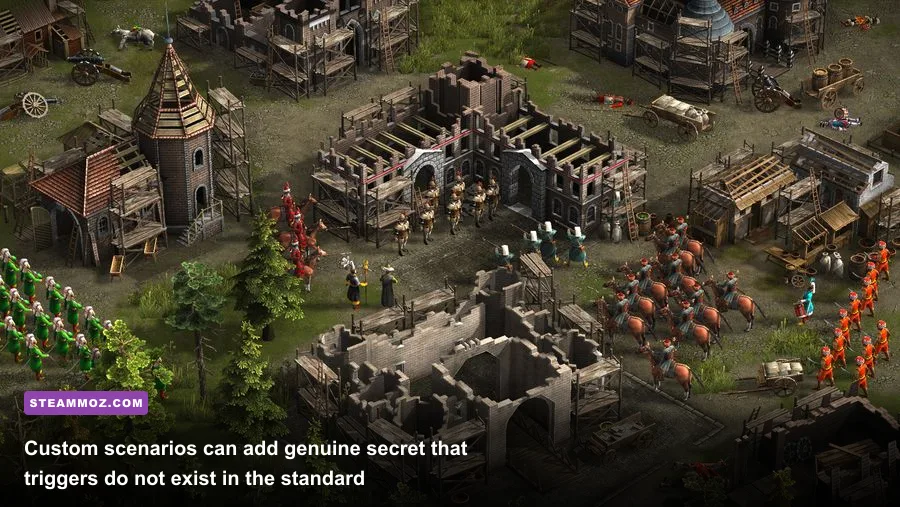
- Editor-created secrets: custom scenarios can use event triggers and hidden objects to create genuine secret rooms, rewards, or ambushes. These have no fixed solution across the entire game.
The practical lesson is simple: never rush the first victory condition. Before destroying the marked enemy headquarters, sweep the unexplored coastline, hills, forests, and roads. In a game where armies can reach several thousand units, a single overlooked mine or neutral artillery battery can be worth more than an early attack.
| Reward Type | Where It Usually Appears | How to Activate It | What You Gain |
|---|---|---|---|
| Optional ally | Side road, village, or fortified outpost | Approach, talk, rescue, or protect | Troops, diplomacy, or a safer flank |
| Resource cache | Map edge, forest gap, isolated peninsula | Reveal the area with scouts | Gold, iron, coal, stone, or food access |
| Event trigger | Named landmark or enemy structure | Complete a condition in the right order | Reinforcements, objective update, or bonus |
| Neutral artillery | Hill, fort, bridge, or settlement perimeter | Capture or preserve the position | Defensive firepower without an expensive build-up |
| Editor secret | Any author-defined coordinate | Follow the scenario’s hidden condition | Unique reward or Easter egg |

🎮 Cossacks 3
Looking to experience this game? Grab your digital key directly on our store for $6.79.
View on Steammoz Store →Where to Search First on Every Campaign Map
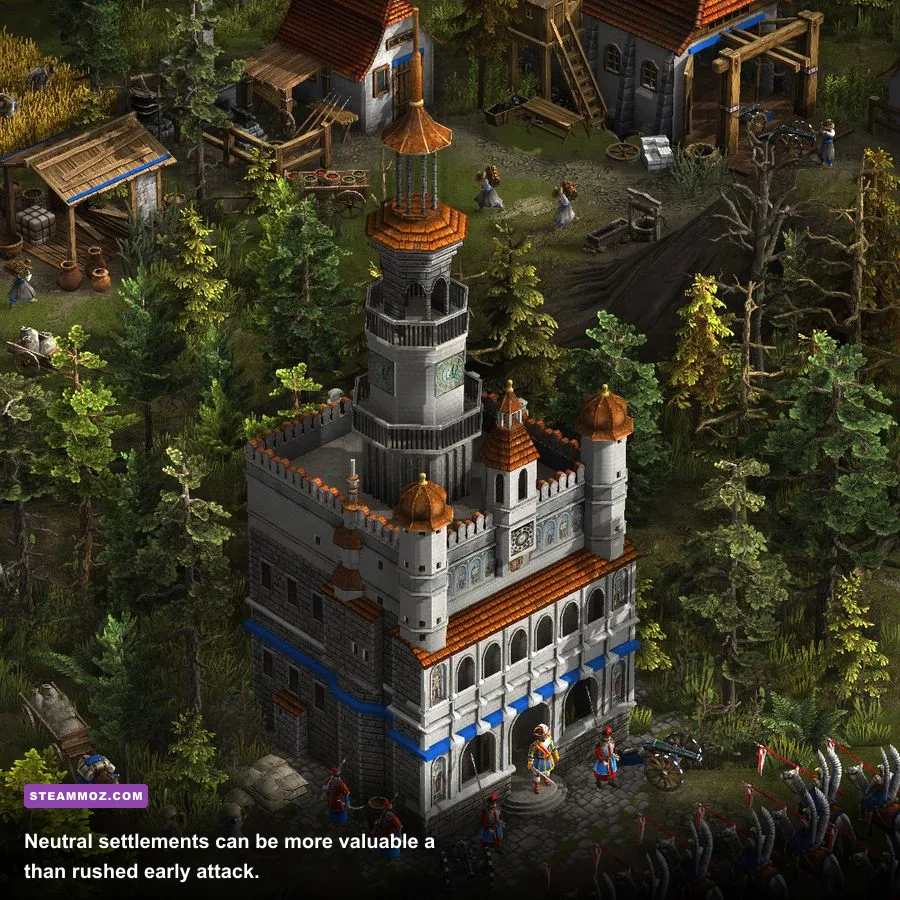
Start with the areas the mission briefing mentions indirectly. If the text refers to a messenger, village, bridge, pass, church, harbor, or allied commander, assume the location matters even if it is not marked as a primary objective. Campaign designers use landmarks to direct you toward scripted events, while the minimap often reveals the broad shape of a settlement before your army reaches it.
Check the four corners. This is the oldest RTS trick in the book and it remains useful here. Send cheap scout units along the outer boundary instead of marching your main force into every forest. Corners frequently hide resource deposits, neutral buildings, narrow crossings, and alternate routes. Keep the scout moving; a stationary unit can be killed by a patrol before it reveals anything important.
Follow roads past the objective. A road ending at an enemy camp is rarely the only point of interest. Continue beyond the visible camp and inspect forks, bridges, and dead ends. If a path appears deliberately placed but leads nowhere obvious, it may be a trigger route or a clue pointing to a secondary settlement.
Search behind terrain blockers. Hills, dense forests, cliffs, and coastlines create natural blind spots. Rotate your camera and use small groups to check both sides of a ridge. A location can be technically revealed while its building remains hidden behind trees, especially when the minimap is crowded with red and green icons.
Inspect neutral buildings before attacking. Neutral does not mean hostile. Firing on a neutral village or fort can remove the very unit group that activates the optional objective. Save first, approach with one small detachment, and watch for a dialogue, objective update, or change in diplomatic status. If nothing happens, you can still attack after confirming the site is not needed.
| Search Area | Best Scout | What to Look For | Common Mistake |
|---|---|---|---|
| Map corners | Fast cavalry or light infantry | Mines, isolated buildings, alternate routes | Checking only the minimap |
| Forest edges | Small two-to-four-unit group | Hidden camps, deposits, ambushes | Sending the entire army |
| Road forks | Mounted scout | Villages, messengers, trigger landmarks | Following the main road only |
| Coastlines | Fast unit or ship where available | Harbors, peninsulas, isolated resources | Assuming water is decorative |
| Behind forts | Vision unit with backup | Artillery, prisoners, rear entrances | Attacking before revealing the area |
Mission Timing Is the Key to Hidden Objectives
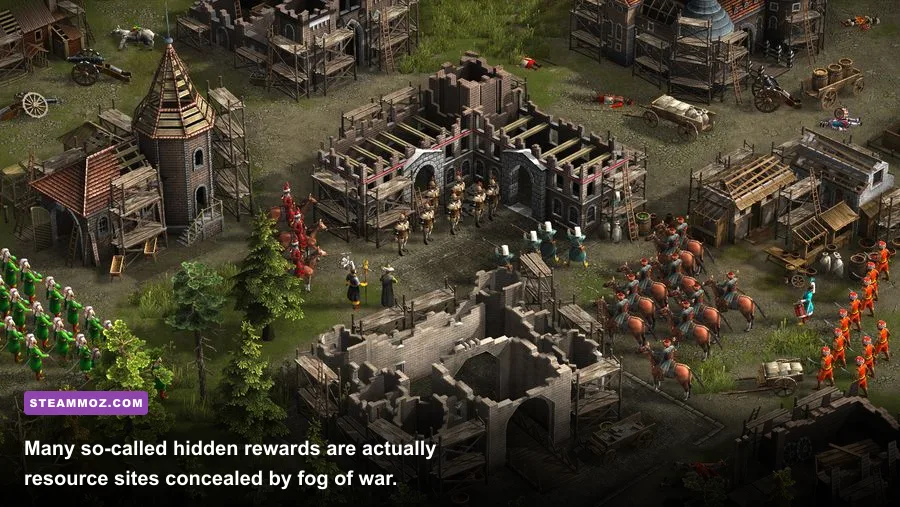
The most important hidden mechanic is order of operations. Many scenario events are condition-based rather than permanently visible. If you destroy a target before speaking to an ally, cross a bridge before protecting a convoy, or let a timer expire, the optional reward may never appear during that attempt.
Use a three-save system. Keep one save at the start of the mission, one after establishing your economy, and one immediately before any major objective. That means a marked headquarters, fortress, bridge, convoy route, or named enemy commander. If the mission ends instantly, you can reload and explore the side areas without replaying the opening build-up.
Read objective wording carefully. “Defeat” is different from “capture,” “protect,” or “reach.” A capture-style objective may require the structure to survive, while a protection objective can fail when a single allied building falls. Likewise, an apparently harmless neutral settlement may become hostile if you attack first. In campaign scenarios, diplomacy is often a reward gate, not background flavor.
When you discover a suspicious location, perform the following test:
- Save before entering the area.
- Approach with one scout or a tiny escort.
- Pause immediately if a message, voice line, or objective update appears.
- Read the new objective and identify its timer, target, and failure condition.
- Only then bring the main army and commit to combat.
This method also protects you from a nasty campaign habit: a “reward” can be military access rather than a visible item. An ally may open a route, reveal enemy positions, or provide troops. If you were expecting a chest, you might miss the benefit entirely and conclude the secret did nothing.
Resource Deposits and Hidden Military Rewards
Cossacks 3’s economy makes resource discovery strategically valuable even when the map contains no scripted treasure. Food supports population and production, wood fuels buildings and many units, stone supports fortifications, iron pays for military equipment, and coal is tied to firearms and artillery demands. Gold is especially dangerous to neglect because advanced troops and technology can drain it rapidly.
Do not build your first mines only around the starting town. After the opening economy is stable, send a dedicated scouting party to locate every deposit within a reasonable defensive radius. A remote gold or iron mine may look like a trap, but securing it behind a blockhouse, walls, or a patrol can be the difference between sustaining veteran formations and stalling in the late game.
Military secrets deserve the same attention. A neutral cannon on high ground can cover a bridge more efficiently than an expensive new battery. A small allied force may pin an enemy flank while your economy develops. A captured fort can also function as a forward repair and staging point, allowing infantry to reinforce without walking across the entire map.
| Discovery | Immediate Value | Long-Term Value | Recommended Response |
|---|---|---|---|
| Gold deposit | Enables faster advanced-unit production | Supports firearms, cavalry, and upgrades | Secure with walls and a garrison |
| Iron and coal | Maintains weapon-heavy armies | Prevents late-game production stalls | Protect mines before expanding army size |
| Neutral cannon | Immediate defensive range | Saves resources otherwise spent on artillery | Approach from cover and preserve it |
| Allied infantry | Extra bodies for the next fight | Creates a second defensive line | Use them to hold, not chase cavalry |
| Forward fort | Safe rally point | Controls a bridge or choke point | Repair, garrison, and reinforce it |
For combat context, do not treat a discovered artillery piece as an automatic win. Cossacks 3 rewards positioning, and guns exposed to cavalry or melee infantry can disappear quickly. Place ranged units behind the discovery, use infantry to screen approaches, and avoid pulling the cannon into open ground simply because the enemy retreats.
How to Verify Secrets in Campaigns and Custom Maps
The cleanest way to confirm a hidden reward is to reproduce it. Load the mission again on the same difficulty, use the same map version, and change only one action: visit the suspected location, protect the neutral unit, or delay the primary objective. If the message or reward appears twice, you have found a real scenario condition. If it does not, the first result may have been a normal resource spawn, a random patrol, or a custom-map event.
Version control matters. Cossacks 3 has received updates and community-made scenarios, and Steam Workshop maps can radically alter the meaning of “all locations.” A guide for a campaign mission cannot reliably describe secrets in a Workshop remake. Check the map title, author, difficulty, and whether the scenario is an official campaign mission before copying coordinates from a video.
For the official PC version, use the Cossacks 3 Steam page to confirm the installed build and supported content. The GSC Game World website is useful for developer information, while the Steam Workshop is the place to check whether a scenario is official or community-created. Community documentation can help, but always compare it against the actual mission briefing.
Custom scenarios deserve extra caution. The editor can hide objects, place triggers outside the main play area, and attach rewards to unusual conditions. Search logically first, then inspect the scenario description for clues. If a map promises a secret but never reacts to exploration, it may require a specific unit, a diplomatic state, or a timed sequence rather than simple proximity.
Keep your expectations realistic: there is no dependable master list of permanent treasure coordinates covering every Cossacks 3 map. The game’s secrets are a blend of authored objectives, tactical discoveries, and editor-defined surprises. That is less convenient than a collectible checklist, but it makes exploration meaningful. You are not just sweeping a map for icons; you are deciding whether the reward is worth the risk, delay, and military commitment.
Best Route for a Full Secret Sweep
Use this order whenever you want the highest chance of finding every hidden reward without wrecking your campaign economy:
- Pause and read the briefing. Mark every named person, settlement, road, bridge, and secondary request.
- Establish the opening economy. Build enough food and wood production to avoid losing the mission while scouting.
- Send two scouting groups. One follows roads and landmarks; the other checks corners, forests, coastlines, and hills.
- Approach neutrals peacefully. Save before contact and avoid firing until the scenario confirms hostility.
- Record resource and military discoveries. A quick note prevents you from forgetting a remote gold mine or artillery position.
- Trigger side objectives first. Protect, rescue, capture, or speak before destroying the main target.
- Save before the finale. If the mission ends immediately, reload and complete the remaining sweep.
- Verify unusual rewards. Repeat the trigger on the same map version before calling it a fixed secret.
The best Cossacks 3 secret hunters are not the players who click every dark patch of terrain. They are the ones who understand scenario logic. Scout the edges, preserve neutral assets, delay irreversible objectives, and treat every named landmark as a possible trigger. Do that and you will uncover the rewards that genuinely exist—without chasing invented chest locations or confusing a Workshop surprise with an official campaign secret.
If you enjoy guides built around practical discovery rather than empty checklist hunting, Steamoz’s secret-location guide for Journey to the Savage Planet offers a useful contrast. For players moving between strategy and action games, our IXION equipment rankings are also worth bookmarking when you want a more formal upgrade breakdown.