
Freedom Wars Remastered becomes much easier once you stop treating it like a traditional monster-hunting RPG. The fastest route through its early walls is to master the Thorn, keep your Accessory alive, spend Entitlement Points carefully, and build weapons around a specific job instead of hoarding every material. These 10 tips cover the systems that matter most, the mistakes that quietly waste time, and the combat habits that make Abductors far less intimidating.
The Remastered release preserves the original game’s wonderfully frantic mix of vertical movement, rescue missions, ranged combat, and close-range dismemberment. It also keeps the occasional frustration: objectives can collapse quickly, civilian capsules are easy to lose in a chaotic arena, and an under-upgraded weapon feels awful against tougher targets. Use the official Steam listing for platform details, then use this guide as your practical starting plan.

1. Learn the Thorn before chasing damage
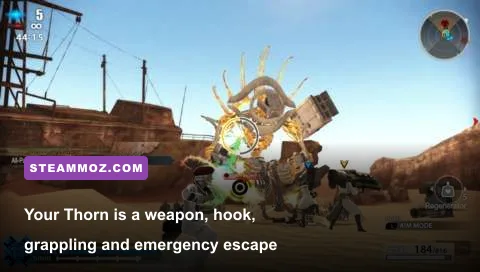
Your Thorn is the defining tool in Freedom Wars Remastered, not a decorative secondary ability. It lets you anchor to buildings and Abductors, pull yourself toward weak points, bind enemies, revive allies, heal in specific situations, and create mobility options that ordinary dodging cannot match. New players often fire it only when they want to climb. That leaves a huge part of the combat system unused.
Start every mission by identifying nearby walls, towers, and elevated surfaces. A Thorn anchor gives you an escape route when an Abductor starts a sweeping attack. Against a large target, latch onto a limb, close the distance, and use the momentum to reach the body rather than sprinting through ground-level danger. If the enemy is stunned or pinned, use that window to cut a limb or attack a weak point. The Thorn is especially valuable during rescue missions because it lets you reach a civilian capsule quickly without crossing the entire arena.
Practice three actions until they feel automatic: anchor and swing to reposition, bind a target to create a damage window, and yank yourself away when a telegraphed attack begins. You can read more about the game’s official systems through the Bandai Namco game page.
🎮 FREEDOM WARS Remastered Contribution Edition
Looking to experience this game? Grab your digital key directly on our store for $12.49.
View on Steammoz Store →2. Pick a combat role instead of one favorite weapon

Freedom Wars Remastered gives you access to several weapon families, but swapping between them is more useful than blindly committing to the first weapon that feels comfortable. Small blades are excellent for mobility and limb-focused melee pressure. Heavy blades deliver punishing strikes but demand better timing. Guns provide safe access to exposed weak points, while heavier firearms can control space and punish grounded Abductors.
There is no single best weapon for every mission. A close-range weapon can shred a restrained limb, but it becomes risky when multiple smaller enemies surround you. A firearm may feel weaker against armor yet become the sensible choice when the arena is crowded or the mission prioritizes civilian survival. Carry a weapon for your preferred damage pattern and a second option that covers its worst matchup.
| Weapon approach | Best use | Main risk | Beginner advice |
|---|---|---|---|
| Light melee | Fast limb attacks and mobility | Low reach and commitment during combos | Attack after a Thorn bind or knockdown |
| Heavy melee | High burst against exposed parts | Slow recovery and poor crowd control | Do not swing until the target is occupied |
| Standard firearm | Weak-point pressure at range | Ammo management and lower burst | Target joints and glowing exposed sections |
| Heavy firearm | Staggering large targets and controlling lanes | Slower handling and limited flexibility | Use from elevation or behind allies |
3. Upgrade one reliable weapon first
The early crafting trap is spreading materials across every weapon in your inventory. Don’t. Choose one dependable main weapon and improve it until missions begin demanding a change. A weapon with a sensible damage type, useful attributes, and several upgrade steps will carry you farther than six neglected weapons with slightly different attack values.
Pay attention to more than the headline damage number. Elemental attributes, capacity for modifications, rarity, and the weapon’s attack speed all affect real performance. A fast weapon with a helpful attribute can outperform a slower weapon with a larger displayed value because it reaches weak points more consistently. Keep a second weapon for situations where your primary damage type performs poorly, but avoid upgrading every new drop immediately.
Before confirming an upgrade, compare the materials against your current mission path. Some components come from specific Abductor parts, while others are tied to smaller enemies or mission rewards. If a recipe asks for a rare component, don’t spend it on an experiment just because the menu makes the option available. The official PlayStation information page is useful for checking the game’s broader feature set, but the best crafting rule is simple: build for a job, not for collection completion.
4. Keep your Accessory alive at all costs
Your Accessory is more than an AI companion who occasionally shoots something. It can revive you, draw enemy attention, carry a useful weapon, and help stabilize a mission that is going badly. When it falls, the team loses damage, utility, and often the safest recovery option in the arena.
Watch its position before you commit to a long combo. If the Accessory is down, surrounded, or being targeted by an Abductor, stop chasing damage and create space. Revive it as soon as the area is safe. A Thorn bind or a quick attack on a nearby limb can buy the seconds needed to get the recovery done. You should also adjust its equipment and behavior when the mission’s objective changes. An Accessory equipped to support the team is often more valuable than one configured to chase maximum damage.
This matters most in multi-stage missions. Spending all your healing and revives to save a single civilian is rarely wise if the next Abductor arrives immediately afterward. Stabilize the team first, then finish the rescue. Freedom Wars rewards controlled momentum, not reckless heroics.
5. Treat rescue missions like escort puzzles
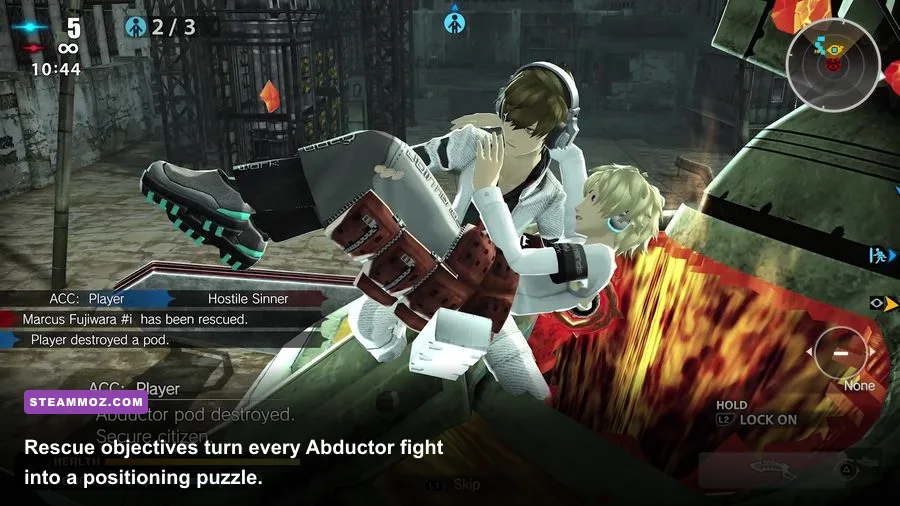
Rescue objectives are not ordinary kill missions with a person placed in the middle. The civilian capsule, the extraction route, enemy reinforcements, and your team’s health all compete for attention. The mission can fail while you are doing technically impressive damage if nobody is watching the objective.
At the start, locate the capsule and identify the nearest safe route. Clear small enemies around it before attacking the main Abductor whenever possible. Once the rescue begins, assign your attention in short bursts: one player pressures the Abductor, another watches the capsule, and the Accessory supports the most exposed teammate. If you are playing alone, use the Thorn to move between the objective and the boss rather than standing under the Abductor and trading hits.
Do not drag a boss directly across the civilian’s path. Its wide attacks can destroy the capsule or force the rescue carrier into a bad position. If the Abductor is airborne, prioritize mobility and safe angles. When it lands or becomes restrained, punish the exposed part quickly, then reset your positioning instead of extending the combo until the enemy recovers.
6. Read Abductor telegraphs, not health bars
Large Abductors look overwhelming because their bodies fill the screen, but their attacks are heavily telegraphed. The important information is usually in the shoulders, arms, and movement direction—not the health bar. A sudden turn toward your character, a raised limb, or a brief pause before a charge is your signal to disengage.
Never stand underneath a large enemy just because its legs are easy to hit. Ground-level attacks can catch you during recovery, and a trapped player loses more time than they gain from a few extra strikes. Attack from the side, use the Thorn to climb, and leave as soon as the boss begins a broad motion. When a limb is damaged or severed, treat that moment as a repositioning opportunity first and a damage opportunity second.
| Abductor situation | Danger signal | Best response | Follow-up |
|---|---|---|---|
| Wide melee sweep | Body rotates and limb pulls back | Thorn away or move behind the attack | Strike the exposed limb after recovery |
| Charge or rush | Short pause followed by forward movement | Break line of sight and sidestep | Re-engage from the flank |
| Airborne movement | Target leaves the ground or gains height | Use elevation and avoid chasing blindly | Attack when it lands or exposes a weak point |
| Restrained target | Enemy movement is limited | Focus one limb with the whole team | Disengage before the bind expires |
7. Spend Entitlement Points on friction removal
Entitlement Points are one of the strangest progression systems in the game because they represent permission to access conveniences, not just raw character power. New players often waste them on cosmetic or low-impact options while mission restrictions make basic movement and inventory management miserable.
Prioritize permissions that improve your everyday loop: inventory capacity, useful services, resource access, and options that reduce the time spent returning to the hub. The exact order depends on your playstyle, but the principle is consistent. Buy upgrades that affect every mission before niche luxuries that matter only in a specific situation.
Keep earning points through missions, contributions, and Panopticon activities rather than hoarding them forever. The system is designed to make you feel the pressure of limited freedom, but refusing to spend anything slows progression unnecessarily. Check the requirement and benefit before purchasing; some permissions unlock new conveniences while others mainly provide flavor or customization.
8. Use the Panopticon as a preparation screen
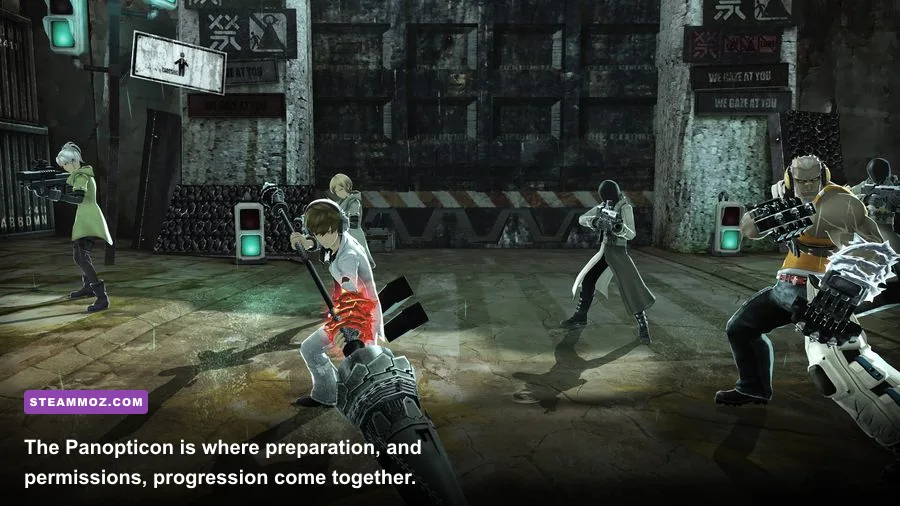
The Panopticon is not dead time between missions. It is where you should review equipment, permissions, Accessory settings, resources, and the next objective. Leaving the hub without checking those systems is how players arrive at a difficult mission with an unsuitable weapon, empty supplies, or an Accessory configured for the wrong job.
After every major mission, inspect your new materials and compare them with available weapon upgrades. Then check whether a newly earned permission changes your route through the hub. Talk to relevant characters and review story progression instead of repeatedly launching the same mission without a plan. Freedom Wars’ progression can feel opaque because several systems unlock around the same time; a short preparation loop prevents that confusion from turning into needless grinding.
Keep a small reserve of common materials, but don’t become a digital pack rat. Sell or use excess items when the game allows it, and focus your storage on components needed for your main weapon, backup weapon, and Accessory support options.
9. Prepare specifically for CODE exams
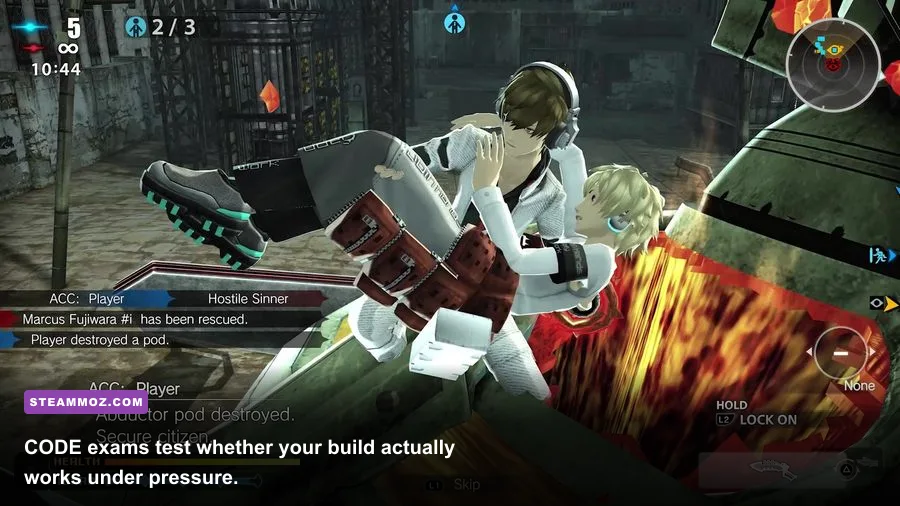
CODE exams are progression gates, so entering them with a general-purpose loadout is asking for trouble. They test whether you understand the game’s fundamentals under restrictions: movement, target priority, resource control, and the ability to complete an objective without burning every recovery option.
Before an exam, run a lower-risk mission with the same weapon and confirm that your attacks are producing reliable results. Upgrade your main weapon if the required materials are available, refill what you can, and make sure your backup option covers your primary weapon’s weakness. During the exam, don’t rush simply because the mission feels like a test. Clear small threats, control the arena, and use the Thorn to avoid damage rather than relying on healing after every mistake.
If you fail, identify the actual cause. Was the weapon too slow? Did you ignore the objective? Did the Accessory fall because you never created space? Repeating the mission with the same habits is not practice; it’s expensive superstition.
10. Tune performance before blaming your build
Freedom Wars Remastered benefits from a stable frame rate because Thorn movement, enemy telegraphs, and crowded Abductor fights all become harder to read when performance stutters. On PC, start with the game’s recommended profile, then lower shadows and effects before reducing resolution. Those settings usually cost more performance than texture quality while making the arena harder to parse.
A stable 60 frames per second is a better target than an unstable high refresh rate. If your system struggles during large fights, test the exact missions that cause trouble rather than relying on the quiet Panopticon hub. Cap the frame rate to a level your hardware can hold, close overlays that introduce stutter, and use an SSD if load behavior is inconsistent. On handheld hardware, prioritize consistent performance and readable effects over maximum image quality.
| Setting priority | Recommended starting point | Performance impact | Visual trade-off |
|---|---|---|---|
| Frame-rate cap | Stable 60 FPS target | Reduces spikes and pacing issues | Lower peak FPS than uncapped |
| Shadows | Medium | Often high in crowded arenas | Less detailed shadows |
| Effects | Medium or High after testing | Can drop during Abductor attacks | Less dramatic particles when lowered |
| Textures | High if VRAM allows | Usually smaller FPS loss | Lower setting makes surfaces blurrier |
| Resolution | Native, then reduce only if needed | Large impact when lowered | Noticeably softer image |
Your first ten hours, mapped out
For the opening stretch, keep your plan simple. Use missions to learn Thorn movement, upgrade one main weapon, and spend Entitlement Points on conveniences that affect every outing. Don’t chase perfect weapon attributes before you understand which attack patterns you actually use. A practical early routine is to complete story objectives, replay a manageable mission for missing materials, inspect the Panopticon, and then attempt the next progression gate.
Use this quick checklist before launching a difficult mission:
- Is your main weapon upgraded for the mission’s expected enemies?
- Do you have a backup weapon for a bad range or damage matchup?
- Is your Accessory equipped and configured for the objective?
- Have you checked the rescue route and civilian capsule location?
- Are your Entitlement Points being spent on useful permissions?
- Can your system hold a stable frame rate in combat?
Freedom Wars Remastered rewards players who create openings instead of waiting for them. Bind an Abductor, climb with the Thorn, focus a vulnerable limb, rescue the target, and retreat before the counterattack. That rhythm is the real beginner build. Once it becomes instinctive, the game’s harshest missions stop feeling like chaotic brawls and start looking like elaborate, surprisingly readable combat puzzles.
If you enjoy optimizing gear and progression systems, Steamoz’s Biped 2 weapon rankings and Dino Crisis 2 weapon guide offer useful comparisons from very different action games. For PC performance habits, see Dungeons 3 settings advice and our stutter and low-FPS fixes.