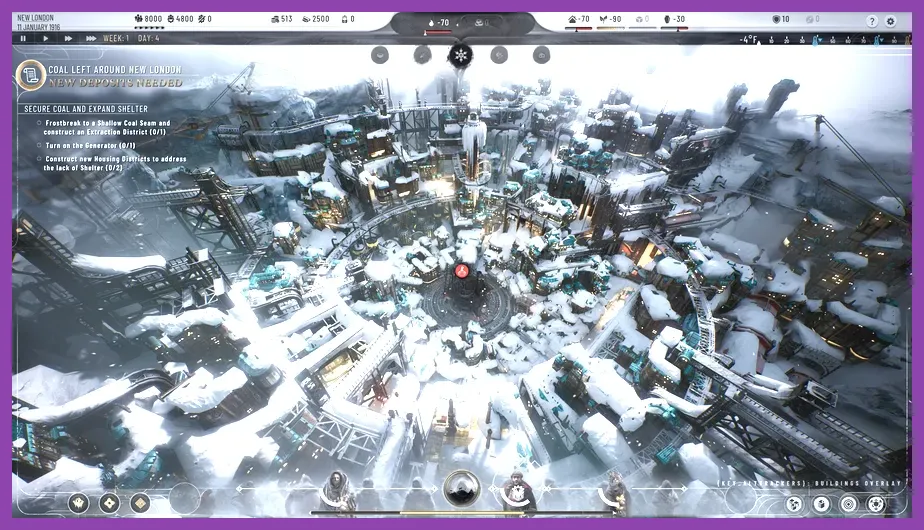
To survive the brutal whiteout conditions in Frostpunk 2, your optimal starting build requires immediately prioritizing an Extraction District on Coal Mine veins, passing the Basic Essentials law in the Council, and researching Prefabs before expanding your Housing Districts. If you mismanage your initial Heat Hub placement or burn through your crude oil reserves during the first whiteout, your Stewards will face insurmountable friction, ideological fractures, and freezing citizens.
Establishing Your Initial Core Economy
The moment you drop into New London in Frostpunk 2 on Steam, you are staring down a severe resource deficit. Unlike its predecessor where you manually placed every single tent and gathering post, Frostpunk 2 operates on a macro scale using Districts. Your absolute priority is building your first Extraction District directly over the nearby Coal Mine node. Coal is your lifeline; without it, the Generator cannot sustain the base heat required to keep disease down.
Simultaneously, construct a Logistics District toward the edge of the crater. This is non-negotiable because scouting is how you acquire the massive influx of Materials and Oil needed to transition your city into a self-sustaining engine. While your construction crews are laying down these foundational zones, check out other optimization guides like this Subnautica 2 early gear guide to master resource prioritization across survival titles. Never place Housing Districts directly adjacent to the Generator unless absolutely necessary; save those prime thermal rings for high-yield Extraction or Food Districts that suffer efficiency penalties when cold.
Your workforce allocation needs careful monitoring right from Week 1. Pull idle workers out of generic pools and assign them to the newly minted districts. Keep a close eye on your Squalor and Disease meters. If Squalor ticks past 50%, your population growth stalls, and you will quickly run out of active hands to clear snow and harvest frost-locked ruins.
Passing Essential Laws in the Council
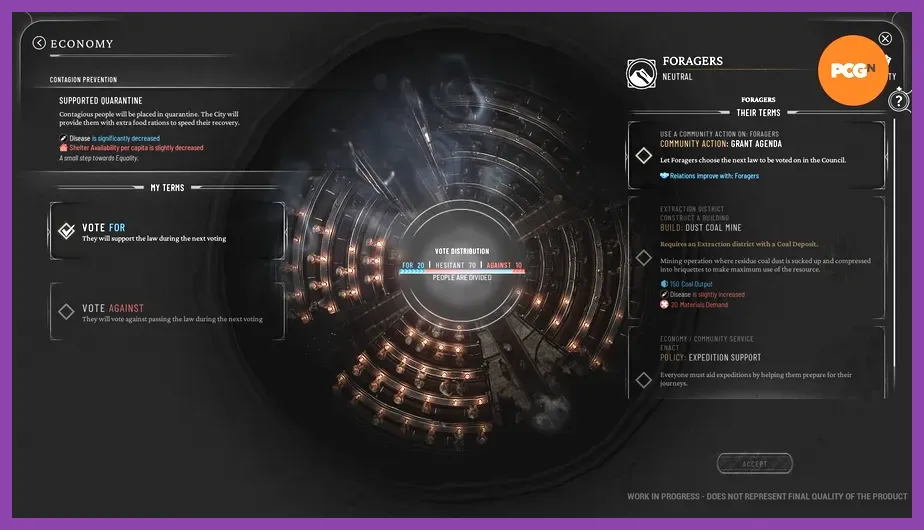
The Council Hall is your primary tool for steering society, and the first laws you pass dictate whether you lean toward Adaptation or Progress. For the best starting build, you must balance faction appeasement with hard survival mechanics. Propose and pass Basic Essentials under the Survival category immediately. This ensures your population receives minimal food rations, staving off mass starvation while you construct your first Hothouses.
Next, you need to navigate the political landscape between the Stewards and the Evolvers or Icebloods. Passing laws that boost trust rather than raising tension is vital during Chapter 1. If you push radical laws too fast, radical factions will sabotage your construction projects, costing you precious Prefabs. For players who love managing complex faction mechanics and high-stakes strategy, review our Clash of Clans free-to-play build guide for parallel insights on resource scaling.
Keep track of your Frostland Teams capacity. Passing laws that encourage expedition efficiency allows your scouts to travel faster across the frozen wasteland. Remember that every law has long-term ideological consequences; choose the ones that align with your long-term technological trajectory in the Idea Tree.
Navigating the Idea Tree and Research Order
Researching technologies in Frostpunk 2 is governed by the Idea Tree, where your Council must first "discover" an idea before researchers can turn it into a practical law or building upgrade. Your optimal research path should follow this strict sequence to ensure you never bottleneck on Prefabs:
- Research 1: Prefabricated Walls / Advanced Material Logistics (Increases Prefab generation speed).
- Research 2: Mechanized Extraction (Boosts coal and oil output per district).
- Research 3: Heat-stamped Insulation (Lowered coal consumption across all Heat Hubs).
- Research 4: Chemical Fertilizers (Massively increases Food District yield to stop reliance on initial stockpiles).
Do not waste research time on cosmetic or advanced cultural buildings early on. Your citizens do not care about art galleries when the temperature drops to minus sixty degrees Celsius. Stay laser-focused on survival metrics. For additional tips on high-level strategic loadouts, you can also cross-reference our Summoners War rune loadout strategies for mastering min-max efficiency.
Managing Heat Hubs and Expansion Sprawl

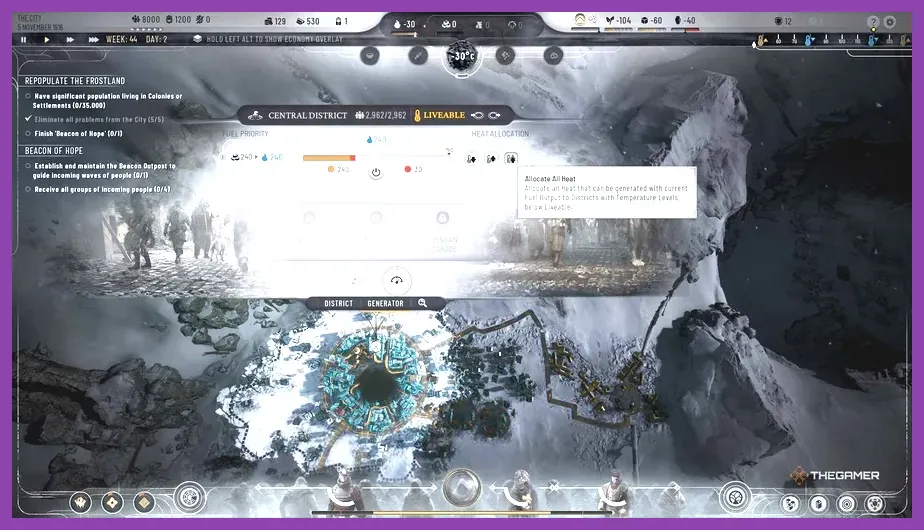
District placement dictates your thermal efficiency. When you expand your city, you cannot just drop districts randomly. Each district has a heat demand. If a district falls into freezing temperatures, disease skyrockets, and productivity drops to zero. You must place Heat Hubs strategically at the intersections of four districts to heat them efficiently without draining the main Generator's core capacity.
Crude oil is the lifeblood of late-game heating, but in the beginning, coal is king. Keep your coal districts operating at peak capacity by upgrading them with workforce multipliers whenever available. If you find yourself struggling with hardware performance or stuttering while managing massive city sprawls, consult our Tekken 8 max FPS settings guide to optimize your rig's rendering performance for heavy simulation titles.
Always maintain a buffer of at least 200 units of fuel before a predicted whiteout event. The game will warn you when a temperature drop is coming; use that warning window to stockpile fuel and activate emergency heating protocols in vulnerable Housing Districts.
Scouting and Exploiting the Frostland
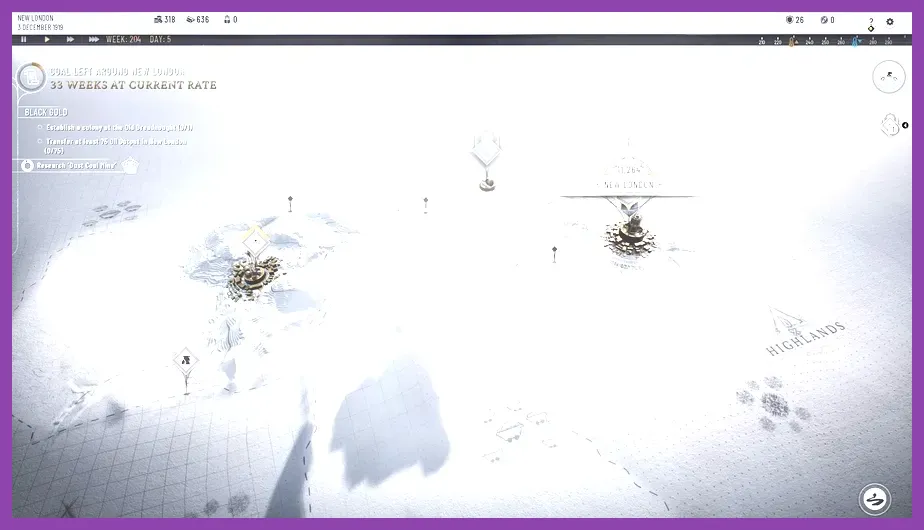
Your city cannot survive on internal resources alone. Building a Logistics District enables you to dispatch Frostland Scouts onto the global map. Your priority targets are abandoned industrial sites, frozen dreadnoughts, and oil reservoirs. Oil is the ultimate resource required to upgrade your Generator from coal-fired steam to oil-powered combustion later in the campaign.
When your scouts discover the Old Dreadnought or the Surrounding Depleted Mines, make sure you establish permanent extraction outposts connected by supply lines. These outposts funnel a steady stream of raw materials directly back to New London, relieving the pressure on your internal districts. For deep dives into squad management and operational efficiency during survival runs, check out our breakdown of DayZ squad compositions and team synergies.
Manage your Frostland teams carefully; freezing weather can trap scouts if they stay out too long without proper thermal gear upgrades. Always check the weather forecast before sending scouts into uncharted territory.
Surviving the First Whiteout Crisis
The ultimate test of your starting build is the Chapter 1 Whiteout. When the temperature plummets to catastrophic lows, your districts will demand double or triple their usual heat input. If you followed this guide, your Heat Hubs will be upgraded, your coal stockpiles will be flush, and your Council will have passed emergency rationing laws.
During the whiteout, pause the game frequently to check for structural damage and district freezing alerts. Manually toggle emergency shifts on crucial Coal Extraction Districts if your reserves dip dangerously low. Keep faction trust stable by addressing grievances immediately through the Council interface. By weathering this first major storm with an optimized foundation, you position New London to conquer the remaining chapters and forge a powerful, unified civilization out of the frozen wasteland.