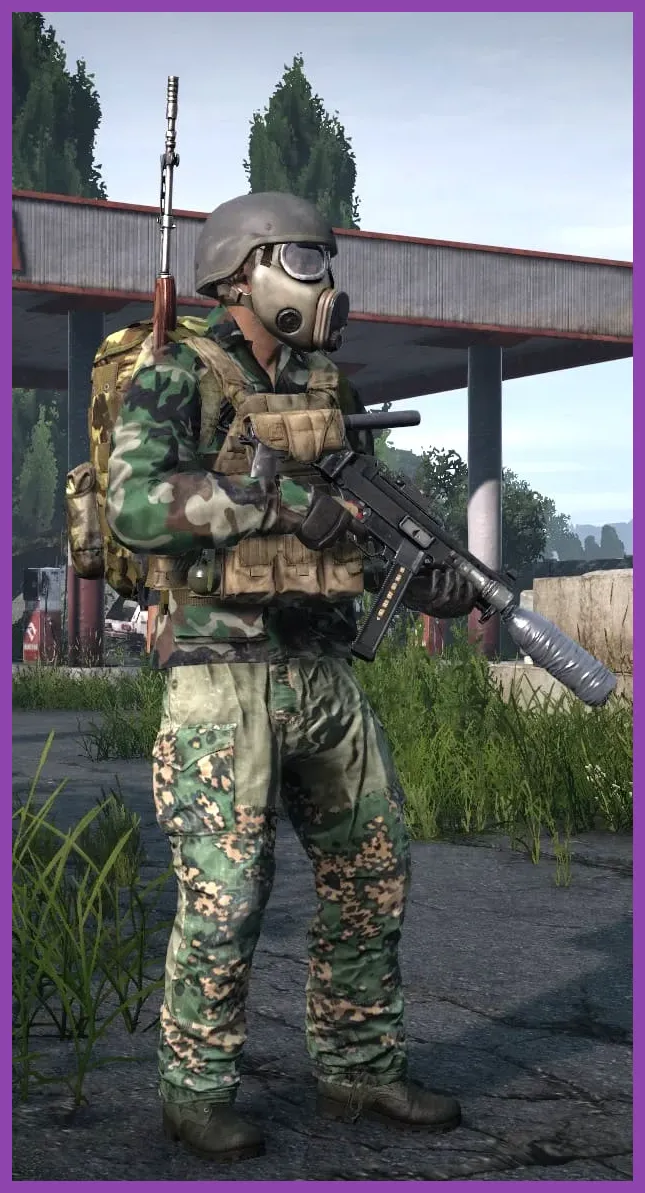
The ultimate team composition in DayZ for a 4-player squad consists of a Pointman/Breacher (M4A1 or Vaiga with Plate Carrier), an Overwatch Marksman (DMR or VSD with Ghillie suit), a Combat Medic (KA-74 with Saline Bags and Blood Bags), and a Recon Logistics Specialist (LAR or AUG AX with Night Vision and support tools). For 3-player groups, combining the Medic and Logistics roles into a single Combat Support character provides maximum combat efficiency and survival rates across high-tier military zones like Tisy Military Base and the North-West Airfield (NWAF). Running disorganized gear loadouts or overlapping weapon calibers degrades squad stamina and combat coordination, leading to quick team wipes in high-stakes PvP engagements.
The Core Roles of a High-Tier DayZ Squad
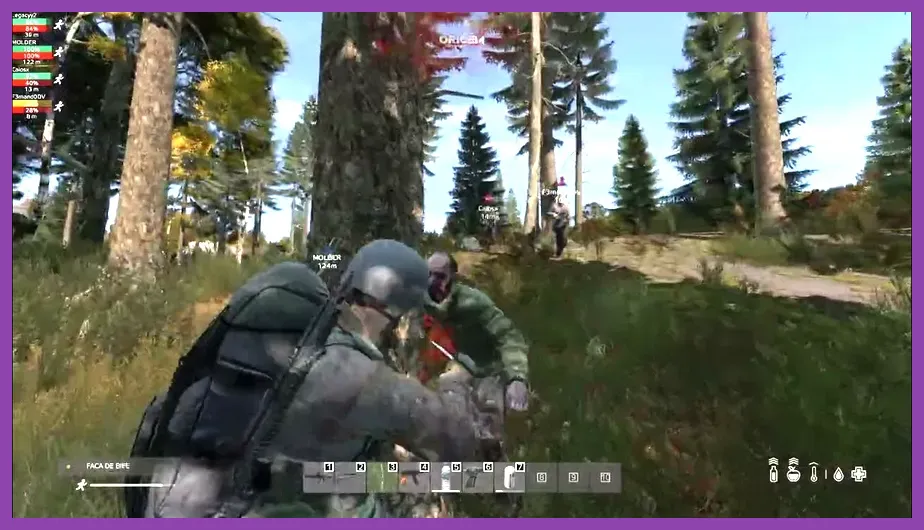
To dominate severe PvP zones in Chernarus or Livonia, every squad member must fulfill a distinct tactical role tailored to specific engagement distances, loadouts, and utility management. Much like organizing specialized characters in survival team role allocation models, establishing explicit roles prevents inventory chaos and operational confusion during chaotic fire fights.
1. The Pointman / Breacher
The Pointman leads indoor clearings, urban push routes, and tight compound breaches. Their primary job is absorbing initial shock damage, forcing enemy movement, and delivering lethal close-range fire.
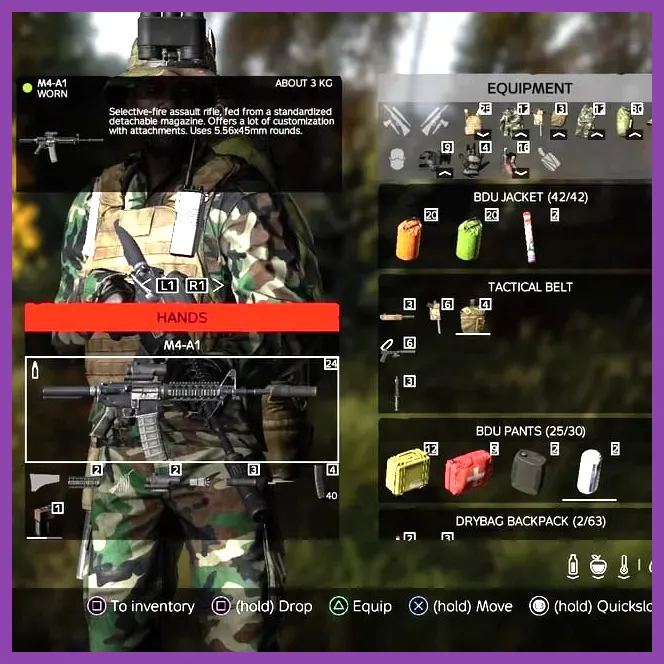
- Primary Weapon: M4A1 (60-round standard magazine, Suppressor, RV1 Optics) or Vaiga (20-round drum mag with Buckshot/Slug alternate loading).
- Sidearm: FX-45 or Pistol with integrated suppressor for silent zombie clearing.
- Protection: Heavy Plate Carrier with Pouches, Tactical Helmet or Assault Helmet with Visor.
- Stamina Target: 35% to 40% maximum stamina. Weight is sacrificed for raw armor protection.
- Key Utility: Flashbangs, M67 Frag Grenades, Lockpick (for sealing doors during indoor breaches).
2. The Overwatch / Marksman
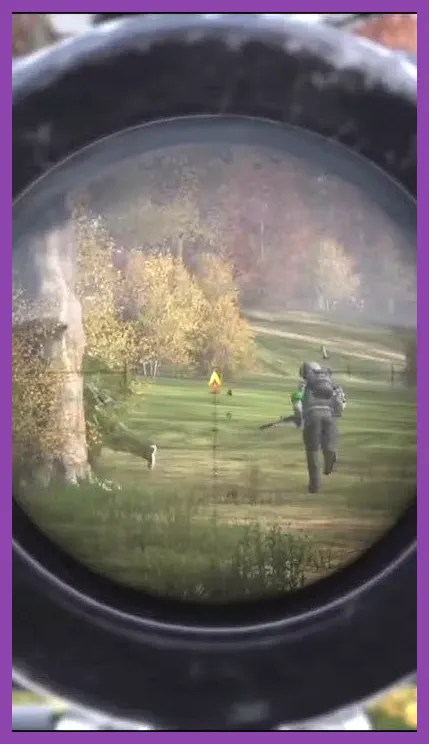
Positioned 150 to 400 meters away from the primary squad, the Marksman provides high-ground intelligence, tracks enemy flankers, and lands critical opening headshots using high-caliber rifles.
- Primary Weapon: DMR (.308 Win) with 6x/12x Optics or VSD (7.62x54mmR) equipped with PSO-1 Scope or Kazuar Night Vision Scope.
- Secondary Weapon: Sawn-off Mosin 9130 or Submachine Gun (MP5K/USG-45) kept in backpack for emergency CQC survival.
- Protection: Ghillie Suit / Ghillie Shrug paired with Hunter Clothing (Brown/Green). No heavy Plate Carrier—use a Field Vest or Press Vest to minimize stamina costs.
- Stamina Target: 65% to 75% maximum stamina for rapid rotation between sniping positions.
- Key Utility: Rangefinder, Binoculars, Battery Chargers, Spare High-Power Optics.
3. The Combat Medic / Support
The Combat Medic maintains team endurance during prolonged standoffs. They stabilize knocked teammates, administer rapid blood restoration, and suppress target lanes with high-volume medium-range rifle fire.
- Primary Weapon: KA-74 or M16A4 (5.45x39mm or 5.56x45mm) for accessible, lightweight ammunition management.
- Protection: Press Vest or Tactical Vest, Assault Helmet. Balance between protection and mobility.
- Stamina Target: 50% to 60% maximum stamina.
- Key Medical Kit: 3x Saline Bag IV, 2x O-Negative Blood Bag IV (or matching squad blood types), 6x Medical Bandages, 2x Morphine Auto-Injectors, 2x Epinephrine Auto-Injectors, 1x Tetracycline Pill Pack, Charcoal Tablets.
4. The Recon / Logistics Specialist
The Recon Specialist handles squad mobility, tool distribution, nocturnal operations, and tracking enemy movement trails across major transit corridors.
- Primary Weapon: LAR (.308 Win) or AUG AX (5.56x45mm) equipped with NVG Optics.
- Protection: Combat Vest with Backpack attachments or High-Capacity Backpack (Field Backpack/Alice Bag).
- Key Utility: Night Vision Goggles (NVG Headstrap), Weapon Cleaning Kits, Leather Sewing Kits, Electronic Repair Kits, Blowtorch, Pliers, Tripod, Personal Transceiver Radios.
Best 3-Player Team Synergy: The Apex Recon Unit
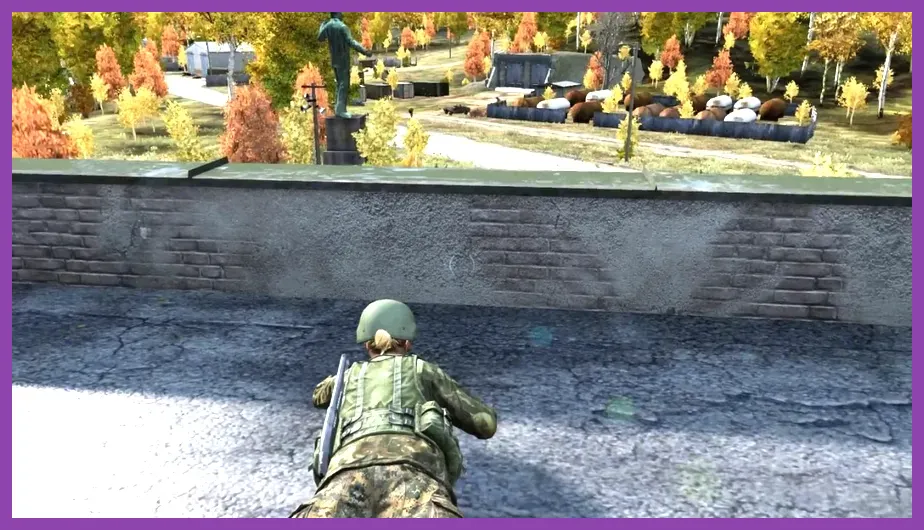
The 3-player composition is the most popular squad size in DayZ. It provides high firepower without burdening the group's overall hunger, hydration, and stamina footprints. Mastering this synergy requires strict task delegation between close, medium, and long-range duties.
To run the Apex Recon Trio successfully, assign your team as follows:
- Position 1: Breacher-Scout Hybrid — Armed with an AUG A3 or M4A1, carrying a Lockpick and Plate Carrier. Leads line-of-sight clearing in military barracks and urban centers like Severograd.
- Position 2: Overwatch Marksman — Armed with a DMR or M70 Tundra (.308 Win). Holds high terrain, callouts targets via 8-point compass coordinates, and suppresses counter-snipers.
- Position 3: Medic-Support Specialist — Armed with a KA-101 or KA-74. Carries all primary IV Saline kits, spare 5.56/.545 magazines, and weapon maintenance tools.
In combat, the Overwatch player establishes a visual anchor outside high-value loot zones (such as Brena or NWAF Tents). The Breacher and Support players move in a wedge formation 15 meters apart. When engaging an enemy squad inside a building, the Breacher pushes while the Support player covers window exits to block enemy escape angles. If a teammate takes shock damage and faints, the Support drops smoke grenades, drags the fallen player behind hard cover, and applies Epinephrine while the Marksman suppresses enemy rush angles.
Best 4-Player Team Synergy: The Military Compound Assault Meta
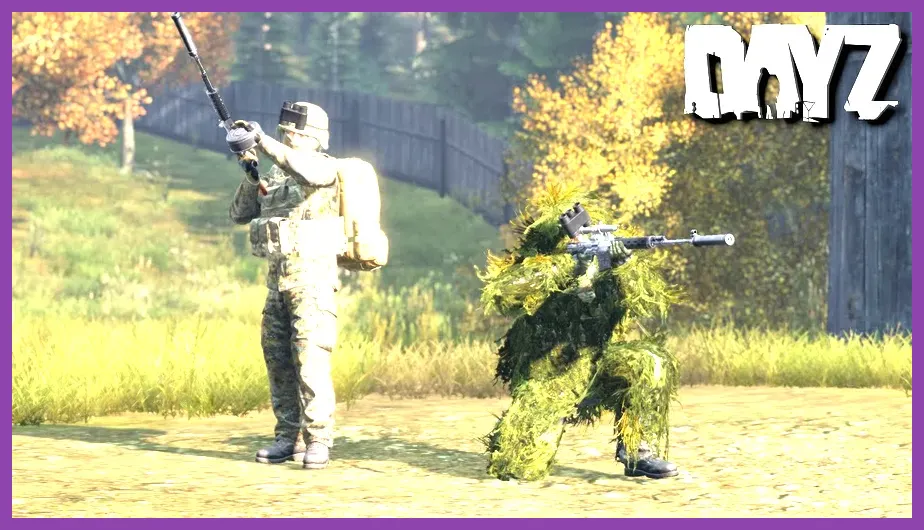
When raiding heavily defended military structures or locking down Tisy Airfield, a 4-man fireteam structure grants overwhelming tactical control over all engagement spheres. Similar to obtaining elite high-tier military firearms in tactical survival games, gearing a 4-man fireteam demands precise loadout organization.
The ideal 4-man deployment relies on precise spacing and role execution:
- Pointman (Aggressive Breacher): Equipped with a drum-fed Vaiga shotgun loaded with Buckshot for immediate unconsciousness triggers on geared players, alongside an M4A1. Wears a full Plate Carrier setup.
- Marksman (Dedicated Sniper): Equipped with a VSD or DMR, wearing full Ghillie gear. Positioned 200+ meters away on elevated ridges overlooking the target facility.
- Combat Medic (Field Surgeon): Equipped with an AUG AX and dedicated medical pouches. Carries 4x Saline Bags and Epinephrine to quickly bring unconscious squad members back into action during active gunfights.
- Logistics / Rear Guard: Equipped with an LAR or FAL (.308 Win) with heavy armor-piercing capabilities. Carries backup ammunition boxes, repair tools, and watches the fireteam's rear flank against third-party ambushers.
When breaching complex structures like the multi-story ATC Tower or Triple Barracks, the Logistics player locks external entry doors behind the squad using a Lockpick, securing the team's rear. The Breacher leads through doorways, immediately clearing the left corner, while the Medic follows closely to clear the right corner. Meanwhile, the Marksman calls out external movement, cutting off enemy reinforcements running open ground outside the perimeter fence.
Best Duo Team Synergy: The Lethal Pair
Duos must operate with absolute stealth and agility. Unlike solo survival where stealth is completely passive—as detailed in our guide to solo survival strategies versus squad play—a duo can actively crossfire and bait enemy squads into lethal kill zones.
The optimal duo loadout pairing relies on caliber efficiency and range coverage:
- Player A (Assault Specialist): M4A1 or KA-74 + Suppressed Pistol. Wears Plate Carrier and Tactical Helmet. Responsible for breaching, urban looting, and drawing initial enemy fire.
- Player B (Marksman / Scout): DMR or M70 Tundra + Suppressed Submachine Gun (PPD-40 / MP5K). Wears Hunter Gear with Press Vest for high stamina retention. Responsible for perimeter scouting, long-range fire support, and carrying secondary utility items (Lockpick, Saline IV).
In PvP engagements, the Duo uses the classic "Hammer and Anvil" maneuver. Player A acts as the bait, firing unsuppressed shots to attract enemy focus and draw them into a specific lane. As the enemy pushes Player A, Player B (positioned 80 meters to the flank with a suppressed DMR) picks off the approaching targets from an unexposed angle.
Weapon Loadout & Gear Allocation Matrix
A common error in DayZ squad management is ammunition inefficiency and redundant weight loadouts. Distributing calibers, armor, and utility prevents scenario failures where squad members share the exact same shortages. Managing loadout weight directly mirrors the inventory logistics needed when managing inventory and resource hoarding in complex survival titles.
Follow this optimal loadout and stamina matrix for squad synergy:
| Role | Primary Weapon & Ammo | Armor Setup | Target Stamina | Essential Utility |
|---|---|---|---|---|
| Pointman | M4A1 / Vaiga (5.56x45mm / 12 Gauge) | Plate Carrier + Helmet | 35% - 40% | Lockpick, Frag Grenades, Flashbangs |
| Marksman | DMR / VSD (.308 Win / 7.62x54mmR) | Ghillie Shrug + Hunter Vest | 65% - 75% | Rangefinder, 12x Scope, Battery Kits |
| Medic | KA-74 / AUG AX (5.45x39mm / 5.56mm) | Press Vest + Ballistic Helmet | 50% - 60% | Saline IVs, Morphine, Blood Bags |
| Logistics | LAR / FAL (.308 Win) | Tactical Vest + Field Pack | 40% - 50% | Cleaning Kits, Sewing Kits, Transceiver |
By ensuring that your Marksman and Logistics players use .308 Win while your Breacher and Medic use 5.56x45mm or 5.45x39mm, your team can trade spare magazines without depleting a single ammunition supply pool. For additional tips on optimizing combat builds across complex tactical games, review our guide on optimizing character builds for combat.
Communication Protocol & Tactical Fireteam Positioning
Superior squad synergy in DayZ depends as much on disciplined voice communication as it does on high-tier loot. In hectic gunfights, poor callouts like "he's over by that tree" will cost your team their gear. Consult the official official DayZ website and the community-maintained official DayZ Wiki for detailed map quadrant names and vehicle mechanics.
Implement these four mandatory communication rules during combat engagements:
- The 3-Point Callout System: Always give callouts in the exact order of Direction (Bearing/Compass), Distance (Meters), and Landmark. Example: "Bearing 240, 150 meters, yellow two-story house second-floor window."
- Status Priority Calls: Clear the comms immediately when announcing critical status changes: "Flanking," "Reloading," "Unconscious," or "Pushing."
- Bounding Overwatch Movement: When advancing across open terrain (such as the airfield runways at NWAF), move in alternating bounds. Member A sprints 30 meters while Member B holds an active down-sights angle. Member A takes cover and calls "Set," allowing Member B to sprint past.
- Radio Channel Synchronization: When operating over long distances, equip all team members with Personal Transceivers set to an agreed frequency (e.g., 87.8 MHz). This allows the Overwatch Marksman to transmit intelligence without revealing position via localized proximity voice chat.
Mastering these squad roles, balancing loadout calibers, and executing strict bounding movement protocols ensures your fireteam remains the dominant force across Chernarus, turning chaotic encounters into clean squad victories.