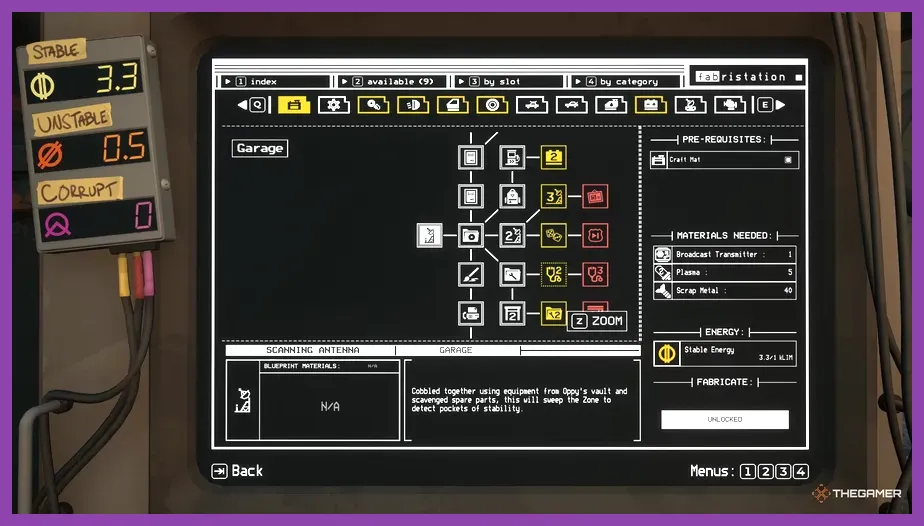
Progression in Pacific Drive does not rely on traditional character experience points or combat levels. Instead, leveling up is tied entirely to unlocking garage tech nodes at the Fabricator, upgrading your station wagon with resilient components, and expanding your survival utility. Your real level is determined by how much LIM Energy (Stable Energy, Disruptive Energy, and Corrupt Energy) you feed into the Fabricator while extracting critical blueprints across the Olympic Exclusion Zone. If you want to accelerate your technology unlocks, secure high-tier car parts early, and breeze through the game's brutal Deep Zone encounters, this guide details every optimal route, resource loop, and priority upgrade path to level up fast in Pacific Drive.
Understanding Pacific Drive Progression: LIM Energy & The Fabricator
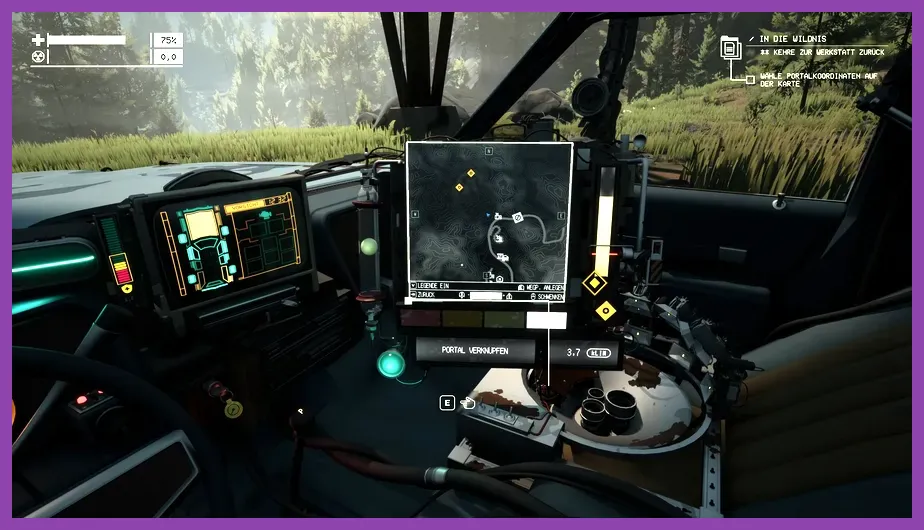
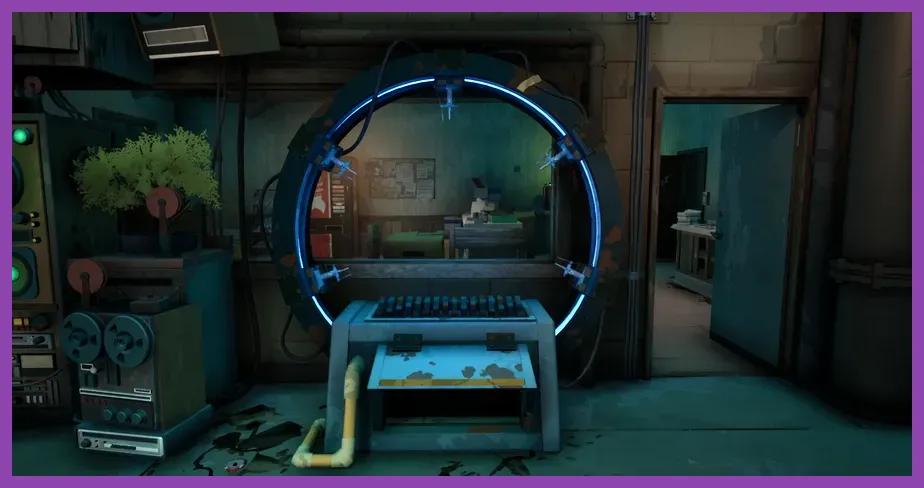
To level up fast in Pacific Drive, you must understand that the Fabricator inside Oppy’s Auto Shop acts as your master skill tree. Every upgrade—from basic Off-Road Tires to advanced Insulated Panels and the Resource Radar—requires specific quantities of LIM Energy alongside physical crafting materials like Thermosap Crystals, LIM Magnets, and Fabric. LIM Energy comes in three distinct tiers, matching the three major zones of the map:
- Stable Energy ( Outer Zone ): Yields roughly 0.4 to 0.8 kkW per ARC Anchor. Essential for basic garage tools, initial car armor, and early-game survival blueprints.
- Disruptive Energy ( Mid Zone ): Yields roughly 1.0 to 1.6 kkW per ARC Anchor. Required for mid-tier electronics, enlarged fuel tanks, and environmental hazard protection.
- Corrupt Energy ( Deep Zone ): Yields 2.0+ kkW per ARC Anchor. Mandatory for endgame armor plating, heavy-duty engine swaps, and elite garage utilities.
Unlocking higher tech nodes requires spending this energy at the Fabricator terminal. Rather than slowly collecting one anchor per trip, optimizing your runs to maximize energy collection per junction is the core key to fast garage progression, much like managing resources in games covered in our Monster Hunter Wilds best crafting materials guide.
Fast LIM Energy Farming Routes: Harvesting Anchors Efficiently
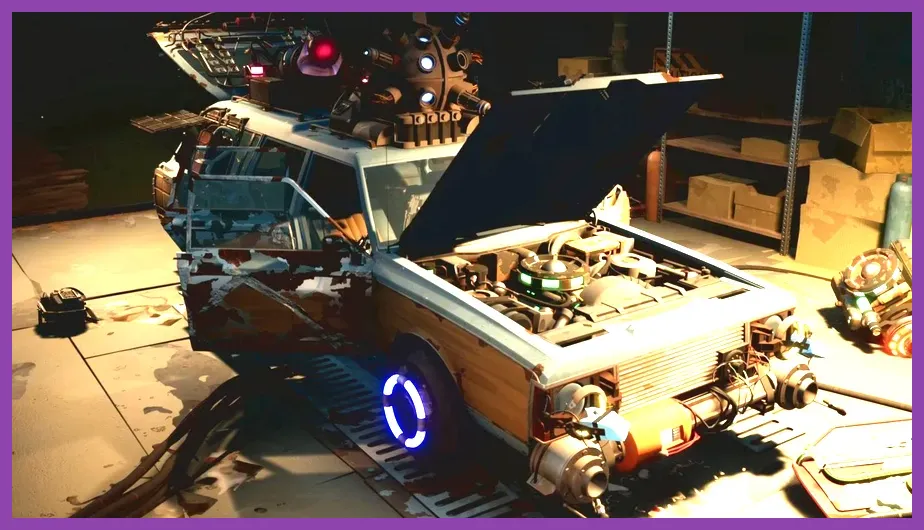
Harvesting ARC Anchors is the fastest method to bank energy and unlock recipes. However, blindly driving into junctions without a plan leads to blown tires, drained battery reserves, and wasted time. Follow this structured farming strategy to collect up to 5.0 kkW of energy per run:
1. The Outer Zone Loop (Early Game Power Leveling)
During your first 5 to 10 hours, focus on low-instability junction routes in the Outer Zone. Before pulling any Anchor, open your trip planner on the ARC Device and target maps displaying Anchor Density: High and low anomaly activity. Once in the zone, immediately scan the map with your dash display. Pin 3 to 4 Anchors that are clustered close together along paved roads.
Drive directly to each Anchor pedestal, yank the glowing core using your hands, and immediately sprint back to sprint-load it into the ARC Device mounted in your passenger side. Do not waste time looting every single abandoned car on your energy-farming runs; focus strictly on Anchors until your energy meter reaches the threshold needed to initiate a Gateway exit.
2. The Mid Zone Multi-Junction Leap
Once you reach the Mid Zone, unlock the Resource Radar on your roof rack. This tool costs energy but highlights Anchors through thick fog and foliage instantly. Map out a route that passes through two outer junctions before terminating in a Mid Zone junction. Harvest 2 Anchors in each outer junction without triggering a Gateway exit, then move through the exit tunnel into the Mid Zone junction to pull high-yield Disruptive Energy Anchors. This stackable technique lets you haul both Stable and Disruptive energy in a single 20-minute run.
Priority Fabricator Tech Tree Unlocks for Early Game
Spending energy blindly on cosmetic car parts or redundant tools will stall your progression. To level up your garage setup rapidly, you must prioritize tech tree nodes that directly increase your resource yield and vehicle durability. If you enjoy fine-tuning operational mechanics similar to adjusting settings in our Assassin's Creed Shadows FPS guide, optimizing your Fabricator path is equally satisfying.
Tier 1 Priority Unlocks (Immediate Level Ups)
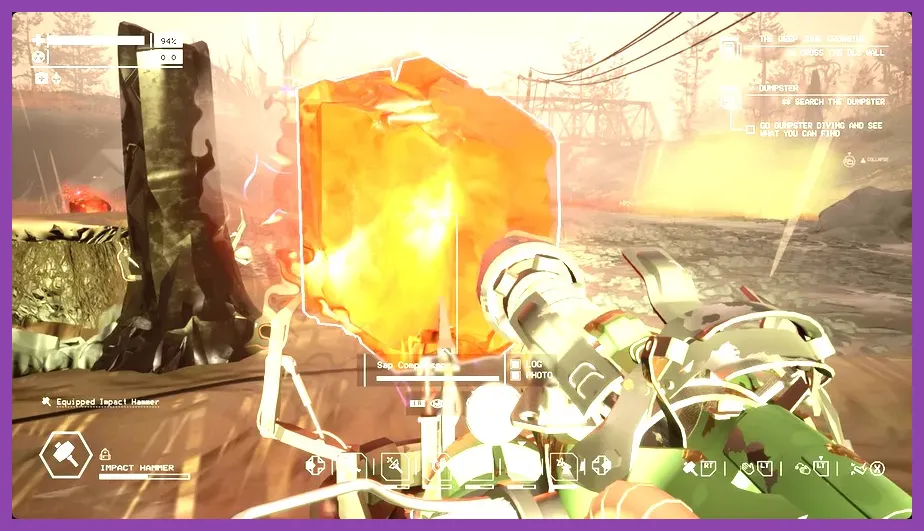
- Scrapper & Liberator: Upgrading your Scrapper to the Impact Hammer allows you to break open heavy ARDA crates and extract high-grade metals fast. The Liberator lets you slice off pristine car parts directly from abandoned ARDA vehicles.
- Off-Road Tires: Standard tires pop constantly when off-roading to harvest distant Anchors. Off-Road Tires dramatically reduce puncture chance and maintain speed on mud and rough terrain.
- Extra Fuel Tank (Side Rack / Trunk): Carrying auxiliary fuel eliminates the need to manually scavenge gasoline cans during high-speed Gateway escapes.
- Matter Deconstructor (Garage Upgrade): This is the single most crucial garage upgrade for fast leveling. Placed in Oppy's shop, you can dump whole vehicle parts, broken doors, and spare car components into it, automatically converting them into raw materials like Copper, Plastic, and Lead Plates.
Tier 2 Priority Unlocks (Mid Game Acceleration)
- Hydrophobic or Steel Body Panels: Upgrading from crude wooden or sheet metal panels prevents rapid durability loss against electrical Anomalies like Minutemen and Left-Rights.
- Auto Doctor (Garage Utility): Saves health restoration items by instantly healing you to full health every time you return to the garage.
- Resource Radar: Mounted on your roof, this active scanner pings all nearby Anchors, ARDA Payloads, and rare resource nodes directly onto your dashboard screen.
Essential Crafting Resources and How to Farm Them Fast
Energy alone will not complete Fabricator blueprints; you also need rare crafting components. If you find yourself missing specific items, target these exact locations and methods:
| Resource Name | Primary Harvest Location | Best Tool / Extraction Method |
|---|---|---|
| Thermosap Crystal | SMR Units / Red ARDA Squall Structures (Mid Zone) | Smash glowing red nodes using an Impact Hammer. |
| LIM Magnet | ARDA Transmitters & Pneumotubes | Use a Magnetic Hammer or Prybar on ARDA computer consoles. |
| Plasma | Plasma Chargers / Spark Towers | Break small blue plasma globes attached to electric poles using a Scrapper. |
| Marsh Egg | Swamp Junctions (Mid Zone Mudlands) | Hand-harvest from giant glowing pods along muddy waters. |
| Blowtorch / Duct Tape | ARDA Crates & Friendly Dumpster | Loot ARDA towers and recycle old tools via the Matter Deconstructor. |
Just as gathering high-end material is crucial for power growth in titles listed in our Minecraft best crafting materials guide, keeping your garage lockers stocked with Thermosap Crystals and LIM Magnets ensures you can craft newly unlocked blueprints immediately without delays.
Maximizing Junction Trips: Inventory Management and Vehicle Setup

Dying during a run causes you to lose your harvested car parts and collected physical loot, severely setting back your leveling speed. Maximizing survival efficiency per junction run comes down to organizing your storage and building a versatile car loadout.
Optimizing Vehicle Storage
Never start a resource run with a default trunk. Fabricate the Expanded Storage Locker nodes early and install dual Side Storage Units on your wagon's exterior rear panels. Dedicate one locker strictly to repair supplies (Sealing Kits, Electrician Kits, Off-Road Repair Kits, Spare Tires) and keep the remaining space open exclusively for looted materials and extracted Anchor components.
The Friendly Dumpster Exploitation Loop
Every time you return to Oppy’s Garage after a run, immediately interact with the Friendly Dumpster located outside the bay doors. The dumpster analyzes your current inventory and auto-spawns essential items you are lacking. If you scrap your broken tools right before checking the dumpster, it frequently drops fresh Scrappers, Prybars, Sealing Kits, or basic components like Fabric and Rubber. This guarantees you never waste early-game materials crafting basic utility tools, allowing you to pour all your resources into permanent Fabricator tech tree unlocks. For players interested in fast system loops like how to level up fast in Dragon Ball Sparking Zero or quick progression tricks in survival games, exploiting the Friendly Dumpster supply cycle is mandatory.
Advanced Progression Tips: Escalating Storms and High-Energy Loops
When you enter the Deep Zone, progression speed ramps up exponentially, but so does the environmental threat. To extract maximum Corrupt Energy safely without succumbing to the yellow and red radiation storms, use these advanced gameplay tactics:
1. The Gateway Energy Surplus Strategy
When pulling Anchors to activate a Gateway portal, the ARC Device requires a minimum amount of kkW energy. However, any extra energy loaded into the ARC Device beyond the Gateway requirement is not lost when you escape. It directly converts into permanent Fabricator points once back at the garage. Always pull 1 or 2 additional Anchors after setting your destination point on the dash, provided the red storm circle is not collapsing directly on your vehicle.
2. Target ARDA Pneumotubes & Payload Drops
While exploring junctions, keep an ear out for loud mechanical thuds signaling an incoming ARDA Payload drop. These supply pods drop randomly from the sky and contain high-tier components, rare blueprints, and pre-crafted advanced parts like Steel Doors or Lead Panels. Popping open ARDA Payloads using a Liberator or Impact Hammer saves thousands of LIM Energy points by gifting you late-game tech directly without needing to unlock the preceding node recipes first.
3. Maintain Node Synergies in the Tech Tree
Avoid spreading your energy across random branches. Pick a focus path: lineally progress down the Body & Armor branch until you achieve full Amp/Corrosive resistance, or rush the Utilities & Tools branch to unlock the Magnetic Hammer and Plasma Charger. Focused branch rushing unlocks higher tier garage machines much faster than broad, balanced spending.
By executing targeted Anchor farming runs, recycling excess salvage in the Matter Deconstructor, and maintaining an optimized inventory storage layout, you will unlock every critical blueprint in the Pacific Drive tech tree in record time. For more operational guides, survival strategies, and high-tier gear reviews across the latest releases, check out our comprehensive walkthroughs on Marvel Rivals beginner tips and tricks or learn character management mechanics in our Escape from Tarkov skill respec guide.