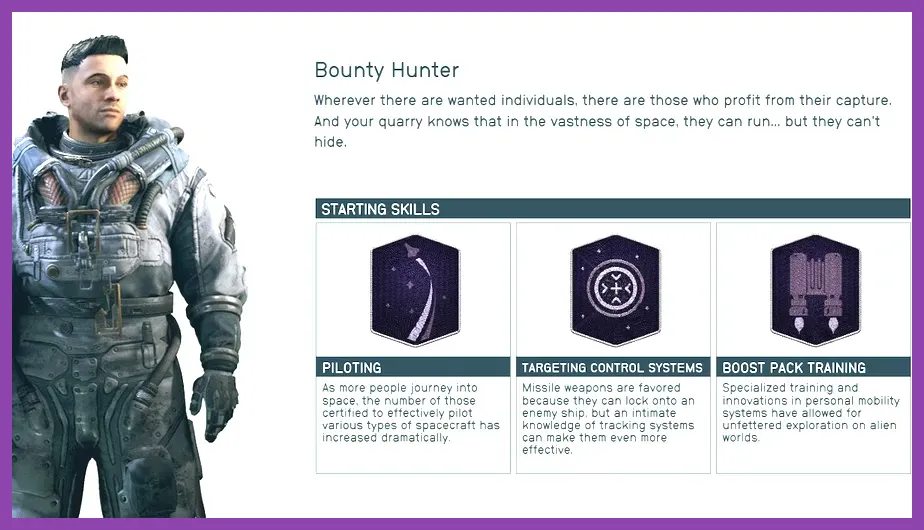
The absolute best starting class background for solo players in Starfield is the Bounty Hunter. By granting immediate access to Piloting, Targeting Control Systems, and Boost Pack Training, the Bounty Hunter background solves early-game space combat bottlenecks and traversal hurdles without relying on companion perks or crew buffs. When combined with the game-changing Isolation skill in the Physical skill tree—which increases weapon damage by up to 40% and armor resistance by 60 when traveling without a companion—the Bounty Hunter forms an unkillable, self-sufficient foundation for lone space explorers.
1. Why Bounty Hunter is the Ultimate Solo Class in Starfield
When playing Bethesda's space epic without companions like Sarah Morgan, Sam Coe, or Andreja, you forfeit passive stat buffs, fire support, and extra inventory carrying capacity. To compensate, your chosen background must provide immediate tactical advantages in both ground combat and dogfighting. The Bounty Hunter background accomplishes this better than any other starting option in Bethesda's official Starfield universe.
Unlike classes that front-load social or crafting skills, the Bounty Hunter starts with three tier-one skills that directly enhance survival and combat efficiency from your very first hour on Vectera:
- Piloting (Tech Tier 1): Unlocks the ability to use ship thrusters immediately. Thrusters allow you to execute tight turn maneuvers during ship dogfights, keeping fast-moving Crimson Fleet fighters in your crosshairs without taking engine damage. Upgrading this skill is mandatory to fly higher-tier Class B and Class C vessels later.
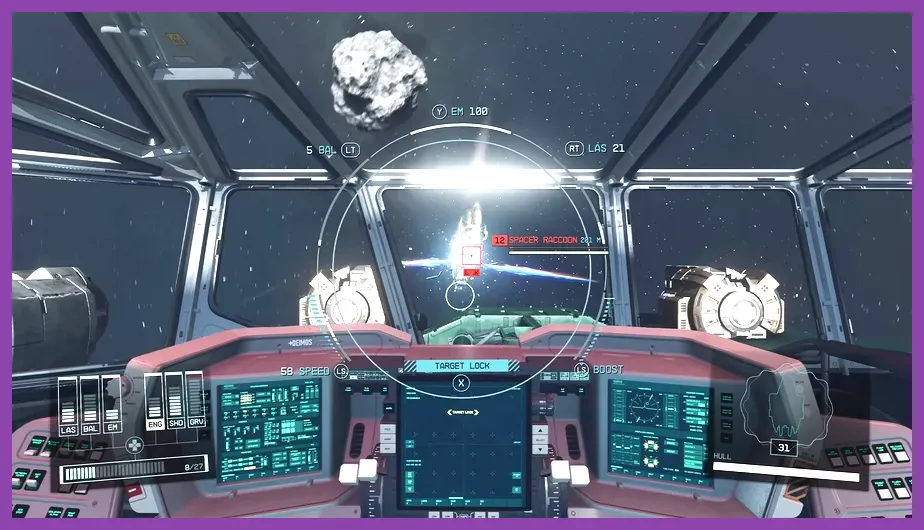
- Targeting Control Systems (Tech Tier 1): Unlocks precision lock-on targeting during ship combat. This allows you to specifically target an enemy vessel's grav drive, weapons, or engines. For solo players, disabling engines to board enemy freighters single-handedly is the fastest way to acquire high-tier loot and credit reserves early.
- Boost Pack Training (Tech Tier 1): Enables the functional use of boost packs attached to your spacesuit. Without this skill, wearing a boost pack provides zero jetpack functionality. Mobility is life when fighting groups of Spacer Scum alone, and vertical repositioning prevents enemies from flushing you out with frag grenades.
If you want to compare how specialized class builds operate in other heavy RPG systems, check out our guide on Honkai Star Rail best offensive strategies and team builds to understand team synergy versus solo reliance.
2. Best Traits for a Solo Character Build
During character creation, you can select up to three traits. While traits are optional, picking options tailored for lone exploration yields massive passive stat bonuses with negligible drawbacks. To build the ultimate solo mercenary, choose the following three starting traits:
Introvert
The Introvert trait is designed exclusively for lone-wolf playstyles. You consume significantly less oxygen when adventuring without a human companion. Because sprinting, jumping, and power-attacking exhaust your oxygen gauge (O2), this trait directly increases your mobility during planetary exploration and high-intensity gunfights. Note that while you can still hire unnamed crew members for your starship, taking an active companion on foot will invert this bonus and increase oxygen consumption, so keep your ground team empty.
Terra Firma
Roughly 80% of major combat encounters in Starfield take place on planetary surfaces, abandoned research facilities, and outpost installations. Terra Firma increases your total health pool and maximum oxygen whenever you are on a planet surface. While it slightly reduces your stats while in space, ship combat relies primarily on shield capacity and hull health rather than your character's personal health bar, making this trade-off heavily weighted in your favor.
Wanted
The Wanted trait provides a raw combat performance boost when your health drops below 20%, dealing 20% extra overall damage across all weapon types. The drawback is that armed mercenaries will randomly track you down and attack you in space or on planets. For solo players, this downside is actually a huge benefit: merc ambushes serve as a constant source of high-level armor drops, rare weapons, and extra experience points delivered straight to your location.
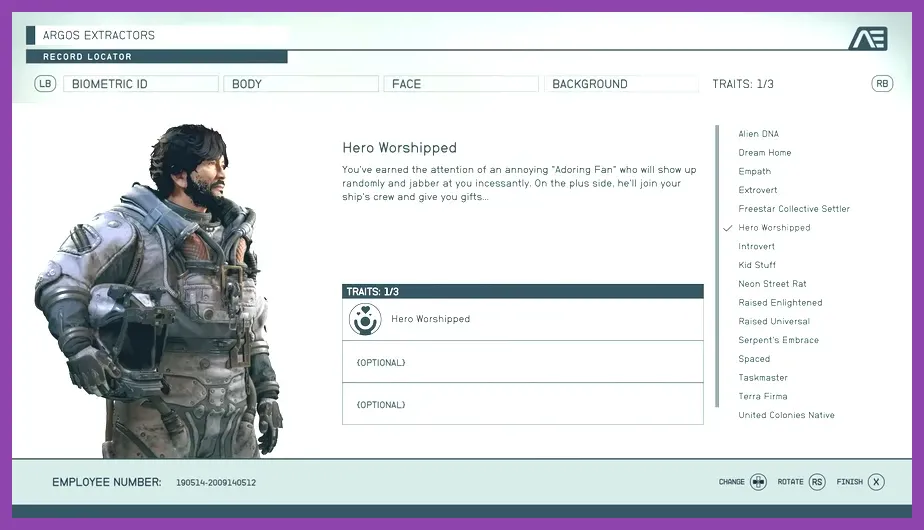
Alternatively, if you prefer avoiding surprise merc ambushes, Hero Worshiped gives you an annoying Adoring Fan who provides free gifts and extra ship labor without counting against traditional companion affinity limits.
3. Essential Skill Tree Progression for Solo Survival
Building a top-tier solo character requires prioritizing self-sufficiency skills across the Physical, Combat, and Tech trees. Below is the step-by-step skill progression you should follow from Level 1 through Level 30.
Physical Tree Priorities
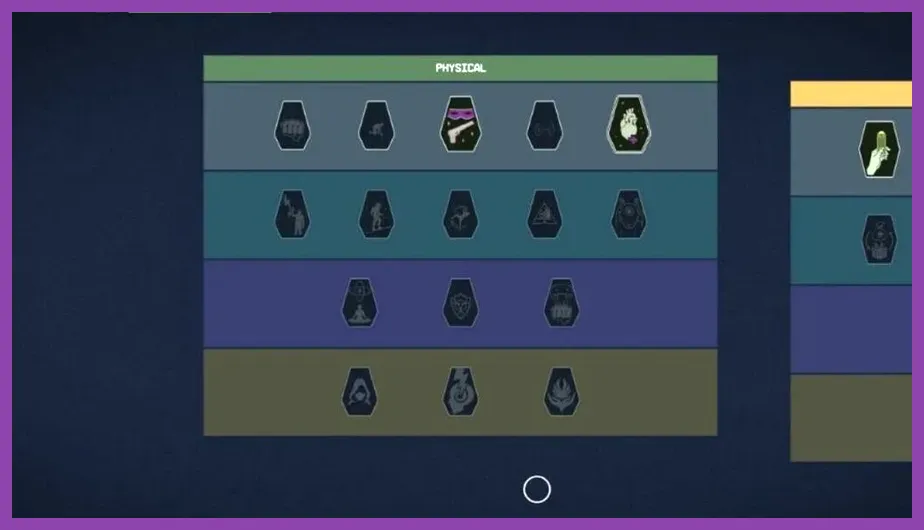
The Physical tree holds the single most important skill for companion-free gameplay: Isolation. You should invest in this skill the exact moment Tier 2 unlocks.
- Isolation (Tier 2): Increases your total weapon damage and damage resistance for every armor slot filled when you do not have an active companion or crew member following you on foot.
- Rank 1: +10% weapon damage and +15 damage resistance.
- Rank 2: +20% weapon damage and +30 damage resistance.
- Rank 3: +30% weapon damage and +45 damage resistance.
- Rank 4: +40% weapon damage and +60 damage resistance. (Multiplies with stealth attack modifiers).
- Weight Lifting (Tier 1): Since you won't have a companion to act as a pack mule for heavy resources and weapons, maxing out Weight Lifting increases your base carry capacity by 100 kilograms, preventing constant encumbrance.
- Stealth (Tier 1) & Concealment (Tier 4): Crucial for solo players who prefer clearing out full bases from the shadows. Stealth grants a sneak attack damage meter, while Concealment scales ranged sneak attack damage up to 4x and melee sneak attacks up to 10x.
Combat Tree Priorities
Because you lack partner suppression fire, high burst damage is required to clear room clusters quickly before taking overwhelming counter-fire.
- Ballistics (Tier 1): Ballistic weapons are the most abundant gun type in Starfield. Investing 4 points adds a flat +50% damage boost to all ballistic firearms, including assault rifles, shotguns, and sniper rifles.
- Rifle Certification (Tier 2): Rifles are the most versatile weapon class in Starfield. Rank 4 boosts rifle damage by 30%, increases reload speeds by 30% while standing still, and adds critical hit chance.
- Marksmanship (Tier 3): Increases critical hit chance with non-automatic ranged weapons by up to 15%, letting semi-automatic battle rifles drop target armor instantly.
Tech Tree Priorities
Tech skills handle lockpicking, vertical movement, and ship combat dominance available via the Starfield Steam Page hub.
- Security (Tier 1): Allows you to pick Advanced, Expert, and Master digipocks. Lockpicking contains the best contraband, unique skill magazines, and Legendary modified weapons in abandoned facilities.
- Starship Design (Tier 3): Allows you to install top-tier Class B and Class C shields, reactors, and particle beam turrets on your ship without needing specialized crew members.
If you enjoy optimizing stat progression and skill resets in complex action titles, take a look at our guide on how to respec skill points in Escape from Tarkov.
4. Top Alternative Starting Classes Ranked
While Bounty Hunter is our top recommendation, two other backgrounds offer strong potential for solo builds if you prefer a different combat flavor. Here is how the top solo choices rank against each other:
1. Bounty Hunter (S-Tier)
The unrivaled king of solo play. Combines ground mobility, immediate ship boarding mechanics, and early Class B ship progression. Zero wasted initial skills.
2. Soldier (A-Tier)
Starts with Fitness, Ballistics, and Boost Pack Training. Ideal for players who want a pure run-and-gun combat archetype. The extra oxygen pool from Fitness works well when moving across planetary landscapes alone, though it lacks initial ship combat utilities compared to the Bounty Hunter.
3. Cyber Runner (A-Tier)
Starts with Stealth, Security, and Theft. The best choice for stealth purists who want to clear out Ecliptic and Spacer outposts silently. Pickpocketing and Master lockpicking are available very early, allowing you to bypass security doors and steal high-end ship keys without triggering open combat.
4. Diplomat / Industrialist (B-Tier)
Classes focused on Commerce, Persuasion, or Outpost Engineering lag behind during early-game solo play. Persuasion checks can bypass some fights, but when combat inevitably breaks out, you lack damage multipliers and health pools without heavy skill point investments.
For games where character tier rankings dictate meta survival, explore our Fortnite character tier list guide or check out our Lethal Company tier rankings to stay ahead of the meta.
5. Best Gear, Weapons, and Combat Loadouts for Solo Players
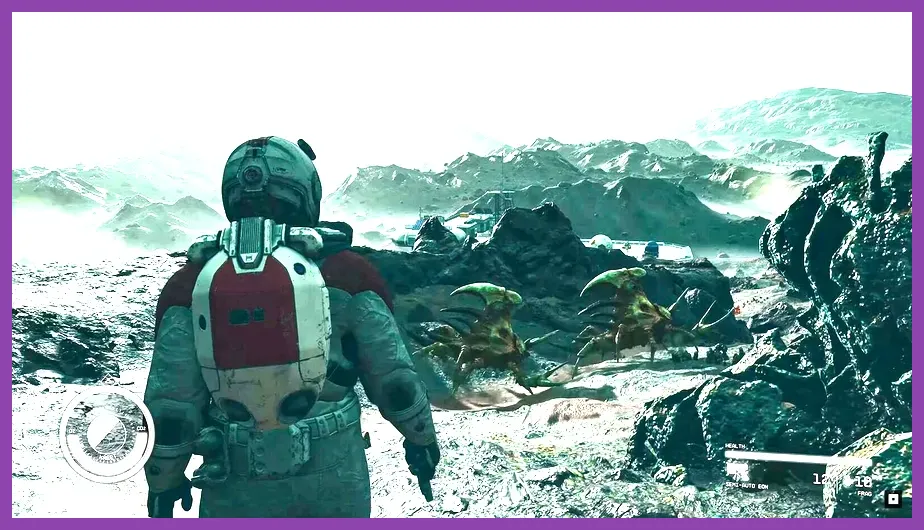
Without companion aggro draw, your loadout must balance burst damage, armor penetration, and range versatility. Below is the ideal endgame setup for a solo Bounty Hunter build:
Primary Weapon: Modified Beowulf Rifle
The Beowulf semi-automatic rifle using 7.77mm ammunition is the most efficient solo firearm in Starfield. Mod it with a Long Barrel, High Powered Receiver, Suppressor, and Recon Scope. Combined with Rank 4 Rifle Certification and Rank 4 Isolation, a single stealth headshot will instantly eliminate standard Level 60+ elites on Hard and Very Hard difficulties.
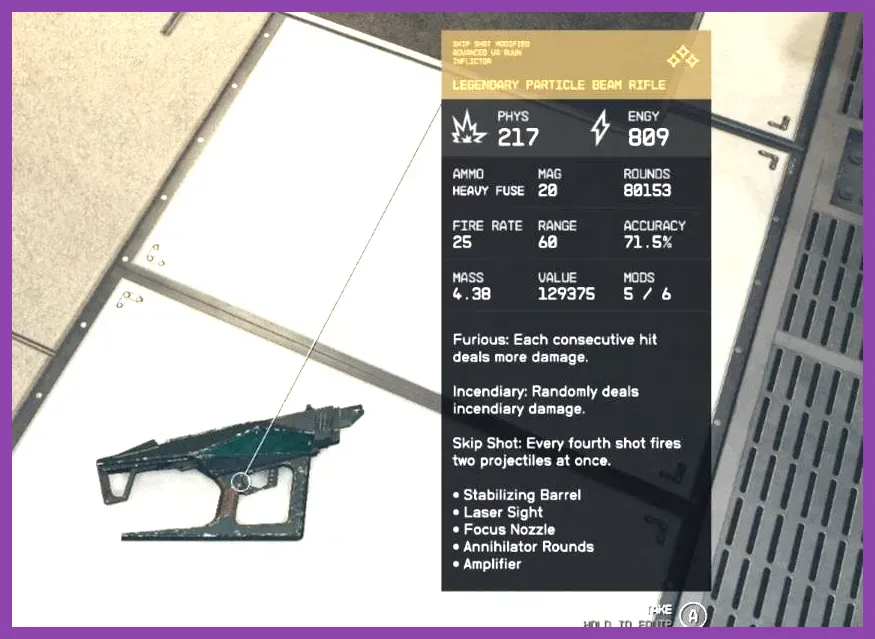
Heavy / Special Weapon: Va'Ruun Inflictor
When stealth breaks and you face multiple hostile alien fauna or Crimson Fleet enforcers, switch to the Va'Ruun Inflictor particle beam rifle. Particle beam weapons deal both Energy and Physical damage simultaneously, bypassing standard armor resistances. Modding it with a Spread Nozzle creates a devastating shotgun-like spread that melts multiple charging targets.
Sniper Weapon: Hard Target
For long-range base clearing, the Hard Target .50 caliber rifle provides the highest single-shot damage profile in the game. Pick off perimeter snipers and turret operators before stepping foot inside an outpost compound.
Spacesuit Mod Priorities
When modding your spacesuit at an Armor Workbench, prioritize these attachments to maximize self-sufficiency:
- Slot 1: Shielded / Heavy Shielding: Adds +25 to +50 overall damage resistances.
- Slot 2: O2 Boost: Adds +50 maximum oxygen pool, extending sprinting and jetpack hovering.
- Slot 3: Sensor Array: Detects enemy movements through walls on your compass radar without using Starborn powers.
- Slot 4: Pocketed: Adds +10 to +20 extra carrying capacity per armor piece (Spacesuit, Pack, Helmet).
If gear grinding and stat min-maxing are your favorite gameplay loops, read our detailed guide on Enshrouded best armor sets location guide to master survival gear collection.
6. Advanced Solo Exploration Strategies and Power Usage
Operating as a lone space farer requires mastering a few mechanical interactions that eliminate common frustrations, such as inventory weight limits and overwhelming enemy numbers.
Solving the Inventory Capacity Problem
The single biggest hurdle for solo players is loot weight. To sell massive stockpiles of weapons without companion carrying slots, unlock the Personal Atmosphere Starborn Power early in the main story arc. Activating Personal Atmosphere instantly fills your oxygen bar and prevents oxygen depletion for a set duration, allowing you to sprint back to your ship completely encumbered without taking health damage.
Ship Crew vs. Active Companion Distinctions
A crucial detail regarding the Isolation skill: you can still recruit crew members (such as Marika Borlaogue or Lin) and assign them to your starship to boost ship shield capacity, reactor power, or weapon damage! As long as you do not select "Follow Me" to bring them along as active ground companions, the full bonuses of your Isolation skill (+40% weapon damage, +60 armor) remain active on planet surfaces and inside dungeons.
Combat Rotation for Solo Boarding Actions
When boarding enemy starships alone, narrow hallways leave you vulnerable to crossfire. Follow this combat loop:
- Activate a stealth power or crouch at the dock door threshold to establish stealth status.
- Lauch a Recon Grenade into the main cabin deck to highlight enemy body outlines through doors and walls.
- Open the door using a suppressed Beowulf or shotgun and land critical stealth headshots on the primary target.
- Use your Boost Pack to hover near ceiling pipes, breaking enemy line-of-sight while firing downward into cover positions.
If you encounter technical performance hitches or frame drops during heavy firefights on PC, check out our guide on how to fix performance crashing on PC or review the latest lore database on the Starfield Fandom Wiki.
By selecting the **Bounty Hunter** background, stacking traits like **Introvert** and **Terra Firma**, and rushing the **Isolation** skill passive early, your solo character will deal significantly higher burst damage and possess far superior damage resistance than any companion-assisted build in Starfield.