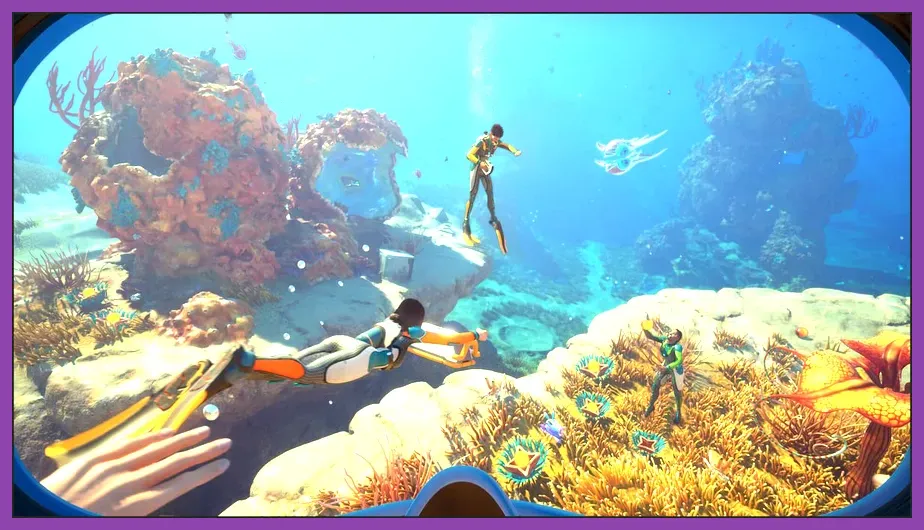
The optimal starting build in Subnautica 2 focuses on maximizing your initial oxygen tank capacity, securing rapid propulsion, and crafting a self-sustaining battery infrastructure within your first two hours of play. By combining the High-Capacity Oxygen Tank, Standard Swim Fins, Scanner Tool, Survival Knife, and the Personal Propulsion Vehicle (Seaglide equivalent), you construct a versatile loadout that allows you to safely explore depths down to 200 meters while farming essential materials like Titanium, Copper, Quartz, and Lead in early biomes like the Bioluminescent Shallows and Coral Shelf.
Core Philosophy of the Optimal Early-Game Build
Surviving and thriving in the alien ocean of Subnautica 2 requires balancing three critical operational constraints: oxygen capacity, movement speed, and energy management. Without a dedicated early-game gear path, players spend upwards of 70% of their play duration swimming back and forth to the surface for air. The goal of this build—known as the High-Mobility Explorer Build—is to minimize surface downtime and maximize inventory output per dive.
By prioritizing specific tools and equipment upgrades immediately after leaving your drop pod or initial escape craft, you unlock exponential resource gathering efficiency. Much like establishing resource supply lines in complex crafting systems—similar to what players experience in our Dragon's Dogma 2 crafting guide—securing your foundational materials early dictates how rapidly you can progress toward mid-game submersibles and base expansion.
Key Stat Priorities for the Starter Build
- Oxygen Reservoir: Push standard O2 from the baseline 45 seconds to 135+ seconds as fast as possible.
- Swim Speed: Mitigate underwater drag using streamlined gear and propulsion tech to evade aggressive fauna.
- Energy Generation: Establish early Solar Power and Battery Charging capabilities to keep scanner tools and propulsion vehicles powered 24/7.
- Cargo Capacity: Maximize inventory space by carrying only multi-purpose tools and storing secondary utility gear inside mobile vehicle slots.
Essential Early Gear: Your Core Survival Loadout
To construct the High-Mobility Explorer Build, you must gather raw nodes surrounding your initial crash zone. Concentrate on harvesting Limestone Outcrops for Titanium and Copper, Quartz deposits for Glass, and local flora for Acid Cluster batteries. Every slot in your personal inventory must serve a clear purpose to avoid unnecessary drag or wasted space.
1. High-Capacity Oxygen Tank
Your baseline 45-second air supply is the single largest restriction on your exploration range. Crafting the Standard O2 Tank increases your air reserve to 75 seconds, but immediately upgrading to the High-Capacity O2 Tank pushes your total supply to 135 seconds. This grants you enough breathing window to harvest entire cavern networks without panicking.
- Crafting Recipe: 1x Standard O2 Tank, 2x Glass, 4x Titanium, 1x Silver Ore.
- Primary Benefit: Provides an additional +90 seconds of dive duration.
2. Personal Propulsion Unit (Seaglide / Scooter)
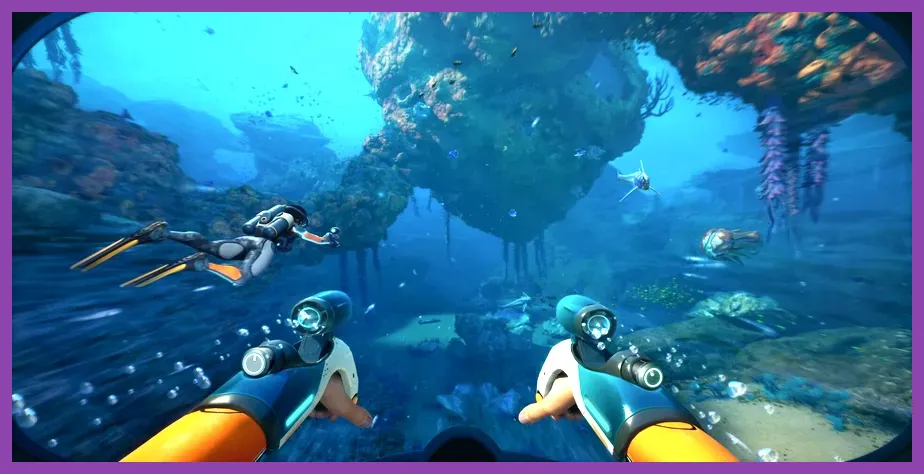
Swinging fins alone leaves you vulnerable to fast predators and drains precious dive time during vertical drops. Constructing the personal propulsion scooter doubles your horizontal and vertical movement speeds while providing a built-in active sonar map and flashlight.
- Crafting Recipe: 1x Battery, 1x Lubricant, 1x Copper Wire, 1x Titanium.
- Operational Tip: Turn off the integrated holographic map projection (toggle key) when navigating clear waters to cut battery consumption by nearly 40%.
3. Scanner Tool & Survival Knife
The Scanner Tool is mandatory for unlocking blueprint fragments lying across debris fields. Pair it immediately with the basic Survival Knife for harvesting flora samples, coral samples, and self-defense against low-tier aggressive aquatic life.
- Scanner Recipe: 1x Battery, 1x Titanium.
- Survival Knife Recipe: 1x Silicone Rubber, 1x Titanium.
Ensure you regularly check for technical game performance, as sudden frame drops during deep cave navigation can cause orientation loss. If you encounter performance issues in demanding open-world titles, applying performance fixes like those in our Palworld FPS fix guide can help ensure smooth frame rates in underwater environments as well.
Primary Vehicle Setup: Crafting the Scout Submarine
Once your handheld gear is fully crafted, your next objective is building the first personal submersible—the Scout Submarine. Operating a vehicle shifts your gameplay from risky surface-dependent dives to controlled underwater staging operations. The Scout Sub acts as a mobile oxygen refill station, allowing you to dive directly over deep ravines and biomes exceeding 200 meters without dying to atmospheric pressure or asphyxiation.
Required Blueprints and Components
Scan three Scout Submarine hull fragments found scattered throughout the shallow kelp corridors and metal debris sites within 300 meters of your start location. Once scanned, craft the Mobile Vehicle Bay on the surface to construct the sub.
- Mobile Vehicle Bay Cost: 1x Titanium Ingot, 1x Lubricant, 1x Power Cell.
- Scout Submarine Cost: 1x Titanium Ingot, 1x Glass, 1x Power Cell, 1x Copper Wire, 1x Lead.
Essential Early Vehicle Modules
Do not run your starter submarine bare. Equip these baseline upgrade modules as soon as you assemble the Vehicle Modification Station:
- Depth Module Mk1: Increases structural hull pressure resistance from 200m down to 400m depth, opening access to lucrative mid-game mineral veins.
- Storage Module: Adds a 16-slot external cargo container accessible directly from the exterior hull, perfect for dumping extra Quartz and Titanium during prolonged farming trips.
- Solar Recharger Module: Automatically trickle-charges the submarine's internal Power Cell whenever parked in depths shallower than 30 meters under direct daylight.
Navigating submersibles through dense marine environments requires smooth controls and high frame stability. Players tweaking their display configurations for optimum clarity should refer to standard graphic tuning strategies, such as those outlined in our GTA 6 graphic performance guide or Frostpunk 2 FPS optimization settings, ensuring seamless visual tracking under dark waters.
Base Module Priorities: Oxygen and Power Efficiency
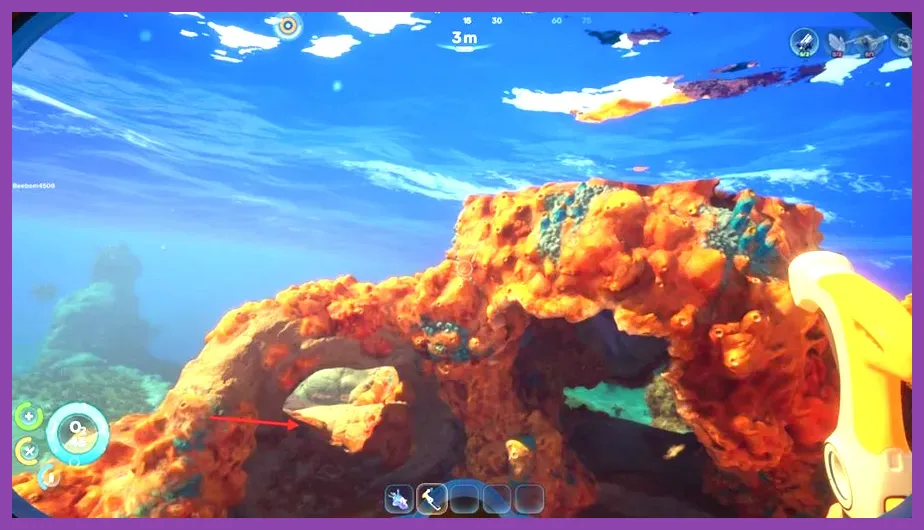
Relying solely on your starting pod for fabricator access quickly creates an inventory bottleneck. Building a compact, highly functional starter habitat at a depth of 15 to 25 meters provides a stable operational staging point near primary resource nodes.
Optimal Starter Base Layout
Keep your initial base layout compact to minimize construction costs and integrity strain. A single Multipurpose Room or two I-Compartments hooked to a Hatch is all you need for early success.
- 1x I-Compartment / Multipurpose Room: Provides core structural space for crafting stations and storage lockers.
- 1x Basic Hatch: Placed on the upper face or side wall for easy entry while swimming down from the surface.
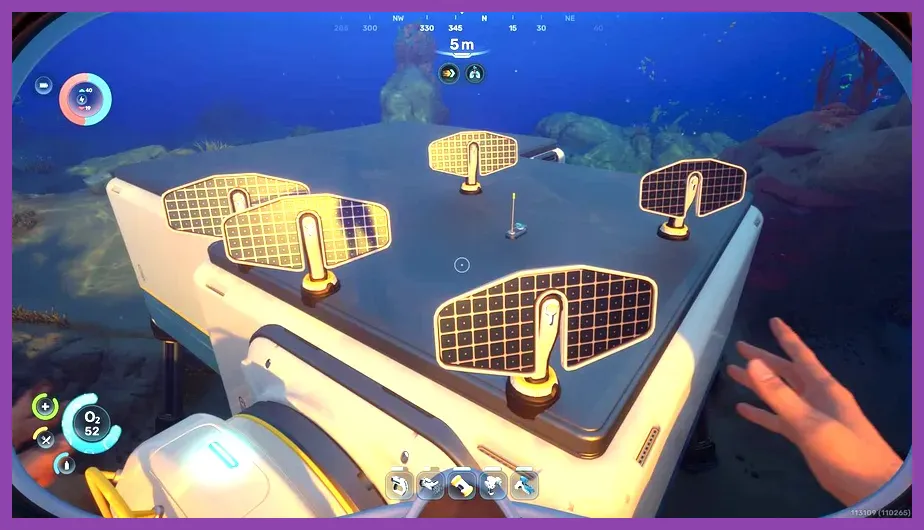
- 2x Solar Panels: Placed directly on top of the module roof. Solar power yields maximum output near the surface (100% power efficiency down to 20m depth).
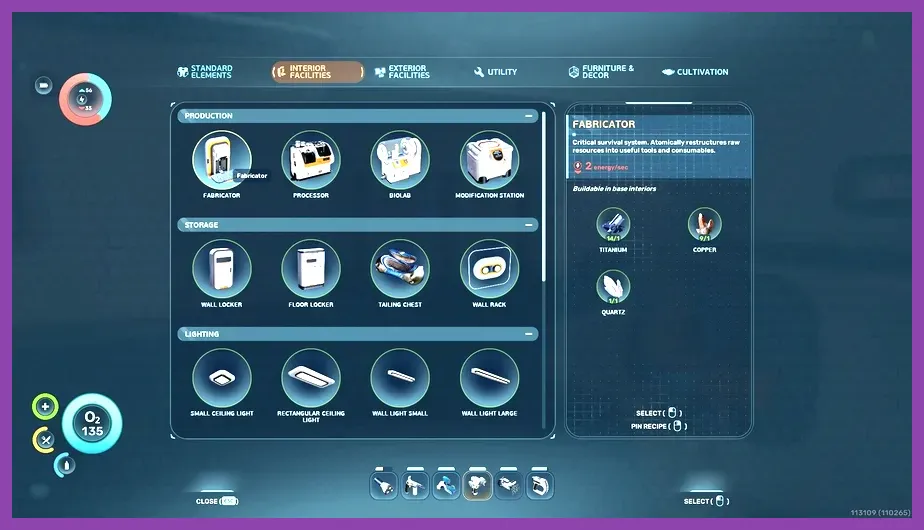
- 1x Fabricator: Mounted to an interior wall for immediate resource refining.
- 1x Battery Charger: Crucial for cycling depleted cells from your Scanner, Flashlight, and Propulsion Unit.
Base Power Management
Solar Panels produce 15 units of power per minute during peak day hours and 0 units at night. Building two solar panels gives you a total power capacity reserve of 150 energy units. This is more than sufficient to run a Battery Charger and Fabricator simultaneously without running out of power during night cycles.
Step-by-Step Resource Gathering Route
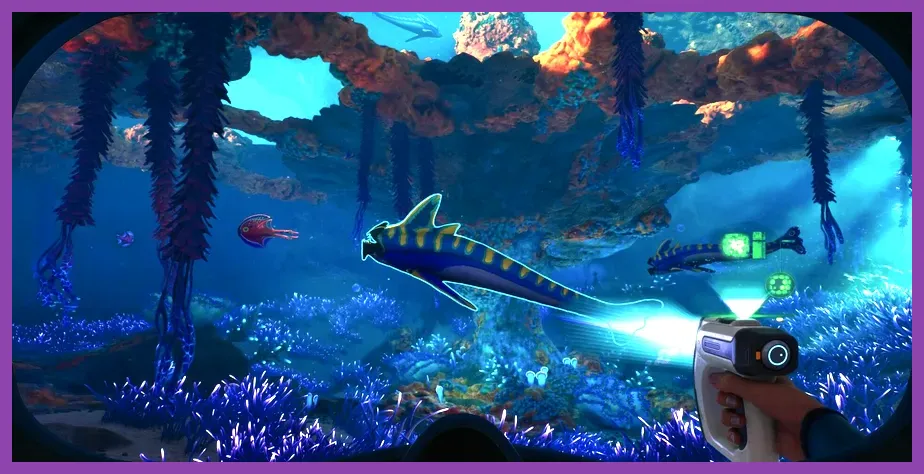
To assemble this entire build within your first 90 minutes of gameplay, execute this optimized resource route immediately upon exiting your initial Pod:
Phase 1: The Shallow Reefs (0m - 30m Depth)
Focus exclusively on collecting 15x Titanium from loose nodes and metal salvage scrap, 6x Copper from Limestone Outcrops, and 6x Acid Cluster flora. Return to your primary fabricator to craft two spare Batteries, your Scanner Tool, Survival Knife, and basic Standard O2 Tank.
Phase 2: The Kelp Forests (30m - 70m Depth)
Swim into the nearby dense underwater forest zone. Use your knife to cut Creepvine Seeds (glowing yellow pods) and Creepvine Stems. Craft Silicone Rubber for your fins and Lubricant for your upcoming vehicle build. Keep an eye out for Sandstone Outcrops to gather Lead and Silver Ore.
Phase 3: The Deep Coral Trenches (70m - 150m Depth)
Equip your newly crafted High-Capacity O2 Tank and propulsion scooter. Dive into the deep trench zones to scan sub fragments and collect Quartz in large quantities for Glass creation. Once all fragments are scanned, craft your Scout Submarine and transition into mobile exploration.
For players who enjoy mastering efficient progression mechanics in large-scale open worlds, fast movement strategies are key—similar to how acquiring mounts rapidly changes early-game pacing in our Satisfactory mount acquisition guide.
Essential Upgrades to Transition to Mid-Game
Once your starter build is fully online with a operational Scout Submarine, base power grid, and high-capacity air system, your focus must shift toward mid-game survival readiness. Check the checklist below to complete your transition out of the early game:
| Upgrade Item | Key Material Cost | Primary Tactical Function |
|---|---|---|
| Ultra Glide Fins | 1x Fins, 2x Silicone Rubber, 1x Titanium, 1x Lithium | Significantly increases base swim speed, stacking with propulsion gear. |
| Rebreather | 1x Wiring Kit, 1x Silicone Rubber, 1x Fiber Mesh | Negates oxygen consumption penalties when diving deeper than 100 meters. |
| Laser Cutter | 1x Diamond, 1x Battery, 1x Titanium, 1x Cave Sulfur | Cuts open sealed doors inside large shipwreck debris to reveal high-tier blueprints. |
| Vehicle Modification Station | 1x Titanium Ingot, 1x Computer Chip, 1x Lead | Allows craftable depth, hull armor, and energy module installation for vehicles. |
By executing this starting build step-by-step, you eliminate early-game survival frustration, minimize fatal oxygen emergencies, and establish a high-performance foundation capable of taking on the deepest and most hostile biomes in Subnautica 2. For more technical coverage, development updates, and survival strategy guides, stay tuned to official updates from Unknown Worlds and the Subnautica Community Wiki.