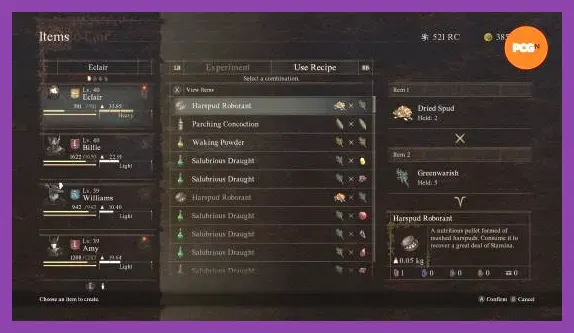
Crafting in Dragon's Dogma 2 is the backbone of surviving high-tier combat encounters and maxing out your equipment stats. Whether you need high-potency healing roborants to stay alive against a Drake or rare monster drops like Wyrmslife Crystals and Eldricite to max out your end-game gear, knowing what materials to look for—and where to farm them—is critical. Unlike basic RPG survival systems, crafting here relies heavily on combining raw materials before they decay, while equipment upgrades demand region-specific resources processed by distinct forge styles.
Mastering Item Combining: Essential Curatives and Tonics
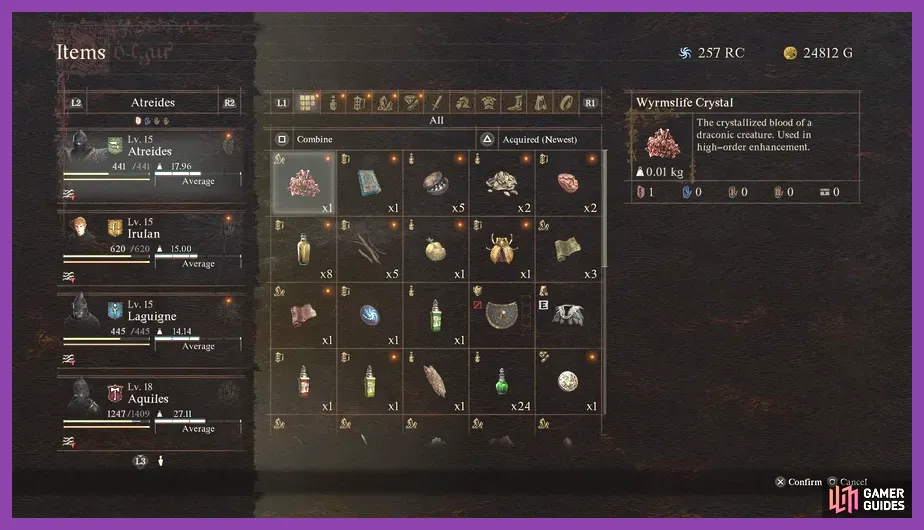
Item creation in Dragon's Dogma 2 is executed via the Combine menu, accessible anytime from your inventory or storage chest. The primary goal early on is converting heavy, perishable ingredients into compact, non-perishable curatives. Raw Greenwarish combined with standard fruit yields a basic Salubrious Tincture, but superior combat sustenance requires converting meat and fruit into Roborants. Roborants restore massive chunks of Health and Stamina simultaneously without carrying heavy weight penalties.
To craft top-tier curatives, focus on these essential high-yield recipes:
- Mighty Roborant: Combine Fruit Roborant or Meat Roborant with Cinnamon Bark, or pair Exquisite Dried Fruit with Dried Meat. This restores a massive portion of Health and Stamina.
- Miracle Roborant: Combine Fine Fruit Roborant with Fastidiously Dried Meat, or combine any Roborant with a Tailor's Blossom. This offers the highest flat Health and Stamina restoration per unit weight.
- Exhaustion Curatives (Harspud Tincture & Roborant): Combining Harspud with Granary Gold Dust or combining Harspud Roborant directly yields high stamina replenishment ideal for stamina-heavy Vocations like Sorcerer, Archer, and Warrior.
- Panacea: Combine any Allheal Elixir component or rare floral extracts like Sunbloom and Moonglow to clear all active debilitations instantly.
Prioritize crafting dried variations of fruits and meats immediately. Leaving Greenwarish, Apples, Grapes, or Beast-Steaks in your backpack causes them to ripen and eventually rot. Ripe fruit combined with Aged Meat creates high-potency ingredients for superior roborants. For deeper strategies on early-game preparation and resource management, check out our best starting build guide for beginners.
Top Tier Crafting and Enhancement Materials in Dragon's Dogma 2

Upgrading weapons and armor beyond basic levels requires rare monster components, minerals, and specialized drops. Every equipment piece in Dragon's Dogma 2 requires specific regional materials depending on the forge style you select. Below are the absolute best and most critical materials you must collect for endgame gear enhancement:
- Wyrmslife Crystal (WLC): Carved directly from Drakes, Wyrms, and Lesser Dragons. Required to purchase endgame gear from the Dragonforged NPC at the Bay Wayside Shrine and used for Tier-4 Dragonforged equipment upgrades.
- Dragonscale: Dropped by Drakes upon breaking their torso or wings. Mandatory for high-tier heavy armor and endgame martial weapons.
- Eldricite: An extremely rare drop obtained exclusively from Specters (purple floating phantoms) located primarily within the Unmoored World post-game state.
- Black Crystal: Dropped by Phantom-type undead and Wargs found in late-game regions such as the Misty Marshes and the Unmoored World.
- Sunstone: A brilliant orange mineral mined exclusively from ore deposits located across the Agamen Volcanic Island and South Battah.
- Boltscale: Carved from blue-scaled Rattlers inhabiting caves in Southern Battah and the Drabnir's Grotto dungeon.
- Freakish Mane: Dropped by Gorechimera boss monsters found in the post-game map and high-level cave networks in Battah.
Managing these resources efficiently is just as important as gathering them. If you enjoy managing complex crafting economies and survival resources across different games, explore our comprehensive Palworld crafting guide to best materials and how to farm them for similar open-world crafting tips.
Farming Locations for Rare Crafting Resources
Acquiring large quantities of high-tier materials requires targeting specific zones on the map of Vermund, Battah, and the Volcanic Island. Monsters respawn every 3 to 7 in-game days after resting at an Inn or campsite.
1. Agamen Volcanic Island & Drabnir's Grotto
This southern territory contains the densest concentration of high-end mineral deposits and elite monster variants. Mining nodes here yield Sunstone, Hillfire Gold, and South Silver Ore. The coastal trails and cave systems feature Magma Scale Saurians (yielding Magma Scale) and Volcanic Rattlers (yielding Boltscale).
2. The Unmoored World (Post-Game State)
When you trigger the true ending sequence, the oceans drain, opening massive dried seabeds filled with rare boss encounters. Spectral enemies drop Eldricite and Black Crystals freely here. Fell Drakes spawn along the dry seafloor, dropping up to 15–20 Wyrmslife Crystals per kill. Plan your route carefully, as sleeping passes time against the fog timer in this state. For players aiming to optimize their endgame character performance for these fights, reference our guide on endgame build guides and best gear setups.
3. Misty Marshes and Ancient Battleground
Located northwest of Vernworth, the Misty Marshes house Phantasms, Wargs, and Skeleton Lords, making it the ultimate early-to-midgame zone for farming Miasmite and Black Crystal. The Ancient Battleground further north guarantees a Drake spawn alongside a Cyclops, allowing you to farm Dragonscale and Wyrmslife Crystals early in your journey.
Weapon and Armor Enhancement Styles Explained

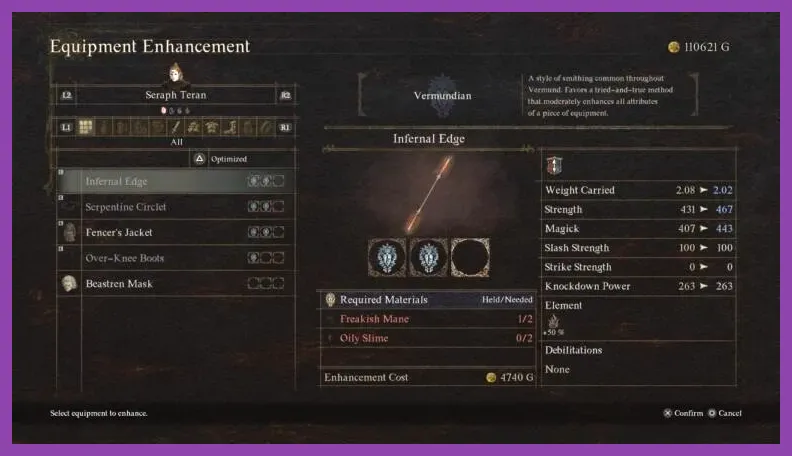
Crafting gear upgrades is not a one-size-fits-all mechanic. Depending on which blacksmith town you visit to upgrade your items, the stats assigned to your weapon or armor shift dramatically. Choosing the correct style prevents wasted rare crafting materials. You can view additional official mechanics on the Official Dragon's Dogma 2 Website.
Vermundian Style (Vernworth)
Provides a balanced increase across Physical Attack, Magick Attack, Physical Defense, and Magick Defense while moderately reducing total item weight. Excellent for hybrid vocations like Spearhand or Wayfarer.
Battahli Style (Bakbattahl)
Massively boosts Physical Attack and Physical Defense, but significantly increases item weight. This enhancement style requires materials like Knocker Horns, Ogre Bones, and Dread Spores. Ideal for Fighter, Warrior, and Thief weapons.
Elven Style (Sacred Arbor)
Focuses heavily on Magick Attack and Magick Defense while dramatically lowering total item weight. Demands materials such as Elven Wood, White Cobalt Ore, and Syrupwort Leaves. Mandatory for Mage and Sorcerer staves.
Dwarven Style (Gautstaaf / Brokkr's Forge)
Considered the community meta choice for endgame martial builds. Dwarven enhancement substantially increases Knockdown Power on weapons and Knockdown Resistance on armor, with a moderate physical boost and slight weight increase. Requires rare minerals like Sunstone and Wyrmslife Crystals. It enables Warriors and Fighters to break boss posture in just a few hits.
Dragonforging (The Dragonforged)
Once an item reaches Level 3 enhancement in any regional style, you can take it to the Dragonforged NPC at Bay Wayside Shrine. Spending Wyrmslife Crystals unlocks Level 4 (Dragonforged status), which cuts the item's total weight in half while granting a massive flat bump to all stats.
How to Farm Wyrmslife Crystals Efficiently
Wyrmslife Crystals (WLC) are the definitive crafting currency in Dragon's Dogma 2. You need hundreds of them to buy the ultimate gear sets for your Arisen and Main Pawn, as well as to Dragonforge every weapon slot. To check out official details and updates, visit the Dragon's Dogma 2 Steam Store or check Capcom's official announcements.
To maximize your WLC earnings per hour, implement the following Thief strategy:
- Switch your Arisen's Vocation to Thief and equip the Plunder (or Pilfer) skill.
- Equip daggers with high Knockdown Power, or utilize a Pawn with Dwarven-enhanced weapons to knock the Drake down onto its side.
- Target the glowing red heart on the Drake's chest. Use Plunder while standing adjacent to its chest or head while it is staggering or knocked down. A successful steal grants 10 to 15 additional Wyrmslife Crystals without killing the beast.
- Kill the Drake to harvest an additional 10 to 15 WLC from its carcass.
If you prefer solo Arisen runs to farm bosses rapidly without managing Pawn AI distraction, consult our guide on best solo player class and build guide for high-damage combat setups. Furthermore, leveling up quickly allows you to clear Drakes in under two minutes; read our detailed power leveling guide on how to level up fast to reach peak combat power.
Pawn Synergies and Storage Management Strategies
Your Pawn setup dramatically impacts how quickly you can stock raw materials without overburdening your Arisen. Carrying excessive materials slows movement speed and increases stamina consumption during combat sprinting.
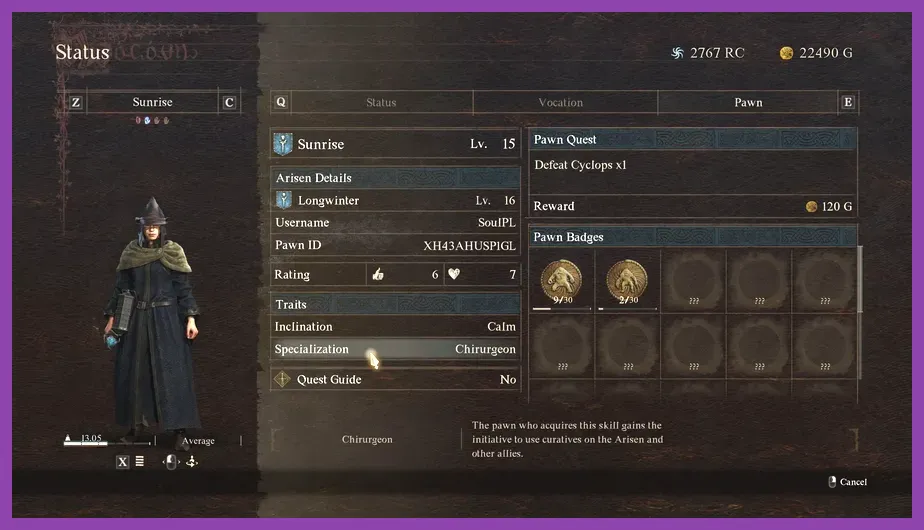
The Forager Specialization
Hire at least one Pawn with the Forager Specialization scroll. When a Forager Pawn is in your party, icons appear on your main map highlighting the exact locations of upgrade materials needed for your currently equipped weapons and armor. If your sword requires Boltscale, the Forager marks active Rattler caves and merchants selling the item on your map automatically.
Automated Storage Combining
Do not hold raw materials in your inventory while exploring towns. Whenever you deposit items into your Storage Chest at any Inn or owned house in Vernworth or Bakbattahl, you can press the Combine button directly within the storage interface. Crafting directly out of your chest uses stored ingredients instantly, preserving your inventory weight for field exploration.
By pairing Forager Pawns with target material routes across Battah and the Volcanic Island, using Thief stolen drops, and applying Dwarven forge enhancements, you can easily optimize every piece of gear in Dragon's Dogma 2 to its absolute peak capability.