If you’re starting Brothers in Arms: Earned in Blood, the best beginner build is a flexible rifleman setup: carry the M1 Garand whenever you can, use the Thompson for close-range pushes, keep your Assault and Fire teams moving as separate tools, and spend most engagements on suppression before flanking. There are no RPG skill points or permanent character stats here, so your “build” is really your weapon choice, squad composition, difficulty setting, and battle rhythm.
That distinction matters. Earned in Blood is a tactical World War II shooter built around fire and maneuver, not a conventional run-and-gun FPS. You win by making German positions look the wrong way, pinning them with one team, and sending another team around the side. A better weapon can help, but a bad angle will still get Matt Baker and his men cut down in seconds.
This setup works especially well for a first campaign because it gives you an answer for nearly every problem: the Garand handles medium-range targets, the Thompson dominates trenches and rooms, grenades clear stubborn cover, and your squad supplies the sustained fire you can’t produce alone. For broader tactical-shooter recommendations, Steamoz’s games like Bounty Train guide is also worth a look.
The best starting build for a first campaign
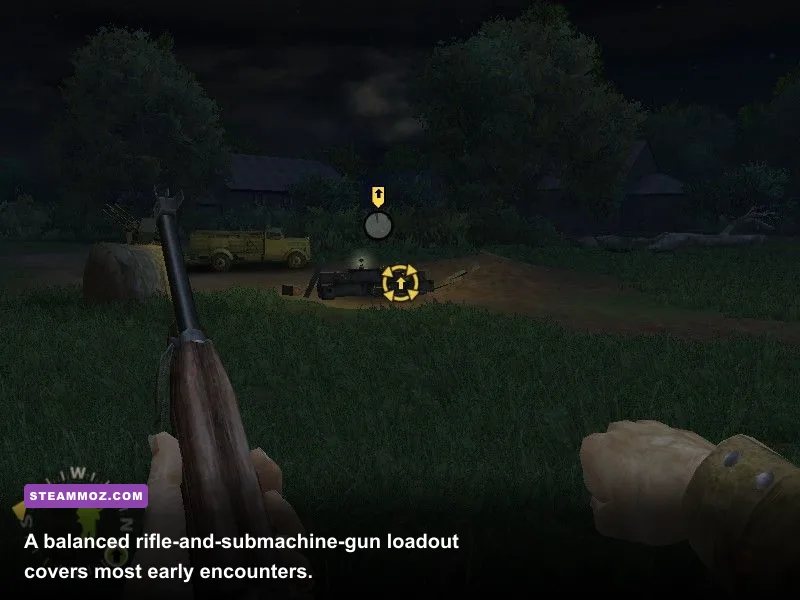
Start on Easy if you’re learning the command system, or Normal if you already understand squad-based shooters. Earned in Blood’s difficulty is less about enemy health and more about how quickly you’re punished for exposing a team. Easy gives you room to learn the difference between a suppressed enemy and a genuinely neutralized one; Normal forces you to respect machine-gun cones and open ground immediately.
Your default personal weapon should be the M1 Garand. Its eight-round en-bloc magazine gives you fast, accurate follow-up shots without the slow bolt cycling of the Kar98k. It’s ideal for picking off German riflemen while your Fire Team keeps a position pinned. Don’t dump the whole magazine into a wall, though. Short, deliberate strings are more useful than frantic fire because the game rewards target removal and positional discipline.
Switch to the Thompson when you breach a farmhouse, move through a trench, or close inside roughly 20–30 metres. The weapon’s high rate of fire is forgiving when several enemies appear at once, but its ammunition disappears quickly and its accuracy falls off at range. Treat it as a finishing weapon, not your universal primary.
| Build Element | Beginner Choice | Why It Works | When to Change |
|---|---|---|---|
| Primary weapon | M1 Garand | Accurate, fast follow-up shots, strong at medium range | Use a BAR or Thompson when the mission supplies one |
| Close-range weapon | Thompson | Excellent for trenches, rooms, and final assaults | Return to the Garand as soon as sightlines open |
| Squad assignment | Fire Team plus Assault Team | Creates a simple suppress-and-flank pair | Add bazooka support when German armor enters the fight |
| Grenades | Mk2 fragmentation grenade | Flushes enemies from windows, corners, and foxholes | Save them for fixed positions rather than lone riflemen |
| Difficulty | Easy or Normal | Lets you learn command timing without removing tactical pressure | Move to Veteran after you stop losing teams in open ground |
The BAR is the strongest all-purpose alternative when it appears. It hits hard and offers automatic fire for emergencies, but it’s heavier-feeling and less comfortable for careful long-range shooting. The M1 Carbine is a useful middle ground with a lighter handling profile, though the Garand generally gives a new player more confidence against targets behind partial cover.

🎮 ARMS
Looking to experience this game? Grab your digital key directly on our store for $59.99.
View on Steammoz Store →How to use your squad without wasting it
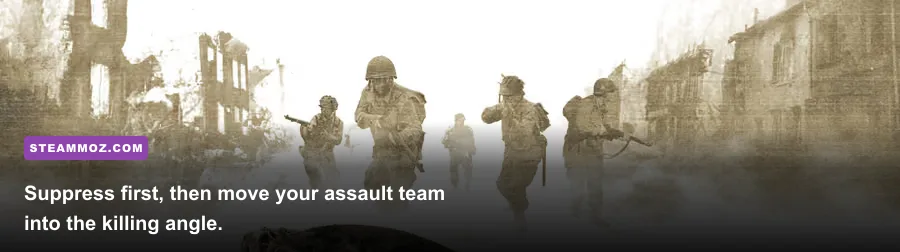
Your squad is the real build. The game’s core commands are built around two jobs: Fire and Assault. A Fire Team pins enemies so they keep their heads down. An Assault Team moves to a new position, attacks a flank, or closes distance while the opposition is distracted. If both teams are doing the same job, you’re throwing away the system’s biggest advantage.
Open an engagement by identifying the German position instead of immediately charging. Look for muzzle flashes, movement behind hedges, windows, sandbags, and the distinctive threat of an MG42. Put your Fire Team somewhere with a clear line of sight, then order it to engage. Once enemy fire becomes less accurate and the position is visibly suppressed, move your Assault Team along cover.
The suppression feedback is not a decorative effect. It tells you that the enemy’s ability to return accurate fire has been reduced. Suppression fades if you stop applying pressure, so don’t wait around for a perfect opening. Move decisively from one protected point to the next, preferably using hedgerows, walls, ditches, and buildings to break the line of sight.
Keep Baker with the assault element whenever possible. You’re more valuable as the player who reaches the flank, throws a grenade, and finishes the position than as a third rifleman standing behind the Fire Team. If the game gives you a direct command to relocate or regroup, use it before crossing dangerous terrain. Squad members left behind often become useless, exposed targets.
| Situation | Fire Team Command | Assault Team Command | Your Action |
|---|---|---|---|
| German rifles behind a hedge | Engage from cover | Move along the hedge line | Lead the flank and finish survivors |
| MG42 covering open ground | Suppress the gun position | Take the longest covered route | Do not cross until the firing angle is broken |
| Enemy in a farmhouse | Hold outside windows | Approach from a side or rear | Throw a grenade, then enter with the Thompson |
| Position already weakened | Maintain pressure | Assault immediately | Stay close enough to prevent the enemy recovering |
| Team under heavy fire | Fall back or relocate | Stop advancing | Rebuild the angle before issuing another push |
For players coming from faster shooters, this tempo can feel slow at first. It shouldn’t. The few seconds spent placing a team correctly save minutes of reloads, retries, and casualty screens. Steamoz’s Alien: Isolation survival analysis covers a different kind of pressure, but the same lesson applies: information and positioning beat panic.
Weapon priorities, pickups, and combat rotations
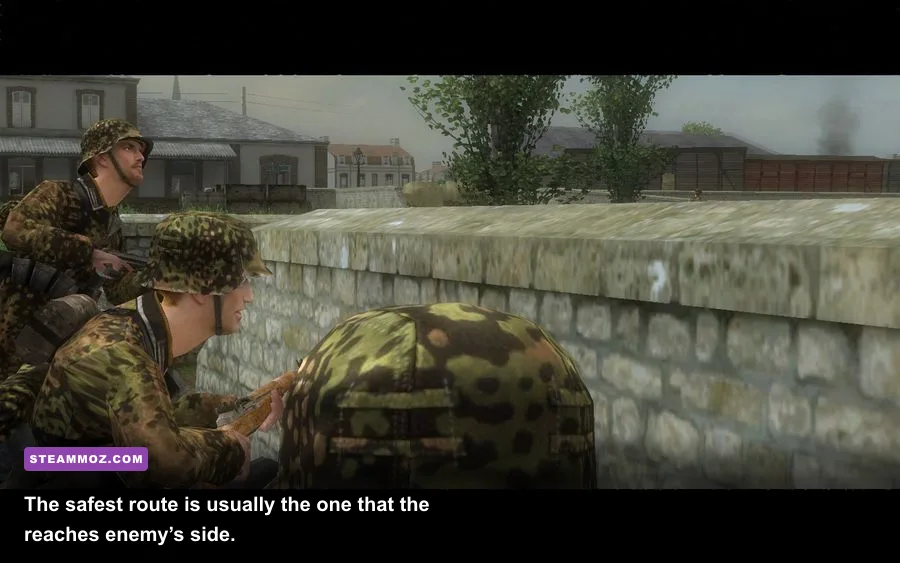
Don’t chase every weapon on the ground. Pickups are situational, and the most reliable rotation is simple: Garand for observation and medium-range shooting, Thompson for the assault, and grenades for enemies refusing to leave cover. The Springfield and Kar98k can be useful when you need accurate single shots, but their slower action makes missed shots more expensive for beginners.
German weapons are tempting, especially the MP40. It’s effective in close quarters and often appears around the exact positions you’re trying to capture. Grab it if you’re entering a building or clearing a trench, but don’t abandon a familiar Garand before a long outdoor approach. The MP40’s compact range profile encourages you to get too close, and that’s dangerous when several German positions overlap.
Against fixed machine guns, your rotation should be: spot, suppress, flank, grenade, finish. Spot the nest and identify the weapon’s firing lane. Suppress with the Fire Team. Flank with the Assault Team while hugging cover. Throw a grenade only when it can force the crew away or kill them. Finish the remaining enemies with controlled Garand shots or a Thompson burst.
Against infantry in scattered cover, reverse the emphasis. Keep the Fire Team moving between safe firing points so the enemy can’t settle, then use Baker to eliminate exposed riflemen. A single enemy behind a stone wall isn’t always worth a grenade; several enemies clustered around a window are.
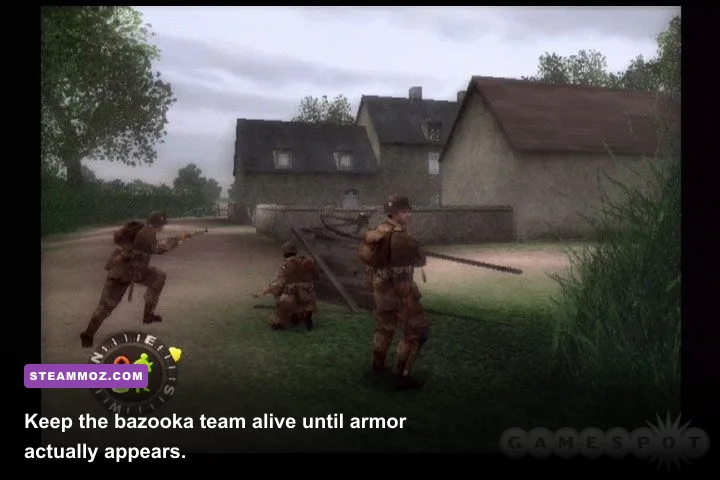
Rocket and bazooka teams deserve special treatment. When a mission gives you anti-tank support, don’t send that team into the first assault. Keep it behind hard cover and move it only after you’ve located the vehicle. Armor can erase an exposed squad in moments, while a bazooka team that survives the approach can turn a terrifying encounter into a short one.
The upgrade path: what to practice first
There’s no permanent skill tree in Earned in Blood, so your progression is mechanical rather than numerical. Your first goal is learning cover recognition. A hedge may block bullets from one direction but leave you exposed to a machine gun farther down the road. A wall can protect you from rifles while trapping you against a grenade. Always ask which enemy can see your next position before you move.
Your second goal is command timing. Issue the Fire command before you expose yourself, not after the bullets start landing. Then queue the flank mentally: move, stop, check the angle, and move again. If the suppression marker fades, pause the assault and reapply pressure. The best players aren’t issuing commands constantly; they’re issuing the right command before the situation collapses.
Third, learn to read German weapon behavior. Rifles and MP40s are dangerous but usually manageable when you remain behind cover. MG42 positions are the true movement checks. Their sustained fire creates a lethal lane, and crossing that lane because an objective marker says “advance” is one of the fastest ways to lose a squad. Find the side angle, use smoke or terrain if available, and make the machine gun look somewhere else.
Finally, stop measuring success only by speed. A clean capture with your teams intact is better than a fast push that leaves half the squad dead. Earned in Blood’s campaign becomes far more enjoyable once you treat each encounter as a small tactical puzzle instead of a shooting gallery. If you like games where planning changes the outcome, compare that mindset with Steamoz’s AI War 2 secret rewards guide.
| Practice Priority | Target Skill | Beginner Mistake | Reliable Fix |
|---|---|---|---|
| 1. Cover | Identify protected movement routes | Running between unrelated cover pieces | Move only when the next position breaks enemy sight |
| 2. Suppression | Keep enemy fire inaccurate during movement | Ordering a flank without sustained fire | Leave the Fire Team engaged until the assault arrives |
| 3. Team spacing | Keep Fire and Assault teams useful | Stacking everyone behind one wall | Separate jobs and angles, not just physical positions |
| 4. Grenades | Remove clustered defenders | Using grenades on isolated targets | Save explosives for rooms, windows, and fixed nests |
| 5. Recovery | Reset after a failed push | Repeating the same exposed route | Fall back, change the angle, and suppress again |
Beginner traps that ruin otherwise good runs
The biggest trap is treating Baker like an invincible action hero. He isn’t. You can kill many enemies personally, but the campaign’s positions are designed to punish solo advances. If you sprint ahead of the squad, you’ll often trigger overlapping fire from a second position you haven’t identified yet.
Another common mistake is leaving the Fire Team in a bad location because it has already started shooting. A team firing from an exposed road is not “doing its job”; it’s waiting to be erased. Relocate it behind a hedge, wall, or reverse slope, then resume suppression from a safer angle. Tactical movement applies to both teams, not just the one you control directly.
Don’t assault through the front of a position simply because it’s the shortest path. German defenders frequently have mutually supporting angles. The route that looks direct may expose you to a machine gun, rifle pit, and window at the same time. Take the longer path if it lets you approach from the side. This is the central habit that turns Earned in Blood from frustrating to readable.
Also avoid reloading in the open. The Garand’s reload rhythm is quick enough that you can usually duck behind cover, reload, and return. The Thompson’s ammunition economy is even more important: fire controlled bursts until you’re inside the position, then use its rate of fire to end the encounter.
Recommended first-mission checklist
Before each engagement, identify the enemy position, locate the strongest firing lane, and decide which team will hold it down. Keep Baker with the moving element, carry the Garand for open terrain, and switch to the Thompson only for close work. Use grenades on groups, not stragglers. Keep bazooka teams protected until armor is visible. If a push fails, don’t immediately repeat it—change the angle.
That’s the complete beginner build in practice: M1 Garand, Thompson when available, Fire Team suppression, Assault Team flanking, grenades for stubborn cover, and patient movement on Easy or Normal. It won’t make every mission effortless, but it teaches the exact habits the campaign demands. Once those habits become automatic, Veteran difficulty stops feeling like an ambush simulator and starts feeling like a tense, brilliantly constructed tactical shooter.
For the official game listing, check the Brothers in Arms: Earned in Blood Steam page. You can also browse the official Gearbox game page and Ubisoft’s Brothers in Arms franchise page for series background.
If you’re tuning older PC games for smoother play, Steamoz’s smooth 60 FPS settings guide is a useful companion. Just remember that frame rate can improve responsiveness, but it can’t replace the winning formula here: pin the enemy, move under cover, and hit the flank.