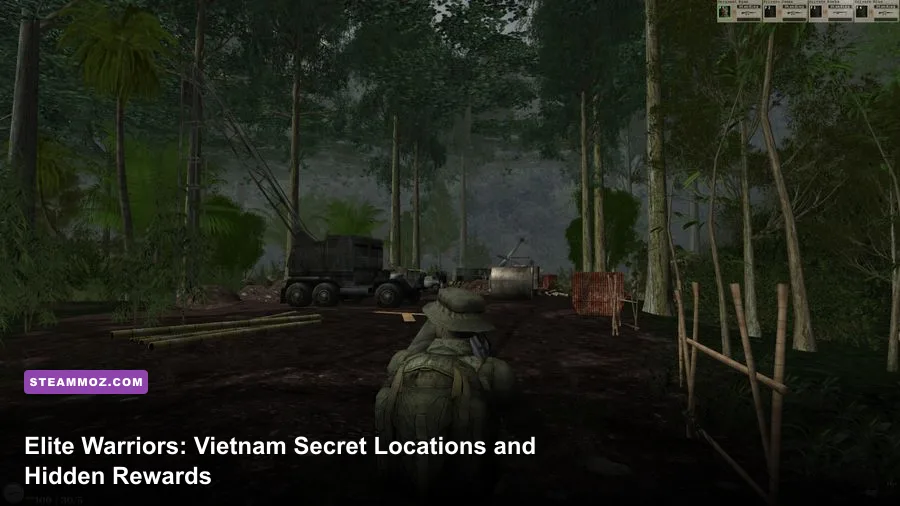
The fastest way to find every major secret in Elite Warriors: Vietnam is to stop treating each mission like a straight-line firefight. Search the first hut on the left, inspect tunnel entrances before planting explosives, and keep at least one squad member alive through optional objectives. The game hides its strongest rewards behind side paths, destructible cover, radio checkpoints, and mission-specific intel rather than obvious glowing pickups.
This guide maps the reliable secret routes across the campaign, explains what each hidden reward actually does, and points out the traps that waste the most time. It also covers the two easy-to-miss rules behind the bonus system: some caches only appear after a checkpoint trigger, while others vanish if you complete the primary objective too early. If you are playing the original PC release, use the official Steam search listing to confirm the installed build before following the route notes below.
How the hidden-reward system really works
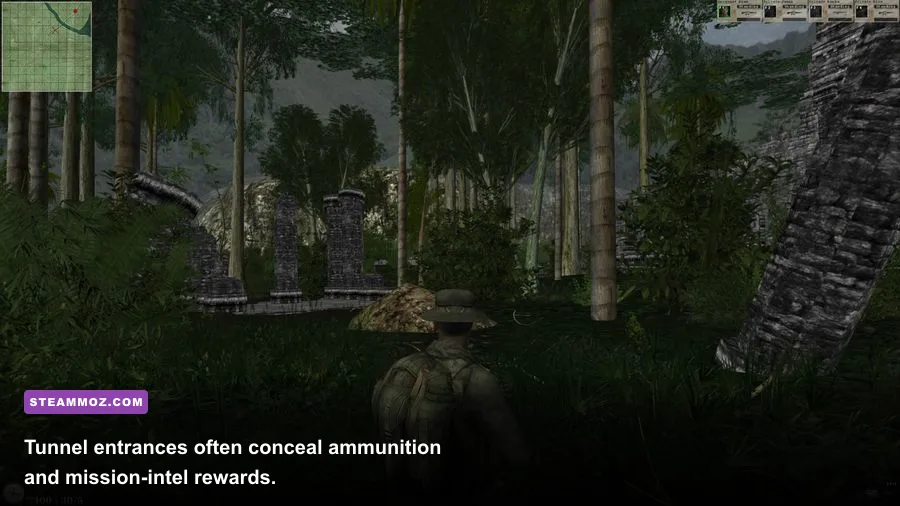
Elite Warriors: Vietnam does not treat every secret as a collectible. Most hidden rewards fall into four practical categories: weapon crates, ammunition caches, intelligence documents, and command bonuses. Weapon crates usually provide a fixed firearm, while ammunition boxes refill a particular weapon family. Documents are more important than they look because they count toward the mission-completion bonus and can reveal a safer route through a later objective.
The game also tracks optional actions silently. You will not always receive a large on-screen notification when a cache has been registered. Instead, the mission summary updates the relevant bonus count after extraction. That makes manual notes useful, especially if you are replaying a level on a higher difficulty.
| Secret Type | Typical Location | Reward | Best Time to Search |
|---|---|---|---|
| Weapon crate | Rear hut, bunker, or tunnel branch | Fixed firearm and spare magazines | Before the next combat trigger |
| Ammo cache | Sandbag corner or supply shed | 20–40 rounds for one weapon class | After clearing nearby patrols |
| Intel document | Desk, radio room, or officer quarters | Mission bonus and route information | Before the primary objective |
| Command bonus | End-of-mission optional objective | Higher score and improved resupply | Before extraction begins |
A useful rule is to inspect anything that looks deliberately out of place. A lone barrel beside a wall, a dead-end trench with fresh sandbags, or a hut that has no visible doorway is usually a search prompt. Shoot wooden panels and thin plank walls, but do not waste grenades on solid bunker concrete. The sound and impact response are different, and the game gives enough feedback to identify breakable cover once you start looking for it.

🎮 Elite Warriors: Vietnam
Looking to experience this game? Grab your digital key directly on our store for $1.99.
View on Steammoz Store →Mission One secrets: the village approach

The first major secret sits before the village itself. From the opening patrol route, follow the left edge of the rice field instead of crossing directly toward the marked objective. A narrow drainage ditch leads behind a leaning hut. Enter through the back window, clear the single guard, and search the table beside the radio set. The document there counts as the first intelligence pickup.
Do not leave immediately. Shoot the stacked crates in the hut's rear corner to expose a shallow recess containing an ammunition cache. It is easy to miss because the crates do not break until you are close enough to see the seams. The cache supplies rifle ammunition, making it especially valuable if you are playing with limited resources.
In the main village, search the leftmost compound before speaking to the civilian contact. The front room is empty, but the rear wall hides a narrow crawlspace behind two wooden panels. The crawlspace leads to a Viet Cong supply box containing a fixed submachine gun and spare magazines. The reward is better for aggressive players, but the rifle remains the safer choice at long range.
The final village secret is tied to timing. After the contact dialogue, enemy reinforcements begin moving through the central lane. If you rush to the extraction marker, the side courtyard becomes inaccessible. Instead, circle behind the market stall and inspect the officer's desk. You will find the second document and a map note that registers the optional reconnaissance objective.
| Area | Exact Search Route | Reward | Main Mistake |
|---|---|---|---|
| Rice-field edge | Left ditch to rear hut window | Intel document | Crossing the field directly |
| Rear hut | Destroy stacked wooden crates | Rifle ammunition | Using explosives on the wall |
| Left village compound | Break rear panels and crawl inside | Submachine gun cache | Triggering contact dialogue first |
| Market courtyard | Circle behind stall after contact event | Reconnaissance document | Running straight to extraction |
Once these items are collected, the cleanest approach is to let the first enemy wave enter the village lane, then move along the compound walls. The AI reacts strongly to noise but is less reliable at tracking a player who changes elevation or breaks line of sight. A short burst, a retreat into the ditch, and a second angle from the hut usually clears the route without burning your limited grenades.
River crossing and jungle trail caches
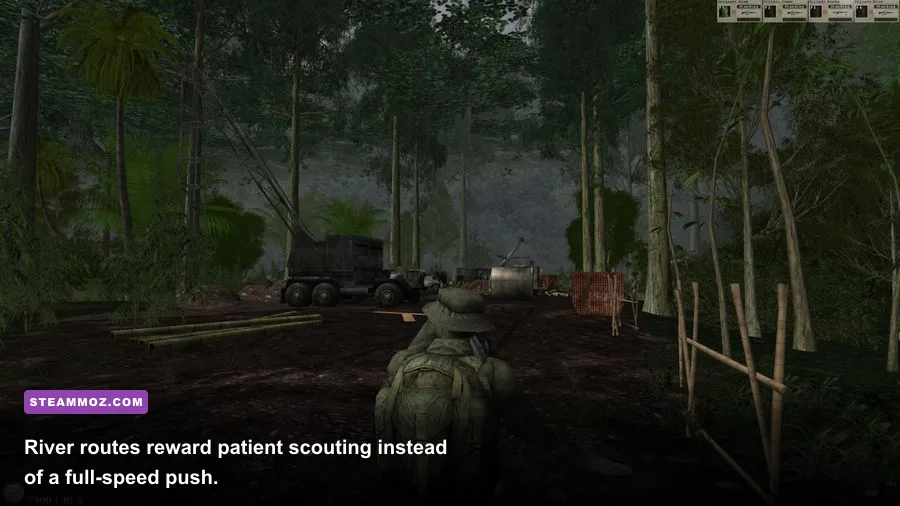
The river section contains fewer documents but more useful supplies. At the first crossing, do not follow the squad leader's exact path. Walk upstream until you reach the fallen tree with exposed roots. Behind it is a low ammunition box partially covered by foliage. It contains pistol and submachine-gun rounds, so it is more valuable if you selected a close-range loadout.
The second cache appears after the first ambush, not before it. This is one of the game's most misleading secrets. Clear the machine-gun position on the opposite bank, then return to the near-side reeds and inspect the abandoned canoe. The rear compartment holds a grenade bundle. If you search the canoe before the ambush begins, the compartment may remain empty because the supply event has not been activated.
Further along the jungle trail, look for a fork marked by three pale stones. The right route leads toward the objective, while the left route appears to be a dead end. It is not. Crouch beneath the hanging vines and follow the short path to a radio post. Destroy the radio operator, collect the document from the crate, and disable the transmitter. Disabling it is essential: taking the document without silencing the radio does not complete the optional communications objective.
The safest combat rhythm here is two shots, reposition, then two more. Jungle encounters punish sustained automatic fire because muzzle flash gives away your position and the surrounding vegetation makes return fire difficult to read. Keep your squad slightly behind you, use the riverbank as hard cover, and avoid standing in shallow water during an ambush. The movement penalty is small, but it is enough to ruin a retreat when the mounted gun opens up.
Tunnels, bunkers, and the secrets players miss
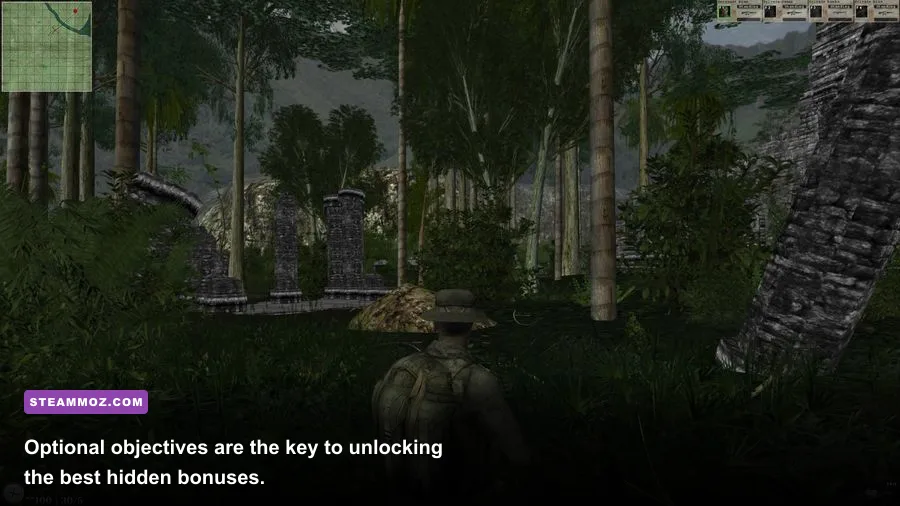
The tunnel mission has the highest concentration of hidden rewards. Bring the standard rifle if possible; the longer sight picture is more useful than the extra close-range damage of the submachine gun. Before entering the first tunnel mouth, inspect the sandbag line on the right. One section can be crossed by crawling beneath a gap, leading to a medical kit and a document pinned beside a wooden support beam.
Inside the tunnel, always check the first side branch on the left. It contains a dead-end bunker room with a weapon crate, but the room is easy to overlook because the main corridor is brighter and contains the objective marker. The crate provides a shotgun-style close-range weapon. It is excellent against tunnel defenders, though its limited ammunition makes it a tool for emergencies rather than a permanent replacement.
The central bunker hides the most useful secret in the campaign. After destroying the first ammunition storage room, wait for the radio transmission to finish before moving toward the demolition marker. A side door near the support stairs opens during this brief event. Inside, search the desk for the officer's intelligence file and shoot the hanging lantern beside the map board. The lantern reveals a concealed supply compartment containing grenades.
There is a catch: planting the demolition charge before collecting the file locks the side door. If that happens, reload the previous checkpoint instead of wasting time searching for another entrance. The door is not bugged; it is controlled by the objective state.
| Tunnel Segment | Threat | Counter | Reward |
|---|---|---|---|
| First entrance | Crossfire from sandbags | Crawl under the right-side gap | Medical kit and document |
| Left side branch | Close-range defender | Flash grenade, then shotgun | Close-range weapon crate |
| Central bunker stairs | Objective lockout | Wait for radio transmission | Officer file and grenade cache |
| Demolition room | Reinforcements after charge | Plant, retreat, hold doorway | Primary mission progress |
Do not sprint through the tunnels simply because the objective marker is close. Enemy positions are designed around sound. A thrown grenade can clear one room, but it also alerts defenders in the next chamber. Use the pistol for isolated targets, switch to the rifle for long corridors, and save at least one explosive for the final retreat. The extraction run is where most failed perfect-completion attempts fall apart.
Extraction bonuses and the complete reward route
The last hidden rewards are not placed in ordinary rooms. They are tied to how you finish the mission. Before entering the extraction zone, check the mission counter and confirm that every document has registered. Then complete the optional rescue or communications task shown on the objective panel. The exact wording varies by mission, but the logic stays consistent: the game rewards information gathering before evacuation.
At extraction, move to the outer edge of the marked zone rather than standing directly on the center marker. In the village mission, the outer-left corner provides a final ammunition box after the optional reconnaissance objective is complete. In the river mission, the bonus appears near the tree line behind the landing point. In the tunnel mission, the final reward is a grenade refill positioned beside the route used for the retreat.
These rewards do not always appear immediately. Walk away from the marker, wait for the radio call, and return. If the box still does not appear, the corresponding optional objective was not completed. This is why simply collecting every visible document is not enough.
| Mission Section | Hidden Requirement | Bonus Reward | Verification |
|---|---|---|---|
| Village extraction | Collect both documents and inspect the officer desk | Rifle ammunition box | Return after radio call |
| River landing | Disable the hidden radio post | Grenade bundle | Search behind landing tree line |
| Tunnel retreat | Collect officer file before demolition | Grenade refill | Check beside retreat doorway |
| Campaign summary | Complete all optional objectives | Higher completion rating | Review mission statistics |
For a clean replay, use the first run to learn patrol timing and the second to collect everything. Trying to chase every secret while blind often causes unnecessary deaths, especially on the tunnel retreat. If you are optimizing the whole campaign, the best order is documents first, weapon crates second, optional radio tasks third, and extraction bonuses last.
Loadout choices for a secret-focused run
A secret hunt needs a different loadout from a speedrun. You want ammunition flexibility, enough explosives to open combat routes, and a weapon that remains accurate when a hidden room turns into a close ambush. The rifle is the most consistent primary because it handles village lanes, riverbanks, and bunker corridors without forcing a resupply detour.
The submachine gun is a strong alternative for the village and tunnel missions. Its faster handling helps when clearing cramped rooms, but it burns ammunition quickly and is noticeably less forgiving across the river section. Carry it when you already know the route and can use the hidden ammo caches efficiently.
Grenades should be saved for fixed positions, not ordinary patrols. One grenade at the river machine-gun nest can prevent a long exposure, while one grenade during the tunnel retreat can stop enemies from closing the doorway. Medical supplies are similarly important: do not spend a kit to recover minor damage before a known secret room, because the next ambush may be unavoidable.
| Loadout | Rating | Best Synergy | Weakness |
|---|---|---|---|
| Rifle plus pistol | S-Tier | Documents, long lanes, controlled ammo use | Slower room clearing |
| Submachine gun plus pistol | A-Tier | Village compounds and tunnel branches | High ammunition consumption |
| Shotgun plus pistol | B-Tier | Close bunker fights | Limited reach and scarce shells |
| Rifle plus grenades | S-Tier for extraction | Machine-gun nests and retreat defense | Requires disciplined explosive use |
These route habits also carry over well to other secret-heavy shooters and tactical games. Steamoz's Ambulance Life hidden-location guide uses the same trigger-first approach, while the Cossacks 3 secret-reward walkthrough is useful if you enjoy methodically clearing optional objectives. For smoother play on older hardware, compare the practical performance advice in A New Beginning's 60 FPS settings guide.
Best replay plan for 100 percent completion
Start each mission on a lower difficulty if your only goal is route discovery. Learn which doors are objective-locked, identify the breakable panels, and note the order of radio triggers. On the completion run, raise the difficulty only after you can reach every secret without spending more than one medical item. The campaign becomes much more manageable when your movement is planned around checkpoints instead of improvising under fire.
Before leaving any area, use this checklist: search every hut's rear wall, inspect desks beside radios, check both sides of river crossings, return to recently cleared ambush sites, and wait for objective dialogue before opening suspicious doors. Most missing rewards come from leaving an area too early, not from an especially well-hidden object.
Keep a simple mission log with four entries for each level: documents found, weapon crates opened, optional radio or rescue action completed, and extraction bonus collected. If the final rating is lower than expected, that log tells you exactly which category needs another run. You do not need to replay the whole campaign blindly.
For official background on the release and current compatibility information, check the Steam catalog search, the MobyGames title record, and the PCGamingWiki technical database. For players who like this same blend of exploration and tactical resource management, Steamoz's AI War 2 hidden-reward guide is a natural next read.
Follow the route in this order and the secrets stop feeling random: village documents, rear-compound weapon crate, river caches after the ambush, tunnel file before demolition, then the extraction bonuses. The game still has rough edges, but its hidden rewards are carefully tied to observation and timing. Slow down at the right moments, and every supposedly empty hut starts telling you where the next secret is waiting.