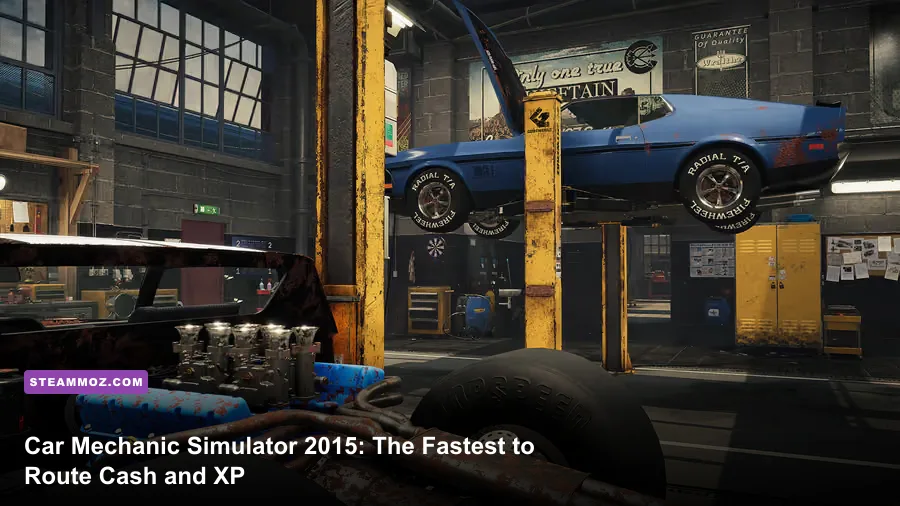
The fastest way to level up and build cash in Car Mechanic Simulator 2015 is to chain short story orders, complete every bonus objective, and invest early skill points into repair speed and better payouts. Don't spend your first savings on a flashy restoration. Story jobs give dependable XP, unlock more profitable work, and teach you which components can be repaired instead of replaced. Once the garage has the right tools, junkyard and auction flips become the better money engine.
This guide targets the original PC release of Car Mechanic Simulator 2015, including its standard progression loop and common DLC-era garage features. Version differences can affect available cars and prices, so check the official Steam listing if your edition includes extra content. The important principle doesn't change: time spent turning down slow, low-value work is often worth more than chasing a random expensive car.
Start With Story Orders, Not Restoration Projects
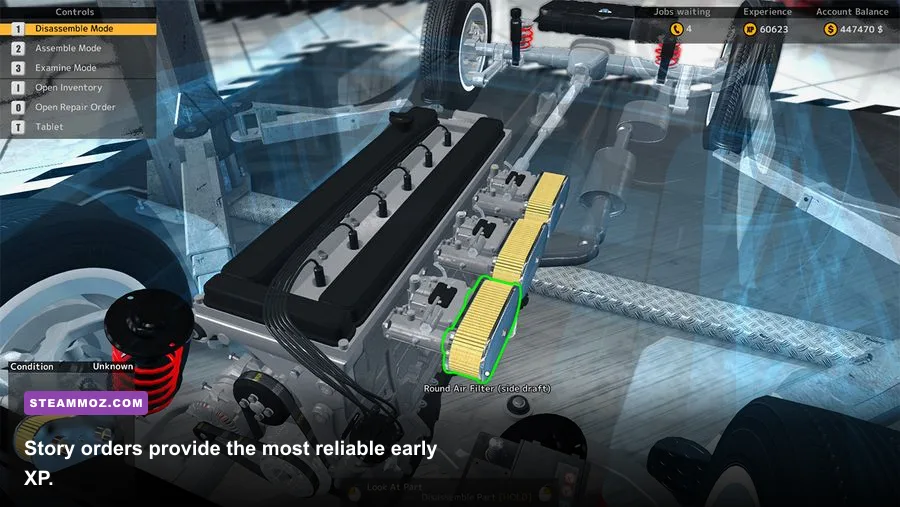
The order list is your safest leveling route. Story orders are structured repairs with a known vehicle, a clear parts checklist, and a guaranteed payment when you finish. They also tend to award more useful XP than wandering around the garage replacing random parts. Open the tablet, inspect every available order, and prioritize jobs that combine several repair categories rather than a single tiny task.
Before accepting an order, look for jobs involving the engine, suspension, brakes, and gearbox together. These take longer than changing one filter, but they create a strong XP-per-minute cycle because every removed component, diagnostic action, repair, and installation contributes to progression. A short order is still worthwhile when your tools are basic; later, multi-system jobs become much more efficient.
Always read the bonus objectives before touching the car. A job may ask for an additional oil change, a specific part condition, or a full inspection beyond the obvious broken component. Bonus work is where many players leave money and experience on the table. Finish the main checklist, then scan the vehicle again in Examination Mode before delivery. If the order requires a test drive or dyno check, complete it last so you don't waste time repeating diagnostics.
| Order Type | Early-Game Value | Best Approach | Why It Matters |
|---|---|---|---|
| Small repair order | Low to moderate XP and cash | Use it while tools are limited | Quick completion builds the first skill points |
| Multi-system story order | High XP per completed job | Inspect every system and claim bonuses | Best reliable leveling loop |
| Diagnostic-heavy order | Moderate cash, strong practice value | Use Examination Mode before buying parts | Avoids expensive blind replacements |
| Large restoration order | High gross payout, slow completion | Accept after unlocking better facilities | More profitable once repair time falls |
The key is not accepting the highest displayed payout automatically. A job paying more can still be a bad choice if it requires repeated disassembly, rare parts, and long travel between the lift, warehouse, and repair bench. Early progression rewards momentum. Finish several predictable jobs, level up, then use the improved tools to attack the expensive orders.
For general PC optimization advice that helps keep long garage sessions smooth, see Steamoz's PC settings guide. It isn't about this simulator specifically, but stable input and clear object outlines matter when you're clicking through dozens of parts.

🎮 Car Mechanic Simulator 2015
Looking to experience this game? Grab your digital key directly on our store for $1.99.
View on Steammoz Store →Spend Skill Points on Time Savings First
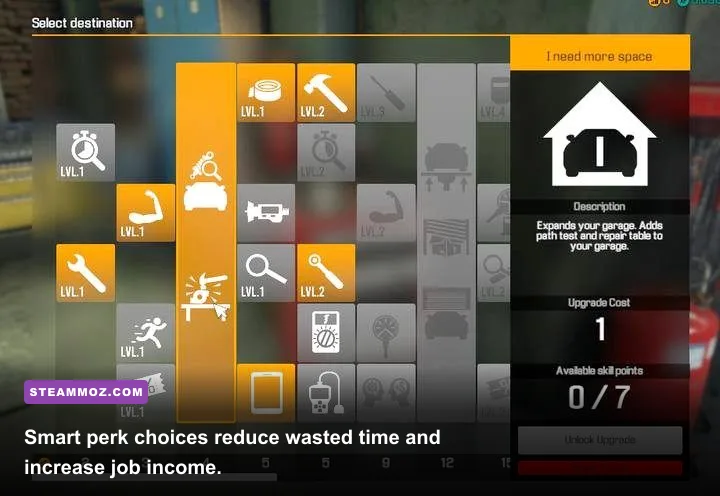
Skill points are effectively a cash multiplier because every faster action lets you finish another paid job. The most valuable early perks are the ones that reduce repeated interaction time: faster unscrewing, improved repair efficiency, and better financial rewards. Exact perk names can vary slightly between releases or translations, but the effect categories are consistent across the original progression system.
Put your first points into the tool and repair branches before chasing luxury garage features. A perk that speeds up bolt removal affects nearly every job. A perk that improves the chance or quality of part repair reduces shopping costs and prevents you from buying a replacement for every worn component. Financial perks become increasingly powerful after you start handling multi-system jobs, but they are less useful if each order still takes forever.
Don't rush into an expensive garage upgrade just because it unlocks a new room. Buy facilities that directly remove a bottleneck. The Test Path, for example, is useful when orders require suspension checks and alignment-style diagnostics; the repair table becomes valuable when you routinely find repairable engine or electrical parts. If an upgrade doesn't shorten your current job loop, keep the money for inventory and parts.
| Upgrade Priority | Recommended Timing | Gameplay Benefit | Common Mistake |
|---|---|---|---|
| Tool speed perks | First skill points | Shortens every disassembly sequence | Ignoring small time savings across many jobs |
| Repair-related perks | Early to mid game | Turns worn parts into usable inventory | Replacing parts before checking repair options |
| Money or XP perks | After the basic loop feels fast | Raises the return from each order | Taking payout perks while jobs remain slow |
| Repair bench | When engine work becomes common | Reduces replacement-part spending | Buying it before you can fund materials |
| Test Path | When orders demand testing | Completes diagnostic requirements efficiently | Accepting test-heavy work without the facility |
Use the Steamoz performance guide mindset here: remove the settings and systems that waste time before polishing the parts that look impressive. In CMS 2015, your biggest performance problem is usually menu travel, unnecessary replacement, or rebuilding a component that could have been repaired.
Turn Repairable Parts Into Your First Real Profit
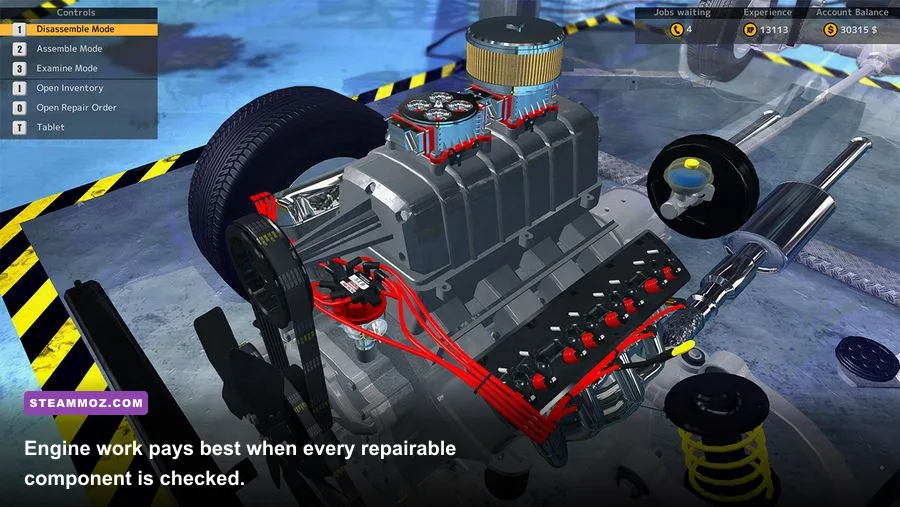
Early cash farming is less about finding a rare car and more about controlling part costs. When you remove a damaged component, check its condition and use the repair station whenever the game allows it. Repairable parts can save a large portion of the purchase price, especially on engines, suspension assemblies, and brake components. The exact resale return depends on the vehicle and part, so treat repairs primarily as a cost reduction rather than a guaranteed windfall.
Inspection mode is your best defense against bad spending. Scan the car before dismantling it, identify the required components, and make a shopping list. Buy only what the order demands. A common beginner trap is purchasing an entire assembly because one visible component looks broken. Many systems are layered: a worn pulley, belt, bearing, or filter can hide behind a healthy-looking cover. Diagnose first, then remove the access parts in a deliberate order.
Keep a small stock of inexpensive consumables and common fast-moving parts, but don't fill the warehouse with speculative items. Money tied up in parts cannot fund a new facility or a better restoration. The warehouse is most useful when it prevents a return trip during an active order, not when it becomes a museum of parts you might someday need.
For an efficient work rhythm, use this sequence: accept the order, read objectives, inspect the full car, remove only access parts, diagnose the target system, repair eligible components, buy replacements in one batch, reinstall everything, and perform the required test. This order prevents the classic cash leak of buying parts before discovering that a cheap repair would have solved the problem.
When Junkyard and Auction Flips Become Worth It
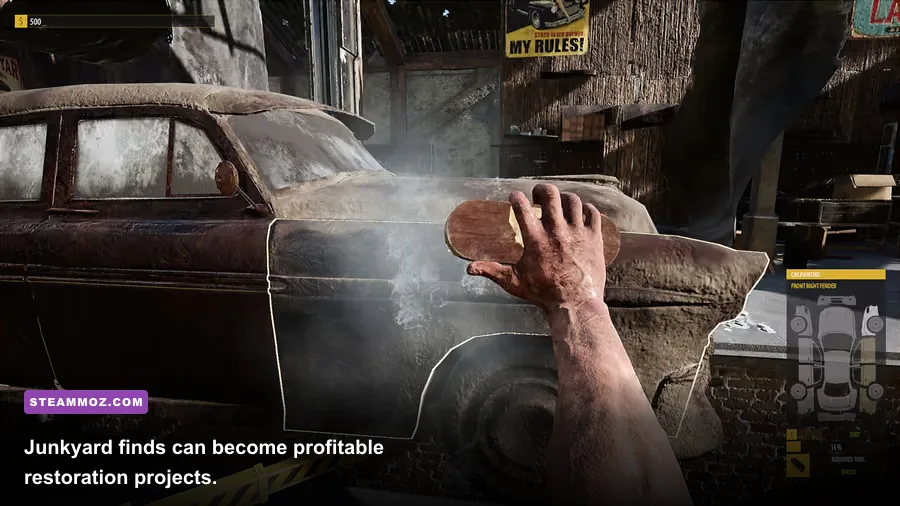
Junkyard and auction activities are not the best first-hour farming method. They need capital, storage, and enough mechanical knowledge to judge whether a vehicle is a bargain or a money pit. Once you can repair parts and have a steady flow of order income, start scouting cars with strong resale potential and manageable missing components.
At the junkyard, prioritize vehicles that are substantially complete. A rusty shell with half the drivetrain missing may look cheap, but the replacement bill can erase the entire margin. Look for cars with intact engine blocks, usable suspension assemblies, and a body that doesn't require every panel. The goal is not maximum restoration percentage; the goal is the largest sale value increase per minute and per dollar spent.
Auction purchases need even more discipline. Set a maximum bid before the auction starts. Calculate the likely cost of tires, brakes, suspension, engine parts, body panels, and interior pieces, then leave a reserve for unexpected replacements. If the car needs a rare or expensive engine component and you haven't unlocked reliable repair access, walk away. The game will offer another vehicle; your cash reserve is harder to rebuild.
| Flip Target | Risk | Buy When | Profit Rule |
|---|---|---|---|
| Mostly complete junkyard car | Low to medium | You can repair common parts | Favor low missing-part counts |
| Cheap auction vehicle | Medium | You have a cash reserve after purchase | Set a hard maximum bid |
| Rare high-value car | High | Late progression with strong facilities | Buy only with a full restoration budget |
| Shell or heavily stripped project | Very high | Only for long-term personal builds | Not recommended for farming |
Sell restored vehicles only after checking the final value against your total spending. A car can look spectacular and still lose money if you bought every part at full price. Farming is about repeatability, not one dramatic jackpot. If your current project stalls because a needed item is too expensive, return to story orders rather than taking a loan-like gamble with your remaining balance.
Players who enjoy methodical optimization may also like Steamoz's troubleshooting breakdown and the broader resource-management lessons in Frostpunk: The Rifts. Both reward planning before committing resources, which is exactly the habit that makes CMS 2015 flipping profitable.
The Best Farming Loop From Level One to Endgame
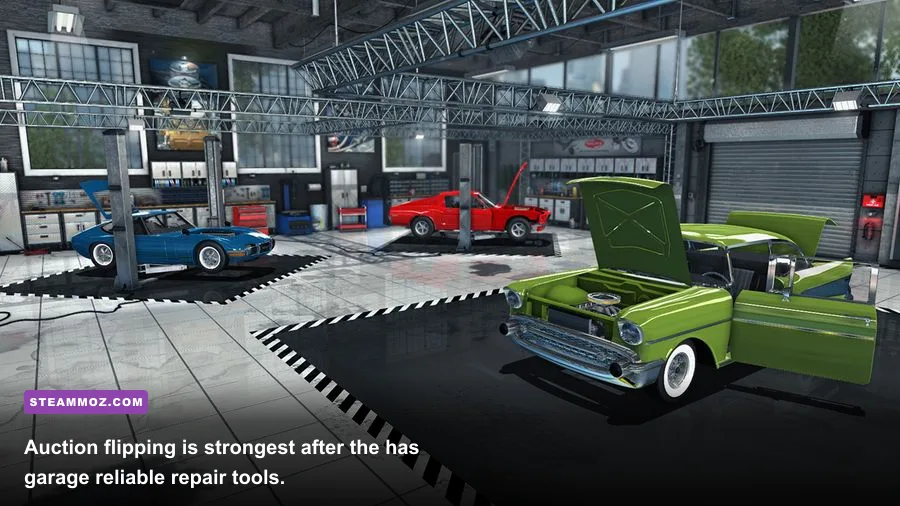
Your progression loop should change as the garage improves. At level one, run short story jobs and avoid restorations. In the early middle game, chain multi-system orders while buying only necessary parts. Once repair facilities and speed perks are online, mix in a carefully selected junkyard or auction car between orders. That keeps your income moving while a long project occupies the lift.
Levels 1–3: Build momentum
Take accessible story orders, inspect everything, and bank enough cash for basic facilities. Don't hoard money waiting for a perfect vehicle. The first goal is unlocking the tools that make every later job quicker. Finish bonus objectives whenever they require little additional work, and use the repair bench as soon as the cost is justified by your parts consumption.
Levels 4–7: Stack efficient orders
At this point, prioritize jobs with several systems and good bonus potential. Keep one lift available for orders and use the second work area, when unlocked, for a project or parts processing. Buy common replacements in batches, but avoid buying expensive components until diagnosis confirms they're necessary. This is where faster tool perks begin paying back their skill-point cost repeatedly.
Level 8 and beyond: Alternate jobs and flips
Use story orders as guaranteed income and restorations as upside. A strong routine is two or three orders followed by one conservative flip. If a restoration consumes more cash than expected, pause it and return to paid work. The best late-game players aren't constantly restoring the most expensive cars; they're keeping their capital moving and refusing projects with weak margins.
| Progression Stage | Primary Activity | Cash Discipline | Target Result |
|---|---|---|---|
| Levels 1–3 | Short story orders | Save for core tools and repair access | Fast first skill points |
| Levels 4–7 | Multi-system orders | Buy after diagnosis, not before | Reliable XP and growing reserves |
| Level 8+ | Orders plus selective flips | Keep a reserve for surprise costs | Highest sustainable income |
There is no magic button that prints unlimited gold in the unmodded game. The closest thing is a disciplined loop: maximize XP per completed order, repair instead of replacing whenever possible, spend perks on actions you repeat constantly, and reject restorations that don't have a believable margin. The Steamoz guide to efficient decision-making in Hacknet applies surprisingly well here: preparation looks slower, but it prevents the expensive mistakes that destroy a run's momentum.
For patch notes, platform details, and the current store version, use the official Steam page and the Red Dot Games website. Keep your farming grounded in the systems the game actually rewards, and you'll level faster without turning the garage into an expensive scrapyard.