The best Crowntakers - Undead Undertakings weapons are the ones that preserve actions, control enemy movement, and stay useful when a run's loot refuses to cooperate. In practical terms, the Bow and Crossbow sit at the top for safe damage, the Spear and Sword are the most dependable frontline picks, and slow heavy weapons only become S-Tier when your party can protect the wielder. Undead Undertakings rewards flexible equipment more than flashy damage numbers, so this ranking focuses on reliability across an entire run rather than one perfect roll.
This matters because Crowntakers is built around short tactical battles, procedural maps, limited healing, and equipment that changes from run to run. A weapon that looks weaker on the inventory screen can still be better if it lets a recruit attack from safety, finish a wounded enemy without moving, or deny a skeleton an extra turn. The ranking below covers weapon families first, then the armor, accessories, and consumables that make those weapons work.
For broader turn-based survival advice, Steamoz's Iratus weapon tier list is a useful comparison, especially if you enjoy games where a single bad exchange can wreck an otherwise excellent run.
Best weapons at a glance
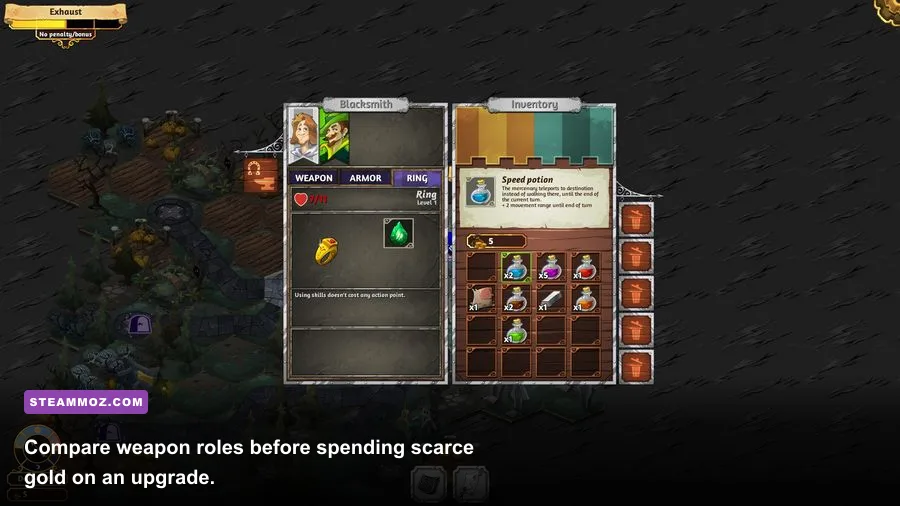
The table uses practical tiering rather than pretending every item has one permanent damage value. Crowntakers equipment can vary by quality and character, and the correct comparison is always the weapon's displayed damage, action cost, range, and special effect on your current recruit. A top-tier weapon should remain valuable in ordinary encounters, elite fights, and the undead-heavy battles added by Undead Undertakings.
| Weapon family | Tier | Why it ranks here | Best user |
|---|---|---|---|
| Bow | S-Tier | Reliable ranged pressure, strong positioning, safe finishing attacks | Scout or Archer-style recruit |
| Crossbow | S-Tier | Excellent single-target burst and dependable opening damage | Ranged damage dealer |
| Spear | A-Tier | Reach and frontline control without demanding a perfect setup | Knight, Mercenary, or durable recruit |
| Sword | A-Tier | Consistent melee damage, flexible positioning, easy to support | Knight or generalist |
| Staff | A-Tier | Strong utility when paired with a caster or support build | Druid, Monk, or spell-focused recruit |
| Mace | B-Tier | Good close-range damage but less flexible than reach weapons | Defensive frontline recruit |
| Axe | B-Tier | High payoff against exposed targets, weaker when enemies surround you | Barbarian or aggressive melee unit |
| Halberd | B-Tier | Potentially excellent area pressure, but position-sensitive | Durable melee specialist |
| Wand | B-Tier | Useful for ability-focused characters, rarely a universal upgrade | Dedicated caster |
| Heavy hammer | C-Tier | Large hits do not always compensate for lost mobility and tempo | Protected bruiser |
The headline is simple: prioritize range unless your frontline has a clear job. A weapon with slightly lower listed damage can outperform a heavy hitter because it avoids retaliation and keeps your party from spending turns on emergency movement. That advantage compounds over a map.

🎮 Crowntakers - Undead Undertakings
Looking to experience this game? Grab your digital key directly on our store for $1.99.
View on Steammoz Store →S-Tier weapons for Undead Undertakings
Bow
The Bow is the safest all-purpose weapon in the expansion. It lets you attack while preserving distance, and that distance is more valuable against undead packs than it first appears. Skeletons and other durable enemies become dangerous when several of them reach the same character together. A bow user can chip one target, finish another, and retreat without forcing the rest of the party to spend every action rescuing them.
Give the Bow to the recruit with the best accuracy or ranged skill support. Don't waste its value by parking the shooter in the middle of the party. Start battles near cover or a retreat lane, then use the first turn to remove the enemy that can reach your formation fastest. If the Bow's displayed damage is only modestly above a starting weapon, keep it anyway when its range lets you avoid one retaliation. That is a much bigger gain than a small damage upgrade.
Crossbow
The Crossbow is the better choice when the encounter contains one priority target that must disappear immediately. It excels as an opener: soften a dangerous undead unit before it acts, then let a melee recruit finish the job. Its weakness is flexibility. If the battle forces constant movement or enemies begin adjacent to the shooter, the Crossbow loses some of its edge.
Use it with a Knight or other frontliner who can hold a choke point, or pair it with a Scout that can create distance before firing. The classic sequence is move into a safe firing lane, attack the highest-threat target, then let the frontline block the approach. Don't fire at a low-health enemy if another enemy can still reach a vulnerable recruit this turn. Crowntakers is an action-economy game; removing the enemy that would take your next action is usually the real damage upgrade.
A-Tier weapons that win consistent runs
Spear
The Spear is the best frontline compromise. It provides reach without turning the wielder into a stationary damage turret, and it helps a recruit contribute while standing behind the character absorbing pressure. That makes it particularly strong when your party has only one reliable tank.
Its value rises in narrow terrain. Place the Spear user behind a sturdier character, attack the exposed enemy, and keep a retreat square available. You don't need to chase every wounded target. Let the undead come through your formation, then punish the first unit that enters range. The Spear is also a smart answer when your other damage dealers are ranged but fragile: it adds melee reach without demanding that you commit to a full bruiser build.
Sword
The Sword is not glamorous, but it rarely disappoints. It has the best claim to being Crowntakers' default weapon because almost any recruit can use it without rebuilding the party around the choice. A Sword user can guard a ranged character, finish weakened enemies, and move between lanes when the map produces an awkward encounter.
Prioritize a Sword with a clear damage improvement over a barely stronger weapon that carries a severe positional drawback. The best Sword wielder is usually your Knight or generalist recruit, not necessarily the character with the highest raw strength. That character needs to be available every turn, because the Sword's real advantage is consistency. If the frontline is already crowded, give it to a secondary defender and let your primary damage dealer use range.
Staff
The Staff belongs in A-Tier because utility changes the value of every other weapon in the party. A spell-focused recruit can weaken a group, restore health, or control a dangerous lane while the Bow and Sword handle clean-up. The Staff itself may not top the damage chart, but the character carrying it often creates more total value than another basic attacker.
Don't equip a Staff on a recruit whose abilities are purely defensive unless the rest of the party already has enough damage. Your support character still needs a way to finish damaged enemies. Protect the Staff user from contact, and treat their movement as part of the party's rotation: cast, reposition, let the frontline take the next engagement, then cast again from safety.
B-Tier and conditional weapons

B-Tier does not mean unusable. It means the weapon needs a particular party, map, or recruit before it becomes better than the flexible choices above.
Mace and Axe
The Mace is a sturdy pick for a recruit who expects to fight at close range every turn. It feels best when your party can hold a choke point and force enemies to approach one at a time. Its problem is that it offers less reach than a Spear and less general flexibility than a Sword. Take it when the quality jump is substantial or when its effect directly supports your frontline plan.
The Axe is more aggressive. It can reward a Barbarian-style recruit that already has the health or defensive support to survive retaliation. It ranks below Sword and Spear because an Axe user often has to commit to a target before the rest of the party knows whether that target can be safely reached. Against undead groups, that commitment can leave the attacker stranded in a bad square.
Halberd and heavy weapons
The Halberd can jump to A-Tier in the right encounter because reach and multi-target pressure are excellent when enemies line up. It stays B-Tier for general runs because its value depends heavily on formation and available squares. Before equipping it, look at the battlefield rather than the damage number. If the map is open and enemies can attack from several angles, a Sword or Spear is easier to use.
Heavy hammers and similar slow weapons are trap upgrades for many players. The large hit is satisfying, but losing a turn to movement or failing to finish the target can cost more than the extra damage returns. Use one only on a protected bruiser with reliable support. If that sounds like a lot of conditions, it is. That's why these weapons don't rank higher.
Best armor and equipment priorities
Weapons decide how you deal damage, but armor decides whether the plan survives contact with the map. In Undead Undertakings, defensive equipment should be judged by how many dangerous actions it prevents, not just by its armor number. A small defensive increase that stops a recruit from being finished by the next hit can be worth more than a flashy offensive bonus.
| Equipment type | Priority | Best wearer | What to look for |
|---|---|---|---|
| Highest-defense armor | S-Tier | Knight or primary frontline | Survivability that lets the unit hold a lane |
| Balanced armor | A-Tier | Sword or Spear user | Defense without crippling movement or flexibility |
| Ranged-defense gear | A-Tier | Bow or Crossbow user | Enough protection to survive a missed positioning turn |
| Mobility equipment | A-Tier | Scout or support recruit | Movement that creates firing lanes and escape routes |
| Raw damage accessory | B-Tier | Primary ranged attacker | Use only after basic survivability is covered |
| Healing consumables | S-Tier | Any vulnerable recruit | Reserve for lethal thresholds, not minor chip damage |
| Situational resistance gear | B-Tier | Frontline before elite encounters | Equip when the upcoming enemy type clearly justifies it |
Your first priority is usually armor for the character who must stand in front. After that, improve the Bow or Crossbow user's ability to keep attacking safely. A common mistake is giving every valuable item to the highest-damage recruit. That creates a brittle party: impressive on turn one, helpless after the frontline collapses.
Consumables deserve their own warning. Don't burn healing after every small hit, but don't hoard it until a recruit is already inside an enemy's kill range. Use healing when it changes the number of attacks a character can survive. The same logic applies to offensive consumables: spending one to remove a dangerous unit now can prevent several turns of incoming damage later.
Character and weapon pairings that actually work
The Knight is the natural Sword, Spear, or defensive Mace user. Give the Knight the job of occupying the safest contested square, not chasing enemies across the map. A Spear is ideal when you have a second character who can stand in front; a Sword is better when the Knight must switch between guard duty and finishing attacks.
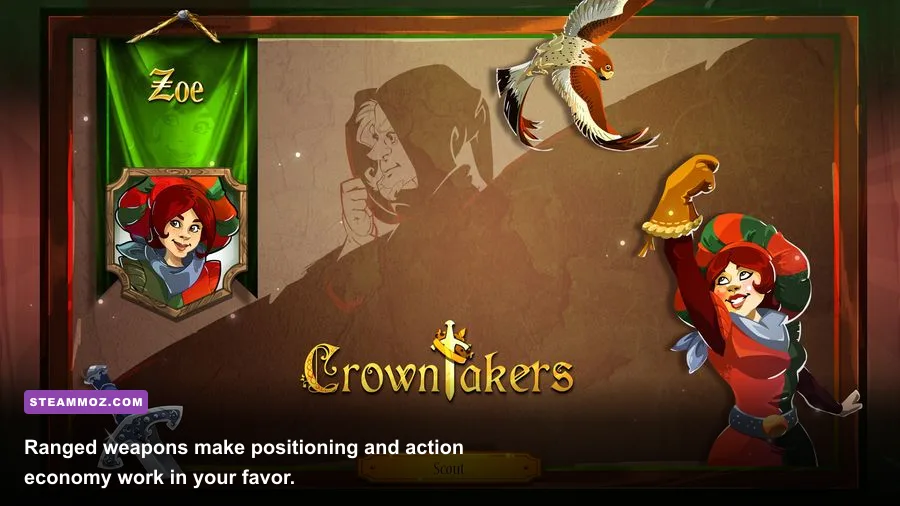
The Scout is the cleanest Bow user. The Scout's value comes from making distance, finding firing lanes, and attacking before the enemy formation settles. A Crossbow works when the map offers a safe opening, but the Bow is more forgiving when the battle becomes messy.
Barbarian-style recruits get the most from Axes and heavy weapons, provided another character can absorb retaliation. Don't mistake high offensive output for permission to engage alone. The strongest melee rotation is often attack, retreat, and let the enemy walk into your prepared lane rather than charging forward every turn.
Monks, Druids, Alchemists, and other ability-focused recruits should use Staffs or Wands when those weapons support their skills. They are not supposed to compete with the Bow on basic attacks. Their job is to make the party's best attack safer, improve the number of turns your team can operate, and stabilize battles that would otherwise become a trade of health bars.
For a useful contrast, Steamoz's King's Bounty II gear ranking shows the same principle in a different strategy RPG: equipment is strongest when it reinforces a role instead of trying to make every character do everything.
How to route a run around better equipment
Equipment decisions begin before the shop screen. Check the map for encounters, shops, healing opportunities, and paths that let you avoid unnecessary fights. You want enough battles to improve the party, but not so many that your frontline reaches the next major encounter already damaged.
- Stabilize the party first. Buy or keep a usable frontline weapon before chasing a premium damage item. A functioning Sword or Spear is better than waiting several battles for the perfect Axe.
- Build one reliable damage lane. A Bow or Crossbow user should have a clear firing position, while the Knight or Spear user protects the approach.
- Upgrade by role, not by rarity alone. Ask whether the item increases survival, range, accuracy, or action efficiency. If it does none of those things, the upgrade is probably cosmetic in practice.
- Inspect the next fight. Before entering an elite or boss encounter, move your best armor to the character who must take contact and reserve healing for the unit least able to escape.
- Sell redundant weapons. Carrying three mediocre melee upgrades can be worse than keeping one spare Bow or Staff for a recruit change. Crowntakers rewards a compact, purposeful inventory.
That routing mindset is more important than memorizing a single perfect tier list. Procedural loot means your run may never offer the ideal weapon family. If the game gives you a strong Axe early, build around a protected bruiser. If it gives you a Staff and a Bow, lean into control and safe damage. The tier list tells you what to prefer; it doesn't tell you to reject a powerful alternative.
Final ranking and the safest loadout
For the most reliable Undead Undertakings run, start with a Bow or Crossbow on your primary ranged recruit, a Sword or Spear on the Knight, a Staff on your support character, and the best defensive armor on whoever must hold the front. Fill the fourth slot with a second ranged attacker, a bruiser, or a specialist based on the recruits and abilities available in that run.
My preferred hierarchy is Bow and Crossbow in S-Tier, Spear, Sword, and Staff in A-Tier, then Mace, Axe, Halberd, Wand, and heavy weapons in B-Tier unless their quality or special effect creates a clear exception. The winning habit is not chasing the biggest number. It is creating turns where your party attacks, the undead cannot retaliate effectively, and every recruit still has somewhere safe to stand afterward.
If performance or input responsiveness gets in the way of reading those tactical moments, Steamoz's guides to making every frame count and fixing stutters and crashes cover the same practical PC troubleshooting approach. Crowntakers is not a reflex game, but smooth controls still make inventory management and combat decisions less frustrating.
You can also check the official Crowntakers Steam page for the base game, visit Bulwark Studios' official site, and compare the available release information before starting a new run. The winning loadout remains the same: range to control the fight, reach to protect the formation, defense to survive mistakes, and enough utility to keep your best recruit acting every turn.