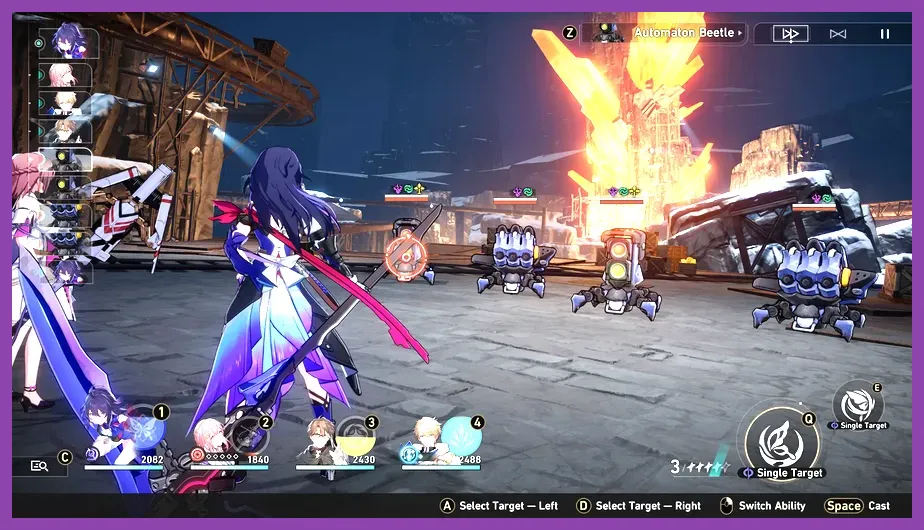
To build the ultimate starting setup in Honkai Star Rail, you must prioritize leveling your free-to-play core units—Physical Trailblazer, March 7th, Dan Heng, and Asta—while outfitting them with ATK%, Speed, and Break Effect stats to effortlessly clear World 3 of the Simulated Universe and progress through the Jarilo-VI campaign. For players diving into complex tactical RPGs, checking out guides like Subnautica 2 best class for solo players or The Witcher 3 best skills to unlock first highlights the importance of maximizing early-game progression assets.
Path of Destruction Trailblazer Build: Your Primary Early DPS
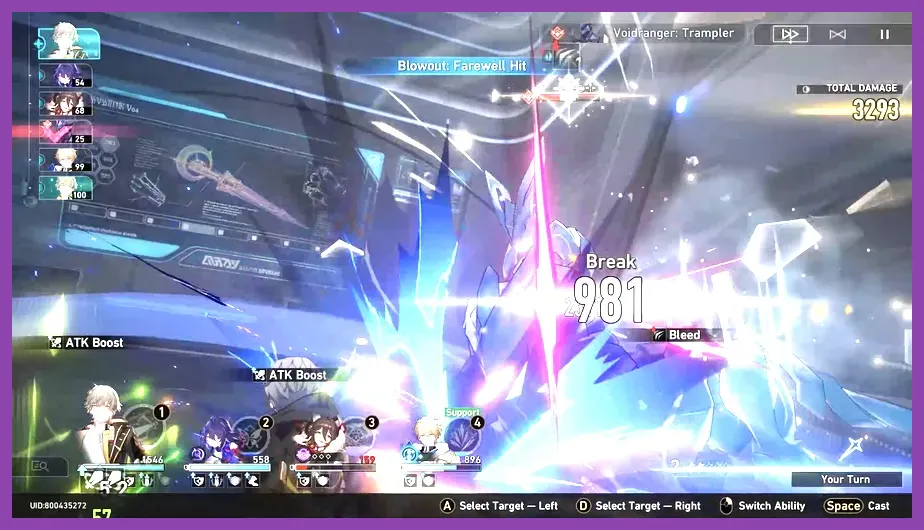
Your main character starts on the Destruction Path, dealing heavy Physical damage that breaks tough enemy shields. Your primary goal is to invest Trailblaze Power into maximizing your Trace tree, specifically prioritizing your Talent, Fight Like a Man, and your Skill, RIP Home Run.
When selecting Light Cones for the Physical Trailblazer, use TheMolesWelcomeYou if you pulled it from Warps, or equip the 3-star Collapsing Sky at Superimposition Level 5. For Relics, farm the Musketeer of Wild Wheat set focusing on ATK% on your body piece and Speed on your boots. This guarantees you secure crucial turns before enemies strike.
During boss encounters like Cocolia or the Doomsday Beast, utilize your Ultimate, Stardust Ace, in its single-target mode to maximize burst damage on staggered bosses. Keep your energy regeneration optimized by matching weakness types whenever possible.
Preservation Path: March 7th Shield and Freeze Strategy

March 7th is your defensive anchor during the early hours of the game. Her skill, The Power of Cuteness, places a massive shield on an ally while increasing their aggro chance. If you pair her with Physical Trailblazer, you can shield your main DPS and let them absorb incoming hits safely.
For March 7th's build, prioritize Defense percentage (DEF%) on all primary Relic main stats—body, feet, planar sphere, and link rope. Her shields scale entirely off her total DEF, meaning higher defensive numbers translate directly into impenetrable barriers for squishier party members.
Her Ultimate, Glacial Cascade, deals Ice damage to all enemies with a 50% base chance to Freeze them. This utility is critical for interrupting boss attack rotations. When building characters, resource management is key, much like optimizing resources in Stardew Valley 16 how to farm gold fast or managing stats in The Sims 4 best beginner tips and tricks.
Hunt Path: Dan Heng Single-Target Wind Executioner
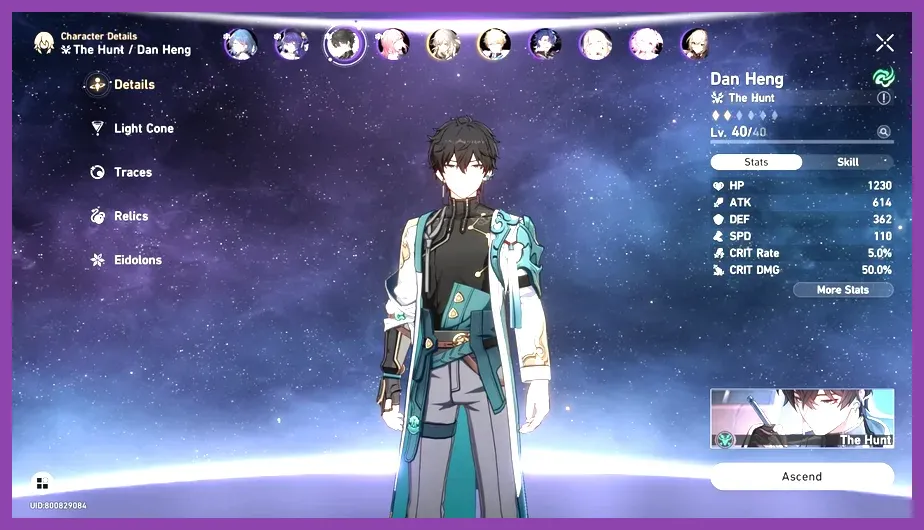
Dan Heng functions as your hyper-carry for single-target elite elimination. His skill, Cloudlancer Art: Torrent, deals massive Wind damage and has a fixed chance to reduce the target's Speed when scoring a critical hit. Pairing Dan Heng with support units that buff Speed is essential for maximizing this passive.
Equip Dan Heng with the 3-star Light Cone Darting Arrow at Superimposition 5 until you can acquire Only Silence Remains. For Relic stats, look for Crit Rate or Crit DMG on the body piece, Speed on the boots, Wind DMG Boost on the planar sphere, and ATK% on the link rope.
When executing his combat rotation, ensure you trigger his Talent, Superior Spearance, by having Asta or March 7th target him with a skill or ultimate. This grants Dan Heng a massive Wind Resistance PEN buff, turning him into a boss-melting machine.
Harmony Support: Asta Speed and Attack Buffing Engine
Asta is arguably the best free-to-play Harmony support unit in the early game. Her Ultimate, Astral Blessing, increases the Speed of all party members for two turns, allowing your slower characters like Physical Trailblazer to act multiple times per cycle.
Her talent, Astromomy, grants a stacking ATK buff to the entire team based on how many times you hit enemies with Fire weakness. To maximize Asta, equip her with the 3-star Light Cone Meshing Cogs to accelerate her Energy Regeneration Rate, ensuring her Ultimate is active as often as possible.
Focus on Energy Regeneration Rate on your link rope and HP% or DEF% on your body and feet pieces to keep Asta alive through heavy AoE attacks. Understanding these intricate stat combinations echoes the depth found in Summoners War best skills to max first and The First Descendant best weapons tier list 2026.
Light Cones and Relic Optimization Strategy

Optimizing your gear progression requires strict adherence to Trailblaze Level milestones. Do not waste precious Fuel items on Relic caverns until you reach Trailblaze Level 40, where guaranteed 5-star drops begin rolling out. Instead, spend your early stamina exclusively on Calyxes to ascend your characters and unlock critical Trace nodes.
For players transitioning from other competitive titles, checking hardware specs and emulator configurations—such as State of Survival best emulator settings for PC or reviewing Street Fighter 6 system requirements minimum and recommended—ensures a stutter-free experience when running intensive mobile RPGs on desktop clients.
Always superimpose your 3-star Light Cones to maximum level before committing resources to 4-star alternatives that lack duplicates. A fully superimpsed 3-star Light Cone often outperforms a base-level 4-star Light Cone during the early game chapters.
Advanced Combat Rotation and Weakness Break Tactics
Mastering Honkai Star Rail's turn-based combat system requires strict management of Toughness bars. Before unleashing your DPS characters' Ultimates, ensure the enemy's Toughness bar is depleted to trigger Weakness Break status. This delays enemy action and deals massive elemental damage based on your character's Break Effect stat.
Position your characters strategically in the party slot order. Place preservation characters like March 7th in slot one or four, as enemies using blast attacks frequently hit adjacent targets. By keeping your fragile support units tucked away in the center slots, you minimize accidental party wipes.
As you progress into Forgotten Hall and higher Memory of Chaos stages, switch your Trailblazer to the Path of Preservation once unlocked during the Jarilo-VI climax. Pairing Fire Trailblazer with Natasha for healing creates an unbreakable defensive wall, setting you up for long-term endgame success across all future updates.