The best Borderlands 2 weapons are the Unkempt Harold, Sand Hawk, Pimpernel, Norfleet, Conference Call, and Lyuda, with The Bee shield turning several of them into endgame monsters. This ranking weighs damage, elemental coverage, ammo economy, accuracy, character synergy, and usefulness across True Vault Hunter Mode and Ultimate Vault Hunter Mode—not just the orange glow in your inventory.
Borderlands 2 loot has a funny habit of making a level-30 blue gun outperform a level-25 legendary, so don’t treat rarity as a verdict. Weapon level, parts, prefixes, elemental matchups, and your skill tree matter more. For broader loot-game context, Steamoz’s weapon tier list coverage shows the same principle in action: the best gear is the gear that solves a specific combat problem.

Borderlands 2 weapon tier list at a glance
This is the practical ranking for a normal, non-modded playthrough. S-Tier weapons are worth building around and can remain relevant deep into UVHM. A-Tier guns are outstanding, but usually have a narrower range, a tougher farm, or a more obvious drawback. B-Tier choices are dependable workhorses that become excellent when their elements and parts match your character.
| Weapon or Gear | Tier | Best Use | Why It Ranks Here |
|---|---|---|---|
| Unkempt Harold | S | All-purpose pistol damage | Three explosive projectiles, huge splash, easy access from Savage Lee |
| Sand Hawk | S | Bosses and large targets | Slow projectiles hit exceptionally hard, especially with The Bee |
| Pimpernel | S | Sniping and crit builds | Splits into extra projectiles that can create devastating critical hits |
| Lyuda | S | Critical-hit DPS | High fire rate and projectile split reward precise aim |
| Norfleet | S | Emergency burst and raid bosses | Massive three-projectile rocket damage, balanced by extreme ammo use |
| Conference Call | A | Close-range bosses | Multiple horizontal projectiles shred large hitboxes |
| Grog Nozzle | A | Healing and slag support | Life-steal utility makes aggressive Salvador play almost unfair |
| Fibber | A | Maya and Gaige setups | Specific variants ricochet into extraordinary damage |
| Hornet | A | Early corrosive damage | Fast, accurate, and excellent against loaders |
| HellFire | B | Flesh enemies and leveling | Reliable fire damage, though UVHM resistance reduces its edge |
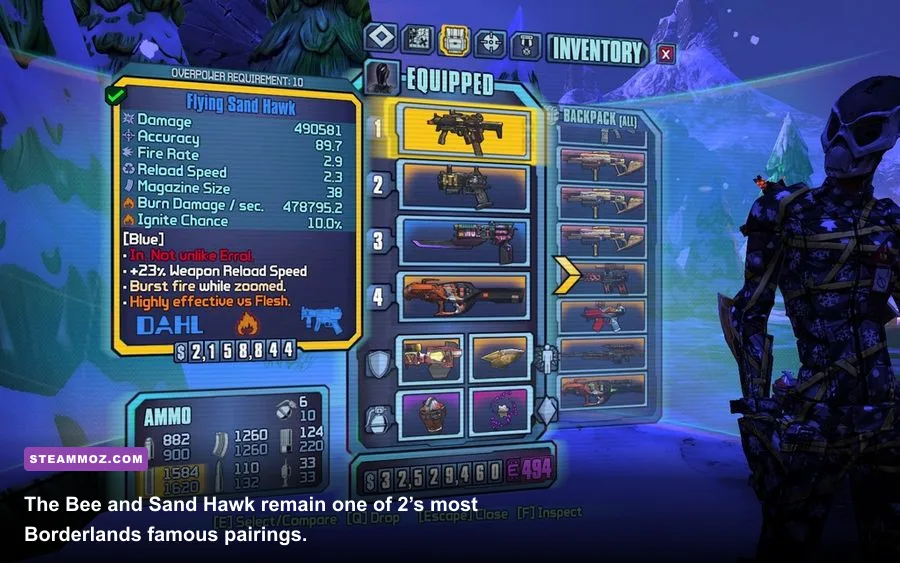
One important caveat: The Bee’s amp damage is technically not a weapon, but it belongs in this conversation because it changes the damage calculation. The shield adds amp damage without consuming shield capacity while fully charged. That makes fast, multi-projectile weapons such as the Sand Hawk, Conference Call, and Pimpernel especially dangerous. The trade-off is survivability: a weak capacity roll leaves you exposed the moment an enemy lands a hit.
🎮 Borderlands 2
Looking to experience this game? Grab your digital key directly on our store for $4.99.
View on Steammoz Store →S-Tier weapons that dominate endgame fights
Unkempt Harold
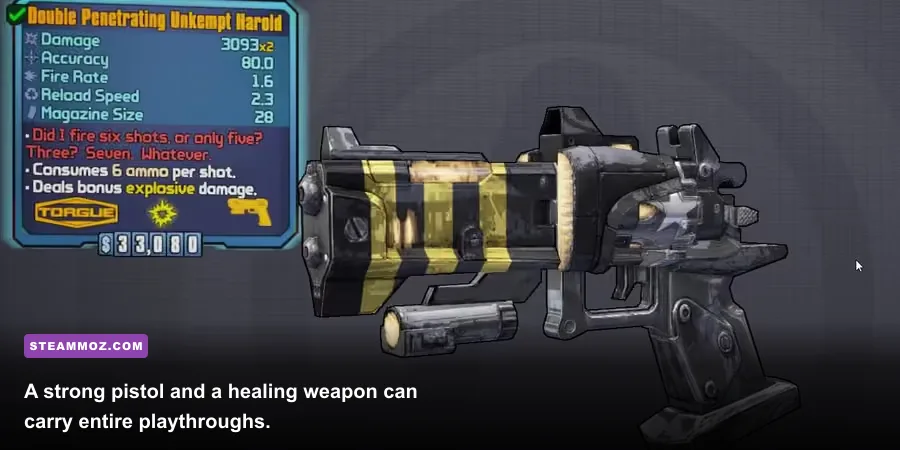
The Double Penetrating prefix is the famous version, but it burns two pistol ammo per shot and drains magazines quickly. The gun fires three explosive projectiles that spread outward, so point-blank shots can land all three on one target. That is why Salvador’s Gunzerking skill turns it into a blender. You can farm Savage Lee in Three Horns—Divide, usually near the fast-travel area, and the gun remains useful through TVHM and much of UVHM.
Sand Hawk
Complete the Captain Scarlett mission Whoops to obtain this unique Dahl SMG. Its projectiles travel slowly in a bird-like pattern, but the projectile count and damage are incredible against wide targets. A shock Sand Hawk strips shields; fire handles flesh; corrosive handles loaders and armored enemies. Maya gains even more from it because Ruin applies slag, corrosion, and a damage-over-time effect when she uses Phaselock. The gun’s biggest weakness is ammunition consumption, so carry an ammo relic or swap weapons between engagements.
Pimpernel and Lyuda
The Pimpernel comes from the mission Don’t Copy That Floppy in the Captain Scarlett DLC. A projectile creates extra shots when it reaches the target, and hitting the right part of an enemy can make the split projectiles connect with critical hit zones. Zer0’s B0re can produce absurd results when several hitboxes overlap, particularly against loaders and Hyperion robots.
The Lyuda, formerly known as the Lyudmila, is a Vladof sniper rifle with a high rate of fire and splitting bullets. It rewards critical-hit accuracy rather than blind spraying. Zer0’s Critical Ascensi0n stacks increase sniper damage as you chain crits, while Salvador can use it during Gunzerking for sustained boss pressure. It is less forgiving than the Harold, but its ceiling is higher in practiced hands.
Norfleet
The Norfleet fires three large elemental rocket projectiles and is one of the strongest panic buttons in the game. Vermivorous the Invincible and Hyperius the Invincible are the classic farming sources. It is not a casual mobbing weapon: rocket ammo disappears rapidly, the projectiles are slow, and close-range firing can hurt you. Save it for second winds, raid-boss damage phases, or a room that has gone catastrophically wrong.
A-Tier gear and the best character pairings
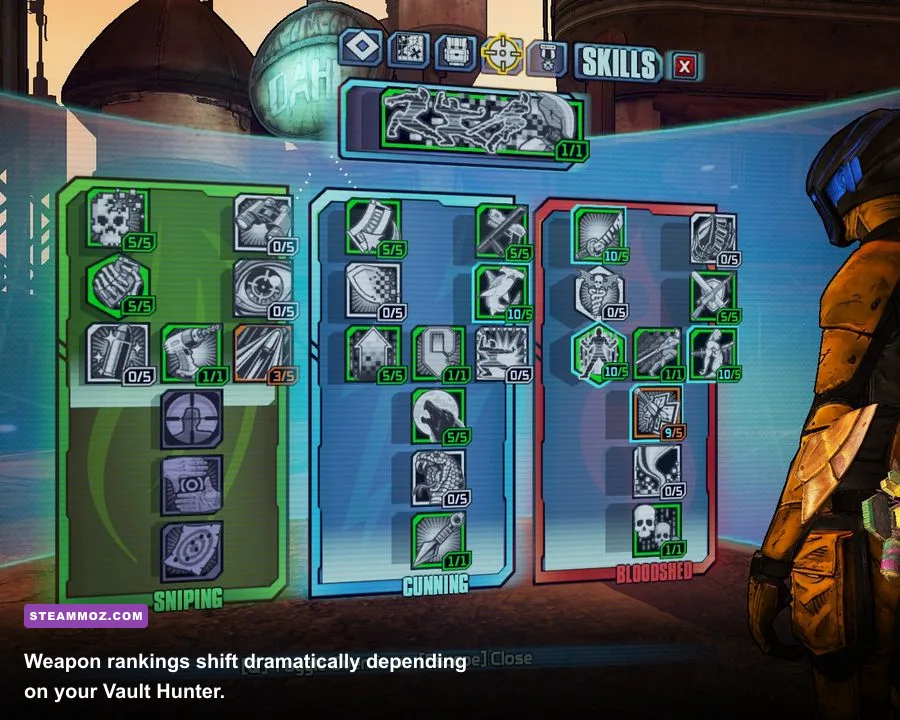
A-Tier doesn’t mean “almost good.” These are weapons you can confidently finish the story with, and several become S-Tier when used by the right Vault Hunter. The main difference is dependency: a Conference Call wants a large target, a Fibber wants the correct variant, and the Grog Nozzle is primarily a utility tool rather than a traditional damage dealer.
| Vault Hunter | Top Weapon Pairing | Key Skills | Combat Plan |
|---|---|---|---|
| Salvador | Unkempt Harold and Grog Nozzle | Money Shot, Keep Firing, Divergent Likeness | Gunzerk, hold the healing weapon in one hand, and chain explosive bursts |
| Maya | Sand Hawk and The Bee | Ruin, Converge, Chain Reaction | Phaselock groups, slag them, then unload boosted projectiles |
| Zer0 | Lyuda and Pimpernel | B0re, Critical Ascensi0n, Death Bl0ss0m | Open from Decepti0n and target crit spots before repositioning |
| Gaige | Fibber and Anarchy | Close Enough, The Better Half, Rational Anarchist | Build Anarchy, use ricochets, and avoid reloads until the fight is decided |
| Krieg | Hellborn SMG or explosive shotgun | Elemental Empathy, Release the Beast, Delusional Damage | Ignite yourself, heal through fire damage, then transform with Buzz Axe Rampage |
| Axton | Hornet and Tediore launcher | Steady, Battlefront, Double Up | Deploy turrets for slag and distraction while using splash damage |
The Grog Nozzle deserves special mention. While holding it, Salvador can heal from its extremely strong life-steal effect, then use the other Gunzerking weapon for damage. A slag version is especially valuable because slagged enemies take dramatically increased damage in UVHM. Don’t judge it by its listed card damage; its value is survival, slag, and weapon-switch synergy.
Gaige’s Fibber is another trap for players who only inspect the card. Different Fibber variants behave differently, and the ricochet version can produce spectacular damage with Close Enough and high Anarchy stacks. Test the projectile behavior against a wall before committing to a build. For another gear-focused read, see Steamoz’s guide to ranking equipment from S to B.
Elemental weapons and the stats that actually matter
Borderlands 2’s weapon card can mislead you if you ignore the enemy’s health bar. Fire is strongest against flesh, shock is strongest against shields, and corrosive is strongest against armor. Slag is the setup element: in UVHM, slagged targets take a major damage multiplier from non-slag attacks, so a slag grenade, Ruin, or slag weapon should usually come before your main damage tool.
| Enemy Defense | Best Element | Recommended Weapon | Practical Warning |
|---|---|---|---|
| Blue shield bar | Shock | Plasma Casters or shock Sand Hawk | Shock damage is inefficient after the shield disappears |
| Red flesh bar | Fire | HellFire or fire Unkempt Harold | Fire is poor against shields and armored loaders |
| Yellow armor bar | Corrosive | Hornet or corrosive Lyuda | Armor resists fire, so don’t force a fire-only loadout |
| Any UVHM target | Slag, then matching element | Slagga plus main DPS weapon | Slag must be reapplied after its short duration expires |
| Raid boss | Build-dependent | Sand Hawk, Conference Call, Norfleet | Prioritize hitbox size, sustain, and ammo economy |
Parts matter too. A matching-grip weapon gets better handling and reload behavior, while prefixes can alter magazine size, fire rate, or damage. The exact “perfect” parts differ by gun, but the practical rule is simple: don’t throw away a useful elemental gun just because its parts aren’t perfect, and don’t keep a poorly leveled legendary because it has a famous name. A level-50 Harold will not carry you through level-72 enemies.
Gearbox’s official Borderlands site and the Borderlands 2 Steam page are useful references for the game’s editions and DLC. For performance troubleshooting in other demanding PC games, Steamoz also covers settings that reduce stutter, though Borderlands 2 itself generally runs well on modern hardware.
Where to farm the best Borderlands 2 equipment
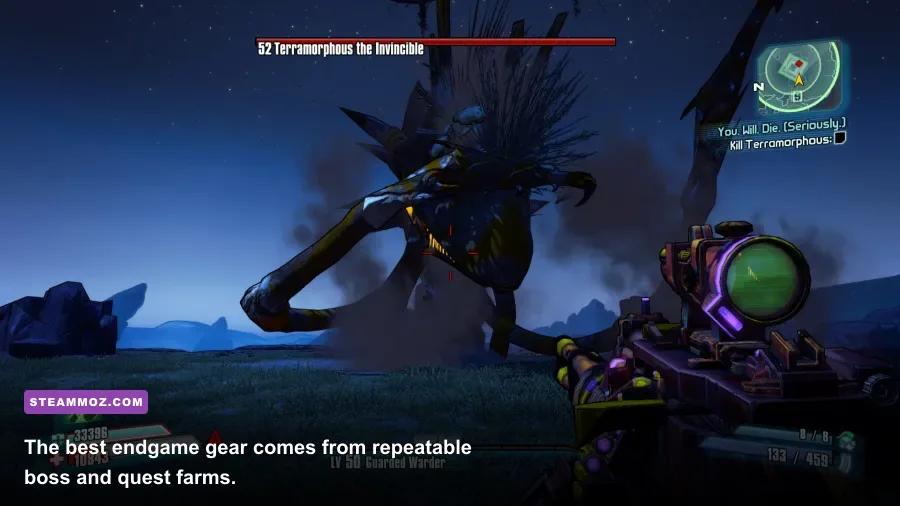
Farming becomes worthwhile once your current weapon falls several levels behind the enemies. Don’t spend an hour hunting a perfect prefix for a gun you’ll replace after the next story mission. At max level, however, targeted farms save enormous time.
- Unkempt Harold: farm Savage Lee in Three Horns—Divide. Use explosive resistance if his stalkers overwhelm you, and check the drop after each kill.
- Lyuda: farm Gettle during The Good, the Bad, and the Mordecai in The Dust. The mission can be repeated after a playthrough reset, and the fight is quick with a vehicle or long-range weapon.
- Conference Call: farm The Warrior in Hero’s Pass. This is also a strong source of Eridium and other legendary drops, but the fight is slower than a dedicated mini-boss farm.
- Sand Hawk: complete Whoops in Captain Scarlett’s DLC. Because it is a quest reward, duplicate your save before turning in the mission if you want to chase a better element or part combination.
- Grog Nozzle: obtain it during The Beard Makes the Man in Tiny Tina’s Assault on Dragon Keep. Avoid completing the mission if you want to keep using the temporary quest weapon.
- Bee shield: Hunter Hellquist in The Arid Nexus—Boneyard is a repeatable farm. The Treants in the Forest can also drop it during the DLC.
For raid bosses, build around the encounter rather than blindly equipping the highest-ranked gun. Terramorphous has exposed tentacles and predictable area attacks, while Hyperius surrounds himself with minions and uses a shield phase. Keep cover nearby, reserve rocket ammo for damage windows, and carry a reliable second-wind weapon. Official 2K support information can help with platform or DLC issues, but the combat answer is still preparation: correct element, enough ammo, and a plan for getting back up.
The short version is this: start with the Unkempt Harold, add a shock and corrosive option, then tailor your endgame loadout to your Vault Hunter. Maya loves the Sand Hawk, Zer0 rewards the Lyuda and Pimpernel, Salvador turns the Harold and Grog Nozzle into a survival engine, and every character benefits from carrying a slag solution in UVHM. That balance of raw damage and practical synergy is what makes a weapon truly S-Tier in Borderlands 2.