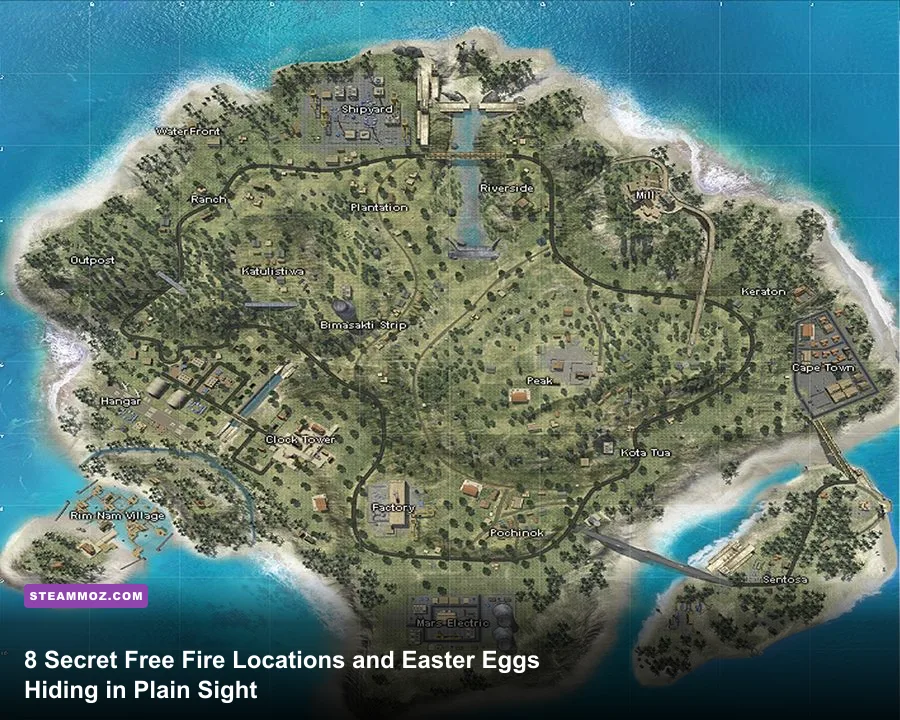
If you drop into Bermuda or NeXTerra expecting to win firefights solely on raw flick-aim and twitch reflexes, you are missing half the tactical puzzle. Free Fire hides dozens of architectural flaws, zero-footprint ledges, and deliberate developer Easter eggs that turn ordinary rank grinders into untouchable zone gatekeepers. While 95% of lobby traffic mindlessly scrambles through open doorways in Bimasakti Strip or dies in the ground-floor crossfire of Clock Tower, top-tier Grandmaster players use tucked-away geometry and obscure crossover references to gain high-ground line of sight, hoard tier-three gear without contesting hot-drops, and outmaneuver entire four-stack squads.
The Sunken Crypt and Clock Tower's Secret Rooftops in Bermuda
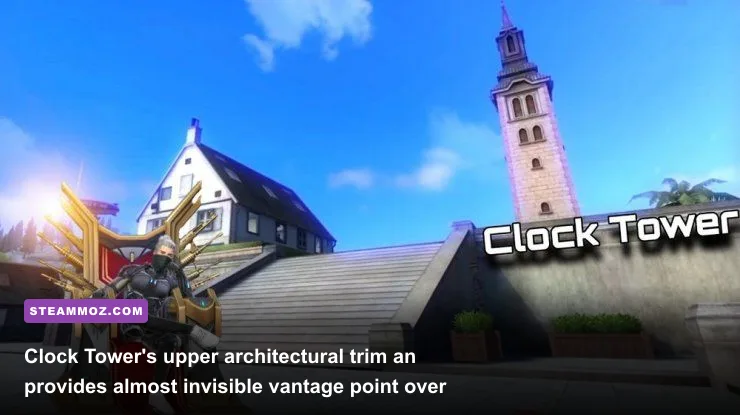
Clock Tower is Free Fire's most infamous meat grinder, but while squads trade shotgun blasts on the main stairwells, a devious architectural perch sits directly overhead. By mantle-jumping across the exterior stone balustrade on the south wing using a single deployed Gloo Wall as an angled stepping stone, you can pull your character model onto the narrow iron rafter running beneath the main roof tiles. From this shadow, you maintain a 270-degree firing line into the central courtyard. Opponents sweeping the area search windows and doorways, never looking up into the ceiling trussing. Equipping a silenced Marksman Rifle like the Woodpecker or SVD turns this position into an execution chamber where you can drop enemies in two taps before they identify the muzzle crack.
On the opposite end of the map lies Rim Nam Cove, a picturesque coastal village that hides an aquatic secret beneath its southernmost stilt houses. Swimming underneath the submerged wooden support platforms reveals an air pocket tucked against a stone retaining wall. This hidden crypt contains a guaranteed high-tier floor loot spawn, routinely generating Level 3 Vests, AR Suppressors, and Super Meds that careless looters skip entirely. Much like tracking down elusive caches in our Everspace 2 secret locations and hidden rewards guide, knowing where the map geometry bends outward gives you a massive economic head start without firing a single bullet.
Just north of Katulistiwa, an unassuming industrial drain pipe runs beneath the main asphalt highway. Crouching into this concrete conduit completely masks your character model from both UAV scanning drones and passing vehicle drivers. It serves as the ultimate late-game survival tunnel when the safe zone shrinks across open grass, allowing solo rank pushers to wait out chaotic squad wipes completely undetected.
🎮 1bitHeart
Looking to experience this game? Grab your digital key directly on our store for $2.99.
View on Steammoz Store →NeXTerra's Anti-Gravity Easter Eggs and Holographic Lore Relics
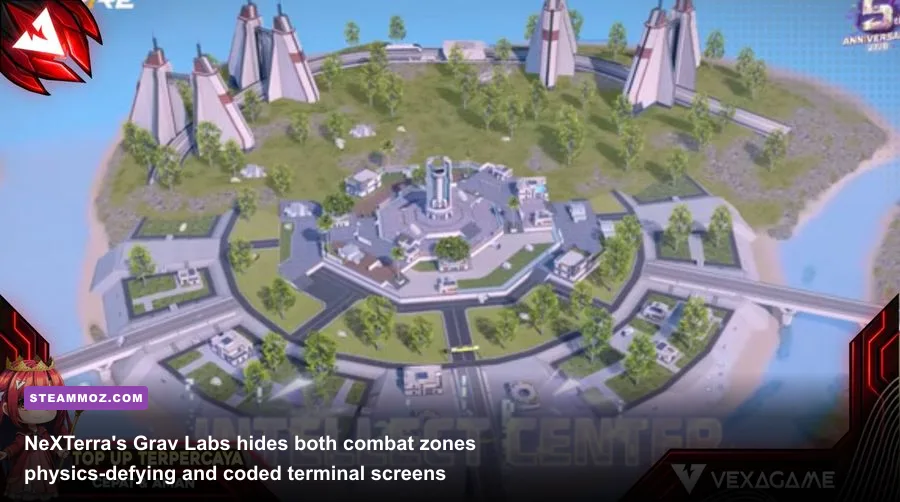
When Garena launched the futuristic NeXTerra battleground, they packed it with cybernetic infrastructure that directly impacts competitive physics. The centerpiece of these anomalies is Grav Labs, an isolated research compound housing a permanent anti-gravity dome. While most players use the weightless environment to pull off flashy mid-air shotgun pump-shots, few examine the ceiling maintenance gantries. Floating straight up against the northern ventilation exhaust lets you land on a network of yellow structural pipes. Camping these overhead pipes grants full visual coverage over the interior console deck, rendering you practically invisible to teams entering through the ground airlocks.
Beyond its tactical verticality, Grav Labs doubles as the narrative heart of Free Fire's corporate mythos. If you approach the malfunctioning holographic terminal in the secondary control room, the flickering blue screens display hexadecimal strings and schematics. Decoding these text strings reveals documented project files belonging to the Horizon Corporation—the shadowy tech syndicate responsible for weaponizing characters like Hayato and Shirou. Scattered log fragments detail early prototype schematics for Chrono's Time Turner force field and Homer's autonomous tracking drone.
Head southwest toward Deca Square, and you will spot another environmental secret hidden inside the central high-rise atrium. A set of deactivated digital billboards flickers periodically between futuristic fashion ads and a tiny, pixelated retro sprite of Kelly sprinting in her original yellow tracksuit. This sprite is an authentic 8-bit Easter egg celebrating Free Fire's 2017 launch engine, preserved by Garena's world design team amidst the high-tech overhaul. You can explore the developer's timeline and patch updates directly through the official Garena Free Fire portal to see how early legacy assets were phased into digital lore.
Kalahari's Skeleton Ribcage Perch and Forgotten Submarine
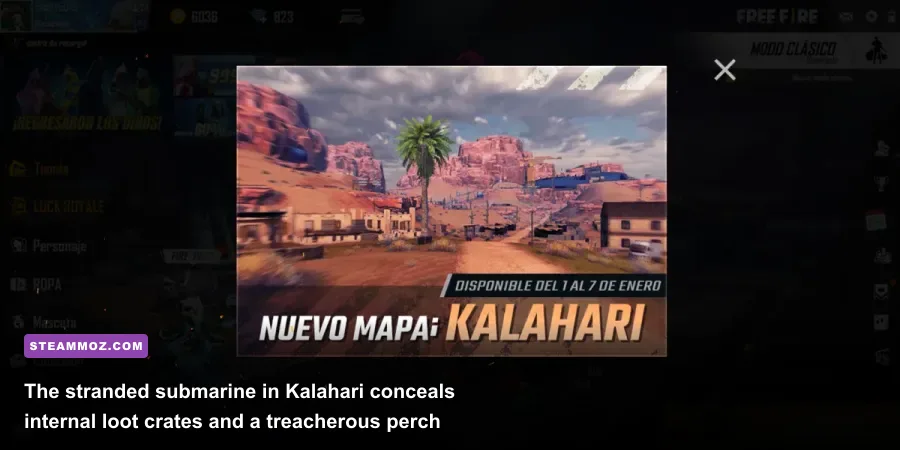
Kalahari is an unforgiving desert biome defined by sheer mesa cliffs, arid plateaus, and long-range engagement corridors. Its most striking landmark is The Sub—an enormous, rusted military submarine inexplicably lodged inside a dry desert gorge. While standard squads run through the rusted interior corridors looking for basic SMG loot, the real prize sits atop the broken conning tower. Reaching this pinnacle requires precise positioning: you must sprint along the exterior hull's curved spine, drop a Gloo Wall at the midway weld seam, and jump-mantle onto the searchlight bracket.
From the conning tower, an AWM or M82B sniper rifle dominates the entire canyon floor. Because the rusted conning tower has natural bulletproof steel lip contours, you can exploit head-glitch peeking with near-total immunity against return fire from Santa Catarina. Furthermore, inspecting the submarine's lower torpedo bay reveals a set of faded, hand-painted naval registry numbers: "GN-1117". This code is an internal Easter egg paying tribute to Garena's founding date (November 2017), the exact month Free Fire entered its public beta release cycle.
East of The Sub lies the Council Hall, dwarfed by the fossilized remains of an ancient leviathan creature whose giant ribcage curves across the canyon wall. By climbing the sandstone rock steps along the ridge and timing a sprint-slide jump, you can land inside the hollow concavity of the third prehistoric rib bone. This perch elevates you completely above the normal eye-level horizon. Squads sweeping through the canyon pass directly underneath you, giving you an uncontested angle to open fire with an explosive weapon or drop tactical grenades onto grouped targets like a seasoned specialist hunting hidden rewards in our Eternal Destiny secret locations guide.
Tactical Analysis: Hidden Vantage Points vs. Loot Quality Breakdown
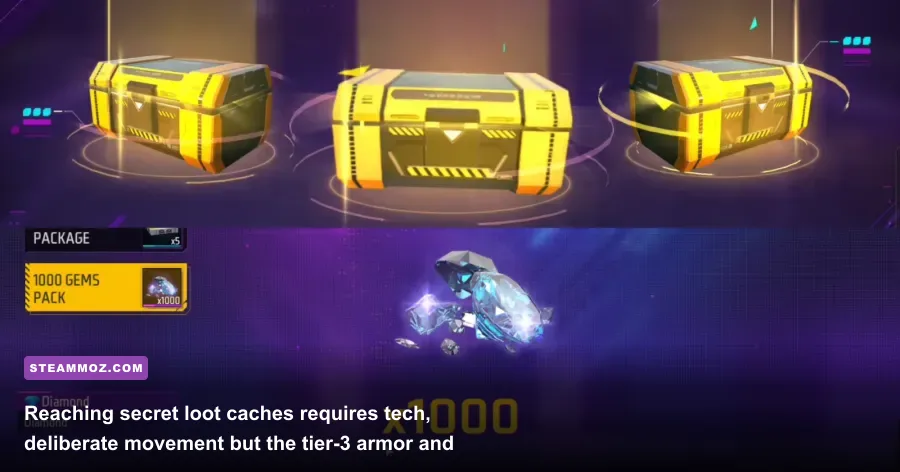
Finding a secret spot is one thing; understanding whether the loot density and ring positioning justify the effort is what separates platinum hobbyists from Master tier strategists. Some out-of-the-way niches offer top-tier sniper accessories and armor plates, while others function purely as tactical ambushes to wipe passing squads. The table below analyzes the six most potent hidden locations across Free Fire's primary competitive map pool, evaluating their strategic viability based on real combat data.
| Secret Location | Map / Sector | Loot Density Tier | Access Method | Risk Factor | Optimal Weapon Loadout |
|---|---|---|---|---|---|
| Clock Tower Rafters | Bermuda (Southwest) | Tier 1 (Scant) | Gloo Wall Angled Jump | High (Hot-drop radius) | Woodpecker / AC80 + Silencer |
| Rim Nam Sunken Crypt | Bermuda (Coast) | Tier 3 (High-End) | Aquatic Under-Swim | Low (Outer map edge) | M1887 / MP40 + Armor Vests |
| The Sub Conning Tower | Kalahari (Central) | Tier 2 (Moderate) | Hull Spine Sprint-Mantle | Medium (Exposed ascent) | AWM / M82B + Desert Eagle |
| Grav Labs Pipe Network | NeXTerra (Northwest) | Tier 1 (Scant) | Zero-G Float Floatation | Medium (Zero-G vulnerability) | Charge Buster / Bizon |
| Mammoth Rib Cage | Kalahari (East Mesa) | Tier 1 (Scant) | Sandstone Ridge Slide | Low (Zero foot traffic) | SVD / Dragunov Marksman |
| Katulistiwa Drainage Conduit | Bermuda (Midland) | Tier 2 (Defensive) | Prone Crawl Under Highway | Very Low (Camouflaged) | Vector Dual / MAG-7 |
Notice how peripheral spots like Rim Nam Cove yield substantial early-game survival assets without contested trades, while central perches like Clock Tower require prior looting before setting up your perch. If you are refining your aim mechanics and damage thresholds to complement these ambush points, reviewing our tier rankings in Far Cry 3 Blood Dragon weapons ranked from S to C offers classic insights into handling high-recoil, high-burst weapon classes that mirror Free Fire's signature marksman meta.
Bizarre Pop Culture Tributes and Map Easter Eggs
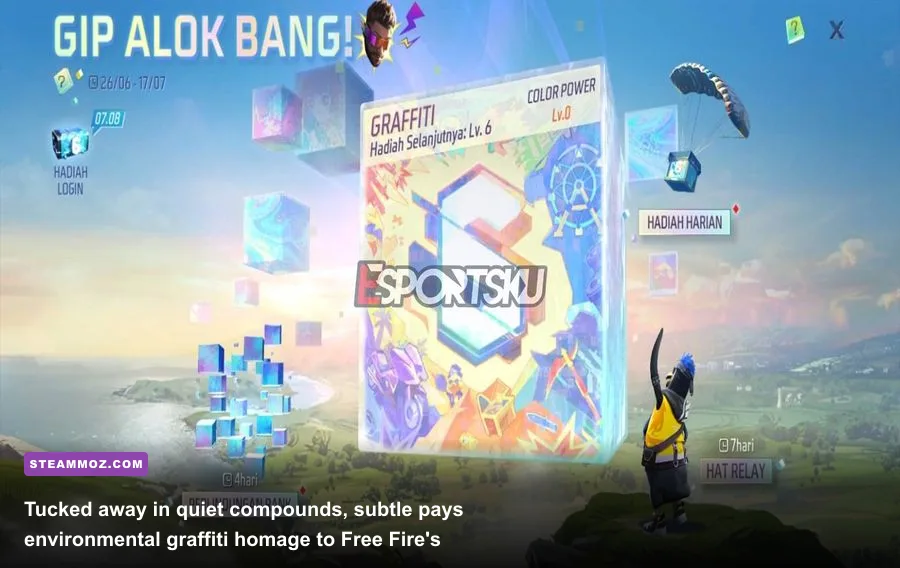
Free Fire is world-renowned for its blockbuster entertainment collaborations, but what happens when those limited-time events end? Rather than scrubbing every single asset, Garena's level designers routinely weave subtle, permanent pop culture artifacts into map geometry as permanent tributes for eagle-eyed fans.
Wander into the coastal village of Pochinok on Bermuda, and head inside the brick bakery on the western perimeter. Tucked behind a stack of weathered wooden flour pallets sits a faint red spray-paint stencil depicting Salvador Dalí's iconic mustache face—an enduring Easter egg from Free Fire's massive Money Heist (La Casa de Papel) collaboration. Even though the official event bank robbery modes expired long ago, this underground resistance symbol remains permanently etched into the brickwork for observant players to discover.
Over on Alpine, inside the industrial Rail Hub, you can find another tribute nestled within the freight container yard. Scanning the serial barcodes stamped on the teal-colored cargo crates reveals micro-text reading "SHK-09", a distinct reference to the Japanese anime juggernaut Attack on Titan (Shingeki no Kyojin). During that crossover event, players equipped Survey Corps mobility gear; today, the shipping containers serve as a quiet memorial to the Colossal Titan's siege of the battleground.
These crossover relics are not just visual decoration—they frequently act as spatial milestones used by veteran tournament shot-callers. During frantic high-tier scrims, competitive squads avoid confusing compass numbers by calling out specific Easter egg locations, such as "Push the Money Heist house" or "Hold the Titan container line." If you enjoy hunting secret unlocks and structural curiosities across vast virtual landscapes, check out our progression breakdowns in the Level fast and farm Zeni in Kakarot Master Edition breakdown.
Pro Rank Strategy: Exploiting Secret Hideouts Without Getting Caught
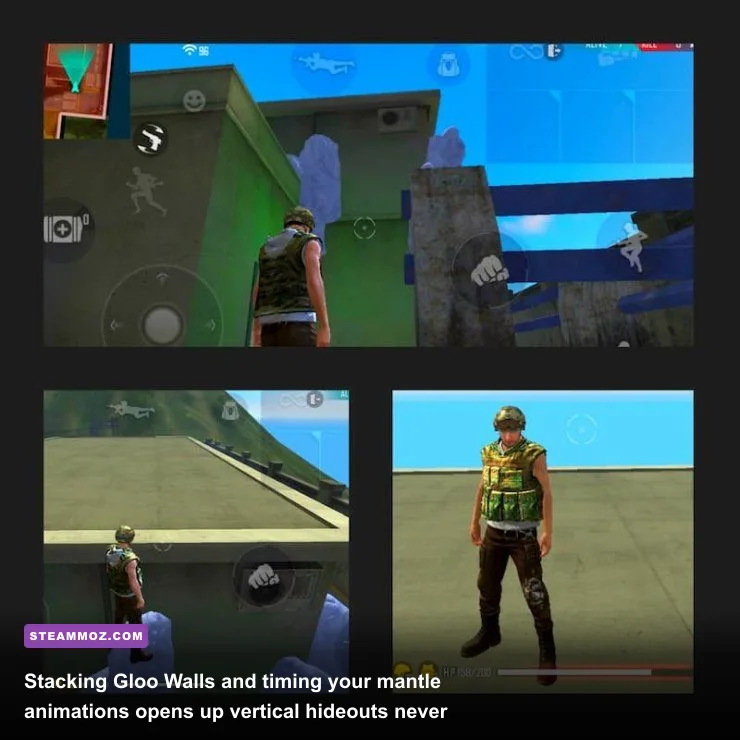
Reaching an obscure rooftop or ceiling ledge is only half the battle; staying alive once the safe zone shifts demands meticulous mechanical awareness. When you occupy a secret perch, standard game mechanics can easily give your position away if you fail to manage weapon silhouettes, character skill animations, and muzzle flash signatures.
First, always mind your character cosmetics. Bulky, glowing legendary outfits (such as evolving weapon skins or animated flame auras) clip straight through thin wooden walls and metal roof tiles. When holding a hidden post like the Clock Tower rafters or Katulistiwa drain, equip low-profile, matte-colored operator skins. Turn off display effects for your backpack and melee weapons in the settings lobby so your character model maintains the smallest possible hitbox and visual footprint. If you need technical assistance tuning graphical settings to prevent performance stutter during tactical climbs, review the troubleshooting procedures outlined at the Garena Help Center or verify updates through Free Fire on Google Play.
| Character Skill | Type | Tactical Synergy for Secret Perches | Recommended Cooldown Rotation |
|---|---|---|---|
| Santino (Shape Splitter) | Active | Leaves a decoy on the ground while you teleport directly to a roof perch | Deploy dummy behind cover, mantle up, teleport back when pushed |
| Wukong (Camouflage) | Active | Transforms into a bush that matches outdoor terrain and breaks aim-assist | Activate inside bone crevices or rock hollows to nullify enemy crosshair drag |
| Rafael (Dead Silent) | Passive | Built-in silencer for Snipers/Marksman rifles; causes downed foes to bleed 85% faster | Eliminates the need to search for barrel silencers while perching overhead |
| Moco (Hacker's Eye) | Passive | Tags struck targets for 5 seconds, revealing their retreat path to your squad | Tag enemies from secret vantage points so ground teammates can clean up kills |
Santino's Shape Splitter ability is undeniably the most broken skill tool for vertical perching. By dropping your stationary mannequin on the ground behind an obstacle and climbing up via Gloo Walls, you create an instantaneous escape button. If an enemy squad spots your elevated perch and bombards you with Cooked Frag Grenades or a Flash Freeze, tapping the ability immediately teleports you back to the ground level, disorienting your attackers. Combining Santino with Rafael's silent sniping creates an elusive phantom playstyle that mirrors the stealth dynamics explored in Far Cry 6's best beginner build.
Finally, master the art of the Gloo Wall hop. Never place your Gloo Wall parallel to the building wall you intend to climb; angle it at roughly 45 degrees. Running up the angled gradient of the Gloo Wall's curved edge gives your jump greater initial momentum, allowing you to grab second-story window trim that would otherwise reject a straight vertical mantle. Once perched, break your own Gloo Wall using a melee weapon or weapon fire if you have ample ammo. Leaving a deployed wall sitting next to a pristine building is a massive tactical flare that screams to incoming squads that an ambush predator is waiting in the ceiling.
Free Fire's dynamic arenas are packed with hidden depth for players willing to trade mindless run-and-gun habits for map mastery. Take these secret locations into your next ranked session, practice your Gloo Wall mantles in training mode, and turn Garena's forgotten architectural quirks into your personal highway to Grandmaster.