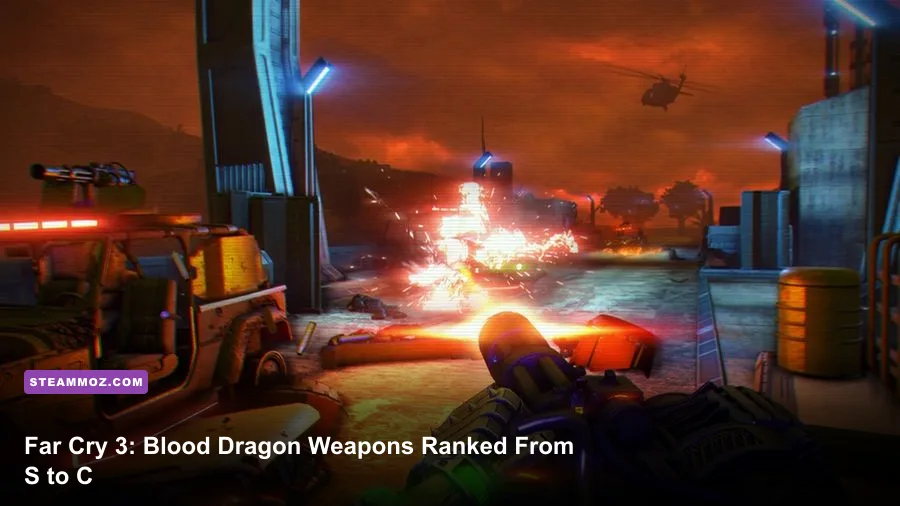
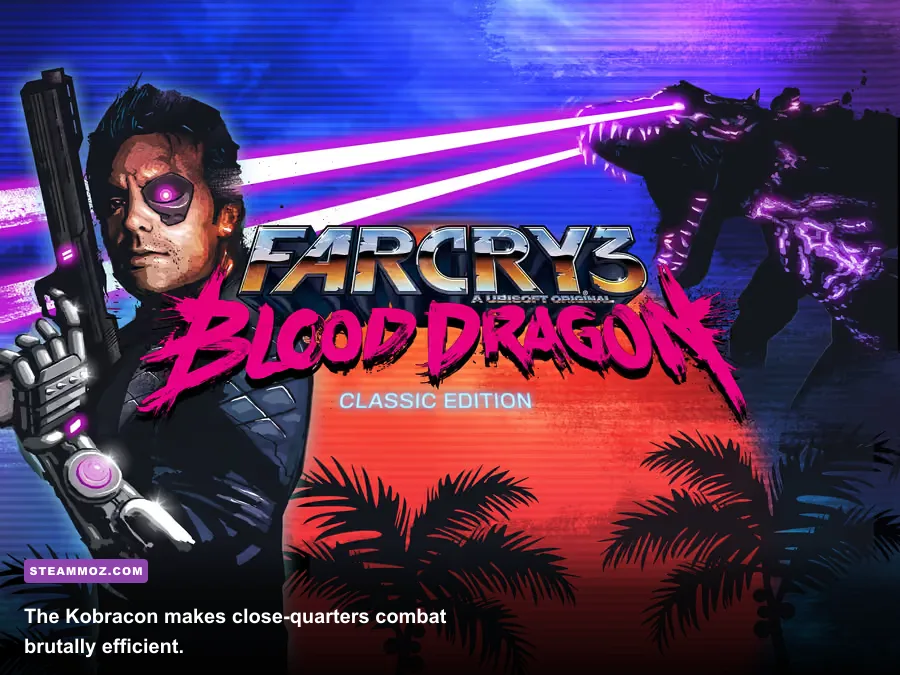
The Killstar, AMR, and Kobracon are the best weapons in Far Cry 3: Blood Dragon, but they dominate different fights. The Killstar deletes heavy enemies and vehicles, the AMR owns long sightlines, and the Kobracon is the safest choice when an outpost turns into neon-colored chaos. For a flexible four-slot loadout, run the Killstar, AMR, Kobracon, and A.J.M. 9.
That recommendation assumes you're playing the campaign normally, unlocking gear through weapon shops and missions rather than treating every firearm as a collectible trophy. Blood Dragon's arsenal is compact, loud, and deliberately ridiculous, yet the differences matter. Magazine size, reload speed, penetration, range, and whether a weapon can handle heavy cyborgs all change how quickly Rex Colt can clear the island.

How this Blood Dragon weapon tier list works
This ranking covers campaign usefulness, not novelty value or how funny a weapon looks in the wheel. S-Tier guns remain excellent across the story and survive the jump from early patrols to heavily defended garrisons. A-Tier weapons are superb but need a more specific situation, while B-Tier choices are useful with the right upgrades. C-Tier options aren't useless; they simply lose too many fights against the stronger signature weapons.
Blood Dragon also rewards smart target selection. Standard soldiers can be dropped with nearly anything, but cyber soldiers, heavy gunners, mounted turrets, and dragons punish weapons that lack stopping power. The island's outposts are easiest when you first mark enemies with the camera, disable alarms, and create a fight at your preferred distance. A weapon's ranking therefore includes stealth recovery, not only raw damage.
For context, the official Steam page for Far Cry 3: Blood Dragon lists the standalone expansion's core features and PC release details. The game is short enough that wasting upgrade money on a weapon you immediately abandon can genuinely slow your power curve.
| Tier | Weapons | Why they rank here | Best use |
|---|---|---|---|
| S-Tier | Killstar, AMR, Kobracon | Exceptional damage, range, or control | Heavy targets, outposts, bosses |
| A-Tier | Terror 4000, Galleria 1991, Bushman, Z93 | Powerful and reliable, with narrower roles | Assaults, stealth, long-range kills |
| B-Tier | A.J.M. 9, SPAS-12, Vector .45 ACP, Reaper | Strong general tools with trade-offs | Early and mid-campaign combat |
| C-Tier | 1911, .44 Magnum, basic assault rifles | Dependable but outclassed later | Budget loadouts and challenge runs |

🎮 Far Cry 3: Blood Dragon
Looking to experience this game? Grab your digital key directly on our store for $3.74.
View on Steammoz Store →S-Tier weapons that carry the entire campaign
Killstar — the best all-purpose heavy weapon
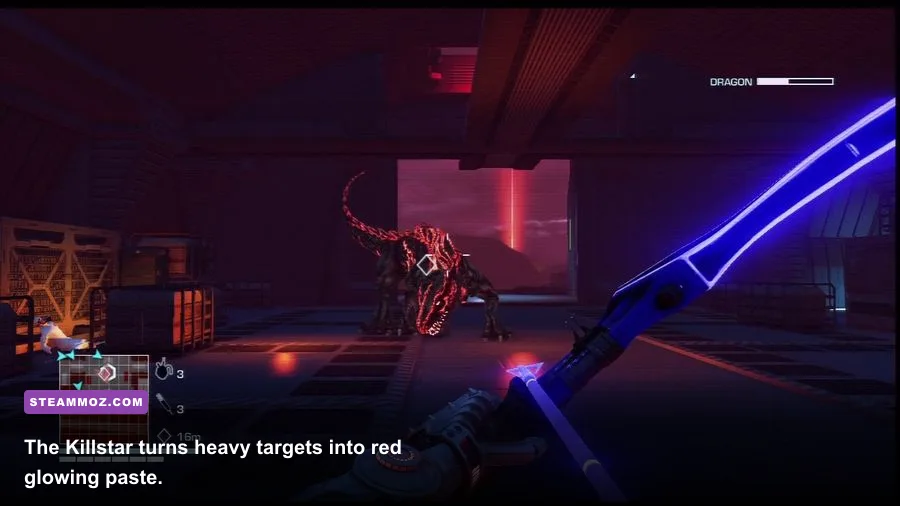
The Killstar earns the top spot because it solves problems that ordinary bullets cannot. Its directed energy beam is devastating against armored enemies, vehicles, and other high-value targets. You don't need to lead shots like a conventional rifle, and its visual beam makes tracking a moving target much easier than with the AMR.
Its limitation is ammunition. Treating the Killstar like an assault rifle will leave you empty when a heavy cyborg arrives. Use it for priority targets, then swap back to a conventional gun for cleanup. It is especially strong during outpost liberation: destroy the alarm or turret first, burn down the toughest enemy, and finish ordinary soldiers with your sidearm.
The Killstar also benefits from the game's aggressive movement. Slide between cover, expose yourself only long enough to paint the target, and duck back while the weapon recovers. It isn't a stealth tool, but it dramatically reduces the danger of the loud second half of a failed stealth attempt.
AMR — the long-range execution button
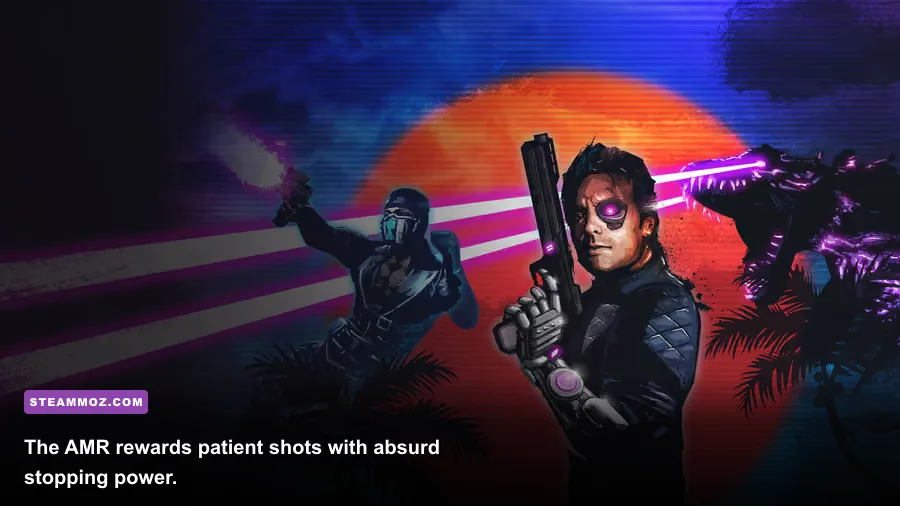
The AMR is Blood Dragon's answer to players who want every encounter to begin with one spectacular shot. Its damage and penetration make it the premier rifle for distant sentries, heavy units, and exposed drivers. At a fortified garrison, the AMR lets you remove the alarm operator or a dangerous specialist before the patrol knows Rex is there.
It has the expected sniper drawbacks: slow handling, limited ammunition, and a punishing miss. Don't equip it if you're planning to sprint through a tight interior. Equip it when you can use rooftops, ridgelines, and the high ground around locations such as the Garrison or the island's large outposts. The camera's tagging function is more valuable here than raw reflexes because it prevents a marked heavy from disappearing behind cover.
Kobracon — the close-range king
The Kobracon is the strongest shotgun choice for players who prefer aggressive clearing. It hits hard enough to end close-range fights before enemies can surround you, and its signature-weapon status makes it far more dependable than the basic 1887 or SPAS-12 once the campaign becomes crowded with armored targets.
Use it with the Death From Above and Death From Below takedown skills. Those skills let Rex convert vertical movement and low cover into instant kills, then the Kobracon handles the two enemies who inevitably notice the body. The weapon isn't subtle, but it pairs beautifully with takedown chains, explosive barrels, and the short sightlines inside enemy compounds.
| Weapon | Damage profile | Handling | Primary weakness |
|---|---|---|---|
| Killstar | Extreme against armor and vehicles | Easy beam tracking | Limited ammunition |
| AMR | Extreme single-shot damage | Slow but precise | Awkward indoors |
| Kobracon | Extreme at close range | Fast fight-ending response | Falls off at distance |
A-Tier weapons with a clear tactical identity
Terror 4000 — unmatched crowd control
The Terror 4000 minigun is the most entertaining way to erase a wave of enemies. Once it spins up, sustained fire shreds ordinary soldiers and turns crowded roads into a fireworks display. It is excellent when an alarm has already been triggered and you need to hold a position while enemies pour in.
The spin-up time is the catch. Start firing before you round a corner, not after a shotgunner is already in your face. Its weight also makes movement less nimble, so use cover and short firing bursts instead of standing in the open. Against a dragon, the Terror 4000 is fun but inefficient compared with the Killstar; save its ammunition for soldiers and vehicles.
Galleria 1991 — the stylish sidearm
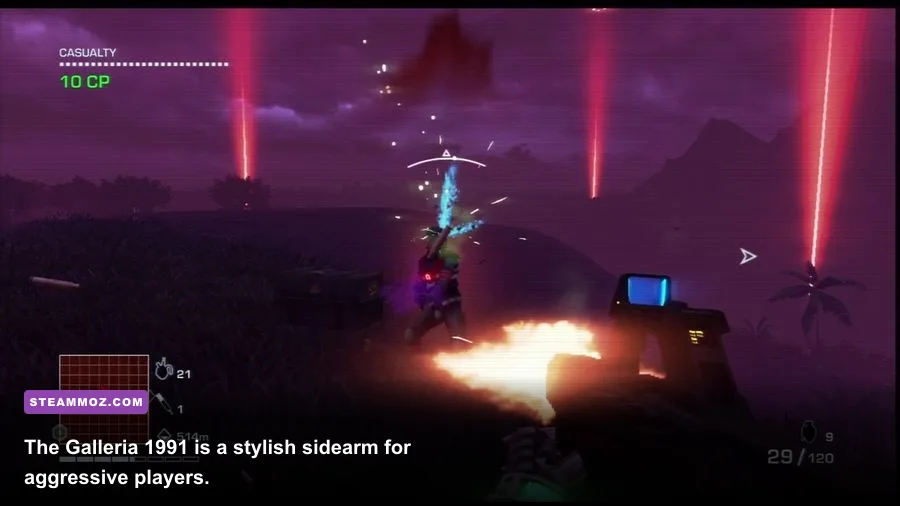
The Galleria 1991 is an excellent signature sidearm because it offers more punch and personality than the starting pistol without demanding a full loadout slot for a specialist tool. It works well when your primary weapon is the AMR or Kobracon and you need a quick backup for a wounded standard enemy.
Its value is highest in stealth-to-loud transitions. A suppressed or carefully placed opening shot can become a rapid pistol finish when a patrol spots the body. It doesn't replace the Killstar against armored targets, but it keeps ordinary encounters economical and preserves special ammunition.
Bushman and Z93 — dependable precision choices
The Bushman is the assault-rifle pick for players who want a familiar automatic weapon with strong mid-range performance. It is easier to use than the AMR when enemies are moving between cover, and it handles mixed groups without the commitment of the Terror 4000.
The Z93 occupies the middle ground between a conventional sniper rifle and the AMR. It is more forgiving when you need follow-up shots, but it doesn't deliver the same authority against the toughest targets. Choose it for a methodical stealth run; choose the AMR when each trigger pull needs to matter.
Blood Dragon's neon spectacle can obscure a simple truth: the best rifle is the one that matches your engagement distance. This is also why our Dustborn weapon rankings emphasize combat roles rather than blindly naming one weapon as best.
B-Tier guns that still deserve your money
A.J.M. 9 — the reliable sidearm
The A.J.M. 9 is one of the safest early purchases. It fires quickly, feels responsive, and is forgiving when your aim is compromised by movement or screen effects. Its damage doesn't compete with the Galleria 1991, but that isn't the point. This is a flexible backup that gets you through the first outposts while you save for signature gear.
Keep it equipped when your primary is ammunition-hungry. A.J.M. 9 rounds are perfect for finishing ordinary soldiers, shooting explosive objects, and dealing with animals without spending a rare special-weapon charge. Once the Kobracon or Galleria 1991 enters your collection, its role becomes less essential.
SPAS-12 and Vector .45 ACP
The SPAS-12 is a useful conventional shotgun with a more forgiving rhythm than the 1887. It is a good bridge to the Kobracon, particularly for indoor rooms and narrow industrial spaces. The Vector .45 ACP is similarly practical: fast, controllable, and effective against unarmored enemies at short and medium range.
Neither gun has the raw identity of the signature weapons. They become less attractive when heavy enemies appear because you need more exposure and more ammunition to finish the job. Still, they are excellent for a first playthrough if you spend upgrade currency carefully and avoid trying to make them perform outside their intended range.
Reaper — fun, dangerous, and situational
The Reaper's explosive personality makes it memorable, but explosive weapons demand discipline. Fire into a group, not at a single enemy standing beside Rex, and watch the splash damage around fuel tanks and red explosive barrels. The Reaper is strongest during scripted firefights and weakest during stealth, where one careless blast can wake the entire compound.
| Loadout slot | Recommended weapon | Alternative | Reason |
|---|---|---|---|
| Long range | AMR | Z93 | Remove specialists before combat starts |
| Close range | Kobracon | SPAS-12 | End indoor fights quickly |
| Backup | Galleria 1991 | A.J.M. 9 | Save special ammunition |
| Heavy target | Killstar | Terror 4000 | Deal with armor or crowds |
The best four-weapon loadouts for every playstyle
Best overall: Killstar, AMR, Kobracon, Galleria 1991
This is the loadout I'd use for a first campaign. The AMR opens from range, the Kobracon wins close quarters, the Killstar handles armor, and the Galleria 1991 fills every ordinary gap. It has no major blind spot except sustained crowd control, and that is where explosives, takedowns, and environmental hazards come in.
Best loud assault: Terror 4000, Kobracon, A.J.M. 9, Reaper
Take this setup when stealth has stopped being the point. The Terror 4000 suppresses a push, the Kobracon protects you inside cover, and the Reaper punishes clustered enemies. Begin with a grenade or explosive shot, let the minigun spin up before enemies reach the doorway, and use the pistol only for stragglers.
Best stealth: AMR, Z93, Galleria 1991, Kobracon
This build gives you two precision distances and a panic button. Use the AMR for heavy targets and alarm operators, the Z93 for follow-up shots, and the Galleria 1991 for quiet cleanup. Keep the Kobracon ready before entering a compound because stealth routes often collapse when a body is discovered.
Your skill order matters as much as the guns. Prioritize Death From Above, Death From Below, and Chain Takedown for outpost control. Heavy Takedown is especially valuable once armored enemies become common, while health and syringe upgrades make failed stealth attempts survivable. The official Ubisoft game page is a useful reference for the campaign's standalone setting and features.
How to spend upgrades and ammunition intelligently
Don't buy every weapon just because a shop offers it. Blood Dragon's most valuable upgrades are the ones that solve an actual combat problem: more ammunition for a favorite primary, better reload comfort for a weapon you use during alarms, and capacity improvements that reduce the time spent scavenging in enemy territory.
Use standard bullets on standard soldiers. Reserve the Killstar for heavy cyborgs, armored targets, vehicles, and dragons. Use the AMR for opening picks rather than repeated body shots. With the Kobracon, close distance through cover and fire when the enemy commits to an animation. Shotgunning a running target from too far away is how you burn shells without securing a kill.
Enemy telegraphs are straightforward. Heavy units announce themselves through their size, armor, and aggressive push; don't let them reach your cover. Turrets and alarm stations create positional pressure, so remove them early with the AMR or Killstar. Dragons are a separate priority: keep moving, use terrain to break their line of fire, and don't stand in the open trying to win a damage race with a conventional rifle.
If the PC version stutters or feels sluggish, fix performance before judging weapon handling. Input delay makes the AMR feel worse and makes Kobracon timing inconsistent. Our guides to stopping crashes and low FPS and raising frame rates with sensible settings cover the same practical PC troubleshooting mindset.
| Situation | First choice | Backup choice | Combat note |
|---|---|---|---|
| Undetected outpost | AMR | Z93 | Mark enemies and remove alarms first |
| Heavy cyborg | Killstar | AMR | Prioritize armor over ordinary soldiers |
| Indoor assault | Kobracon | SPAS-12 | Use takedowns before spending shells |
| Large enemy wave | Terror 4000 | Reaper | Pre-spin and fight from cover |
| Dragon encounter | Killstar | Terror 4000 | Keep moving and break line of sight |
Final ranking and the loadout to remember
The short version is simple: Killstar is the best high-value weapon, AMR is the best opening weapon, and Kobracon is the best close-range weapon. Together they cover nearly every serious threat in the campaign. Put the Galleria 1991 in the fourth slot and you'll have a fast, economical answer to ordinary soldiers too.
The Terror 4000 remains the king of spectacle, the Z93 and Bushman are excellent specialist alternatives, and the A.J.M. 9 is a smart early purchase rather than a weapon you'll regret carrying. Basic pistols, assault rifles, and shotguns still work, but Blood Dragon rewards upgrading into signature gear instead of staying loyal to the first gun you find.
That balance is what makes the arsenal work. The weapons are exaggerated, but the decisions aren't: choose your range, preserve rare ammunition, kill the alarm operator, and never let a heavy unit walk into your personal space. For more gear-focused rankings, compare this list with Steamoz's Death Howl weapon tier list and Disciples: Liberation equipment rankings.