
If you have been dropping into Isolated, Blackout, or classic Zombies just to chase red dots on your mini-map, you are blowing right past the best parts of Call of Duty: Mobile. Hidden beneath the run-and-gun chaos lies a complex network of locked vaults, interactive mini-games, and chilling story Easter eggs that hand out top-tier loot like Kinetic Armor Overchargers, custom weapon drops, and alternate boss encounters. From the locked, blood-stained doors of the Sanitarium to the underground radar bunker at Black Market and the hidden Jubokko tree demon in Shi No Numa, knowing how to trigger these hidden mechanics completely transforms how you survive high-tier ranked lobbies.
The Sanitarium Vault: Hunting Teddy Bears for High-Tier Gold Drops
Drop onto the roof of Sanitarium during any Battle Royale match on Isolated, and you will immediately see players scrambling for floor loot while dodging sniper fire from the surrounding hills. Most players pick up an assault rifle, grab a kill or two, and jump out the window. If you do that, you are leaving the best loot room on the entire northern half of the map completely untouched.
On the top floor of Sanitarium sits a locked, reinforced metal security door marked with warning signs. You cannot pickaxe this door open, and no amount of cluster grenades will dent it. To crack the lock, you have to complete a macabre scavenger hunt: hunt down and shoot eight distinct, creepy teddy bears scattered across the building’s sprawling wings and crumbling patient wards.
These teddy bears emit a faint, distorted lullaby sound when you get close, but in a chaotic drop with footsteps thumping around you, you need to rely on visual checks. Check the broken bathtubs on the second floor, peer into the collapsed ward shelving, inspect the reception desk on the ground floor, and look closely at the upper rafters in the central atrium. Each bear only takes a single bullet to destroy—using a suppressed sidearm or a quiet SMG like the Switchblade X9 is ideal so you do not announce your position to the entire complex. Once you hit the eighth bear, a heavy mechanical buzz echoes through the building, accompanied by an eerie child's laugh, signaling that the top-floor vault is officially unlocked.
Inside the room, you will consistently find a goldmine: multiple Level 3 armor plates, high-tier weapon blueprints, customized weapon crates, and guaranteed Kinetic Overcharger kits that push your health pool to the absolute 300 HP maximum. If you love secret areas packed with top-tier loot, hitting Sanitarium right off the revival flight gives your squad an immense tactical advantage before the first safe zone even collapses.
🎮 1bitHeart
Looking to experience this game? Grab your digital key directly on our store for $2.99.
View on Steammoz Store →Black Market Underground Bunker and the Secret Player Radar
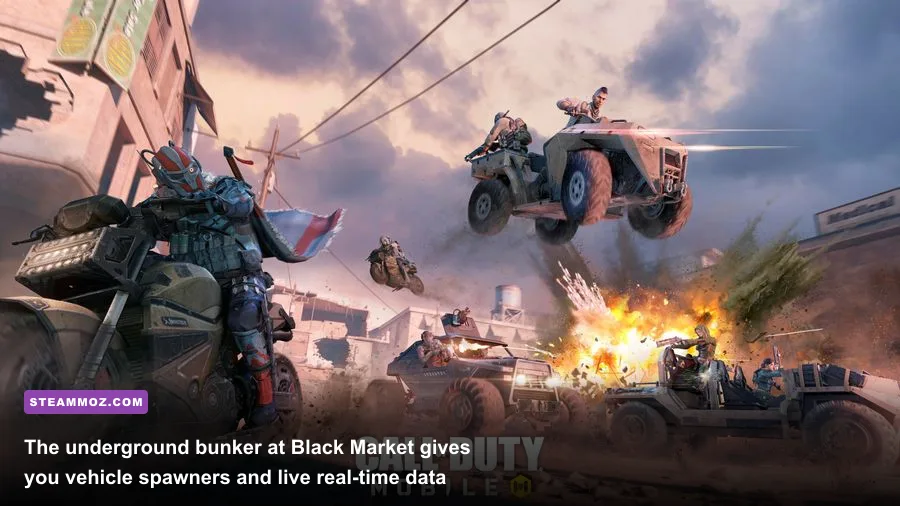
Black Market has been a fan-favorite drop zone since its introduction, but an alarming number of players treat it like a simple cluster of buildings. The real magic happens below street level. Next to the main central building, you will find concrete staircases and an elevator shaft leading down into a fully functional, Cold War-era subterranean command bunker.
The bunker houses two game-changing Easter eggs that can turn an average match into an effortless victory. First is the vehicle dispensing terminal. By interacting with the computer screens along the wall, you can manually spawn fresh vehicles inside the underground bay—including helicopters, ATVs, and muscle cars. This lets your squad rotate completely out of the storm without having to scour the exterior roads where snipers wait to pick off running targets.
The crown jewel of the bunker, however, is the giant interactive situational radar screen mounted on the command wall. Walking up to the console and hitting the prompt activates a high-frequency UAV sweep that reveals live player telemetry across the entire sector, showing real-time enemy density and vehicle movements directly on the wall map. In sweaty Legendary-tier lobbies, sending one teammate down to read the bunker console while the other three hold the high ground lets you coordinate ambushes with pinpoint precision.
Before you leave, explore the maintenance corridors that branch out from the main computer room. These tunnels snake beneath the town and lead to hidden escape hatches out in the open desert, complete with supply crates that frequently drop mythic-tier weapon attachments. If you ever find yourself pinned down by an aggressive squad holding the surface roads, diving into the bunker tunnels lets you flank behind them and turn the tables instantly.
Shi No Numa's Secret Boss: How to Trigger the Jubokko Abomination
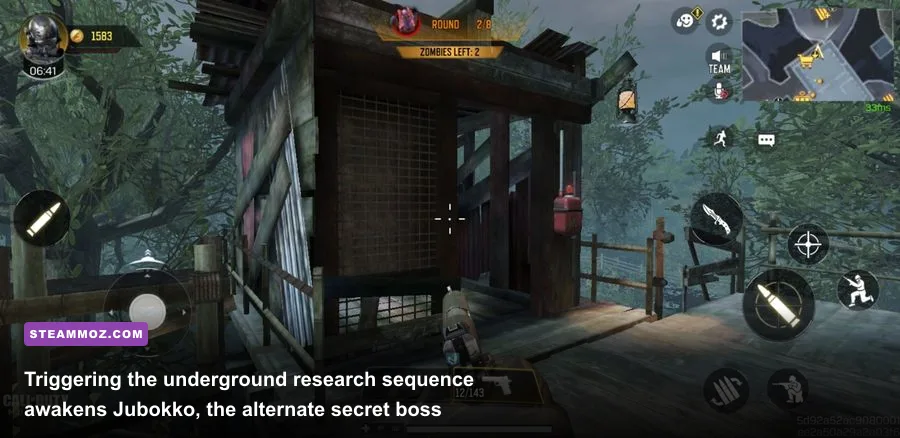
Classic Zombies mode is legendary for its cryptic puzzles, and the mobile port of Shi No Numa (Swamp of Death) features one of the absolute best alternate boss encounters in the franchise. Most players survive the rounds, ride the zip-line to the boss arena, and fight the Abomination—a giant, armored scorpion-like creature with glowing weak points. But the Abomination is merely the default encounter. If you follow an obscure sequence of investigative steps during the survival rounds, you can face the true terror of the swamp: Jubokko, a gargantuan humanoid tree entity with crushing area-of-effect attacks.
Triggering this boss requires precision, planning, and strict round management. Do not rush through rounds without completing each step in sequence:
- Collect the Repair Cogs: Search the central storage huts and perimeter cabins to find two mechanical gear parts hidden on workbenches and broken crates.
- Repair the Underground Elevator: Take the gears to the broken elevator inside the main central spawn hut, insert them into the control console, and take the lift down into the top-secret subterranean research facility.
- Investigate the Lab Diaries: Walk through the medical ward of the underground facility and interact with the four open clipboards and journals resting on desks. This unlocks the laboratory’s quarantine protocol.
- Destroy the Bio-Experiment Spores: Enter the cultivation room filled with overgrown flora. You will see bulbous, glowing blue spore pods clinging to the vines and walls. Shoot them in rapid succession until they burst, unleashing a thick green mist.
- Turn the Hydroponic Valve: Head to the control room at the end of the cultivation chamber and activate the drainage valve. A deep, unnatural roar will resonate through the swamp, confirming that the standard Abomination has been replaced.
When you finish Round 12 and step into the elevator to trigger the boss arena, you will be thrown into a vicious slugfest against Jubokko instead of the scorpion. Jubokko hits significantly harder, summons vine snares that restrict your movement, and releases homing spore skulls that force you into constant tactical sprint rotations.
| Boss Encounter | Activation Method | Primary Weak Points | Deadliest Attack | Exclusive Rewards |
|---|---|---|---|---|
| Abomination (Default) | Standard elevator activation after Round 8/12 | Glowing mouth sac, underbelly plates | Underground burrow charge and acid spit | Standard Aether shards, common blueprint fragments |
| Jubokko (Secret) | Lab diary readings & vine spore puzzle | Glowing amber core on chest and back | Root snare slam & tracking spore swarms | High-tier Nikolai Belinski shards, rare weapon blueprints |
To burn Jubokko down before you run out of ammunition, run heavy damage-per-second setups like the RPD equipped with the Cooling Compressor Barrel or an assault rifle tuned for sustained hip-fire while backpedaling. Keeping your settings adjusted for fluid tracking—similar to our recommendations for optimizing frame rates and graphical clarity—is vital here, because losing frames during Jubokko's root-slam animation will send your character straight to the revive screen.
New Vision City's Locked Cyberware Labs and Ghost in the Shell Secrets

When New Vision City was added to Isolated as part of the Ghost in the Shell: SAC_2045 crossover, it introduced a dense, vertical cyber-metropolis that still hides high-tech Easter eggs long after the event concluded. If you know where to look among the neon skyscrapers, you can claim massive physical enhancements and unlock high-security weapon vaults.
Throughout the central plaza and lower catwalks of New Vision City, keep your eyes open for interactive Cyberware Terminals. These terminals allow you to install one of four distinct cybernetic modifications to your character for the rest of the battle royale match:
- Cyberbody: Boosts your base physical HP pool and grants explosive damage resistance.
- Cyberbrain: Periodically hacks nearby radar, marking close-quarters hostiles through thin walls.
- Cyberlegs: Increases tactical slide distance by nearly 30% and grants an aggressive double-jump for scaling rooftops.
- Cyberarm: Significantly reduces recoil drift on all held weapons and boosts melee swing speed.
Beyond the personal upgrades, there is a hidden security room nestled underneath the highway overpass that cuts through the district. To crack it, you have to locate three separate electrical junction boxes scattered across the surrounding rooftops and interact with them to redirect power to the security gate. Inside, you are greeted by automated weapon fabricators that print fully customized weapon loadouts with purple and gold tier attachments attached right out of the gate. Taking the time to hunt these down pays off just as heavily as exploring map secrets in open-ended games, giving you an end-game kit without waiting for airdrop crates.
Multiplayer Quirks and Hidden Map Tributes You Missed
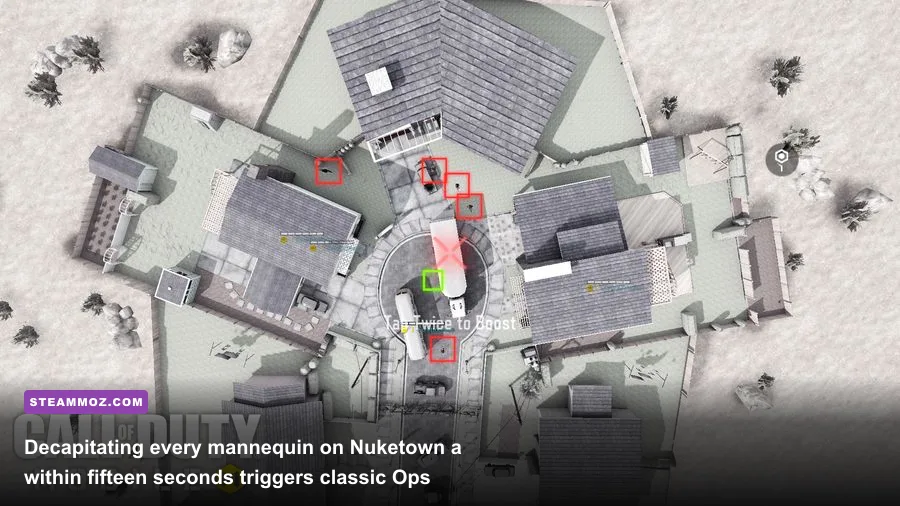
While Battle Royale and Zombies contain the largest structural secrets, Call of Duty: Mobile’s standard multiplayer rotation is packed with nostalgic callbacks and hidden mini-events pulled straight from iconic entries across the franchise’s history.
Take Nuketown, for example. In classic Treyarch fashion, the mobile development team ported over the legendary mannequin Easter egg. If your entire team coordinates in a private match or a lightning-fast public game to shoot the heads off every single mannequin on the map within the first 15 seconds of the countdown timer, the game triggers a retro tribute. Depending on the current seasonal patch, the mannequins either animate and charge at players wielding combat knives, or a vintage synth-wave tune plays over the loudspeakers while retro filters hit your screen.
Over on Raid, the iconic Hollywood mansion features subtle physics triggers that veteran players use for downtime entertainment. If you take a frag grenade or a concussion grenade and line up a perfect bank shot into the basketball hoop located in the side courtyard, the backboard triggers a satisfying electronic buzzer sound alongside confetti particle effects. Similarly, on the Shoot House map, you can locate tucked-away radios on shipping crates that play crackling transmissions referencing Captain Price and Simon "Ghost" Riley's early Task Force 141 operations, tying mobile lore directly into the mainline modern warfare continuity.
| Map Location | Game Mode | Secret / Easter Egg | Difficulty to Execute | Loot / Reward Tier |
|---|---|---|---|---|
| Sanitarium (Isolated) | Battle Royale | 8 Teddy Bear Vault Lock | Moderate (Requires map traversal) | S-Tier (Guaranteed 300 HP Armor & Custom Guns) |
| Black Market (Isolated) | Battle Royale | Subterranean Live UAV Screen | Easy (Walk-in console) | S-Tier (Full sector intel & vehicle spawner) |
| Shi No Numa (Swamp) | Zombies Survival | Jubokko Tree Boss Summon | Hard (5-stage puzzle in active rounds) | S-Tier (Exclusive character shards & camos) |
| New Vision City (Isolated) | Battle Royale | Cyberware Modification Terminals | Easy (Terminal interaction) | A-Tier (Permanent movement/health buffs) |
| Nuketown (Multiplayer) | Core MP / Private | 15-Second Mannequin Decapitation | Very Hard (Strict timer coordination) | B-Tier (Cosmetic music/horde mode trigger) |
Understanding these map quirks lets you read your opponents far better. When you hear explosive blasts coming from the side courtyard on Raid or notice rapid gunfire cracking through the wings of Sanitarium early on, you know exactly what the enemy squad is trying to pull off. Check out community documentation on map rotations to stay ahead of patch shifts, and keep fine-tuning your loadouts with our guides on weapon ranking and TTK dynamics to ensure you always win the gunfight once those vault doors finally slide open.
Next time you jump out of the transport plane, do not just drop on the first generic cluster of houses you see. Mark the Sanitarium roof, set your squad up in the Black Market bunker, or solve the laboratory riddles in Shi No Numa. You will walk away with unmatched loot, tactical intel, and a completely fresh way to play one of the best mobile shooters ever built.