Introduction: Why Early Bosses Matter in Clair Obscur Expedition 33
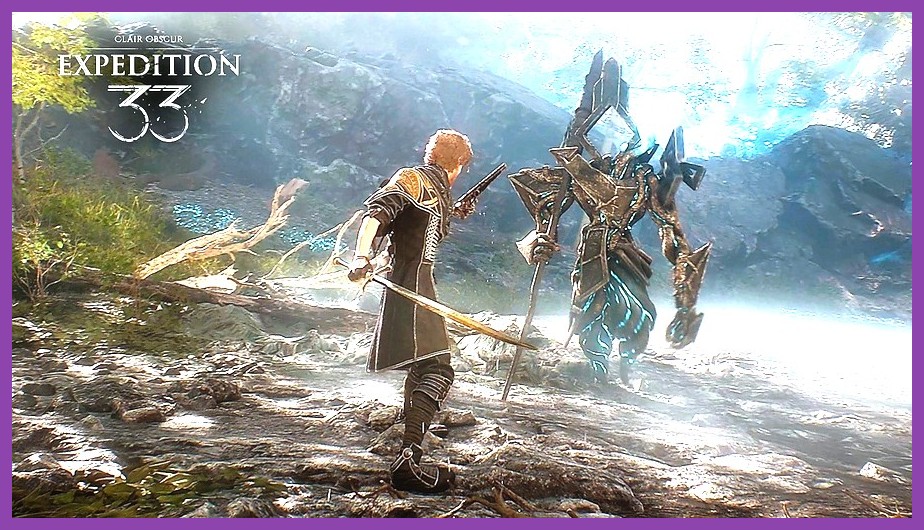
Clair Obscur Expedition 33 drops players into a hauntingly beautiful world where every step feels like a test of wit and reflexes. The early bosses are not just roadblocks; they are carefully designed lessons that teach you the core mechanics of combat, timing, and resource management. If you rush past them without understanding their patterns, you will find yourself stuck later on, wasting precious consumables and time. This guide breaks down each of the first three major encounters, offering concrete loadout suggestions, timing windows, and positioning tricks that turn seemingly impossible fights into satisfying victories. By the end of this article you will have a solid framework to tackle any early boss, and you will know exactly how to adapt your playstyle as the expedition grows darker and more unforgiving.
Understanding the Core Boss Mechanics
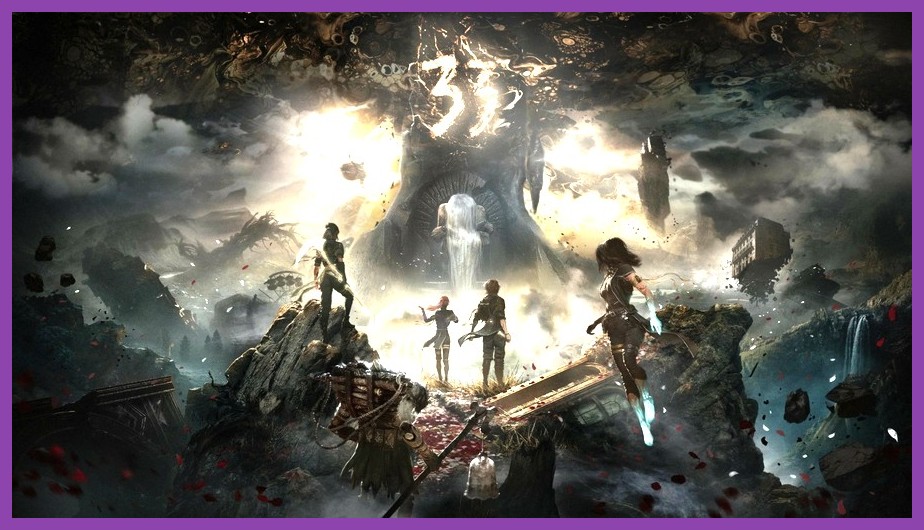
Before diving into specific bosses, it helps to grasp the shared systems that govern all encounters in Expedition 33. Each boss fight is divided into phases, usually signaled by a visual cue such as a color shift, a roar, or a change in the arena lighting. Recognizing these cues lets you anticipate incoming attacks and prepare your dodges or counters. The game also features a stamina‑based dodge system; overusing dodges leaves you vulnerable, so you must weave them into your attack combos rather than spamming them. Finally, most bosses have a weak point that glows briefly after a successful parry or after you break their guard with a heavy strike. Learning to spot and exploit these windows is the key to shortening fights and conserving resources.
Phase Recognition and Audio Cues
Audio design in Clair Obscur Expedition 33 is deliberately sparse, making every sound cue meaningful. A low hum often precedes a sweeping attack, while a sharp clang signals an incoming melee swing. Train your ears to pick up these hints; they are especially useful when visual clutter obscures the boss silhouette. Many players report that turning down the music and boosting the SFX volume improves reaction time by up to 20 percent.
Stamina Management Basics
Your stamina bar depletes with each dodge, sprint, or heavy attack. When it reaches zero, you enter a brief recovery state where you cannot dodge or block. The optimal rhythm is to alternate light attacks (which cost little stamina) with occasional heavy hits that break guard, then use a dodge only when you see a telegraphed big move. Practicing this loop on low‑level enemies will make it second nature when you face a boss.
Preparing Your Loadout for Early Encounters
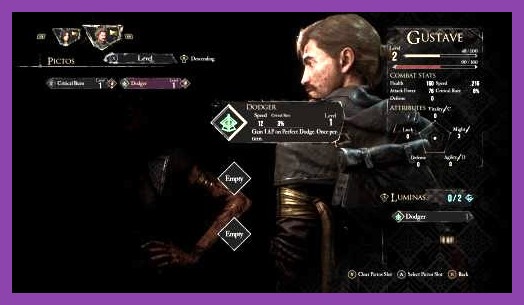
Loadout flexibility is one of the strengths of Clair Obscur Expedition 33. You can swap weapons, accessories, and consumables at any checkpoint, so treat the early bosses as an opportunity to experiment. Below are three proven setups that cater to different playstyles while keeping you survivable.
The Balanced Blade Build
This setup focuses on a medium‑speed sword that offers decent damage and a quick parry window. Pair it with a shield that reduces stamina cost of blocks by 15 percent and a ring that increases critical hit chance after a successful dodge. Use health potions sparingly; instead rely on the passive regeneration from the equipped amulet. This build works well against the Veiled Sentinel and Eclipse Wraith, giving you enough damage to break guard while staying nimble enough to dodge their area attacks.
For a quick reference, check out our starting build guide for similar concepts, even though it’s for a different game.
The Heavy‑Hitter Approach
If you prefer to trade speed for raw power, equip a greataxe that deals high burst damage but has a longer wind‑up. Counterbalance this with a belt that reduces heavy attack stamina cost and a trinket that grants temporary invulnerability after a perfect parry. The key is to lure the boss into committing to a big swing, then punish with a fully charged heavy hit. This approach shines against the Abyssal Herald, whose telegraphed charge leaves a large opening.
The Speed‑Runner Configuration
For players who love to stay constantly on the move, choose a pair of dual daggers that attack extremely fast and have a built‑in bleed effect. Add boots that increase sprint speed and a consumable that grants short‑term speed boost on kill. This build excels at dodging and weaving through the Eclipse Wraith’s projectile patterns, letting you chip away at health while staying out of harm’s way.
See how speed builds are handled in other titles via our mobile gaming guide for analogous tips.
Boss 1: The Veiled Sentinel
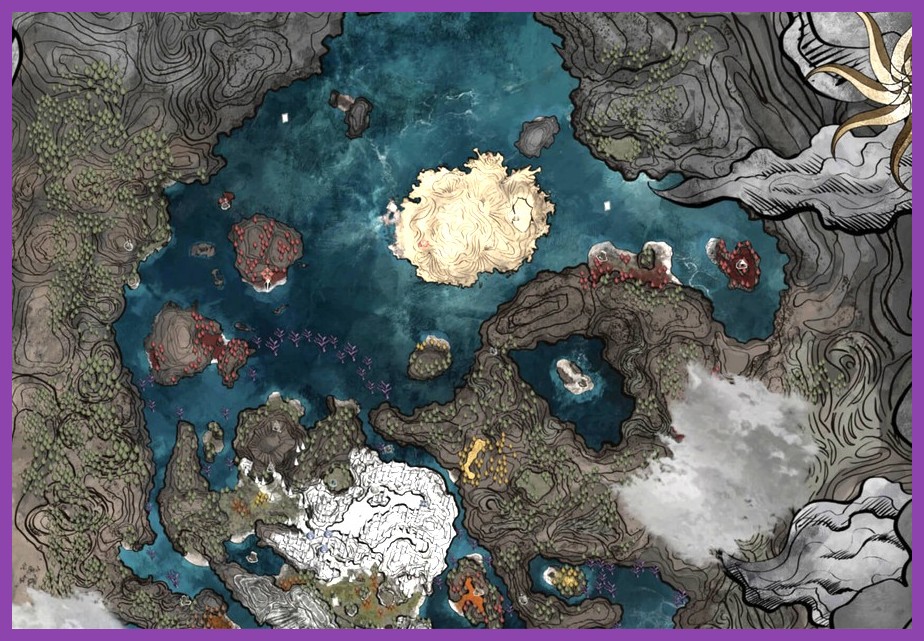
The Veiled Sentinel is the first major gatekeeper you encounter after the tutorial area. It wields a massive halberd and relies on slow, sweeping attacks that cover wide arcs. Its primary weakness is the exposed core on its chest, which glows blue for a brief moment after you successfully parry its halberd strike.
Attack Patterns and Timings
The Sentinel’s combat loop consists of three main moves:
- Horizontal Sweep – a 180‑degree arc that starts with a wind‑up where the halberd is raised overhead. The wind‑up lasts about 0.8 seconds; dodge to either side just as the blade begins its descent.
- Vertical Slam – a quick downward chop that targets the player directly in front. The telegraph is a brief flash of red on the blade tip; a well‑timed parry here will stagger the Sentinel and expose its core.
- Charge Lunge – the Sentinel steps forward a short distance then thrusts the halberd forward. This move is unblockable but can be dodged by rolling backward as the step begins.
Recognizing these tells early will let you stay on the offensive rather than constantly backing away.
Optimal Strategy
Start the fight by staying at medium range, baiting the Horizontal Sweep. Dodge to the left, then immediately counter with a light combo (three quick sword hits) to build stamina for a heavy hit. When the Sentinel attempts a Vertical Slam, execute a perfect parry; the core will glow for about 1.2 seconds. Use this window to unleash a charged heavy attack (hold attack button for 1.5 seconds) which deals massive damage and often breaks its guard entirely. After the guard break, follow up with another heavy hit before the Sentinel recovers.
Repeat this cycle, keeping an eye on your stamina bar. If you feel low, retreat to the far edge of the arena and sip a health potion only when absolutely necessary; the Sentinel’s attacks are telegraphed enough that you can survive a few hits without healing.
For more on parry timing, see our parry mastery guide.
Boss 2: The Eclipse Wraith
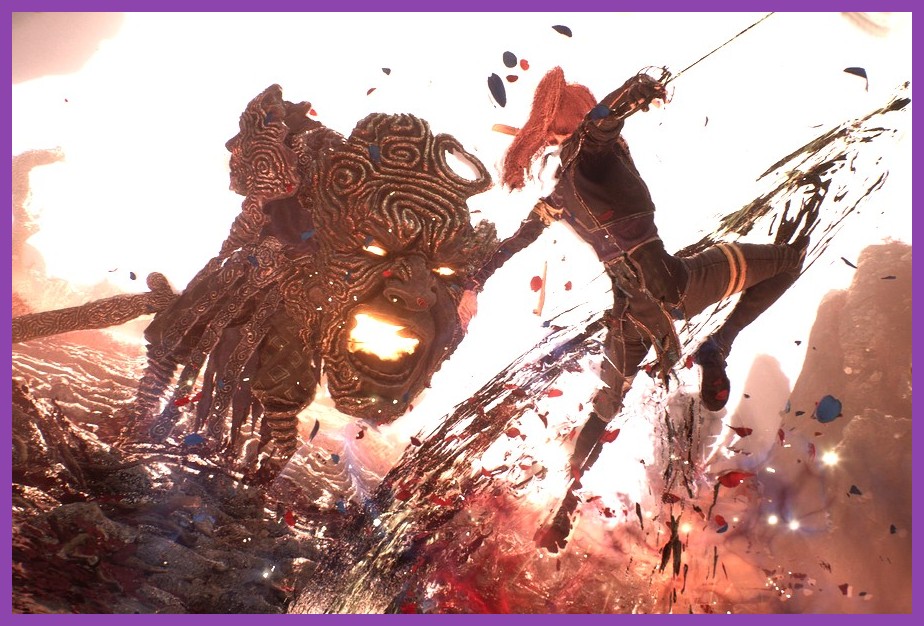
The Eclipse Wraith introduces ranged and mobility challenges. It floats above the arena, launching shadow projectiles that home in slightly on your position, and periodically dives to perform a melee slash. Its weak point is a pulsating violet sigil on its chest that appears after you destroy three of its shadow orbs.
Projectile Mechanics
The Wraith fires three types of shadow bolts:
- Slow Homing – moves at a moderate speed, curves slightly toward you; easy to dodge with a sidestep.
- Fast Straight – travels quickly in a direct line; requires a quick dash or roll perpendicular to its path.
- Burst Shot – fires three bolts in a spread pattern; the best response is to jump over the middle bolt and dodge the outer ones.
Each projectile type has a distinct audio cue: a low rumble for Slow Homing, a high‑pitched whine for Fast Straight, and a rapid triple click for Burst Shot.
Melee Dive and Sigil Exposure
After every six projectiles, the Wraith dives toward the player’s current location, leaving a brief afterimage. If you dodge the dive, the Wraith lands stunned for about 0.9 seconds, during which its chest sigil flashes violet. Hitting the sigil with any attack deals bonus damage and reduces the Wraith’s projectile frequency for the next cycle.
Recommended Tactics
Equip the Speed‑Runner Configuration (dual daggers, sprint boots, speed consumable). Begin by staying in constant motion, tracing a wide circle around the arena. Prioritize dodging Fast Straight shots with a quick roll to the side; for Slow Homing, a simple sidestep suffices. When you hear the Burst Shot cue, jump vertically and then roll to avoid the outer bolts.
After you have dodged six projectiles (you can count them mentally or use the visual cue of the Wraith’s wings flapping faster), anticipate the dive. Roll to the side as the Wraith begins its descent; the afterimage will appear where you were, giving you a clear window to strike the sigil. Land two quick dagger combos on the sigil before the Wraith recovers.
Repeat this loop, keeping an eye on your stamina. The Speed‑Runner build’s high attack speed lets you regenerate stamina quickly through hits, so you rarely need to pause.
For additional insight on handling projectile‑heavy bosses, refer to our rune farming guide which covers pattern recognition in a similar context.
Boss 3: The Abyssal Herald

The Abyssal Herald is the toughest of the early trio, combining high damage melee attacks with area‑of‑effect dark bursts that can catch unprepared players off guard. Its weak point is a cracked crystal on its forehead that glows amber after you interrupt its charge attack.
Attack Overview
The Herald’s moveset includes:
- Dark Pulse – a radial burst of dark energy that emanates from its position; the telegraph is a darkening of the ground around its feet.
- Charge Rush – the Herald lowers its head and charges straight forward, leaving a trail of corruption.
- Tentacle Sweep – a wide arc attack using its shadowy tendrils; easy to dodge by jumping.
- Ground Slam – a heavy downward smash that creates a shockwave; the wind‑up is a noticeable lift of its arms.
Each of these moves has a distinct visual and audio signature, making them learnable with practice.
Interrupting the Charge Rush
The Charge Rush is the Herald’s most dangerous move, but also the biggest opportunity. When you see the Herald lower its head and begin the charge, you have roughly 0.6 seconds to react. A well‑timed heavy attack (or a perfectly timed parry if you have a shield) will interrupt the charge, staggering the Herald and exposing the amber crystal on its forehead for about 1.5 seconds.
Effective Counter‑Play
Using the Heavy‑Hitter Approach (greataxe, stamina‑belt, invulnerability trinket) works best here. Start the fight by staying just outside the Herald’s melee range, baiting the Dark Pulse. When you see the ground darken, sidestep the burst and immediately follow with a light combo to build stamina.
When the Herald initiates a Charge Rush, do not dodge backward; instead, step slightly to the side and unleash a fully charged heavy attack (hold attack for 1.8 seconds) aimed at its head. If timed correctly, the charge will be interrupted, the Herald will stagger, and the amber crystal will appear. Use this window to land two additional heavy hits before the Herald recovers.
For the Tentacle Sweep, simply jump; the sweep hits low, leaving you airborne safely. After landing, resume your combo. The Ground Slam can be avoided by rolling to either side as the arms lift; the shockwave travels mostly forward, so a sideways roll puts you out of its path.
Keep an eye on your stamina bar; the heavy attacks consume a lot, so intersperse them with light hits to maintain a steady flow. If you find yourself low on stamina, retreat to the far edge of the arena and let the Herald waste a Dark Pulse, which leaves it open for a quick counter.
For more on managing high‑stamina weapons, consult our performance settings guide which, while focused on PC optimization, offers useful tips on resource management that translate to in‑game stamina.
General Tips and Tricks for Early Boss Success
Beyond the specific boss strategies, several overarching principles will improve your consistency across all early encounters.
Utilize Checkpoints Wisely
Each boss arena has a checkpoint just before the entrance. If you die, you will respawn there with full health and inventory. Use this to your advantage: treat each attempt as a learning run, experimenting with different dodge timings or weapon swaps without the penalty of losing progress.
Watch the Environment
The arenas contain interactive elements such as breakable pillars or hanging lamps that can be used to block line‑of‑sight projectiles or to gain height advantage. For example, in the Eclipse Wraith fight, destroying a nearby pillar creates a temporary shield that blocks Fast Straight shots for a few seconds.
Keep a Balanced Consumable Loadout
While it’s tempting to stockpile health potions, the game encourages smart use of offensive consumables like damage‑boosting elixirs. A single elixir that increases attack power by 25 percent for 20 seconds can turn a marginal hit into a guard‑breaking blow, saving you time and potential damage.
Learn from Failure
After each death, take a moment to note what killed you. Was it a missed dodge on a Fast Straight? Did you get caught in a Dark Pulse because you were too aggressive? Adjust your approach accordingly; the bosses are deterministic, so fixing a single mistake often leads to victory on the next try.
Stay Calm and Keep Moving
Panicking leads to mistimed dodges and wasted stamina. Keep your movements purposeful, and remember that every attack has a tell. If you feel overwhelmed, take a half‑step back, breathe, and refocus on the next telegraph.
For a deeper dive into maintaining composure during tough fights, see our snowboard unlock guide which, although about a different game, discusses the mindset needed for challenging content.
Conclusion: Turning Early Boss Victories into Long‑Term Strength
Beating the early bosses in Clair Obscur Expedition 33 is more than just clearing a roadblock; it’s about internalizing the game’s rhythm, learning to read tells, and building a loadout that complements your strengths. Each victory grants you not only progression but also valuable insight into the mechanics that will serve you well against the tougher challenges lurking deeper in the expedition. By mastering the Veiled Sentinel’s parry windows, the Eclipse Wraith’s projectile dance, and the Abyssal Herald’s charge interrupts, you lay a solid foundation for mid‑ and late‑game success.
Remember to revisit these strategies as you acquire new gear; what worked with a basic sword may need tweaking when you pick up a greataxe or a pair of enchanted daggers. Keep experimenting, stay observant of audio and visual cues, and most importantly, enjoy the journey through the hauntingly beautiful world of Expedition 33. Happy hunting, and may your blades stay sharp.