
To beat the true ending boss in Lords of the Fallen—Elianne the Starved—you must successfully manage aggressive multi-stage combos, maintain precise wither-damage management, and bring a build optimized for heavy holy and wither resistance. This encounter serves as the ultimate test of your proficiency with the Umbral Lamp and parry timings, pushing your reflexes and resource management to their absolute limits.
Prerequisites and Preparation for the Elianne Encounter
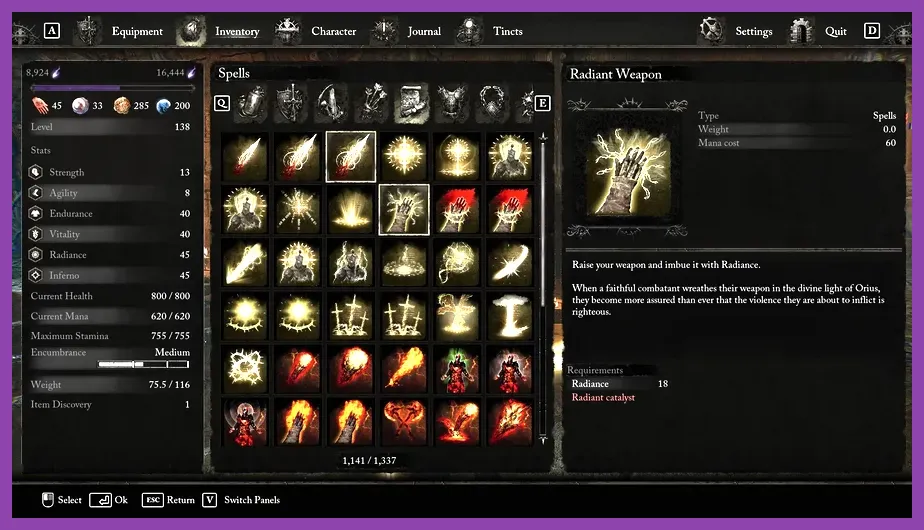
Before stepping foot into the final arena, ensuring your loadout and consumables are optimized is half the battle. Elianne the Starved utilizes a ferocious mix of fast physical strikes, relentless magic projectile barrages, and devastating Umbral area-of-effect hazards that drain your health pool rapidly if you lack proper mitigation.
First, verify your inventory contains plenty of Large Mana Stones and Enhanced Umbral Regurgitators. You will need every drop of mana if you plan to rely on ranged spells or buff rotations to chip away at her massive health pool. For defensive stats, equip armor sets boasting high Wither and Holy defense, such as the Pieta's Set or Sovereign Protector pieces. You can review optimal gear distribution strategies over at the best armor sets guide to balance your weight load while maximizing survivability.
For your weapons, dual-wielding heavy swords infused with Radiant scaling or utilizing maxed-out catalysts like Pieta's Swords or Judge Cleric's Radiant Spear provides incredible stance-breaking potential. For comprehensive insights into optimizing character performance and system stability during heavy particle effects, check out the recommendations in the graphics and performance settings breakdown. Official game updates, patch notes, and developer insights can always be tracked directly via the official Lords of the Fallen Steam Page.
Phase 1: Surviving Pieta's Twisted Counterpart
When the fight begins, Elianne mirrors many of Pieta's iconic holy attack patterns, but with a terrifying Umbral twist. Her sword swings leave lingering trails of necrotic energy that detonate shortly after impact. Memorizing the precise delays on these trailing explosions is critical for keeping your footing.
- Holy Wave Barrage: When she floats into the air and raises her blade, she will send three consecutive waves of holy light across the arena. Dodge forward through the waves rather than rolling backward to maintain close spacing.
- Mirage Clones: At roughly 75% health, she will summon phantoms that dash across the screen in a horizontal sweep. Look at her wings to determine the real body before committing to a parry or dodge.
- Wither Recovery: Whenever she connects with a flurry attack, she inflicts Withered health. Capitalize on the game's wither parry mechanic by striking back immediately to reclaim your lost HP bar without burning precious Sanguinarix charges.
Maintaining stamina management during this phase is essential. Never exhaust your green bar completely; always keep at least one evasive roll in reserve. If you are looking for alternative character progression paths and tier comparisons before tackling endgame content, the character tier list rankings offer fantastic baseline data on meta builds.
Phase 2: Navigating the Umbral Nightmare
Upon draining her first health bar, Elianne transitions into her true Umbral form, sprouting terrifying parasitic appendages and increasing her aggression twofold. The arena floor becomes hostile, and Umbral entities will occasionally spawn to harass you from the sidelines.
During this phase, keep your Umbral Lamp charged and ready. If you accidentally get knocked into the Umbral realm or need to soulflay her to open up a devastating grievance strike, you cannot afford to fumble lamp charges. For players coordinating cooperative runs, aligning your group synergy with guides like the team composition strategy guide ensures your cooperative partners pull aggro effectively while you cast heavy ranged spells.
Mastering Defensive Parries and Posture Breaks

Elianne has high poise, making standard heavy attacks risky unless timed right after her signature lunges. Her multi-hit dagger combos can be completely parried if you rhythmically tap your block button, filling her posture meter rapidly.
Watch for her glowing red unblockable grab attack. This animation features a distinct wind-up where she pulls her arm back and lets out a shrill screech. Sprint laterally or roll backward twice to escape its absurd tracking hitbox. Getting caught by this grab in Phase 2 almost always results in a one-shot or catastrophic health penalty.
If you prefer solo exploration and tactical loadouts reminiscent of classic survival progression, review the strategic tips found within the solo build mastery guide. Proper spacing and patience remain the foundational pillars of success here.
Optimizing Buffs, Consumables, and Spells

Timing your spell casts and consumable usage can turn an impossible battle into a manageable duel. Apply Umbral Ward Salves and Holy Protection Salts right before entering the fog gate, and reapply them during her long transformation animation between phases.
Cast ranged radiance spells such as Barrage of Echoes or Aurelian Surge when she pauses to summon projectiles. These spells deal heavy burst damage that can stagger her out of her most dangerous casting animations. Always keep an eye on official development updates via the Hexworks Official Website to stay informed about balance patches that might alter scaling values for your chosen gear.
Claiming Your True Ending Victory
Persistence is key when mastering Elianne the Starved. Expect to die several times while learning the micro-delays on her spell extensions and Umbral puddles. Once you successfully break her posture for the final time and execute the cinematic finisher, you will trigger the game's coveted true ending cutscene, cementing your place among the greatest lampbearers in Mournstead history.
For more deep-dives into hardware configurations, system optimization, and advanced loadout planning across various modern titles, explore our comprehensive catalog including the system requirements and specs breakdown and the hardware requirements optimization guide.