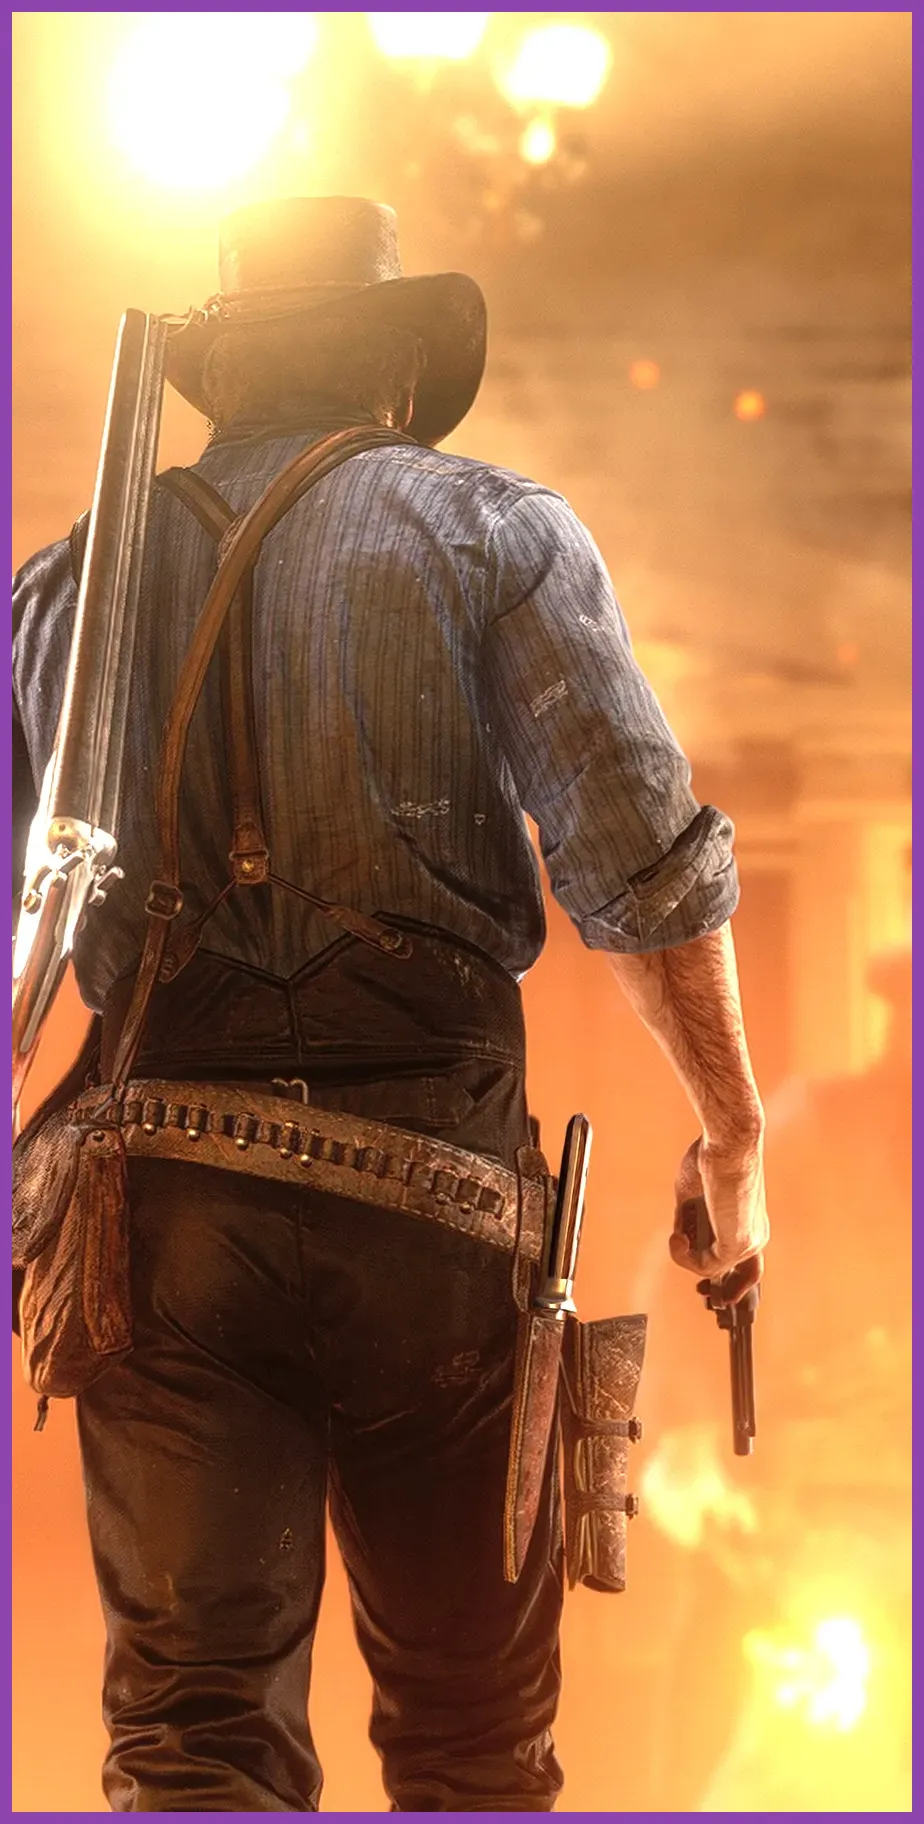
While Red Dead Redemption 2 doesn't feature traditional RPG character classes, your choice of weapons, Dead Eye ability cards, and stat configurations effectively create the ultimate solo mercenary build. To dominate Arthur Morgan's open-world wilderness completely alone, you need a specialized loadout focused on maximum survivability, high critical-hit output, and effortless multi-target crowd control. Whether you are clearing out O'Driscoll hideouts at Hanging Dog Ranch or surviving multi-state bounty hunter ambushes, your build defines whether you walk away with the loot or end up on a slab in Valentine.
The Ultimate Solo Weapon Loadout
Your primary offensive capability relies entirely on carrying the correct trinity of firearms. Because solo players lack teammates to revive them or flank enemies during intense shootouts, your weapons must offer both high stopping power and incredible accuracy at varying distances. Check out our weapon collection strategies to understand how optimizing firearm stats changes everything in survival heavy titles.
Primary and Secondary Firearms
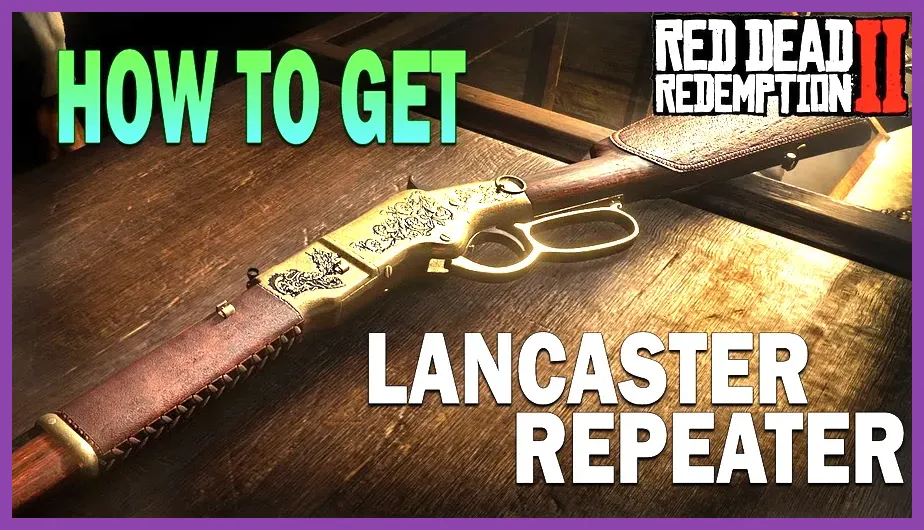
For your main shoulder slot, the Lancaster Repeater is the undisputed king of solo combat. Fully upgraded with a long scope, improved iron sights, and wrapped in leather for degraded wear rates, its 14-round capacity and snappy fire rate make short work of groups. Pair this with the Pump-Action Shotgun loaded with Slug ammo in your back slot for close-quarters panic situations, particularly inside tight hallway clearings like Shady Belle or lagging train cars.
Sidearms for Close Quarters and Deadeye
Dual-wielding is mandatory for solo players dealing with rushing cougars or aggressive Lemoyne Raiders. Equip a pair of Schofield Revolvers or upgraded Double-Action Revolvers. Express ammo is your go-to baseline projectile type, providing a massive 1.5x damage multiplier over standard rounds. Make sure to clean your firearms continuously with Gun Oil to prevent the accuracy degradation penalty during extended gunfights.
Best Dead Eye Ability Card Loadout for Solo Play
Ability cards dictate your active bonuses and passive damage resistances. A poorly optimized card loadout leaves Arthur vulnerable to high-damage rifle shots from Pinkerton agents. Similar to how players utilize specific stat progression tactics, configuring your card tier setup guarantees survivability under pressure.
Combat Dead Eye Card: Paint It Black
Your Dead Eye card must be Paint It Black (Rank III). Unlike Slippery Bastard, which relies heavily on free-aim mechanics and can be countered by scoped weapons, Paint It Black allows you to manually paint targets on multiple enemies instantly. This completely neutralizes the chaotic nature of fighting five or six bounty hunters at once by letting you snipe hats off or land guaranteed headshots through dense forest foliage.
Passive Defensive Cards
To round out your survivability, equip three passive tier-3 ability cards:
- Strange Medicine: Every time you deal damage, you regain a portion of your health. This is your primary solo healing engine during long gunfights.
- Fool Me Once: Consecutive shots taken from enemies deal progressively less damage, allowing you to tank sniper fire while closing the distance.
- The Unblinking Eye: Dead Eye and Eagle Eye drain significantly slower, keeping your combat concentration active for longer skirmishes.
For more build-focused content, check out our guide on character optimization methods.
Survival Mechanics, Consumables, and Core Management
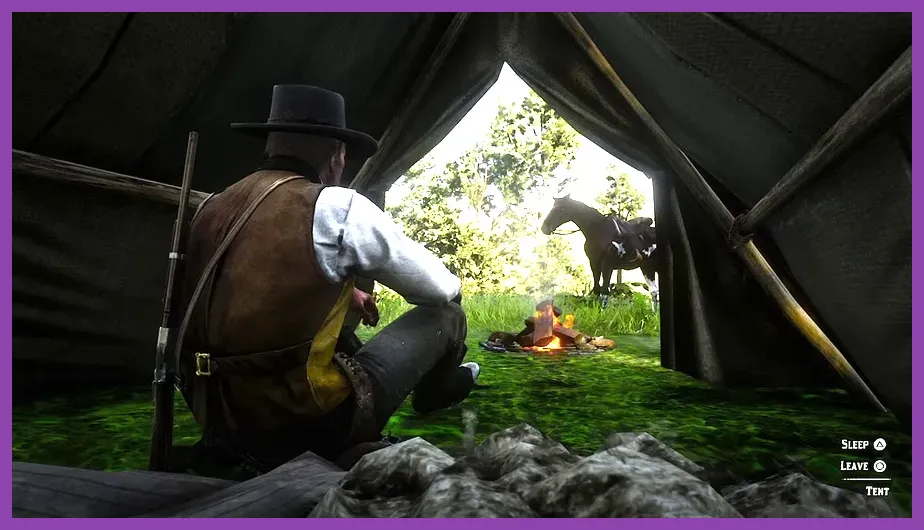
Solo players cannot rely on camp provisions or friendly rations. Managing your Health, Stamina, and Dead Eye cores is the difference between life and death. Always keep your cores fortified using crafted provisions rather than basic food items.
The Power of Crafting Special Ammunition and Tonics
Before leaving camp, craft Potent Health Cures, Potent Snake Oils, and Special Miracle Tonics using Indian Tobacco, Ginseng, and Yarrow collected throughout the Heartlands. Stock up on Express and High-Velocity ammo variants at the Fence. If you enjoy optimizing your resource income, read our guide on efficient farming techniques to keep your wallet flush with cash for constant ammunition purchases.
Horse Setup and Wilderness Logistics

Your horse is your mobile base of operations, inventory storage unit, and escape vehicle. Running solo means your mount is your only true companion across the massive map.
Choosing the Right Breed
Avoid skittish horses like the Arabian if you plan on hunting predators or riding through aggressive territory. Instead, invest in the Turoman or the Missouri Fox Trotter. These breeds combine high courage stats with exceptional speed and acceleration, ensuring they rarely buck you off when a pack of wolves or a grizzly bear charges out of the trees.
Saddle and Stirrup Optimization
Do not settle for default tack. Purchase the Beaver Roping Saddle or any Trapper-crafted saddle paired with Hooded Stirrups. Hooded Stirrups grant a massive +50% bonus to speed and acceleration while drastically reducing stamina drain, allowing you to gallop across New Hanover without stopping.
Combat Rotation and Engagement Strategy
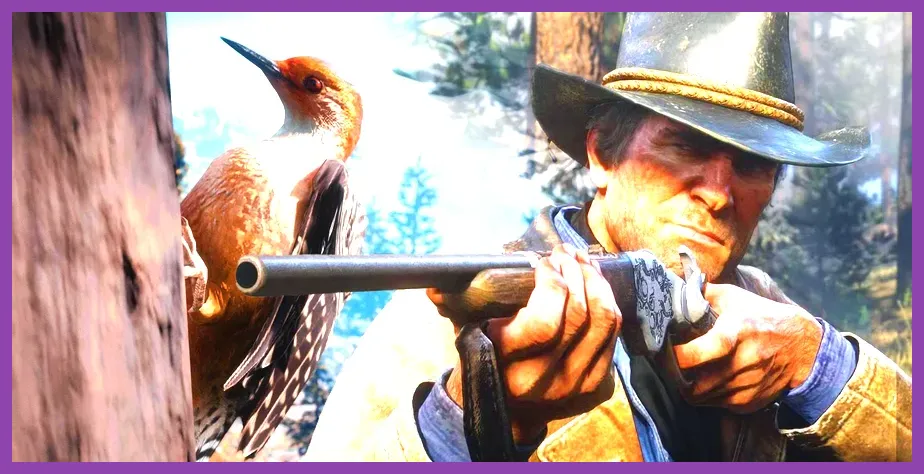
Solo players must never rush blindly into enemy encampments like Lakay or Beaver Hollow. Stealth and positioning dictate the outcome of every encounter.
The Silent Opening Strike
Initiate encounters using a Improved Bow with Poison Arrows or a silenced Varmint Rifle for headshots on outer perimeter guards. Once detected, immediately transition to your Lancaster Repeater, trigger Paint It Black, and paint individual headshots across the remaining combatants to clear the room before they can coordinate flanking maneuvers.
Managing Bounties and Lawmen
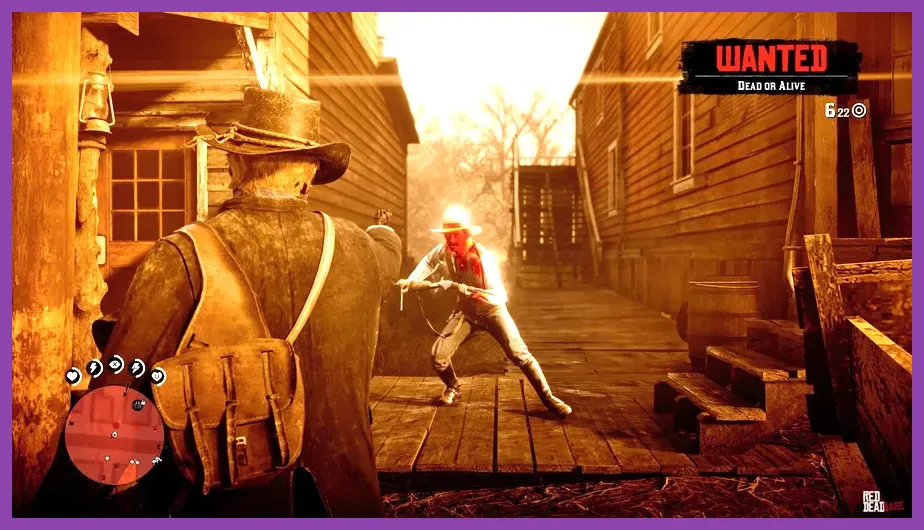
When the local sheriff's office sends waves of lawmen after you, do not stay in open streets. Duck inside defensible buildings with a single choke point, pull out your Pump-Action Shotgun with Slug rounds, and let them funnel into your line of fire. If things get out of hand, remember you can review our system stability advice if performance hitches disrupt your getaway.