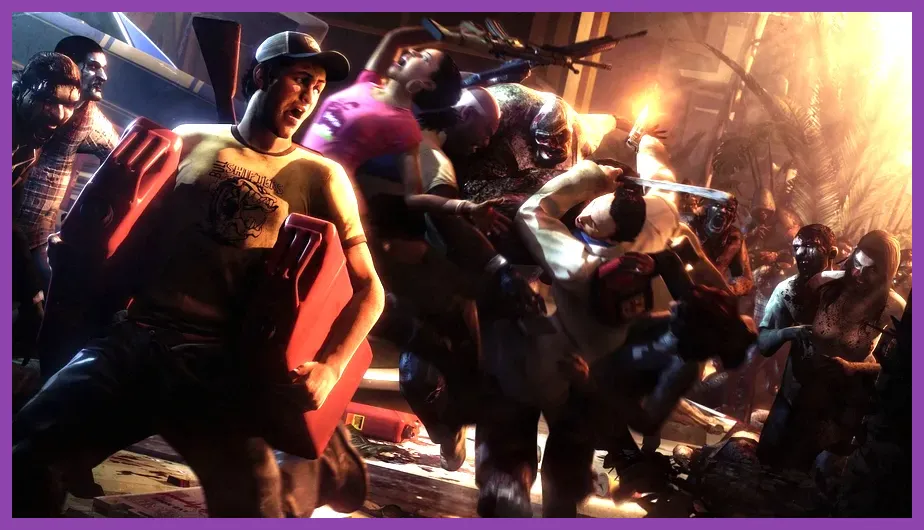
Mastering Left 4 Dead 2 requires optimizing your starting weapon choice, inventory slot management, and character loadout right from the very first safe room of any campaign. To survive Normal, Advanced, or Expert difficulties, you must forgo random scavenging habits and instead prioritize structured weapon tiers, optimal throwable utilization, and disciplined healing economy. Whether you are jumping into Valve's official Steam page or checking out the Left 4 Dead Wiki, understanding the mechanics of starting gear will dramatically lower your team's down-rate. If you love fine-tuning gear builds, check out our guides on the Monster Hunter Wilds best starting build guide and the League of Legends best endgame build guide for more optimization strategies.
Understanding Tier 1 Starting Weapon Meta
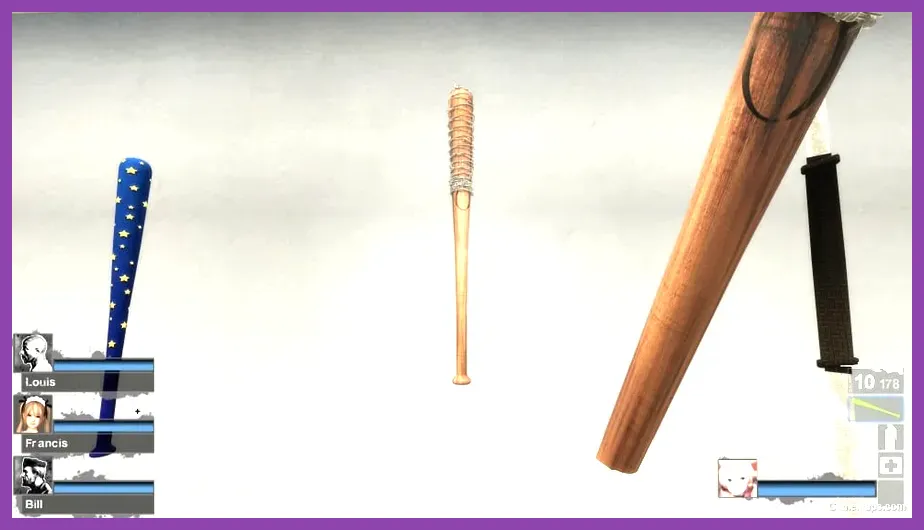
At the start of every campaign, players are greeted with Tier 1 weapon spawns. Selecting the right primary weapon dictates your crowd-control capability and ammo conservation. Avoid picking weapons at random; your starting gun dictates how you handle early common infected hordes.
The Chrome Shotgun vs. Pump Shotgun
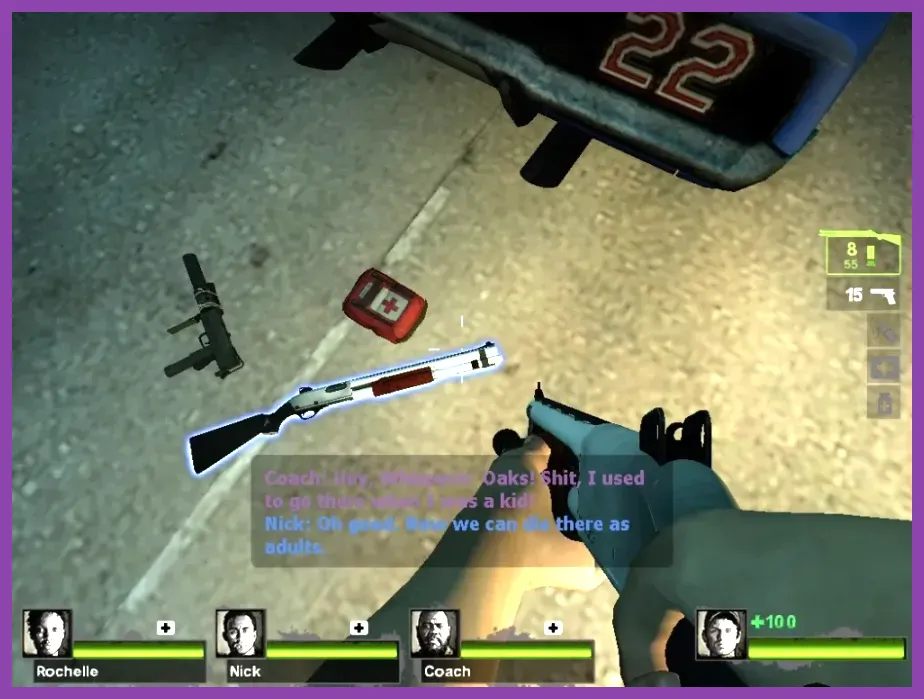
The Chrome Shotgun is the undisputed king of Tier 1 starting weapons due to its tighter spread pattern, allowing you to secure one-shot kills on common infected at greater distances. The standard Pump Shotgun has a wider pellet distribution, making it less reliable for medium-range precision headshots. Always prioritize the Chrome Shotgun when available in the initial safe room.
Silenced SMG vs. Standard Uzi
If you prefer a high-rate-of-fire bullet hose, the Silenced SMG (MAC-10) grants a massive multiplier bonus to headshot damage compared to the standard Uzi, along with faster reload speeds. While its base accuracy drops during sustained movement, crouching zeroes the reticle instantly. For players who love fast-paced weapon switching similar to high-mobility games, review our tactics for fixing Valorant PC crashes or optimize your frames with Warframe lag fixes.
Melee Weapons: The Ultimate Ammo Saver
Never underestimate the power of a sharp edge or a heavy blunt instrument. Melee weapons occupy your secondary slot and never run out of stamina or ammo, making them critical for any efficient starting build.
S-Tier Starting Melee Options
- Katana / Machete: Features a wide horizontal sweep arc and a fast recovery animation, allowing you to slice through four to five common infected in a single swing without breaking stride.
- Fire Axe: Delivers high single-target cleave damage, excellent for staggering aggressive Special Infected like Jockeys or Hunters mid-leap.
Avoid slower blunt items like the Cricket Bat or Crowbar during high-difficulty runs because their longer recovery frames leave you vulnerable to scratch damage from fast-moving hordes. If you encounter performance drops during chaotic horde fights, make sure to check out our guide on how to fix crashing on PC in DayZ.
Medical and Consumable Slot Optimization
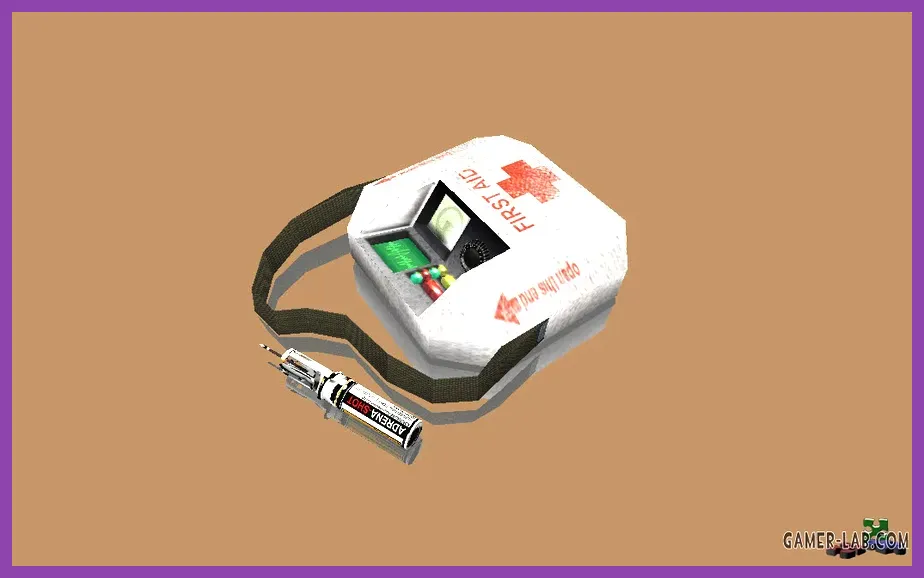
Your inventory slots define your survivability profile. A proper starting build balances instant crowd disruption items with life-saving medical supplies.
Pain Pills vs. Adrenaline Shots
For your minor consumable slot, always evaluate your immediate map positioning:
- Pain Pills: Provide 50 temporary health that decays slowly, making them superior for sustained traversal across long open stretches.
- Adrenaline Shots: Grant temporary health, instantaneous revival speed, faster reload times, and accelerated movement for 15 seconds. Use Adrenaline when crossing open choke points or rescuing incapacitated teammates.
For more tips on managing resources and fast progression, take a look at how to level up fast in Sea of Thieves or learn how to unlock all secret characters in The First Descendant.
Throwable Strategy for Early Horde Control
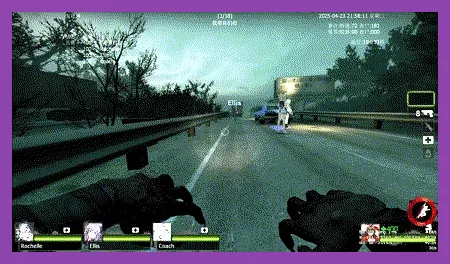
Carrying the correct explosive or tactical throwable can instantly salvage a botched horde encounter or a sudden Special Infected ambush.
Molotov Cocktails vs. Pipe Bombs
The Pipe Bomb is the premier starting throwable because its audible beeping siren draws in 100% of nearby common infected before detonating in a massive shockwave, clearing paths instantly. Reserve Molotov Cocktails strictly for chokepoints during Tank encounters or to zone out narrow hallways when fleeing a Director-spawns wave. Managing these cooldowns and utility decisions effectively mirrors tactical resource allocation found in other competitive multiplayer games.
Special Infected Counter-Build Tactics
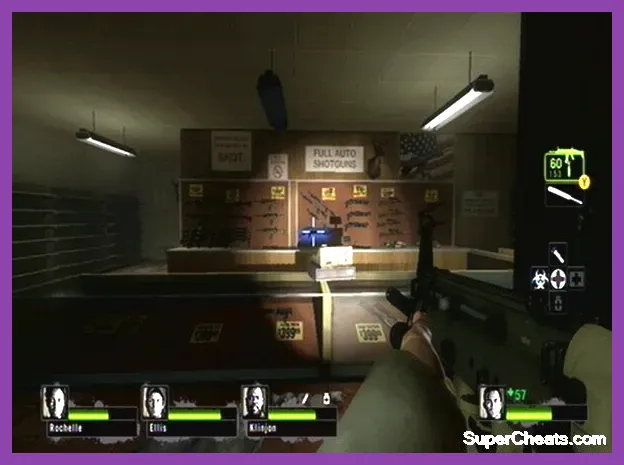
Your build must account for instant threat neutralization. The AI Director can spawn Smokers, Boomers, and Hunters within the first minute of a map. Ensure your team maintains overlapping fields of fire so that if a Hunter pins a teammate, your secondary player can immediately stagger them with a shove (Right-Click).
Shove Mechanics and Stamina Control
You can shove up to four times consecutively before suffering from temporary exhaustion. Mastering the timing of the shove is the most important skill in Left 4 Dead 2; a well-timed shove completely neutralizes Jockeys, Hunters, and common infected claw attacks without spending a single bullet. Combine these core movement mechanics with sound map knowledge, and your early-game survival rate will skyrocket across every official campaign.