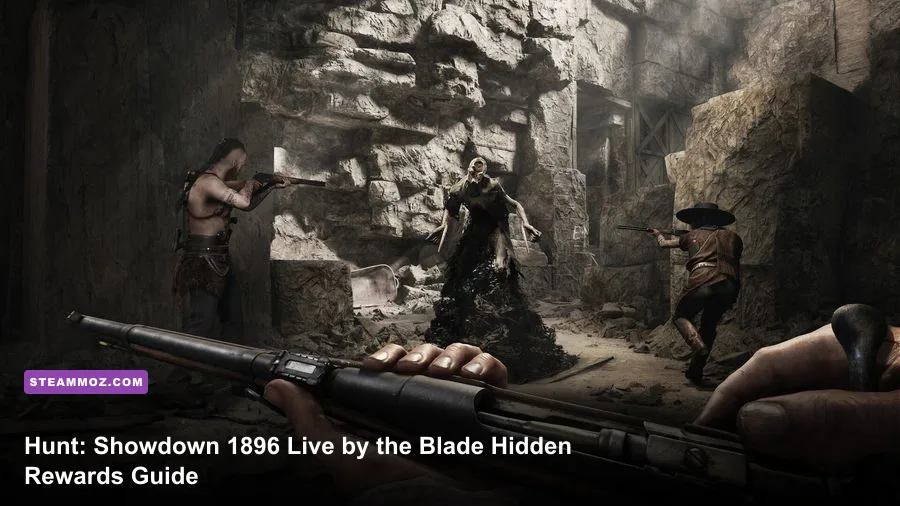
Live by the Blade is easiest to finish when you treat it as a positioning challenge, not a “run at hunters with a katana” challenge. The fastest route is to use the Katana or Railroad Hammer for Hunter damage, carry a Throwing Knife and Choke Bomb, and rotate through compact compounds such as Lockbay Docks, Lawson Station, Kingsnake Mine, and Lower Desalle. The hidden rewards are tied to concealed quest interactions and progression triggers, so simply earning melee kills will not reveal every bonus.
This guide breaks down the secret locations, the practical order for clearing the objectives, and the small mechanics that make the Live by the Blade questline much less painful. Hunt: Showdown 1896 does not always present these discoveries as obvious treasure chests. Some are tucked into dark corners, while others appear only after the matching quest step is active.
Before loading in, compare your objectives with the current official Steam listing and check the in-game quest panel. Crytek can adjust questline availability, reward values, and map rotation between updates. If you are also tuning your PC for the new engine, our guide to modern PC performance settings is useful background.

How Live by the Blade rewards actually work

There are three different kinds of progress to track. The first is ordinary quest progress: melee damage, kills, AI eliminations, or actions with a specified weapon. The second is chapter completion, which pays the clearly listed reward. The third is the hidden layer, where an interaction, cache, or location-based trigger can award an extra item without looking like a standard quest objective.
That distinction matters because a successful extract is not always enough. If a secret interaction is available, activate it before leaving the compound. You may need to inspect a marked object, collect a concealed token, or complete the active chapter while carrying the required weapon. If the prompt does not appear, make sure the questline is equipped and that you are not looking at an ordinary world pickup.
| Progress type | What counts | Best approach | Common mistake |
|---|---|---|---|
| Weapon objective | Damage or kills with the named blade | Use the weapon for the final hit | Assisting with a blade but finishing with a pistol |
| Chapter objective | The exact task shown in the quest panel | Build the whole loadout around it | Chasing unrelated bounty fights |
| Hidden interaction | Inspecting a concealed object or cache | Search the listed compound after spawning | Extracting before checking the prompt |
| Extraction reward | Surviving with completed progress | Leave once the chapter is secured | Taking one unnecessary fight at the exit |
For reliable tracking, open the quest panel after every match. Hunt can register damage and kills immediately, but some rewards only become visible after the post-match screen refreshes. If a counter looks frozen, restart the lobby rather than repeating the same run blindly.
🎮 Hunt: Showdown 1896 - Live by the Blade
Looking to experience this game? Grab your digital key directly on our store for $4.99.
View on Steammoz Store →All known secret locations by map
The most useful secret locations are concentrated in compounds with interior cover. They are not “free loot” spots; rival teams can hear your interaction, and the same location may be occupied by AI, hunters, or a boss rotation. Search the locations below when the relevant chapter is active.
Stillwater Bayou
Lockbay Docks: Check the warehouse interiors and the raised dock paths around the water-facing side. The dark corners behind stacked cargo are easy to miss, especially during a firefight. This is one of the best early locations because the buildings let a blade user force short engagements.
Healing Waters Church: Search the side rooms and the covered approach behind the main structure. Avoid sprinting through the front door. A melee hunter wants enemies to enter a doorway, not to expose themselves across the churchyard.
Blanchett Graves: Inspect the edges of the graveyard structures and the nearby enclosed rooms. The open ground makes this location riskier, but the surrounding walls create useful escape routes after the hidden interaction completes.
Port Reeker: Search the connected wooden buildings rather than the exposed boardwalk first. Port Reeker is excellent for AI melee objectives, but the water and cramped walkways make it dangerous if another team has a shotgun.
Lawson Delta
Lawson Station: Check the station buildings, side platforms, and shadowed storage corners. The compound produces predictable sound cues, which makes it easier to identify a nearby team before you commit. Use the train cars as sound breaks and avoid chasing a wounded hunter into an open lane.
Fort Carmick: Search the interior rooms and wall-adjacent passages. Fort Carmick is a strong place to complete a hidden objective after banishing because the vertical layout gives you multiple exits, but it is a terrible blind push before you know where the defenders are.
Darrow Livestock: Look through the barn and the smaller outbuildings, especially around hay piles and side entrances. AI spawns make this a convenient place for knife or throwing-knife progress, although the long sightlines outside demand a secondary firearm.
DeSalle and Mammon's Gulch
Lower Desalle: Search the interiors around the main street and the back entrances. The compound's doors and windows create natural blade traps. Break line of sight, heal, and re-enter from a different angle instead of repeating the same doorway.
Kingsnake Mine: Check the mine approaches, covered storage areas, and tight industrial corners. This is arguably the best location for a Katana because the terrain naturally compresses fights. The risk is audio: metal walkways amplify footsteps, so crouch-walking at the final approach can save the run.
Upper Desalle: Inspect the buildings on the town edge and the less obvious rear rooms. Upper Desalle is better for a patient ambush than an objective sprint. Keep a rifle or compact pistol ready for the hillside angles.
Mammon's Gulch compounds: Search the covered interiors at compounds such as Gasworks, Greystone Pit, and the mining structures around the central routes. The map's elevation makes a pure melee loadout unreliable. Use a suppressed rifle or pistol to cross open ground, then switch to the blade once the fight reaches a building.
For broader map-routing ideas, Steamoz's guide to secret location hunting covers the same useful habit: search the route, not just the obvious objective marker.
Best weapons and loadouts for the questline

The Katana is the headline weapon, but it is not automatically the best tool for every objective. Its heavy attack has lethal reach and excellent corridor control, while its stamina demands punish repeated misses. The Railroad Hammer is slower and less forgiving, yet it is superb against AI and can finish an armored target with the right timing. The Knife and Heavy Knife are cheaper, quieter, and better suited to routine PvE progress.
| Weapon | Best use | Strength | Weakness |
|---|---|---|---|
| Katana | Hunter kills and indoor ambushes | Long lethal reach and strong heavy attack | Misses drain stamina and expose you |
| Railroad Hammer | AI and armored target objectives | Huge impact and reliable heavy damage | Slow recovery and awkward outdoors |
| Heavy Knife | Cheap PvE progress | Low cost and efficient light attacks | Short range against prepared hunters |
| Throwing Knife | Silent AI kills and ranged blade damage | Quiet, reusable, and flexible | Missed throws can be difficult to recover |
| Bomb Lance | Close-range pressure and boss fights | Strong area threat with specialized ammo | Expensive and vulnerable at long range |
A dependable budget setup is Katana, suppressed Nagant M1895 Officer Carbine, Throwing Knives, Choke Bombs, and a Vitality Shot. The carbine handles windows, rooftops, and open approaches while the Katana owns the final ten meters. For a cheaper AI-focused run, use Heavy Knife, Winfield C, First Aid Kit, Dusters, and Decoys.
Traits change the feel of the run more than raw weapon damage. Determination and Greyhound improve stamina management and rotation speed. Doctor and Frontiersman make repeated attempts less expensive. Silent Killer reduces the sound of melee attacks against AI, while Beastface helps you cross animal-heavy routes without announcing the push.
Step-by-step route for hidden rewards

Step one: equip the questline before matchmaking. This sounds obvious, but hidden interactions can fail to register when the questline is not active. Read the exact weapon wording. “Deal damage” and “kill” are not interchangeable.
Step two: choose a compact first compound. If you spawn near Lockbay Docks, Lawson Station, Lower Desalle, or Kingsnake Mine, check that location before rotating toward the boss. If you spawn in open country, do not cross the map solely for a secret. The travel noise and time cost usually outweigh the bonus.
Step three: clear AI with the cheapest valid attack. Use Dusters for armored enemies when the objective allows blunt damage, and use the Heavy Knife for grunts and hives. Save the Katana's stamina for hunters or high-value targets. A stamina shot is worthwhile if the chapter demands several heavy attacks.
Step four: search from the outside inward. First check side entrances, sheds, rear rooms, and covered walkways. Then inspect the central building. This route keeps you near an exit and reduces the chance of being trapped by a shotgun team.
Step five: activate the interaction, then verify progress. Wait for the sound cue or prompt to finish. Open the quest panel immediately afterward. If the counter has not changed, leave the area and return once; do not assume the reward registered because an animation played.
Step six: extract with the progress intact. You do not need to turn every hidden reward into a bounty fight. If the objective is complete and your health, stamina, or ammunition is low, rotate to the safest extraction. A completed chapter lost to one greedy peek is not heroic; it is just expensive.
Use the same discipline described in our run-strengthening tips: secure progress first, then take optional fights.
Blade combat mechanics that decide the run
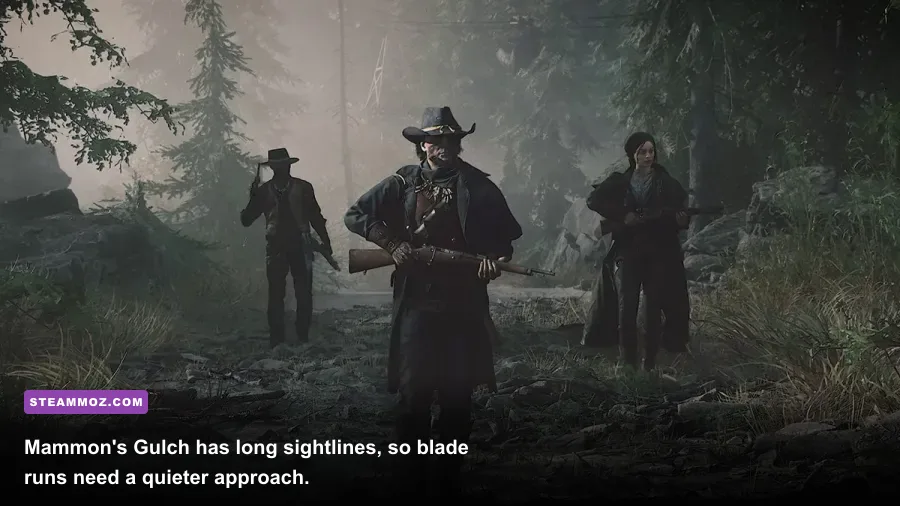
The Katana's biggest advantage is threat range, not speed. Hold an angle where an opponent must cross a doorway or stairwell, then release the heavy attack as they commit. Swinging early gives an alert hunter time to stop, backpedal, or trade with a shotgun. The blade also rewards diagonal movement: strafe across the target's shoulder instead of charging straight through the center of their model.
Never rely on a single heavy attack when your stamina is already low. A miss can leave you unable to sprint, and a follow-up light attack may arrive too late against a Romero or Caldwell rival. After every swing, create cover with a doorway, corner, or smoke-like visual obstruction from the environment. Heal before re-engaging.
Against AI, learn the telegraphs. Armored enemies raise their arms before a heavy strike, hives pause before releasing a swarm, and immolators become dangerous when hit by bladed or piercing attacks. Do not slash an immolator with the Katana unless the quest specifically requires it. Use blunt damage instead, or route around it.
For bosses, the blade is a tool, not a license to face-tank. Attack during the recovery window after a boss's committed animation, retreat before frenzy damage stacks, and keep a stamina source available. The Butcher's fire and concertina hazards can turn a clean objective into a burned health bar quickly.
| Threat | Telegraph | Counter | Best blade decision |
|---|---|---|---|
| Shotgun hunter | Door hold or sudden audio stop | Rotate, bait the shot, then push | Do not challenge the first peek |
| Armored | Arms raised for heavy strike | Step behind cover and punish recovery | Use Heavy Knife or bypass |
| Immolator | Agitated animation and fire buildup | Blunt damage or avoidance | Never waste a Katana slash |
| Hive | Pause before swarm release | Kill from range or break line of sight | Use Throwing Knife when safe |
| Boss | Committed attack and recovery phase | Strike once or twice, then reset | Do not trade health for speed |
What can go wrong and how to fix it
The most common failure is confusing a hidden reward with a normal world item. If there is no quest prompt, the object may simply be environmental clutter or a standard pickup. The second failure is searching the right compound during the wrong chapter. Questline interactions can be conditional, so return when the relevant objective is active.
Another problem is completing the action with the wrong weapon. A melee assist, bleed tick, or explosive finish may not satisfy a Katana kill requirement. Make the final hit with the named weapon and confirm the counter before extracting. If the post-match screen does not update, restart the game client and check the quest panel again.
Performance can also affect these runs. Hunt: Showdown 1896 is sensitive to CPU frametimes around dense compounds. Lock your frame rate below your monitor's refresh rate, use a stable upscaling mode rather than chasing maximum sharpness, and lower shadow quality before texture quality. Stable frame pacing matters more than a prettier barn when an enemy appears at knife range. Our stutter-fixing checklist and hardware guide offer useful troubleshooting principles.
Finally, expect the questline to change with patches. Verify current chapter wording, map availability, and reward descriptions through Crytek's official Hunt website, the Steam news hub, and the official news archive. The locations and tactics above remain useful, but live-service quest conditions can move.
Live by the Blade works best when you play it like Hunt rather than like an arcade melee game. Let compounds create the engagement, use the Katana only when the distance is yours to control, and treat every hidden interaction as an extraction objective. That mindset turns the secret rewards from frustrating surprises into a repeatable, low-risk route.