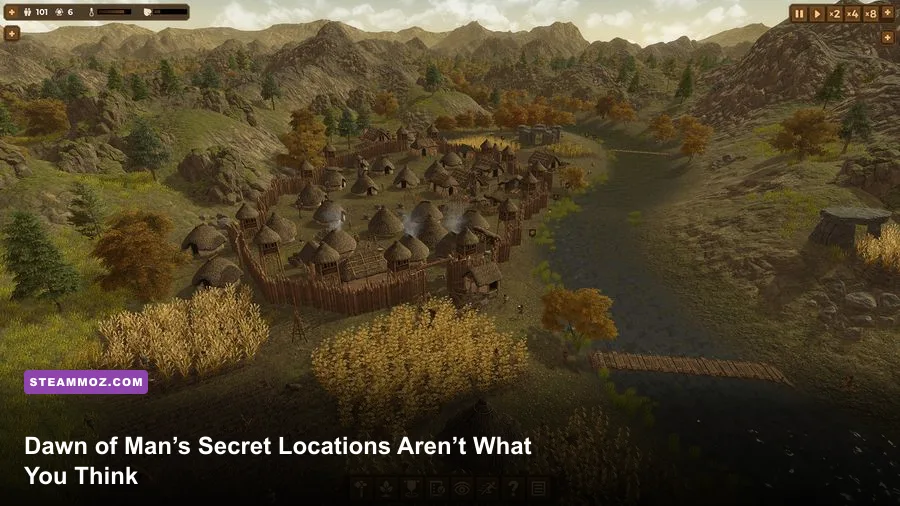
Dawn of Man doesn’t have a fixed treasure map, secret dungeon, or developer-placed chest trail. Its maps are procedurally generated, and the “hidden rewards” are buried in resource placement, animal migrations, milestones, discoverable technology, and scenario objectives. The reliable way to uncover them is to scout beyond your starting camera view, mark every useful deposit, protect your knowledge economy, and treat each map seed as a puzzle rather than hunting for a universal coordinate list.
That distinction matters. A lot of online advice calls caves, ruins, megaliths, and rare deposits “secret locations,” but most are ordinary map features whose positions change from game to game. Some scenarios also alter the available terrain and progression rules. This guide separates genuine hidden mechanics from myths, then gives you a practical route for finding every worthwhile reward in Dawn of Man without wasting labor on a dead-end expedition.
First, Know What Counts as a Secret
Dawn of Man is a settlement survival game from Madruga Works. It does not use the usual adventure-game language of secret rooms and collectible caches. The map is a living supply board. A hill can conceal a useful flint deposit, a distant stand of trees can become your only dependable source of logs, and a river crossing can determine whether hunters return safely or spend half a season walking home.
The key rewards fall into five groups:
- Natural deposits: flint, stone, copper ore, tin ore, iron ore, clay, trees, reeds, and medicinal plants. Their locations are visible only after you explore far enough.
- Wildlife opportunities: herds and predators shift around the map. A “secret hunting spot” is usually a safe route beside a predictable animal habitat, not a permanent landmark.
- Knowledge rewards: milestones, discoveries, and era progression unlock technologies. These are more important than any single material pile.
- Scenario rewards: campaign objectives can push you toward a particular monument, population target, era, or production chain.
- Strategic locations: defensible ground near water, fertile soil, hunting routes, and multiple deposits. The best hidden reward is often a better settlement site discovered before you build too much.
There are no reliable universal coordinates for these features. If a guide claims that every playthrough has an iron deposit at a specific screen position, it is describing one seed, one scenario, or simply guessing. Use the in-game map and your own scouting parties instead.
| Feature | Fixed or Random? | What You Actually Gain | Best Response |
|---|---|---|---|
| Flint and stone | Random placement | Tools, weapons, construction | Scout early and build storage nearby |
| Copper and tin | Random placement | Bronze production | Secure both before committing to metal expansion |
| Iron ore | Random placement | Late-game tools and weapons | Reserve labor and transport capacity |
| Animal herds | Dynamic | Food, skins, bones, fat | Use hunters who can return before winter |
| Megalith sites | Scenario and map dependent | Progression, objectives, prestige | Check the scenario requirements before hauling stone |

🎮 Dawn of Man
Looking to experience this game? Grab your digital key directly on our store for $12.49.
View on Steammoz Store →How to Scout Every Map Without Losing Your Settlement
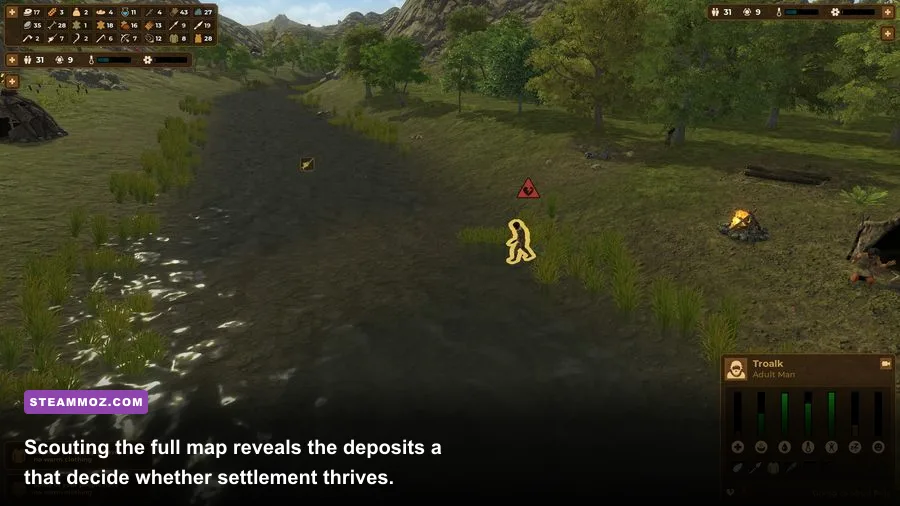
The first hidden-reward mistake is sending everyone away. Scouting works best as a controlled labor project. Keep your core food, water, fuel, and clothing production running, then assign a small group to reveal nearby terrain. Early humans are slow, and the walk home matters as much as the trip out. A distant deposit is not a reward if workers arrive exhausted, hungry, or during a harsh winter.
Step 1: Sweep in rings
Start with a tight circle around the settlement. Look for flint, stone, trees, reeds, clay, and a reliable water source. Then widen the sweep in four directions. This catches deposits that are just outside the initial visible area while keeping travel distances manageable. Don’t build a second production chain until you know whether the required resource is genuinely absent or merely hidden in fog-of-war.
Step 2: Mark distance, not just existence
A resource can be technically available and still be economically useless. A flint pile a short walk from the village is valuable; the same pile beyond a mountain may consume more labor than it saves. Watch the route, slopes, water crossings, and storage locations. Put a stockyard or resource storage building near a distant deposit only after confirming that the site is worth regular trips.
Step 3: Search for chains, not isolated nodes
Hidden rewards multiply when deposits form a production chain. Copper without tin is not a bronze breakthrough. Iron ore without fuel, a bloomery, tools, and storage is just an attractive brown patch on the ground. Likewise, a large animal herd is far more valuable when hunters can return to a skin dryer, tanner, crafter, and food store without crossing the entire map.
Step 4: Re-scout after each era change
New technologies change what counts as useful terrain. An area ignored during the Stone Age may become valuable once metalworking, ploughing, advanced clothing, or transport becomes available. Recheck the outer map after unlocking a new production tier. This is especially important in scenarios where the starting area looks rich but lacks late-game ore.
For performance and visibility, keep the camera zoomed out while surveying, then zoom in only to verify the exact resource model. If your machine stutters while moving across a large settlement, our guides to performance settings in For The King II and reducing stutter in Ghost Recon Breakpoint cover the same practical Windows and GPU checks that help here.
The Real Hidden Rewards in the Technology Tree
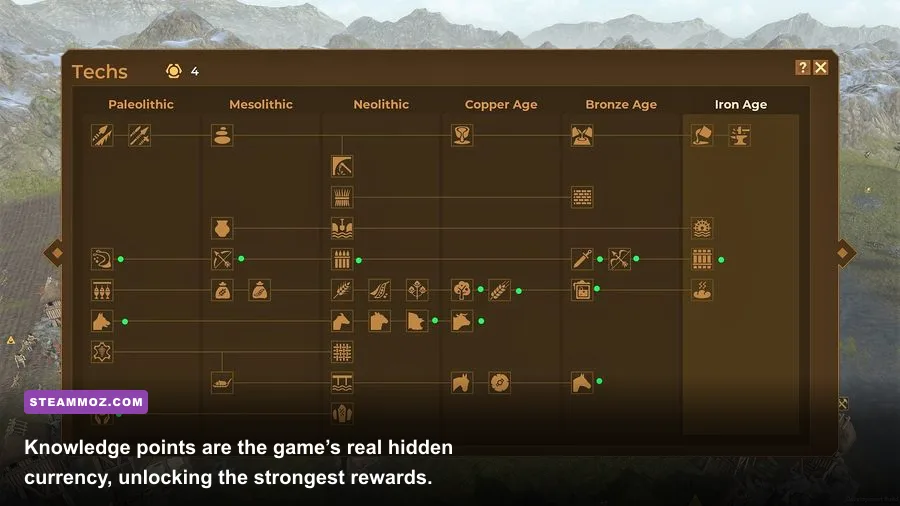
The technology tree is where Dawn of Man hides its most meaningful rewards. Knowledge points are earned through progression rather than looted from secret containers, so rushing one shiny technology can cripple the rest of your settlement. A new tool tier only pays off when your population, materials, fuel, storage, and food reserves can support it.
Early unlocks should improve survival and labor efficiency. Tools make every gathering task better, while fishing, improved hunting, preservation, and clothing reduce the pressure created by seasonal shortages. Don’t treat decorative or prestige-focused unlocks as bad choices, but understand their timing: a monument is a poor investment if your people are still freezing or your food reserves are collapsing.
Bronze progression is a classic hidden trap. Players find copper and immediately assume the location has delivered a secret reward. It hasn’t. Bronze needs the right ores, fuel, a production building, workers, and a stable supply of tools. If you have only one of those pieces, the deposit is a future reward, not an immediate one.
| Progression Stage | Hidden Requirement | Reward You Unlock | Common Failure |
|---|---|---|---|
| Early Stone Age | Nearby flint, stone, food, and fuel | Reliable tools and basic survival | Expanding before storage and clothing are stable |
| Neolithic development | Farming, domestication, and population capacity | More predictable food and settlement growth | Relying on wild food after local animals decline |
| Bronze Age | Copper, tin, fuel, workers, and metal production | Bronze tools and stronger equipment | Mining ore without a complete production chain |
| Iron Age | Iron ore, fuel, workshops, and transport | Superior tools, weapons, and late-game production | Unlocking the era before securing reserves |
| Monument objectives | Stone, labor, time, and scenario conditions | Objective progress and prestige | Hauling stone during a food or winter crisis |
Milestones are another overlooked reward source. They encourage you to do things the settlement needs anyway: grow the population, domesticate animals, advance eras, establish production, and survive difficult conditions. Check the milestone panel regularly and identify the next reward that aligns with your current plan. The best player decisions often come from turning an upcoming milestone into a roadmap rather than chasing it after the fact.
Megaliths, Ruins, and the Biggest Location Myths
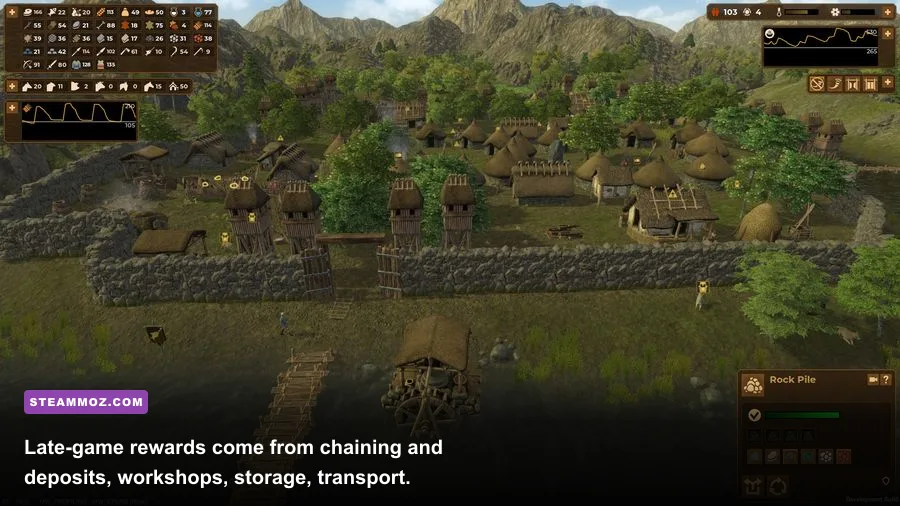
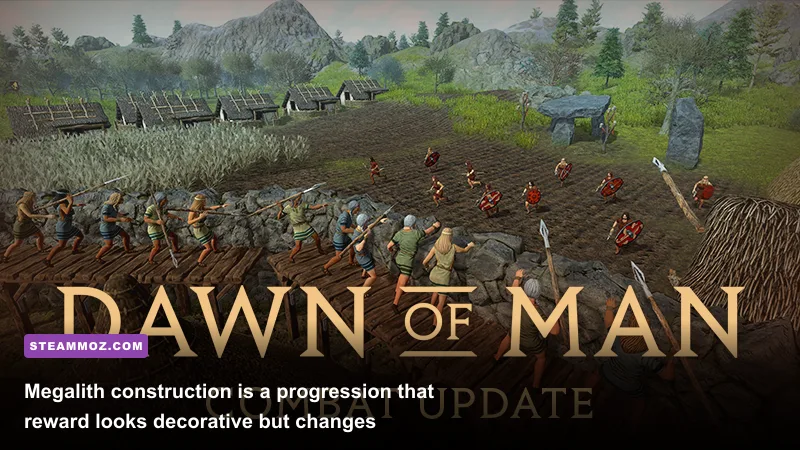
Megalithic structures are real and important, but they are not secret treasure chambers. They are construction and progression goals, and their value depends on the scenario. Before assigning a large hauling workforce, read the objective text and check the required materials. Moving heavy stone is a long labor commitment. If the village has weak food reserves, thin clothing supplies, or an approaching winter, the correct strategy is to postpone the monument.
The same caution applies to supposed ruins. Map landmarks can look like forgotten buildings or special points of interest, but the game’s reward structure is not built around a hidden chest behind each one. Treat unusual scenery as a navigation clue until the interface confirms an actual objective. Don’t dismantle a functioning economy because a screenshot from another seed shows a “secret ruin” in a different location.
What does count as a hidden location is a safe logistics position. Look for a compact area that gives you:
- Water access without forcing every villager to cross a dangerous route.
- Fertile land for crops and enough room for farm expansion.
- Nearby trees, reeds, stone, and flint during the opening eras.
- A defensible approach that limits the directions raiders can use.
- Enough flat ground for storage, workshops, housing, and animal structures.
That last point is easy to underestimate. A beautiful valley with poor transport paths can lose to an ugly plateau with compact production. In a game where villagers spend huge amounts of time walking, a five-second saving on dozens of trips can outperform a rare deposit several minutes away.
Hidden Rewards and Raider-Proof Exploration
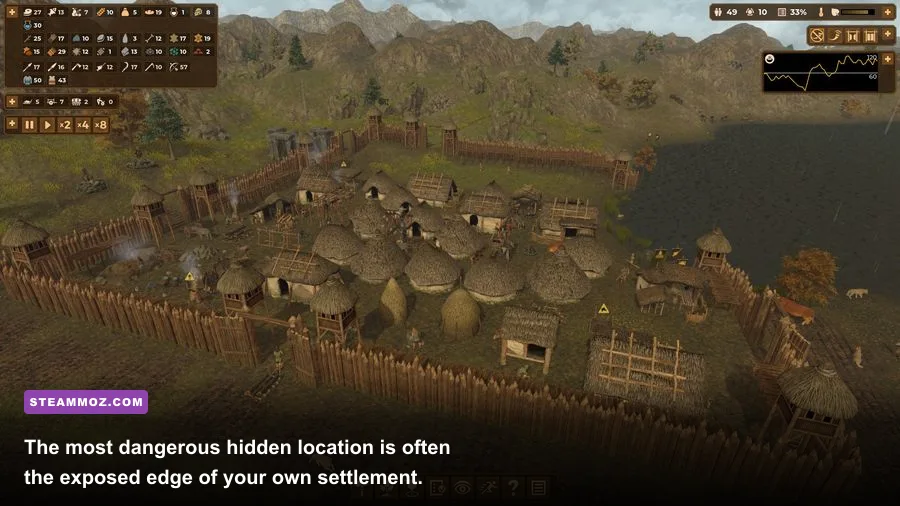
Exploration becomes riskier as your settlement grows. Raiders don’t make remote deposits worthless, but they punish unplanned expansion. Keep the settlement’s center stocked, improve defensive coverage, and avoid placing irreplaceable production on an exposed map edge just because the location is close to ore.
A safe expedition routine
- Check reserves first. Make sure food, fuel, clothing, and basic tools can absorb a bad hunting trip or a sudden attack.
- Send specialists with a purpose. A hunting group, gathering group, or construction crew should have a clear target instead of wandering through unexplored terrain.
- Build storage before scaling extraction. A remote mine without nearby storage creates long return journeys and bottlenecks your whole economy.
- Watch the calendar. Stop ambitious hauling before winter unless the settlement has a comfortable reserve.
- Protect the route. A short, safe path is better than a direct line through predator territory or an exposed approach.
If raiders repeatedly reach the same side, that area is effectively a hidden hazard location. Move vulnerable buildings inward, improve defenses along the approach, and keep combat-capable villagers close enough to respond. For a similar approach to identifying whether a problem is mechanical or strategic, see Steamoz’s Final Vendetta troubleshooting guide; the broader lesson is the same: isolate the actual bottleneck instead of treating every failure as random.
A Complete Secret-Reward Route for a Fresh Settlement
Use this route whenever you begin a new map or scenario. It works because it delays expensive commitments until the map has revealed its economic shape.
- Pause and inspect the starting area. Identify water, food sources, trees, flint, stone, and flat building ground. If the immediate area is barren, restart early rather than forcing a weak seed.
- Establish a compact core. Prioritize housing, food storage, basic tool production, fuel, and clothing. Leave room between buildings for paths and future workshops.
- Run the first four-direction scout. Reveal enough terrain to locate clay, reeds, additional stone, and dependable hunting grounds. Mark the nearest useful nodes by building logically around them, not by spreading randomly.
- Turn survival into knowledge. Complete affordable milestones and unlock technologies that reduce labor or stabilize food before chasing prestige structures.
- Search specifically for metal chains. Once the settlement can sustain workers away from food production, scout for copper and tin. Later, repeat the process for iron rather than assuming the first visible deposit is the only one.
- Build the logistics layer. Add storage close to distant resources, keep fuel flowing, and avoid placing every specialist workshop at the opposite end of the village.
- Reassess the map after each era. New technology changes the value of land. A distant field, forest, or ore patch may now justify a dedicated outpost or expanded settlement district.
- Attempt monuments last. Start major megalith projects only when the village can lose labor for an extended period without starving, freezing, or losing defensive control.
| Goal | Minimum Preparation | Best Hidden Reward | Stop Condition |
|---|---|---|---|
| Expand hunting | Food storage and returning hunters | Safe herd route near the village | Animal pressure or winter shortage |
| Open mining | Tools, workers, fuel, and storage | Ore cluster with short transport paths | Production bottleneck or empty reserves |
| Advance era | Stable food, clothing, housing, and knowledge | New technology and production options | Critical shortages or raider pressure |
| Build a monument | Stone supply, spare labor, and safe logistics | Scenario completion and prestige | Winter, famine, or active attacks |
For broader strategy-game reading, Steamoz’s resource-farming breakdown and equipment-priority guide are useful comparisons, but Dawn of Man rewards patience more than optimization tricks. The strongest settlement is the one that keeps its workers moving short distances, preserves reserves before winter, and turns every new technology into a complete production chain.
So, are there secret locations in Dawn of Man? Not in the fixed, collectible-hunt sense. The real hidden rewards are procedural: a superior starting valley, a nearby metal chain, a safe hunting circuit, a compact logistics district, and the knowledge points earned by progressing intelligently. Scout every map seed, distrust universal coordinates, and never confuse a visible deposit with a finished reward. In this game, discovery is only step one; the secret is making the location pay for itself.
For official information on patches, scenarios, and the game’s systems, check the developer’s Dawn of Man page, the official Steam discussions, and the Steam news archive.