
The fastest way to level and farm gold in Garage: Bad Trip is to run short, repeatable combat loops, fully search side rooms, and spend currency on damage before convenience upgrades. Don’t sprint through every objective. Clear the nearest safe rooms, break the containers, collect dropped gold, and only push forward once your ammunition and healing supplies can support the next encounter. The game rewards disciplined scavenging far more than speedrunning past enemies.
This guide is aimed at the PC release of Garage: Bad Trip on Steam, developed by Zombie Dynamics and published by tinyBuild. It focuses on the systems that actually matter: experience from kills, weapon selection, ammunition economy, container routes, checkpoint decisions, and the danger of losing a profitable run by getting greedy.
How leveling and gold really work
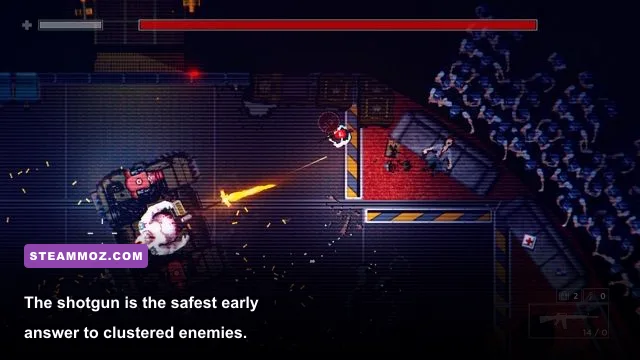
Garage: Bad Trip is not an RPG with a large class tree, dozens of passive nodes, or a conventional quest-board economy. Your power curve comes primarily from better weapons, ammunition access, health management, and the practical advantage of learning enemy patterns. That distinction matters because many players waste early gold looking for a traditional character-build menu that simply isn’t the center of the game.
Experience is earned through combat, so completely avoiding enemies may preserve bullets but leaves you underpowered for later rooms. At the same time, killing every monster with your strongest weapon is a poor farm because ammunition is effectively part of your income. The best balance is to use the pistol on isolated, low-threat targets, reserve the shotgun for rushers and groups, and use explosives only when several enemies can be caught in the blast.
Gold comes from enemy drops, containers, and thorough exploration. The amount is less important than the route: a room that takes ten seconds to check is usually worth more than a dangerous detour that forces you to spend a full magazine and healing item. Search corners, dead ends, side chambers, and rooms that appear to be purely atmospheric. The game frequently places useful supplies away from the obvious objective path.
| Source | Value to your run | Best approach | Main risk |
|---|---|---|---|
| Normal enemies | Experience and occasional gold | Use pistol headshots or close-range shotgun blasts | Wasting ammunition on low-threat targets |
| Containers | Gold, ammunition, and healing supplies | Search every safe side room before advancing | Breaking formation near hidden enemies |
| Elite or large mutants | High experience and better combat value | Exploit telegraphs and keep an escape lane open | Taking damage while chasing a drop |
| Boss encounters | Large progression spike | Enter with stocked ammunition and healing | Burning resources before the arena begins |
There is no reason to farm the opening corridor indefinitely. Early enemies are safe, but the time-to-reward ratio quickly collapses once you know the route. A profitable run should clear a meaningful cluster of rooms, bank the supplies you find, and then continue the story. Repeating a short section only makes sense when you are testing a weapon, recovering after a failed boss attempt, or deliberately rebuilding your ammunition stock.

🎮 GARAGE: Bad Trip
Looking to experience this game? Grab your digital key directly on our store for $2.99.
View on Steammoz Store →The best early weapon rotation for fast progress

The pistol is your economy weapon. It is not glamorous, but it lets you convert time into experience without burning the ammunition needed for emergencies. Fire controlled shots rather than holding the trigger, keep distance from shambling targets, and reposition after every group. In a top-down game, standing still is often more dangerous than missing a shot.
The shotgun is the first major power spike for most players. Its value comes from burst damage and stagger potential, not just raw damage. Let a charging enemy enter the effective spread, fire once, and move diagonally through the opening. Firing too early wastes pellets; firing too late lets the enemy complete its attack. Against a tight cluster, one well-timed blast can save more health and ammunition than several pistol magazines.
Automatic weapons are strongest when you already understand the room. They delete targets quickly, but their ammunition disappears fast and recoil or spread can turn panic firing into a costly mistake. Short bursts are better than holding the trigger. Use them for dangerous targets that would otherwise force you into melee range, not for every basic enemy on the screen.
Explosives and heavy weapons should be treated as encounter tools. Wait until enemies commit to a doorway, narrow corridor, or corner. The blast is most efficient when it damages several targets while also creating space. Throwing one at a lone weak enemy is almost never good farming.
| Weapon role | Primary target | Gold-farming efficiency | When to spend ammunition |
|---|---|---|---|
| Pistol | Isolated weak enemies | Excellent | Default option whenever you have room to kite |
| Shotgun | Rushers, groups, armored threats | Very good | Use when a blast prevents damage or saves time |
| Automatic weapon | High-health targets and emergencies | Moderate | Fire short bursts from a safe angle |
| Explosive or heavy weapon | Clusters and arena waves | Situational | Only when multiple targets share the blast zone |
That rotation is more important than chasing a supposed hidden “best gun.” Weapon availability changes as you progress, and the most damaging option is not automatically the best farming option. A weapon that empties your reserve before the next checkpoint has negative value, even if it makes one room look spectacular.
For a useful comparison, the same resource logic applies in other loot-heavy games. Our starting build guide for Warhammer 40,000: Inquisitor Martyr makes a similar point: early efficiency comes from matching tools to encounters rather than spending everything on headline damage.
The repeatable gold route that wastes the least time
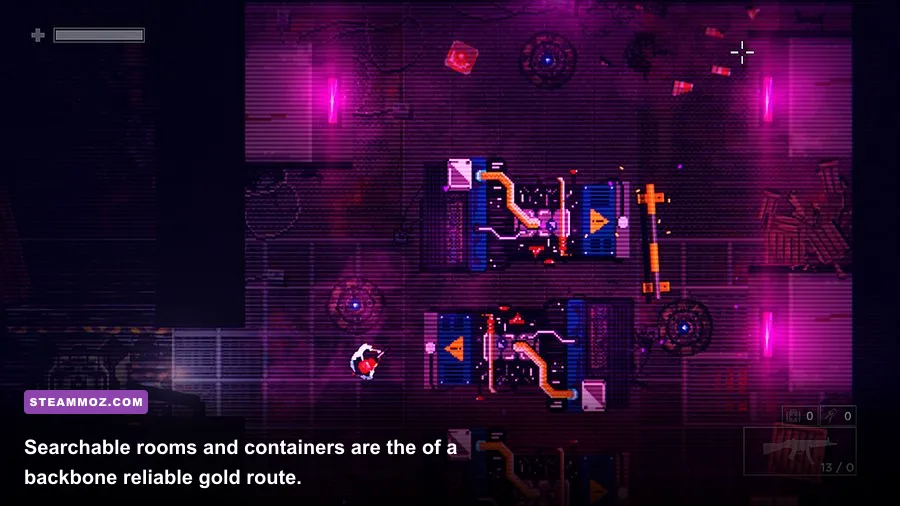
There is no magic infinite-money button in Garage: Bad Trip. The reliable method is a controlled clear of connected rooms, followed by a checkpoint reset only when the return is worthwhile. The route below works because it keeps combat, exploration, and resupply close together.
Step 1: Start with a low-cost sweep
At the beginning of a run, clear the first reachable enemies with the pistol. Don’t open every container while enemies are active if doing so pulls you into a bad angle. First create space, then loot. Pick up every visible gold drop before moving through a doorway; drops are easy to lose during a retreat.
Step 2: Check side rooms before objective doors
Objective markers encourage players to move forward, but side rooms are where the run becomes profitable. Search dead ends and small storage spaces before crossing a major threshold. Breaking containers is worth doing when the room is secure, especially because ammunition and healing supplies directly reduce the cost of the next fight.
Step 3: Clear enemies in layers
Pull one group at a time. Back into a room you already checked rather than charging into unknown territory. This gives you a known escape lane and prevents two encounters from merging. Shoot the fastest enemy first, then the target with the most dangerous ranged or area attack. Leave slow, predictable enemies for last and finish them with the pistol.
Step 4: Bank supplies before a major encounter
Before a boss arena or large scripted battle, stop farming. Reload every weapon, collect nearby drops, and make sure your healing items are accessible. The gold gained by killing one more optional enemy is rarely worth entering the next encounter injured. A failed boss attempt costs far more time than a skipped side group.
Step 5: Reset only after a profitable checkpoint
If you have cleared several rooms and collected a meaningful stock of gold and ammunition, continue the story. Resetting too early gives a safe but terrible return. Reset after a death, however, can be sensible if the game returns you to a checkpoint with accessible enemies and containers. Treat this as recovery, not your primary progression strategy.
| Run stage | Weapon priority | Loot rule | Stop condition |
|---|---|---|---|
| Opening rooms | Pistol | Collect visible gold after the room is safe | Do not farm if drops are sparse |
| First dense group | Shotgun | Loot only after creating an escape lane | Stop when healing falls dangerously low |
| Side-room sweep | Pistol plus short bursts | Check containers and corners | Leave if a detour costs more ammunition than it yields |
| Pre-boss area | Save heavy weapons | Reload and gather every nearby supply | Enter only when healthy and stocked |
Enemy telegraphs that protect your profit
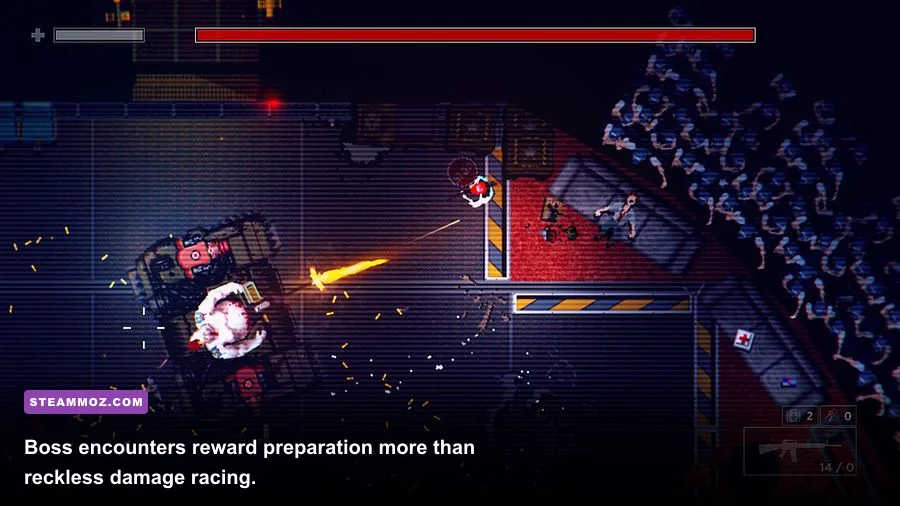
Fast leveling means nothing if every run ends with a death screen. Most of your lost efficiency comes from avoidable damage, particularly when you chase gold into an unsafe position. Keep the drop in view, but never cross an active enemy’s attack line simply to collect it immediately. Clear first, collect second.
Basic melee enemies are best handled with lateral movement. Don’t retreat in a straight line for too long, because it compresses the battlefield and can trap you against a wall. Circle around open space, turn briefly to fire, and keep the camera area ahead of you clear. If several enemies close together, the shotgun is more valuable for the opening than for the final kill.
Large mutants typically announce attacks with a wind-up, a lunge, or a visible change in posture. That animation is your damage window in reverse: stop shooting, move away, and wait for the attack to finish. The common mistake is to continue firing while standing inside the danger zone. Surviving the telegraph gives you a clean counterattack without spending healing items.
Ranged threats should be prioritized even when they are not the closest target. Their projectiles restrict movement and make melee enemies more dangerous. Break line of sight around corners when possible, then re-enter at an angle. This is slower than face-tanking, but it preserves health and saves the gold you would otherwise spend replacing lost supplies.
| Threat | Telegraph | Counter | Best weapon choice |
|---|---|---|---|
| Fast melee rusher | Accelerated approach and attack wind-up | Back through a cleared room, then sidestep | Shotgun |
| Slow basic enemy | Predictable forward movement | Kite and finish after dangerous targets fall | Pistol |
| Large mutant | Visible wind-up or lunge posture | Stop firing, dodge the committed attack, counter afterward | Shotgun or automatic weapon |
| Ranged enemy | Projectile preparation or line-of-sight attack | Use cover and prioritize it early | Automatic weapon or accurate pistol fire |
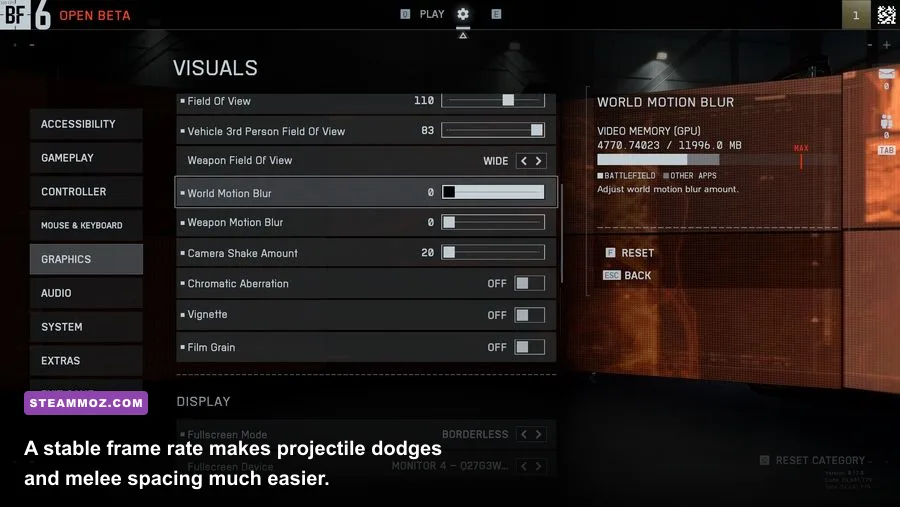
Playing at a stable frame rate helps here. If the game stutters during a crowded room, reduce resolution or background load before lowering every visual setting indiscriminately. Our PC settings guide for Breathedge covers the same practical principle: consistent frame pacing is more useful than a prettier screenshot when timing matters.
What to spend gold on, and what to ignore
Spend early gold on improvements that increase the number of rooms you can clear before resupplying. Damage, ammunition access, and survivability all qualify. Cosmetic options and convenience purchases can wait until your core combat loop feels stable. If the game presents several upgrade choices, prioritize the option that improves repeated encounters rather than one that only helps a single boss.
Do not buy ammunition every time you are slightly low. First check whether the next rooms contain containers or enemy drops. Buying too early turns an exploration reward into a sunk cost. Conversely, entering a major fight with an empty reserve is false economy. The right moment to spend is immediately before a known high-density encounter, not after panic has already started.
Healing is also an economic decision. Use it when it prevents a death or lets you safely finish a profitable area. Don’t burn a valuable item to restore a tiny amount of health while the room is still active. Retreat, clear the threat, and then decide. A calm player gets more value from the same inventory than an aggressive player who constantly heals through mistakes.
| Purchase priority | Rating | Why it matters | When to delay it |
|---|---|---|---|
| Core damage improvement | S-Tier | Shortens fights and reduces incoming damage | Only if the next upgrade is immediately affordable |
| Ammunition access | A-Tier | Lets you use the shotgun and automatic weapons correctly | Delay when the current route is rich in drops |
| Health or healing capacity | A-Tier | Protects a long run from one mistake | Less urgent if you consistently avoid damage |
| Convenience or cosmetic option | B-Tier | Useful later, but does not accelerate progression | Delay during the opening chapters |
Think of gold as converted safety. A purchase is good when it saves ammunition, shortens exposure to danger, or prevents a failed run. That mindset is more reliable than blindly choosing the largest number on an upgrade screen.
Boss preparation and a clean leveling loop
Bosses are where careless farming finally comes due. Before entering an arena, finish nearby exploration, reload all available weapons, and avoid spending heavy ammunition on optional enemies. Learn the boss’s attack cycle on the first attempt instead of treating the encounter as a damage check. Your first goal is identifying when it is safe to shoot.
Use the arena perimeter as a resource. Keep moving through open space, but don’t run blindly around the edge if it funnels you into a corner. Many bosses become easier once you stop trying to maintain maximum distance and instead move just far enough to make the attack miss. That creates a predictable counter window and keeps your shots accurate.
After a failed attempt, don’t immediately repeat the entire route at full intensity. Rebuild with pistol kills, collect the nearest containers, and preserve the shotgun and explosives for the arena. This is the fastest recovery pattern because it restores the resources that actually decide the fight without forcing you to replay every encounter as if it were new.
For players who enjoy methodical route planning, our Against the Storm hidden-rewards guide is a useful reminder that optional areas should be judged by return, not by completion percentage. The same rule applies here: clear what pays, skip what drains the run.
| Preparation check | Target before boss | Why it matters |
|---|---|---|
| Health | Enter without avoidable damage | Healing should cover mistakes, not basic room cleanup |
| Pistol ammunition | Keep a reserve | Useful for recovery routes and low-risk finishing shots |
| Shotgun ammunition | Save for attack windows | Provides burst damage when the boss commits |
| Heavy ammunition | Use only for high-value openings | Prevents a long damage phase from becoming a resource wall |
| Escape space | Know the arena perimeter | Stops panic movement from ending against a wall |
The efficient loop in one sentence
Clear safe enemies with the pistol, use the shotgun to prevent damage, search every low-risk side room, save heavy ammunition for dense encounters, and leave the area once the next fight costs more than its likely gold and experience reward.
That loop sounds conservative because it is. Garage: Bad Trip is at its best when every bullet has a job and every retreat is deliberate. Farm enough to smooth the progression curve, but don’t turn the opening areas into a treadmill. Once your weapon rotation is disciplined and you stop taking damage while looting, leveling becomes steady, gold stops feeling scarce, and the later mutant encounters become tests of execution rather than inventory luck.
For more focused PC optimization advice, see Steamoz’s Arcade Spirits PC fixes guide and our coverage of graphics settings for maximum FPS in Cthuloot. They reinforce the same practical rule: smooth performance and smart resource management beat flashy settings and reckless damage races.