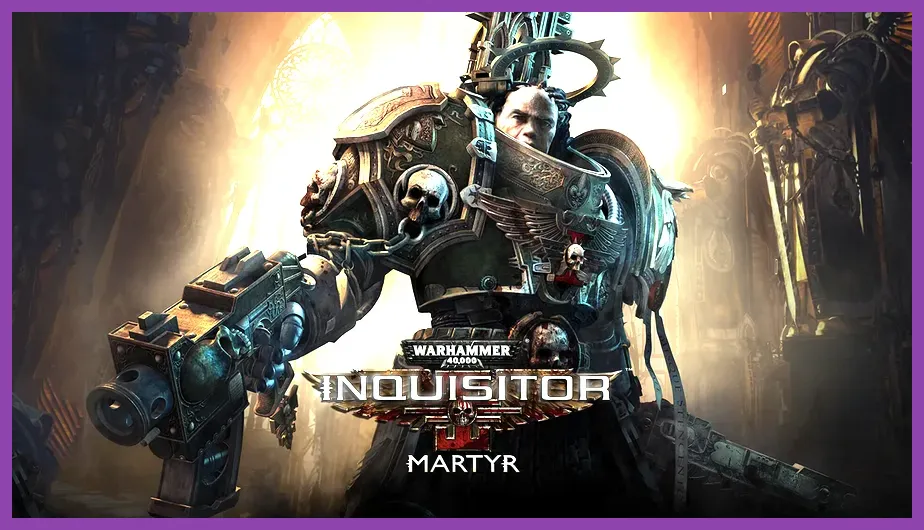
The best starting build in Warhammer 40000: Inquisitor - Martyr is a ranged Crusader using a Heavy Bolter, the Ranged Combat and Physical Damage skill trees, and defensive suppression bonuses. It is forgiving, powerful from the first missions, and teaches the game's most important habits: hold a firing lane, manage suppression, kill dangerous elites first, and relocate before melee units surround you. This guide covers the exact skills, stats, weapons, perks, gear properties, combat rotation, and upgrade path that make the build work.
The Crusader is the safest first character because his weapons deliver immediate damage without demanding perfect positioning or Psyker heat management. The Assassin can delete targets faster, while the Psyker offers more unusual tools, but both punish mistakes harder. If you're learning mission objectives, tarot cards, crafting, and the cover system at the same time, the Heavy Bolter Crusader gives you room to breathe. Check the game's official Steam page for current edition and DLC details before starting, since class options and campaign content can vary by purchase.
Why the Heavy Bolter Crusader is the best first build
The Heavy Bolter is the build's centerpiece because it combines sustained automatic fire, excellent range, and strong suppression pressure. Suppression is not just a defensive bar: it affects how reliably enemies can use abilities and how safely you can keep firing. A controlled Heavy Bolter burst can interrupt the rhythm of an enemy pack before that pack ever reaches you.
Choose the standard Crusader class at character creation rather than overthinking advanced variants. Your opening objective is not to create a finished level-100 specialist. It's to establish a clean foundation that remains useful through the campaign and can later pivot into a Heavy Flamer, Plasma Cannon, or melee setup if your loot points in that direction.
The build's biggest advantage is consistency. A Heavy Bolter does not need a rare legendary weapon to feel good. You can use a blue or yellow weapon for many levels if its damage is current and its skill behavior suits your playstyle. The weapon also lets you attack from outside the effective range of many Chaos melee units, which makes story missions far less frantic.
| Build Element | Recommended Choice | Why It Matters |
|---|---|---|
| Class | Crusader | High durability, strong ranged weapon access, forgiving mistakes |
| Main weapon | Heavy Bolter | Reliable sustained fire and excellent crowd suppression |
| Damage focus | Physical and ranged damage | Improves the weapon you use most often |
| Defense focus | Suppression resistance, armor, damage reduction | Prevents interrupted attacks and sudden deaths |
| Combat range | Mid-range to long-range | Keeps melee threats outside their best distance |
Skill tree order from level one onward
Spend early skill points in the Ranged Combat tree, then move into Physical Attacks or the physical-damage branch available to your version of the skill interface. The exact node names can vary slightly between class variants and updates, so follow the effect text rather than blindly copying a level number. Prioritize nodes that improve ranged damage, weapon damage, critical chance, critical damage, attack speed, and cooldown recovery.
Levels 1-10: establish reliable gunplay
Take the first available Ranged Combat damage nodes and then pick a critical-hit node when the path offers one. Avoid spending your opening points on highly specialized bonuses for weapons you don't currently own. A small damage increase that applies to every Heavy Bolter attack is better than a narrow bonus for a Plasma Cannon sitting in your stash.
For active abilities, keep one direct damage skill, one movement or defensive tool, and one answer to a dangerous elite. Heavy Bolter weapon skills such as automatic burst or full-auto firing are your main damage buttons. If your roll offers a single-target shot with better range or armor penetration, keep it for champions and commanders rather than wasting it on basic cultists.
Levels 11-25: add crit and survivability
Once the basic ranged nodes are online, take critical chance and critical damage improvements, followed by physical penetration or armor-related bonuses. You want the build to scale against armored Chaos Marines and larger targets, not merely mow down unarmored trash.
Put the next defensive points into suppression resistance, damage reduction, armor, or health depending on the nodes shown by your class. Suppression recovery is especially valuable for a Heavy Bolter user because being knocked into a poor suppression state can interrupt your firing sequence at exactly the wrong moment. Don't treat defense as dead weight; a character that keeps firing deals more real damage than a glass cannon spending half the mission stunned.
After level 25: specialize instead of scattering points
At this stage, finish the most efficient Ranged Combat path before opening several unrelated trees. The usual mistake is buying a few nodes in every category and ending up with no meaningful multiplier. Pick a clear direction: sustained physical fire, critical ranged damage, or a hybrid with stronger survivability.
| Priority | Skill Type | Target Result | When to Take It |
|---|---|---|---|
| S-Tier | Ranged damage and weapon damage | Raises every Heavy Bolter attack | First 10 points |
| S-Tier | Critical chance and critical damage | Improves elite and boss kill speed | Levels 10-25 |
| A-Tier | Physical penetration or armor interaction | Stops armored enemies from becoming damage sponges | After core damage nodes |
| A-Tier | Suppression resistance and recovery | Maintains firing uptime under pressure | Early to mid campaign |
| B-Tier | Weapon-specific niche bonuses | Useful only after the final weapon is settled | Endgame specialization |
Weapons, stats, and gear priorities
Your primary weapon is the Heavy Bolter. Compare its actual damage, attack behavior, skill cooldowns, and properties instead of equipping every higher-level drop. A lower-level Heavy Bolter with better physical damage, critical chance, or cooldown reduction can outperform a newly found weapon with weak bonuses.
For your second weapon slot, use something that solves a problem rather than duplicating the first slot. A Shotgun gives you a close-range emergency option and can stagger enemies that slip through your firing lane. A Plasma Gun or Plasma Cannon is stronger against durable targets but may demand more careful positioning and heat management. The Heavy Flamer is superb when missions funnel enemies through narrow corridors, but it changes your preferred range and should be treated as a later alternative, not a mandatory opening choice.
The stat order that actually matters
Prioritize ranged damage, physical damage, critical-hit chance, critical-hit damage, attack speed, cooldown reduction, and penetration or resistance reduction. The value of each stat depends on the item roll, but this order keeps your early build focused. Don't chase movement speed at the cost of a huge damage property, though a mobility bonus is welcome on boots when the offensive trade is small.
On armor, look for health, armor rating, resistance, damage reduction, and suppression-related bonuses. A good chest piece can save you from the sudden burst that often comes from an elite's area attack. On the belt and inoculator, prioritize cooldown recovery, healing efficiency, and emergency survivability. Your inoculator is not a panic button you should save forever; use it when your health is falling and the next enemy volley is already telegraphed.
Socketing and crafting should remain conservative during the story. Replace gear frequently, so don't burn every rare crafting material trying to perfect a level-12 item. Upgrade a weapon when its base damage falls noticeably behind current drops, and reserve expensive rerolls for a strong high-level item with useful properties. The developer's official game page is worth checking when a patch changes systems or item behavior.
The combat rotation for every mission
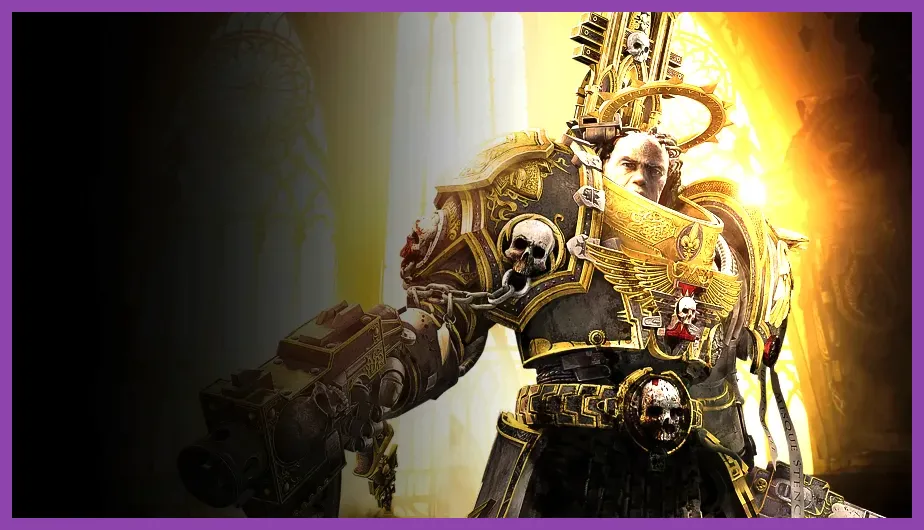
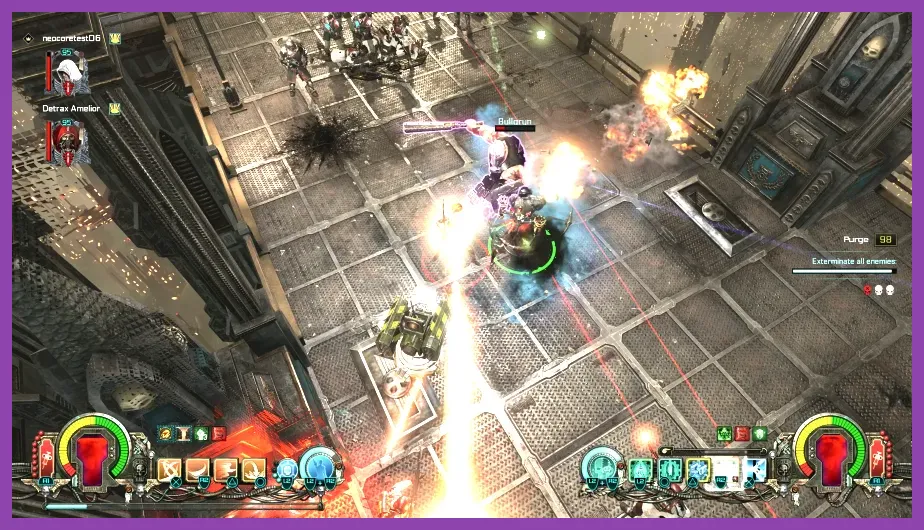
Start encounters from cover whenever possible. Open with a controlled Heavy Bolter burst against the most dangerous ranged enemy, specialist, or elite icon on the screen. Then sweep across the nearest cluster without holding the trigger forever. Long uninterrupted firing can lock you into a bad position while a melee unit approaches from off-screen.
Use this five-step rotation
- Scout: identify champions, grenade users, turrets, and spawn points before entering the room.
- Anchor: choose cover or a corner that gives you a retreat route, not a dead end.
- Suppress: fire a short automatic burst into the front of the group to disrupt its advance.
- Execute: focus your strongest single-target skill on the elite or specialist causing the most danger.
- Relocate: move after the kill or whenever melee enemies enter your immediate range.
Against melee hordes, don't retreat in a straight line across an open room. Kite around cover, doorways, and corners so only part of the group can attack at once. Against ranged squads, break line of sight after each burst and reappear from a different angle. This matters more than squeezing out a few extra shots because enemy accuracy and ability timing can punish a stationary Crusader.
For bosses, save your strongest cooldown for the moment their armor or shield is exposed. Many encounters use obvious telegraphs: a glowing ground marker, a raised weapon, an expanding circle, or a brief pause before a charge. Move before the effect lands, then resume firing from the edge of the danger zone. If the boss summons adds, clear ranged specialists first unless the summon is directly blocking your escape route.
| Threat | Danger Signal | Best Response | Priority Target |
|---|---|---|---|
| Melee rush | Fast advance or charge animation | Back through cover and use the emergency weapon | Charging elite |
| Grenadier | Thrown explosive marker | Leave the marked area immediately | Grenadier |
| Turret | Fixed firing lane and warning beam | Break line of sight, then flank | Turret |
| Champion | Elite health bar and special effect | Focus fire while maintaining retreat space | Champion |
| Boss area attack | Ground circle or weapon wind-up | Dodge first, attack second | Boss after telegraph |
Perks, passive choices, and common mistakes
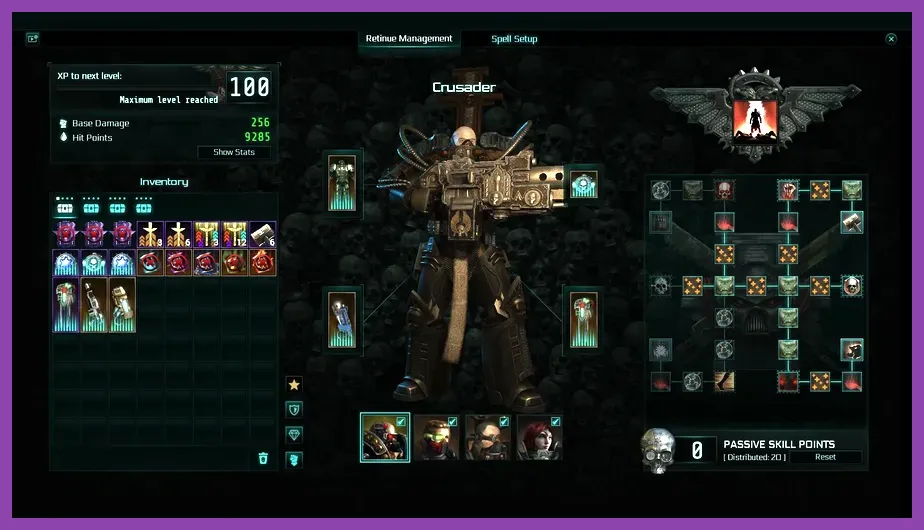
Choose perks that reinforce ranged damage, critical performance, physical damage, survivability, or suppression control. A perk that boosts a stat you already use every second is generally better than a flashy conditional effect that activates once per room. If a perk requires you to stand still while surrounded, it clashes with the Heavy Bolter's ideal rhythm even if its tooltip looks impressive.
The first major mistake is leveling every weapon type at once. You can carry several weapons, but your skill investment should support one primary identity until the core campaign is comfortable. The second is ignoring defensive stats because the Crusader feels tough in the opening missions. Later maps add armor-piercing attacks, area damage, and elite combinations that expose a weak defense setup quickly.
The third mistake is chasing item level without checking properties. Inquisitor - Martyr showers you with loot, but not every upgrade is an upgrade. Compare weapon damage, usable skills, cooldowns, and bonuses that apply to your actual attacks. Sell or dismantle the clutter regularly so the right item doesn't disappear in a crowded inventory.
Finally, don't spend every mission sprinting toward the objective marker. Search side rooms for loot, but leave when the area becomes a trap. Optional fights are valuable when your health and cooldowns are ready; they're a bad trade when a mission modifier has already reduced your defenses. For broader action-RPG build habits, Steamoz's starting build guide offers a useful reminder: build around a repeatable game plan, not a pile of disconnected bonuses.
Performance settings for smoother firefights
The game is an isometric action RPG, but crowded missions can still create frame-time spikes from particle effects, enemy density, and explosions. A stable 60 frames per second feels better than a mostly higher average with sudden stutters during a horde encounter. Start with the recommended preset, then lower the settings that affect effects and shadows before sacrificing texture quality.
| Setting | Recommended Value | FPS Impact | Visual Trade-Off |
|---|---|---|---|
| Resolution | Native monitor resolution | High | Keep native if your GPU holds the target |
| Texture quality | High | Low to medium | Uses VRAM but preserves armor detail |
| Shadow quality | Medium | Medium | Less contact-shadow definition |
| Effects and particles | Medium or High | Medium to high | Lower values reduce battle clutter |
| Anti-aliasing | High or default | Low to medium | Lower values make edges shimmer |
| V-Sync | Off with a VRR display | Variable | Use a frame cap if tearing appears |
On a 1080p gaming PC, aim for a locked 60 FPS with medium shadows and effects if large battles dip below target. At 1440p, keep textures high but test shadows and particles first. On a laptop, cap the frame rate, use balanced power settings, and watch temperatures during long missions. Steamoz's performance settings guide covers the same practical principle: target consistent frame pacing rather than chasing a meaningless peak number.
Campaign progression and the endgame pivot
During the opening campaign, replace weapons whenever their base damage clearly falls behind and keep one defensive item in reserve for missions with punishing modifiers. Don't rush tarot missions or high-threat assignments just because they unlock early. Finish story objectives, learn the mission modifiers, and build a stash of crafting materials before investing heavily in endgame optimization.
When your Heavy Bolter has strong ranged and physical properties, begin improving critical consistency and cooldown uptime. At high level, you can pivot into a more specialized suppression build, add a Heavy Flamer for close-range clearing, or carry a Plasma Cannon for armored targets. The core lesson stays the same: one weapon handles the majority of encounters, while the second slot covers the situations that weapon handles poorly.
For the most reliable first playthrough, keep the Heavy Bolter Crusader, finish the Ranged Combat path, add physical and critical scaling, and invest in suppression defenses before chasing exotic damage interactions. That setup won't always produce the flashiest damage screenshot, but it will clear missions, survive bad spawns, and teach you the systems you'll need for stronger endgame characters. For official patch information and support, use the official community forums alongside the Steam news hub.
That combination is why this remains the best starting build for Warhammer 40000: Inquisitor - Martyr: it gives you damage at range, meaningful defenses, simple gear decisions, and a combat loop that rewards smart positioning instead of demanding perfect execution. Once the campaign starts throwing heavier armor and nastier modifiers at you, you'll already have the fundamentals to adapt rather than rebuild from scratch.