
The reliable way to beat Dragon Ball Legends’ hardest PvE boss is to treat the fight as a shield-and-resource check, not a damage race: build around the event’s recommended tag and element, break the boss’s shield with the requested cards, preserve Rising Rush for the exposed window, and use cover changes only against readable attacks. On the highest Full Power Battle difficulty, a correctly tagged bench and a controlled rotation matter more than bringing three individually powerful characters.
There is no single permanent hardest boss in Dragon Ball Legends. Full Power Battle, Hyperdimensional Co-Op, Raid, and special Challenge Battle bosses rotate, and their recommended elements change with each event. The strategy below is written for the Scream-tier Full Power Battle format, the game’s most demanding solo boss structure: one main fighter, two support allies, three selectable assists, a boss shield, waves of minions, and a limited number of recovery opportunities. Always verify the current boss, element, and bonus tags on the event’s Info screen before spending energy.
For official notices and event-specific bonuses, check the official Dragon Ball Legends site and the game’s official community information hub. The names and bonuses rotate, but the attack patterns and decision-making rules in this guide remain consistent.
Identify the Boss Rules Before You Enter

Open the event’s Info panel before selecting a party. Look for four details: the boss’s element, the recommended battle character, the featured tag, and the shield condition. A red boss is disadvantaged by blue damage, a blue boss by green, a green boss by purple, a purple boss by yellow, and a yellow boss by red. That basic colour wheel is still the safest starting point, but a colour advantage cannot compensate for an incompatible tag or a badly constructed bench.
Full Power Battle displays additional bonuses beside eligible units. These can increase attack, defence, health, or the amount of damage dealt to the shield. Prioritise a modern featured unit with the correct colour over an older favourite that has a higher power level on paper. A character such as ULTRA Super Saiyan 2 Gohan, LEGENDS LIMITED Super Saiyan 4 Goku & Vegeta, or LEGENDS LIMITED Super Saiyan God SS Vegito can be excellent in general PvE, but none should be forced into a stage that specifically rewards a different tag and element.
Check the boss’s special rules as well. Some stages reduce damage from non-recommended tags, lock the main ability, increase the boss’s health restoration, or give minions a permanent damage reduction effect. If the event says the boss gains a new shield after a timer or minion wave, plan around that trigger rather than trying to finish early.
Build a Team That Can Survive Scream
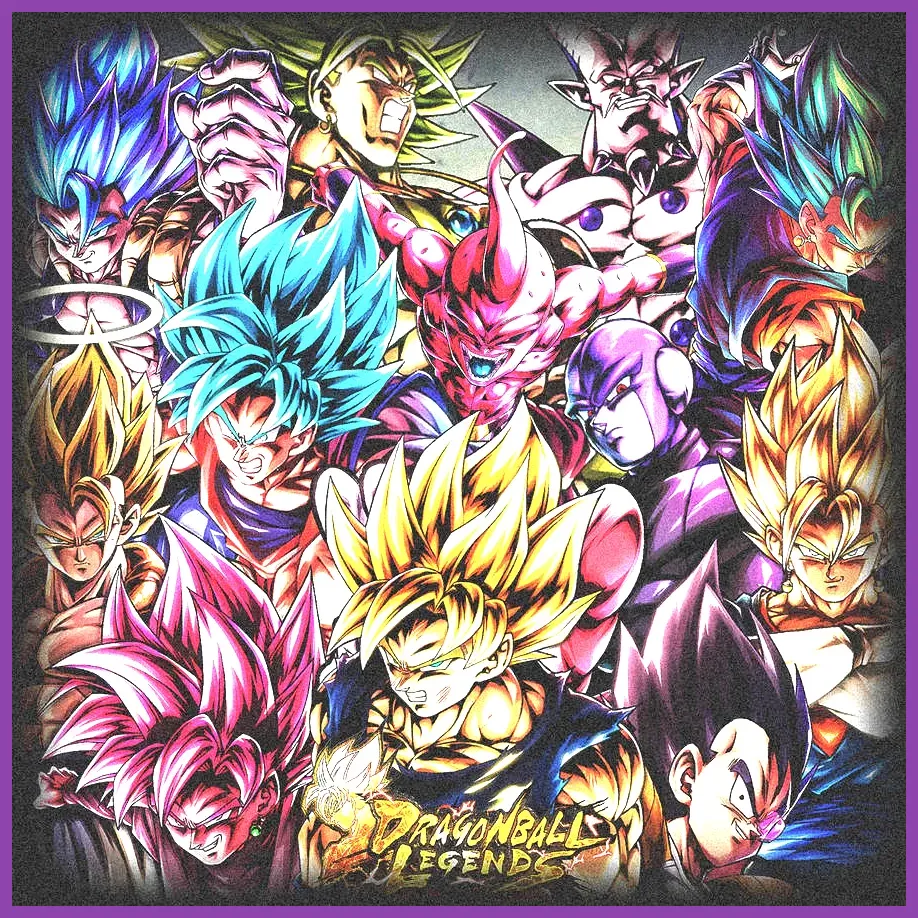
Your battle party has one controlled unit, two support units, and a bench. The controlled character should satisfy the stage’s colour and battle bonus whenever possible. Your two supports should provide the strongest available Z Abilities for the same tags, not simply the highest stars. A practical structure is:
- Leader: the event’s recommended colour and tag, with a strong unique ability and reliable combo extension.
- Support one: a unit that restores health, reduces damage received, or supplies sustained damage buffs to the party.
- Support two: a cover-change specialist, endurance user, or unit that grants arts-card draw speed and Ki recovery.
- Bench: three characters whose Z Abilities reinforce the leader’s tag, colour, or both.
Do not select a bench exclusively for Strike Attack. On Scream difficulty, Base Health, Defense, and Damage Cut can be the difference between surviving a blue card and losing the run. If the stage accepts Saiyans, a bench combining Saiyan attack and health boosts is generally more valuable than three unrelated offensive Z Abilities. If it accepts Androids, use Android-specific health and defence buffs before filling the last slot with a general-purpose attack buffer.
Equip the controlled character with three jobs in mind: damage to the boss, shield damage, and survival. A Strike Attack or Blast Attack slot is useful only if it has a high percentage and matches the unit’s preferred arts. Health, Strike Defense, Blast Defense, and Damage to Enemy are safer choices than an equipment set that offers one enormous attack roll but no protection. Upgrade equipment to at least a usable gold or red quality, and make sure the ability bonus actually applies to the character’s tag.
Before attempting the fight, use the game’s recommended-party screen as a warning rather than an automatic solution. It often recognises event bonuses, but it does not understand your preferred rotation, equipment quality, or whether the party has a reliable cover change. For broader character-building fundamentals, our early-game character selection guide covers the same mistake many players make in mobile RPGs: confusing rarity with role coverage.
Break the Shield Without Wasting Your Hand

The opening shield is the boss’s real first health bar. While it is active, damage is heavily reduced and many of your best attacks produce poor returns. Your goal is to remove the shield quickly while retaining enough Ki and cards to punish the exposed boss.
- Start with a short combo. Use one or two Arts Cards, then sidestep or tap attack to stop before the boss’s first predictable counter. Do not spend every card on a 20-hit sequence.
- Use the shield-targeting card type. Full Power Battle tells you which cards damage the shield more effectively. If the stage favours Strike, use Strike Arts and Strike-based Special Moves during the shield phase; if it favours Blast, avoid wasting Blast cards on minions unless they are about to interrupt you.
- Chain assists deliberately. The assist buttons are not free damage. Activate one after the boss begins an attack animation or when your hand lacks the card type needed for the shield. Staggering assists prevents all of them entering cooldown together.
- Keep one defensive option ready. Hold a Vanish, cover change, or Special Move until you see the boss commit. A broken shield is worthless if the boss immediately catches your exhausted character.
When the shield reaches its final segment, stop chasing damage. The boss usually responds with an enhanced attack, a forced action, or a short recovery sequence. Finish the shield with your recommended card, then use the brief exposed window for your strongest Arts Card, Main Ability, or Ultimate Arts. Do not activate an Ultimate while the shield is still full simply because the button is available.
Read Every Boss Attack Phase

Opening phase: control the tempo
The boss normally begins with a ranged Arts Card, a forward dash, or a minion summon. A blue exclamation mark signals that your character has an immediate action opportunity; respond with a tap attack, Strike, or Blast rather than waiting for a long combo. If the boss starts a long animation, use a cover change from one of your support units instead of burning your Vanish Gauge.
Keep the controlled character above roughly 50 percent health during this phase. Full Power Battle rewards patience because later attacks become faster and stronger. If you take an early hit, rotate to a support with Damage Cut or healing rather than trying to recover by forcing an all-in combo.
Minion phase: eliminate the interruption
Minions are not cosmetic. They can restore the boss’s shield, lock your character, refill the boss’s Ki, or create an additional attack while you are focused on the main target. Defeat the minion with a low-cost combo when its health is nearly depleted, but do not spend Rising Rush on it unless the stage specifically makes the minion the objective.
Use a Strike Arts card to interrupt a minion moving forward and a Blast Arts card to punish one standing at range. If the boss and minion attack together, cover-change into the unit with the most relevant defensive effect, then immediately switch out. Remaining on the field after a successful cover change often lets the boss start a second combo.
Enraged phase: stop gambling
At a health threshold, the boss may gain increased Arts Card speed, damage, or a new Special Move. This is the point where players lose most failed attempts by chasing a final combo. Keep your Vanish Gauge, avoid a raw tap Blast, and never use a strike cancel when the boss has an obvious counter window. A short attack followed by a side step is safer than a long combo that leaves you without an escape.
Use Rising Rush at the Correct Window
Rising Rush is your most reliable burst tool, but the correct timing is after the shield breaks and after the boss has committed to a recovery animation. Using it against a full shield can waste the damage multiplier. Using it while a minion is active can also produce a disappointing result if the boss interrupts or restores protection before the rush lands.
Build the Rush with Arts Cards that do not empty the hand you need for the next shield. A common safe sequence is to use two normal Arts Cards during the shield, save the Dragon Ball generated by the next card, break the shield, then activate Rising Rush when the boss is exposed. If you have a Special Move or Ultimate Arts, use it immediately before or after the Rush only when the boss cannot counterattack.
In solo Full Power Battle, the card-guess mechanic can still determine whether the Rush receives its full reward. Choose a card type that is not already dominating your visible hand, and avoid wasting the Rush when the boss is protected by a special rule. In co-op modes, coordinate the Rush with your partner instead; two unplanned Rising Rushes are less useful than one synchronized attack after the boss’s shield vanishes.
Rotation, Cover Changes, and Vanish Management
Think of the party as a three-unit defensive cycle. Start with your damage dealer, switch to the support when the boss begins a combo, and return only after the boss’s Arts Card chain ends. This preserves your main fighter’s health and prevents one character from absorbing every debuff. The strongest cover change is the one that interrupts a lethal sequence, not the one used on the first attack you see.
Never spend Vanish immediately after switching unless the boss’s attack is already active. Instead, wait for the boss to vanish or sidestep. If both fighters are neutral, use a tap attack to test the exchange. Save your second escape for the boss’s Special Move, Ultimate Arts, or enraged combo. Units with Endurance, Revival, or a restoring effect should be your final safety net, not an excuse to ignore defence.
Ki management is equally important. Begin a combo with enough Ki for the complete sequence, but stop before the hand becomes empty. A 40-Ki combo that leaves one card and a Vanish is often better than a 70-Ki combo that leaves you standing in front of an enraged boss. If your character gains Ki on switch-in, rotate just before the boss’s recovery ends and use that bonus to begin the next shield cycle.
Fix Failed Attempts With a Practical Checklist
If the boss survives every Rising Rush, check the party before blaming the damage calculation. First, confirm that the leader is the event’s recommended element and that the bench actually buffs the leader’s tag. Second, replace equipment with low ability bonuses or irrelevant tag conditions. Third, test whether your shield damage improves when you use the event-recommended Arts type. Fourth, move defensive Z Abilities onto the bench if you are dying before the final phase.
If you die to the opening combo, the problem is usually rotation rather than team power. Start with a support unit, bait the first attack, and keep the leader off the field until the boss has used its first card. If you fail during the final phase, stop using your Main Ability early, save one cover change, and enter the final shield with at least one Special Move or assist available.
Do not repeatedly burn energy on a stage that your party cannot meet. Improve equipment, train the three battle characters to their current level cap, unlock their panels, and fully soul-boost the units you actually use. The same preparation principle applies across mobile games; our guides to defensive setups and team synergy explain why durable role coverage consistently outperforms a glass-cannon lineup.
The Winning Run, Step by Step
Enter with the recommended colour, event tag, and a bench built for health and defence. Open with a support, observe the boss’s first attack, and rotate into the leader only after the opening exchange. Break the first shield using the listed card type, spending one assist but keeping another available. Remove the minion with a short combo, then return to the boss before it can restore protection.
When the shield breaks, use the Main Ability only if it cannot be interrupted, follow with your strongest Arts Card, and launch Rising Rush during the exposed window. After the Rush, switch out before the boss’s recovery ends. During the enraged phase, prioritise Vanish management and cover changes over maximum combo length. Finish the final shield with the correct card, then use the remaining Ultimate Arts, Special Move, or assist to close the fight.
The hardest boss in Dragon Ball Legends becomes manageable once every resource has a purpose: cards break the shield, assists control the tempo, cover changes absorb the dangerous combo, and Rising Rush ends the exposed phase. Verify the current event bonuses through the official Legends news page before each rotation, then adjust the colour and tag rather than abandoning the method. For more disciplined game-planning advice, see our weapon prioritisation guide and performance settings guide.