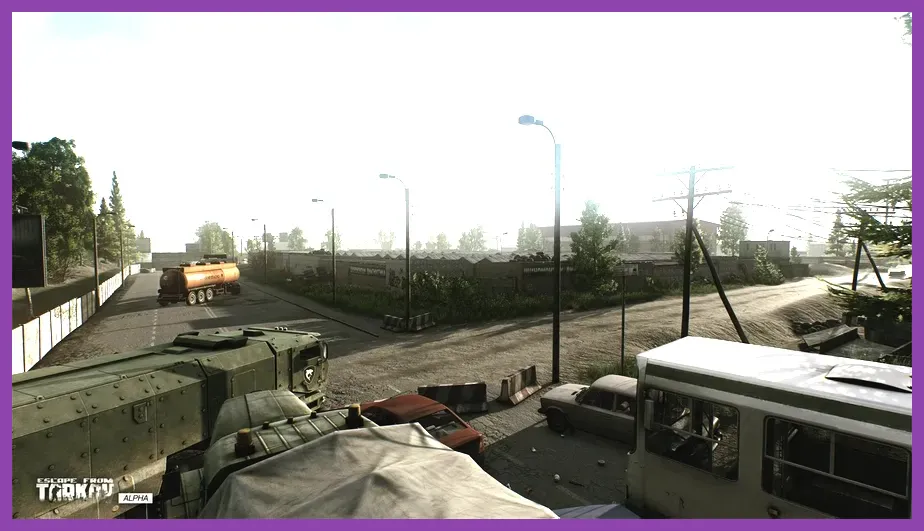
To survive your early raids in Escape From Tarkov, you must immediately master map extractions on Ground Zero and Customs, prioritize high-penetration ammunition like 7.62x39mm PS over expensive gun attachments, run Scav raids on cooldown to fund your PMC, and purchase the Lucky Scav Junkbox from Therapist at Loyalty Level 1 for 1,100,000 Roubles. Surviving in Norvinsk isn't about precise twitch aiming; it comes down to understanding ballistics mechanics, sound propagation, and efficient stash management from your very first deployment.
1. Master Offline Practice Raids and Map Extractions First
Dropping blindly into live player vs. player (PvP) raids is the fastest way to lose your initial starter inventory. Before risking a single piece of gear, utilize the game's Practice Mode (Offline Raids). Select a map such as Ground Zero (mandatory for early quests up to level 20) or Customs, check the "Enable PvE" box, and set the AI difficulty to "As Online." Practice mode allows you to learn essential extracts without losing weapons, armor, or ammunition upon death.
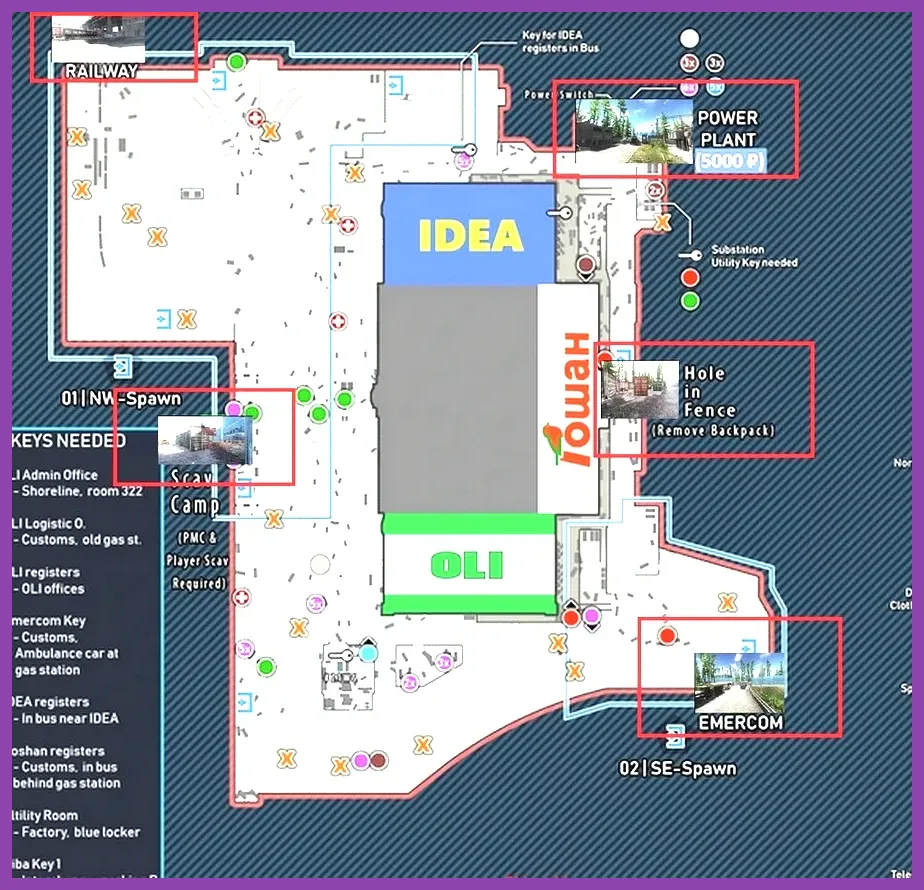
Every raid in Tarkov requires you to reach a specific extraction point before the match timer expires. On Customs, memorize extracts like ZB-1011, RUAF Roadblock, and Smuggler's Boat. On Ground Zero, learn the location of the Emercom Checkpoint and the Nachttisch / Naked Stash extracts. Use interactive external maps on the official Escape From Tarkov Wiki alongside a second monitor or phone to reference landmines, sniper boundaries, and extraction requirements (such as needing 5,000 Roubles for taxi extracts).
Key Map Objectives for Level 1–10:
- Ground Zero: Complete "First in Line" and "Saving the Mole" to unlock main trader questlines.
- Customs: Learn the layout of the Construction site, Dorms, and New Gas Station. High risk, but crucial for early Prapor tasks.
- Woods: Master navigation using distant landmarks like Mount Radar and the Central Sawmill to avoid getting lost in dense forestry.
2. Prioritize Ammunition Stats Over Weapon Attachments
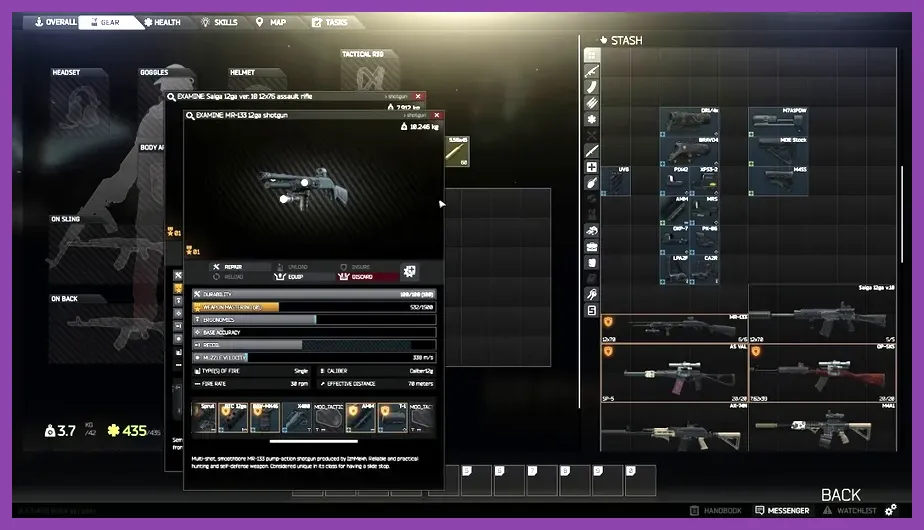
A common mistake made by new players is spending 150,000 Roubles customizing an AK-74N with suppressed handguards and foregrips, only to load the magazine with 5.45x39mm PRS ammunition. In Tarkov, ammo kills, not the gun. High-level body armor (Class 4, Class 5, and Class 6) completely negates low-penetration round damage, regardless of how customized your weapon is.
Ammunition in Tarkov operates on two critical stats: Penetration Power and Flesh Damage. Penetration values dictate which armor class the bullet can defeat. A general rule of thumb is that every 10 points of penetration equates to one class of armor defeated. For example, a round with 30 penetration consistently pierces Class 3 armor, while 40 penetration comfortably pierces Class 4.
| Ammo Caliber | Recommended Early Ammo | Penetration Value | Flesh Damage | Target Armor Class |
|---|---|---|---|---|
| 7.62x39mm | PS gzh | 35 | 57 | Class 3 / Low Class 4 |
| 5.45x39mm | PP gs / BT (Looted) | 32 / 42 | 46 / 44 | Class 3 / Class 4 |
| 9x19mm Parabellum | Pst gzh | 20 | 54 | Class 2 / Unarmored |
| 7.62x54mmR | LPS Eco / T-46M | 42 / 41 | 81 / 82 | Class 4 / Class 5 |
| .366 TKM | EKO | 30 | 73 | Class 3 |
Early on, rely heavily on weapons chambered in 7.62x39mm, such as the semi-automatic OP-SKS or the standard AKM. The 7.62x39mm PS round is readily available at Prapor Loyalty Level 1 and delivers sufficient armor penetration to defeat early-wipe Class 3 body armor in 2-3 hits. If you're building combat confidence in shooter mechanics, reviewing guides on tactical shooters like our Marvel Rivals beginner tips and tricks can help frame spatial awareness, though Tarkov demands far stricter bullet-drop and recoil compensation.
3. Maximize Scav Runs to Build Your Bankroll
Your Scav character is a completely free resource that spawns with randomized gear, zero risk of financial loss, and neutral status with AI Scavs. Never let your Scav timer sit idle during early-game progression. Use Scav runs strategically to gather barter items, hideout upgrade materials, and extra armor sets.
When playing as a Scav, respect your Scav Karma (Fence Loyalty Level). Killing other AI Scavs or player Scavs reduces your Fence reputation, resulting in longer Scav cooldown timers, worse starting gear, and hostile AI behavior in future raids. Extracting safely as a Scav increases your karma, granting access to cheaper thermal gear barters and shorter timer turnarounds.
Best Beginner Scav Maps:
- Factory: Run directly to the nearest extract (underground bunker or office window) in under 60 seconds to instantly secure your Scav’s baseline gear and weapon to sell or use on your PMC.
- Streets of Tarkov: Focus on searching filing cabinets, tech crates, and residential apartments. High financial yield, though performance demands are heavy. Check hardware optimizations if you run into framerate drops, similar to fixing performance issues outlined in our low FPS troubleshooting guide.
- Interchange: Search the outer shopping mall hallways, IDEA storage rooms, and Goshan shelves for valuable Hideout items like Spark Plugs, Corrugated Hoses, and Bolts.
4. Invest in the Lucky Scav Junkbox Immediately
Inventory space in Escape From Tarkov is severely restricted, especially if you own the standard edition of the game. Stash clutter can quickly paralyze your ability to run back-to-back raids. The single most important early-game purchase is the Lucky Scav Junkbox from Therapist Loyalty Level 1 for 1,106,138 Roubles.
The Scav Junkbox takes up a 4x4 footprint (16 grid squares) in your main stash but provides a massive 14x14 (196 grid squares) internal storage space exclusively for barter materials, building supplies, quest items, and valuables. Liquidate unnecessary un-bartered weapons, civilian rigs, and duplicate hats until you hit the 1.1 million Rouble threshold. Stash every wire, capacitor, screw nut, and duct tape roll into this box for future quest requirements and Hideout builds.
For players struggling with skill progression or allocation while leveling traders, check out our guide on how to respec skill points in Escape From Tarkov to optimize soft skills like Strength, Endurance, and Search speed effectively.
5. Unlock Jaeger and Follow Quest Progression
Experience points (XP) gained strictly from killing Scavs and looting items scale very slowly. Completing tasks for Traders is the primary engine for leveling up your character from Level 1 to 15 (which unlocks the Flea Market). Focus on Prapor's "Debut" (handing in 2 MP-133 shotguns) and Therapist's "Shortage" (handing in 5 Salewa first aid kits) first.
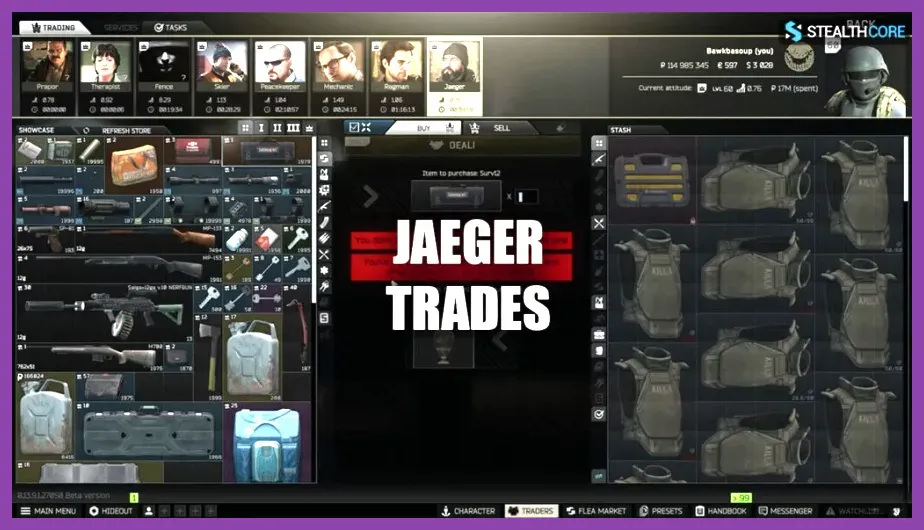
Your top task priority at Level 2 is completing Mechanic’s task "Introduction." This quest requires you to drop into the Woods map, locate Jaeger's hidden hunter stand near the crashed plane in the unpaved forest area, collect his encrypted letter, and extract successfully. Delivering this letter to Mechanic unlocks Jaeger as a trader.
Why Jaeger is Critical Early On:
- Sells the OP-SKS rifle and cheap dovetail optical sights (PSO-1).
- Offers basic shotgun ammunition (12/70 Express Buckshot) for budget leg-meta builds.
- Unlocks essential early hideout upgrade requirements, such as Water Collector Level 1.
If you enjoy complex gear and equipment management systems across grand tactical games, you might also find interest in our comprehensive Hearts of Iron 4 equipment tier list to see how resource allocation impacts combat efficiency across different gaming genres.
6. Master Sound propagation and Active Tactical Headsets
In Escape From Tarkov, audio provides more information than visual line-of-sight. Running or sprinting broadcasts your exact coordinates through walls and terrain from up to 50 meters away. To survive solo engagements, slow down, utilize the walk speed scroll wheel (or Caps Lock key) to switch to silent walking, and always wear an active tactical headset on your PMC character.
Tactical headsets suppress environmental noise (like wind, rain, and ambient machinery) while artificially boosting low-frequency sounds like footfalls, weapon reloading, bush rustling, and grenade pin pulls. Never enter a raid with empty ear slots.
Early Game Headset Options:
- GSSh-01: Extremely loud ambient noise amplification, but cheap from Prapor LL1 (~12,000 Roubles). High treble sound profile.
- ComTac 2: Balanced bass levels; excellent at suppressing loud gunfire sounds while maintaining crisp footstep separation. Available from Ragman LL2.
- M32: Sold by Jaeger LL1. Provides great directionality and a muffled ambient bass signature that reduces hearing fatigue during extended sessions.
Ensure that Binaural Audio is turned ON in your system settings menu, as this setting enables HRTF (Head-Related Transfer Function) spatial audio calculation, allowing you to accurately distinguish whether an enemy is above or below your position inside multi-story buildings like Dorms or Resort.
7. Understand Medical Hierarchies and Damage Status Effects
Health management in Tarkov isn't governed by a simple single health bar. Your character features seven distinct body zones, each with its own individual hit points (Head: 35, Thorax: 85, Stomach: 70, Left/Right Arm: 60, Left/Right Leg: 65). Total HP equals 440.
Taking damage inflicts specific status conditions that require distinct medical supplies to fix. Bringing only a basic AI-2 Medkit into a raid will result in quick death from untreated bleeding or broken bones.
Essential Medical Priority Chain:
- Heavy Bleeding (Icon: Dark Red Drop): Fast blood loss that rapidly drains total health across all limbs. Treat immediately using an Esmarch Tourniquet, CAT Tourniquet, or CALOK-B Hemostatic Powder.
- Light Bleeding (Icon: Bright Red Drop): Slow health depletion over time. Treat using an Aseptisept Bandage or standard Army Bandage.
- Fractures (Icon: Broken Bone): Caused by falls or bullet impacts to limbs. Broken legs prevent running and force heavy groaning; broken arms severely degrade weapon aiming stability. Treat using an Immobilizing Splint or Aluminum Splint.
- Blacked Limbs (0 HP remaining): Cannot be healed with normal medkits. If your Thorax or Head reaches 0 HP from direct bullet damage, you die instantly. If an arm or leg drops to 0 HP, you must use a surgical kit (CMS Kit or Surv12) to restore the limb's functionality at reduced maximum health.
- Pain Status (Icon: Blinking Eye): Suppresses heavy screen blurring and allows fast movement even with broken legs. Pre-med before entering dangerous areas using Analgin Painkillers, Ibuprofen, or Golden Star Balm.
8. Optimize Graphic Profiles for Visual Clarity
Tarkov’s default graphical presentation prioritizes cinematic atmosphere over competitive visibility. Shadows, heavy fog, and motion blur can easily hide enemy PMCs crouching in dark corners. Adjusting your settings can make the difference between spotting an enemy operator or getting sent back to the main menu.
For general system optimization guides on demanding modern titles, refer to our hardware and system coverage like the Like a Dragon Infinite Wealth PC requirements guide to ensure your rig is tuned for consistent framerates.
Recommended Competitive Tarkov Settings:
- Texture Quality: Medium or High (Requires at least 8GB VRAM).
- Shadow Quality: Low (Reduces shadow density in dark interiors like Factory).
- Object LOD Quality: 2.5 (Ensures enemy character models render clearly at extended distances).
- Overall Visibility: 1000 (Prevents unnecessary render strain on terrain assets past sightlines).
- Anti-Aliasing: TAA High (Smoothes pixelated edges without adding heavy blur).
- Resampling: 1x Off (Never set to downscaling).
- NVIDIA Reflex Low Latency: On + Boost (Reduces system input lag during fire fights).
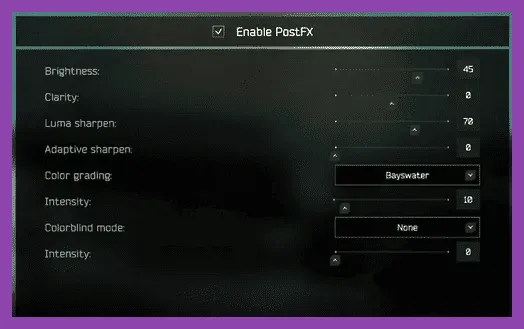
- PostFX Settings: Enable PostFX, set Clarity to 35, Sharpness to 40, and select the "Feather" Color Filter at 20% intensity to boost contrast in foliage and shadow structures.
9. Build Out the Hideout for Passive Income and Self-Sufficiency
Do not ignore your Hideout during the early levels. The Hideout transforms raw barter junk found during Scav runs into combat supplies, medical items, and functional upgrades.
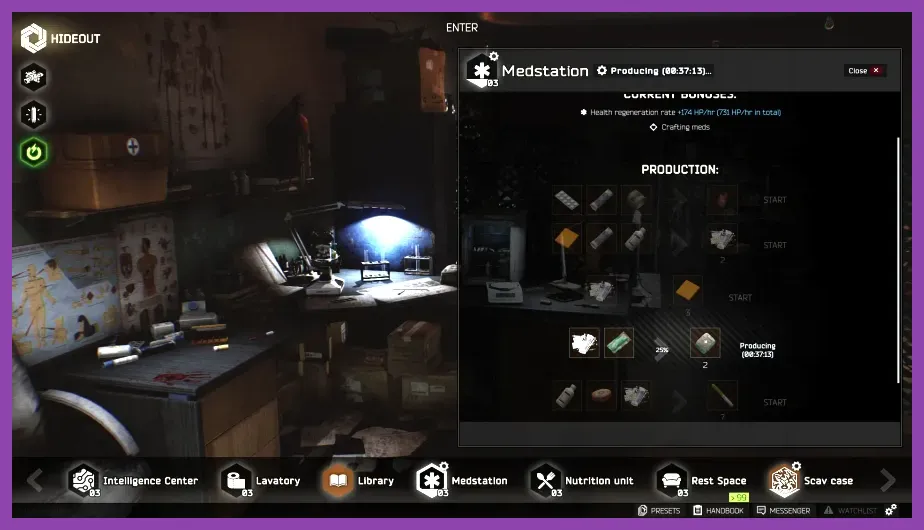
Your primary initial upgrade targets are the Medstation Level 1, Workbench Level 1, and Nutrition Unit Level 1. The Medstation enables you to craft Salewa First Aid Kits using basic bandages and splints, bypassing trader stock limits. The Workbench unlocks the vital "Edit Preset" weapon customization menu, allowing you to quickly inspect recoil stats and attach optical mounts directly from your stash without manual trial and error.
Furthermore, building the Workbench allows you to craft green Wire and Printed Circuit Boards from household items, laying the foundation for eventual craft-able high-tier ammunition (such as 7.62x39mm PP or 5.56x45mm SOST) once higher trader levels are secured.
10. Insure Smartly and Use Emergency Insurance Fraud
Before launching into any PMC raid, Prapor and Therapist offer equipment insurance for a small Rouble fee. If you die and no other player extracts with your insured gear before the raid timer ends, Prapor's Scavs will retrieve the items and return them to your inbox within 24 to 36 hours.
Leverage this mechanic by executing **Insurance Fraud**: if you eliminate an enemy PMC or find a high-tier body armor on a boss guard, drop your own insured armor, helmet, or backpack into an inaccessible location (such as deep water, dense foliage, or dark hidden corners). Equipping the looted gear allows you to walk out of the raid with new items while guaranteeing your original insured equipment safely returns via mail the following day.
Items You Should Always Insure:
- Customized budget weapons (OP-SKS, MP-133, AK-74U).
- Class 3 and Class 4 body armor plates / soft inserts.
- Tactical headsets and large backpacks (Scav Backpack, Daypack).
Items You Should NEVER Insure:
- Ammunition inside magazines (Ammo is non-returnable even if the magazine is insured).
- Consumables, medkits, or painkiller doses.
- Items taken into Lab raids (Insurance does not function on The Lab map).
By strictly applying these ten operational core principles—prioritizing ammo penetration, managing stash real estate with junk boxes, mastering map extracts in offline practice, and utilizing Scav runs efficiently—you will survive the harsh learning curve of Escape From Tarkov and lay down a solid baseline for mid-wipe mastery.