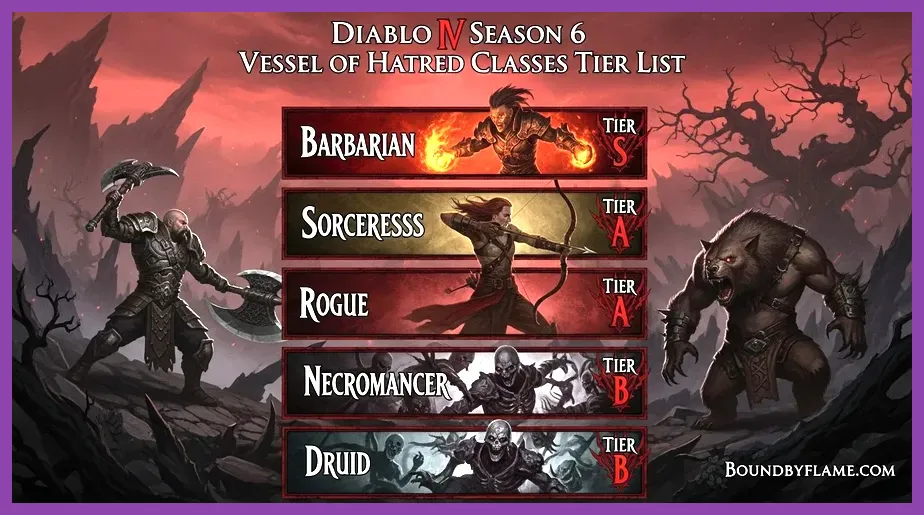
The definitive 2026 meta for Blizzard's expansion places the Spiritborn firmly in S-Tier across all Pit tiers and Kurast Undercity runs, followed closely by optimized Barbarian and Sorcerer builds. With balancing updates reshaping damage multipliers, status effect scaling, and Paragon boards, understanding where every character class ranks is essential for clearing Torment IV difficulties and defeating Uber bosses efficiently.
S-Tier: The Absolute Best Meta Classes
S-Tier characters break game mechanics through compounding damage-reduction layers, screen-clearing AoE, and absurd stat scaling. If you want to push high-level nightmare dungeons without breaking a sweat, these are your go-to choices.
Spiritborn (Quill Volley & Evade Build)
The Spiritborn class completely dominates the current meta. By utilizing the Quill Volley core skill paired with the Rod of Kepeleke unique quarterstaff and Moonrise aspect, you can achieve infinite Vigor generation and continuous critical strikes. Stat priority centers around Dexterity, Maximum Life, and Critical Strike Damage. For players looking to branch out into other action titles, check out this Stalker 2 character unlock guide or explore tactical team setups via the Tekken 8 team synergy guide.
Barbarian (Bash & Mighty Throw Build)
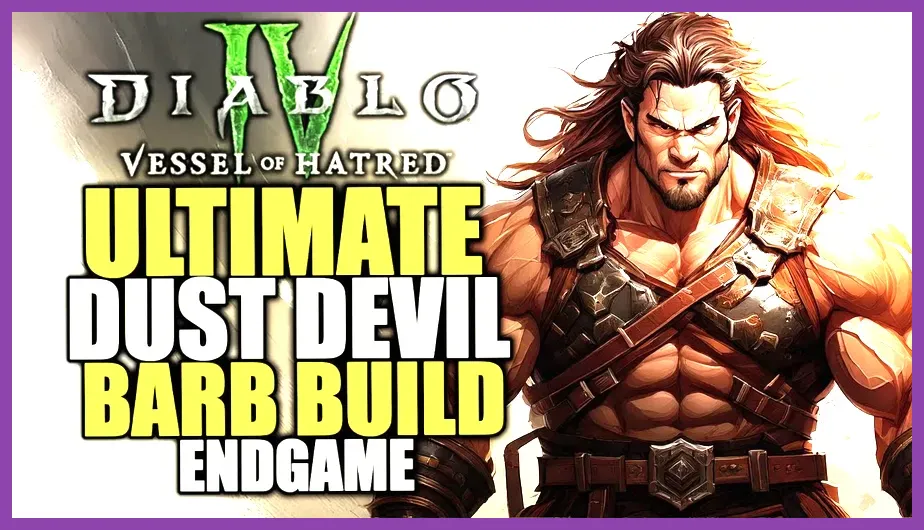
Barbarians retain their throne as undisputed physical powerhouses. Using the Walking Arsenal passive tree along with Bash and Mighty Throw, you can leverage four distinct weapon slots to stack enormous Vulnerable and Overpower multipliers. Equip the Earthstriker's Aspect to guarantee critical overpower hits every few weapon swaps. For additional character progression strategies, review our breakdown on The Witcher 3 character tier list.
A-Tier: High Performance & Reliable Endgamers
A-Tier characters are exceptionally strong, clearing Torment IV content with ease, though they require slightly more precise gear rolls or specific unique items to match S-Tier speed.
Sorcerer (Lightning Spear & Chain Lightning)
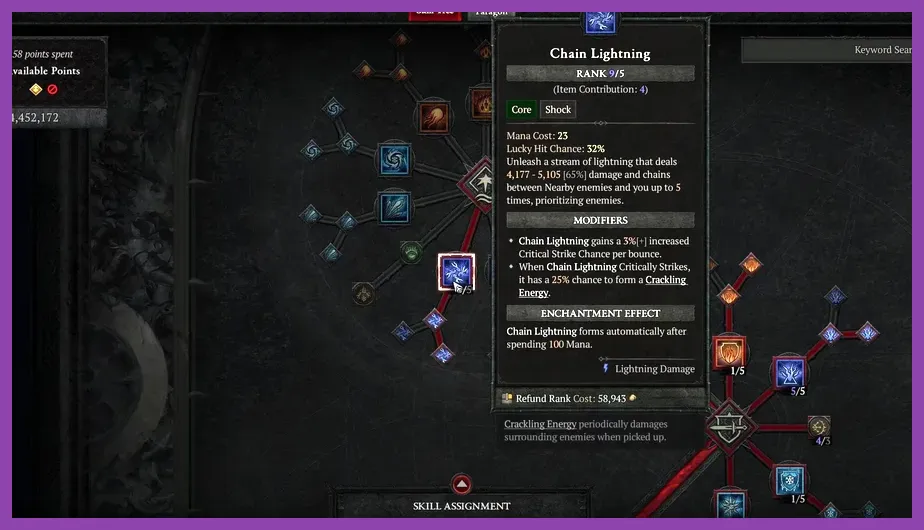
Sorcerers rely on extreme cooldown reduction and attack speed to spam Lightning Spear across the battlefield. The introduction of Shared Misery and Fractured Winterglass unique amulet creates endless conjuration loops that melt elite packs. While fragile against physical floor hazards, their crowd control through Frost Nova and Teleport survivability keeps them safe. Similar gear optimization techniques can be found in our Starfield legendary weapons guide.
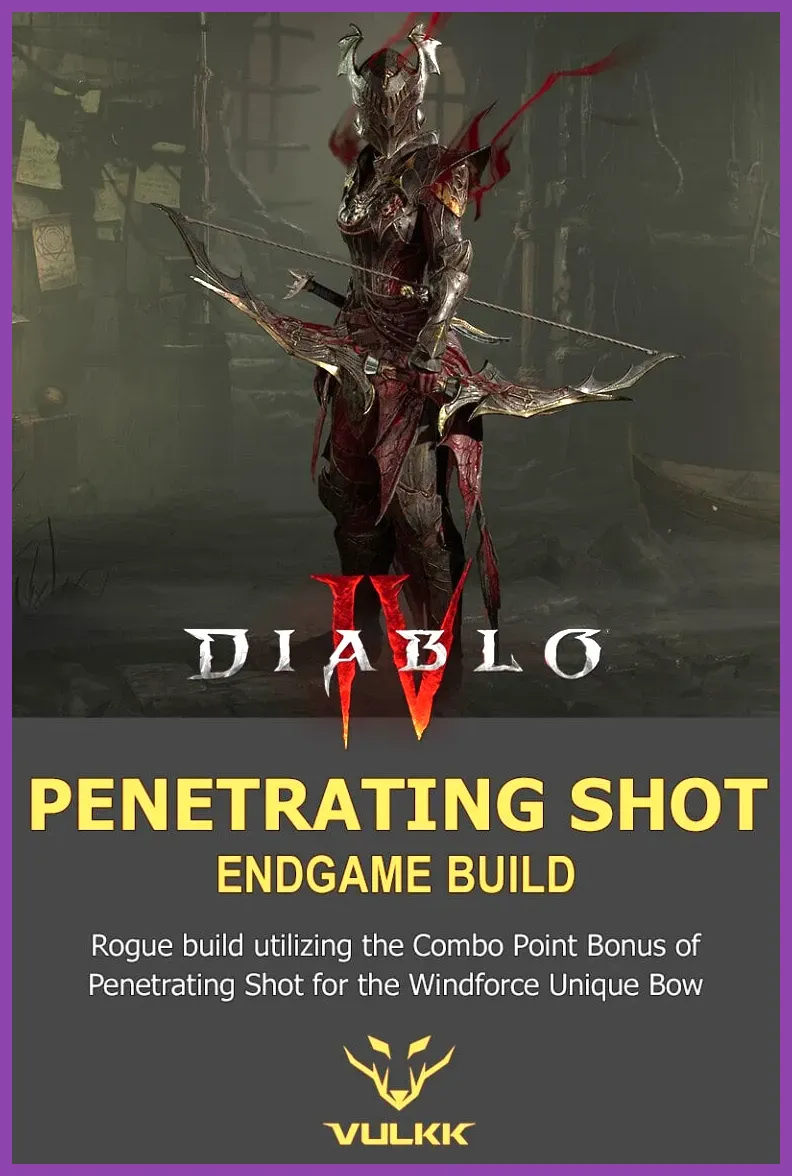
Rogue (Penetrating Shot & Poison Imbue)
Rogues offer elite single-target boss damage. Utilizing Penetrating Shot with Scoundrel's Kiss unique ring turns your arrows into bouncing bombs that decimate bosses within seconds. Pair this with Poison Imbuement and the Andariel's Visage unique helm for poison proc explosions that clear entire screens of trash mobs.
B-Tier: Solid Picks Needing Specific Gear
B-Tier choices are fully viable for standard endgame progression but struggle significantly against high-tier boss mechanics without flawless gear optimization.
Necromancer (Shadow Minion & Bone Spirit)
Necromancers provide a safe, relaxed playstyle through their minion army, but suffer from sluggish movement speed. The Shadow Minion build uses Blight and Army of the Dead to scale shadow-over-time damage, while Bone Spirit builds rely on massive resource-pooling tricks. If you enjoy managing squads and inventory efficiency, you might also appreciate our Squad Busters tier list rankings or the Squad Busters weapon breakdown.
C-Tier: Niche Builds & Underperforming Specs
C-Tier characters require immense investment, specific Uber Uniques, and near-perfect Paragon board min-maxing to keep up with the broader meta.
Druid (Pulverize & Cataclysm Build)
Druids have slipped down the ranks following recent scaling adjustments to Overpower mechanics. While the classic Pulverize bear build remains fun for leveling and mid-tier dungeons, it lacks the raw burst damage of the Spiritborn or Barbarian. To make Druid viable in Torment IV, you must hunt down the Insatiable Fury chest armor and Mad Wolf's Glee. For fans of crafting materials and gear progression in other genres, consult our Tekken 8 crafting materials guide.
Paragon Board & Glyph Prioritization
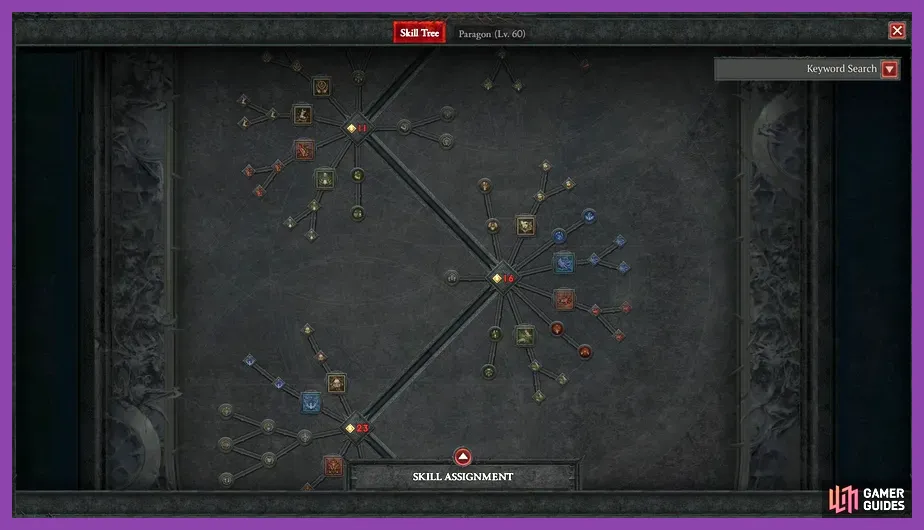
Regardless of which character class you choose from this tier list, your Paragon board setup dictates your ultimate success in the Kurast Undercity and Dark Citadel raids. Always rush your class-specific legendary nodes and socket primary damage-boosting glyphs like Exploit, Crawl, or Control first. Level these glyphs to level 46 in Nightmare Dungeons to unlock their secondary radius bonuses, granting massive multipliers to your multiplicative damage buckets.
Masterworking & Tempering Best Practices
To push your character into the upper echelons of the 2026 meta, masterworking your ancestral gear at the Blacksmith is non-negotiable. Spend your Ingolith and Obducite materials carefully, resetting masterworking ranks at tier 4, 8, and 12 if you miss critical stat crits on important affixes like Critical Strike Chance, Attack Speed, or Skill Ranks. Combine this with double-tempered weapon manuals from high-tier Citadel runs to maximize your damage output.