If you want to immediately eliminate stuttering and unlock a locked, responsive 60+ FPS in the Dead Space remake on PC, turn off Ray-Traced Ambient Occlusion (RTAO), drop Volumetric Resolution to Medium, and engage DLSS or FSR 2 set to 'Quality'. Those three targeted changes claw back between 30% and 42% of your frame rate with virtually zero perceptible hit to the USG Ishimura's soul-crushing atmosphere. The Frostbite engine delivers breathtaking visual fidelity, but straight out of the box, it hammers GPUs with aggressive lighting calculations and inflicts punishing traversal hitches on systems with unoptimized memory pipelines.
The Quick-Fix Sweet Spot: Instant 40% FPS Boost
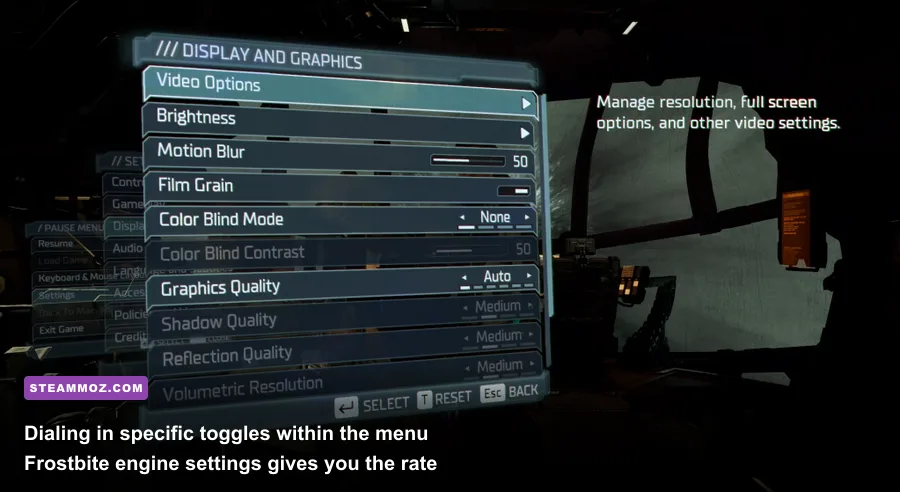
Motive Studio's reimagined sci-fi classic is undeniably stunning, but it comes loaded with several performance traps that tank performance regardless of your hardware. Ray-Traced Ambient Occlusion (RTAO) is the single biggest culprit: it eats roughly 20% to 28% of your total frame budget simply to render marginally softer contact shadows under pipes and storage crates. Swapping RTAO out for the game's built-in Ground Truth Ambient Occlusion (GTAO) preserves deep, pitch-black crevices while instantly putting dozens of frames back into your pocket.
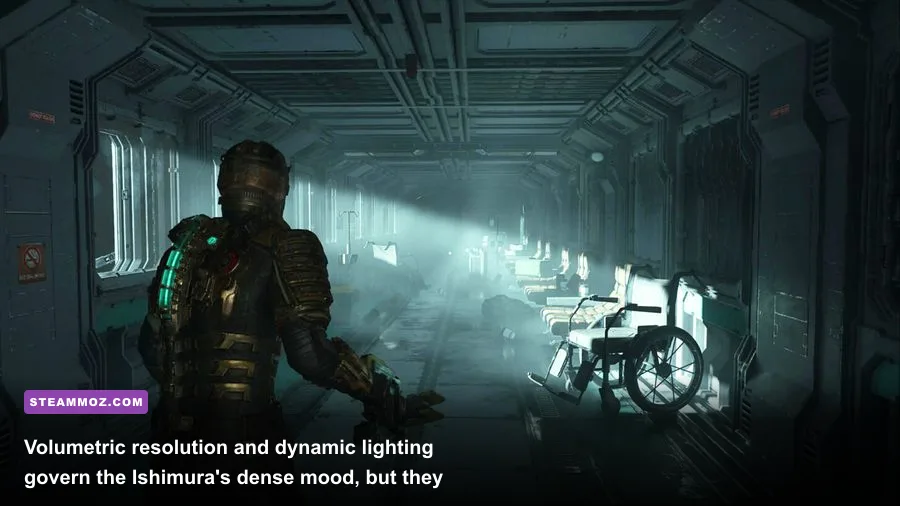
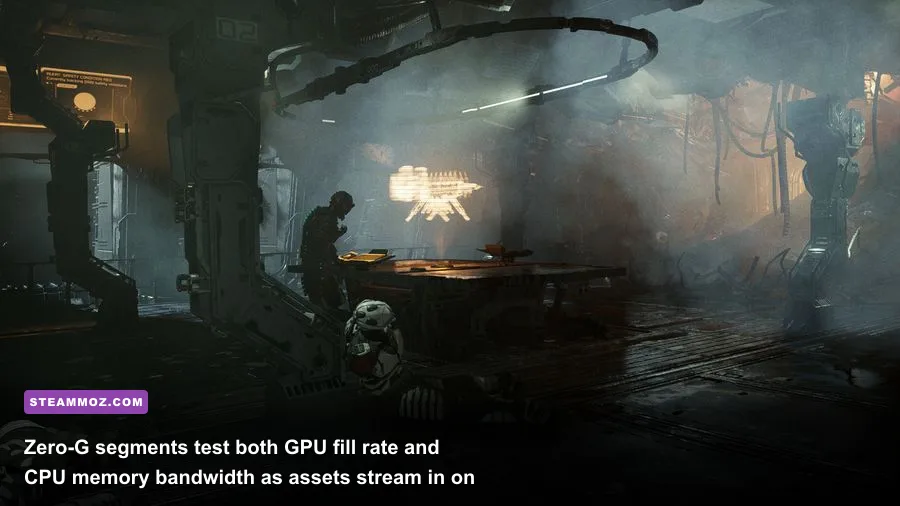
The second major frame thief is Volumetric Resolution. The USG Ishimura is drenched in atmospheric smoke, venting steam, and floating dust motes. Running this setting on Ultra forces the Frostbite engine to compute high-density voxel grids for fog volumes across every corridor Isaac walks through. Knocking it down to Medium preserves roughly 95% of the volumetric scattering effect while reducing GPU fill-rate strain by an easy 10% to 14%. When paired with upscaling, your hardware gets the breathing room it desperately needs. Much like dialing in configurations in our Far Cry 6 optimization guide, isolating these heavy hitting values transforms a sluggish trek into a razor-sharp survival experience.

🎮 FORM
Looking to experience this game? Grab your digital key directly on our store for $14.99.
View on Steammoz Store →Complete Graphics Settings Breakdown: Every Option Tested
To identify where every millisecond of frame time goes, we tested each visual toggle on an RTX 3070 and an RX 6700 XT at native 1440p across the opening Hangar Bay and the frantic Medical Deck quarantine sequence. Here is how each setting affects real-world performance on modern gaming rigs.
| In-Game Setting | Recommended Value | FPS Cost (Impact) | Visual & Gameplay Assessment |
|---|---|---|---|
| Ambient Occlusion | SSAO (Off / GTAO) | Very High (22-30%) | RTAO introduces severe performance hits. Screen-space GTAO looks crisp, moody, and saves massive frame time. |
| Volumetric Resolution | Medium | High (10-14%) | Ultra computes unnecessarily dense fog passes. Medium keeps atmospheric haze intact with no visible banding. |
| Shadow Quality | Medium or High | Medium (6-8%) | High delivers cleaner shadow penumbras. Medium softens edges slightly but protects frame pacing in multi-light rooms. |
| Lighting Quality | High | Low-Medium (3-5%) | Governs dynamic light bounce limits. Keep at High for correct flashlight reflections and strobe intensity. |
| Reflection Quality | Medium | Medium (5-7%) | Controls screen-space reflections on metallic grating and blood splatters. High offers minimal clarity gains over Medium. |
| Visual Effects (VFX) | Medium | Low (2-4%) | Adjusts particle densities for Plasma Cutter sparks and Flamethrower jets. Prevents frame drops during combat chaos. |
| Depth of Field | Low / Off | Very Low (1-2%) | Purely stylistic preference. Disabling DoF sharpens distant threats down long corridors and saves processing overhead. |
| Motion Blur | Off | Negligible (0%) | Turn this off immediately. Fast turns during Necromorph ambushes require crisp pixel clarity, not smeary motion blur. |
| Film Grain | 0 or 0.1 | Negligible (0%) | Heavy film grain introduces noise artifacts that confuse temporal upscalers like DLSS and FSR 2. Lower it to near zero. |
| Dynamic Resolution Scaling | Off | Variable | Can cause unpredictable resolution stepping and hitching. Use dedicated temporal upscalers instead. |
Upscaling is mandatory if you want rock-solid framerates at 1440p or 4K. Nvidia's DLSS and AMD's FSR 2 implementation in Dead Space are well-integrated into the rendering pipeline. If you have an RTX card, running Nvidia DLSS on 'Quality' actually cleans up temporal shimmering on Isaac's RIG suit mesh better than native TAA at 1440p. For Radeon and Intel Arc users, FSR 2 on 'Quality' provides an equivalent 25% performance uplift, ensuring your weapon targeting stays snappy even when three Slashers burst through the ventilation shafts.
Combating the Dreaded Frostbite Traversal Stutter
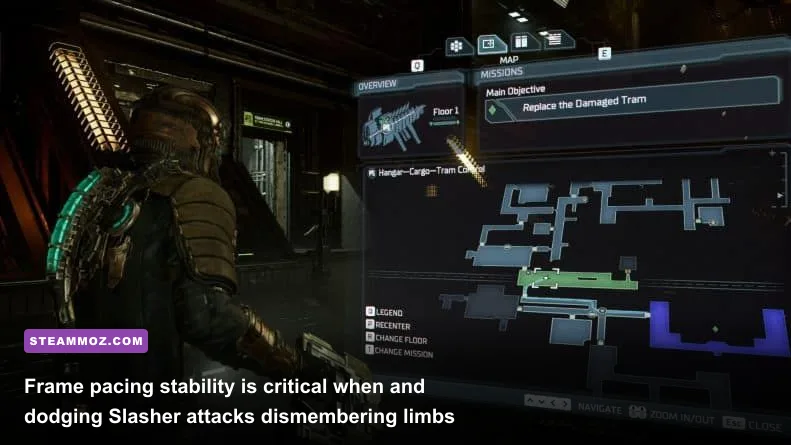
Even if your rig averages 100 FPS, you have likely noticed sudden, jarring micro-stutters when sprinting through doorway airlocks or exiting tram stations. This is the infamous Frostbite engine traversal stutter. The remake renders the entire USG Ishimura as one continuous, interconnected world without traditional loading screens. As you cross invisible sector boundaries, the game streams high-resolution geometry, sound banks, and Necromorph spawns into system RAM and VRAM simultaneously.
The primary weapon against traversal hitching is your storage medium. You must install Dead Space on an internal NVMe M.2 SSD. Installing the game on a mechanical hard drive or even a SATA SSD bottlenecks the asset streaming pipeline, stretching sub-second streaming hitches into full one-second game freezes. If you have tackled frame pacing bottlenecks in other titles like we detailed in our EscapeVR low FPS troubleshooting guide, you know how heavily storage input/output influences real-time engine rendering.
Another crucial step is capping your frame rate slightly below your monitor's maximum refresh rate using an external tool like RivaTuner Statistics Server (RTSS) or the Nvidia Control Panel. Running the engine with an uncapped framerate pushes CPU draw calls to 100% utilization. When the game suddenly demands streaming resources to load the next compartment, the CPU threads spike, resulting in severe frame time variance. Capping your FPS to 57 on a 60Hz display, or 141 on a 144Hz monitor, smooths out frame delivery curves and keeps your frame times flat as glass.
Hardware-Specific Profiles: Budget, Mid-Tier, and High-End Rigs

Every PC configuration demands a tailored balance between rendering overhead and pixel detail. To take the guesswork out of setup, use the calibrated performance tiers below to match your specific hardware class.
| Target Hardware Class | Target Resolution & FPS | Upscaler Setting | Shadow & Lighting | Volumetrics & Ambient Occlusion |
|---|---|---|---|---|
| Budget Rigs (GTX 1660 Super / RTX 2060 / RX 6600) |
1080p @ 60 FPS | FSR 2 / DLSS (Balanced) | Shadows: Medium Lighting: Medium |
Volumetrics: Medium AO: SSAO (Off / Standard) |
| Mid-Tier Workhorses (RTX 3070 / RTX 4060 Ti / RX 6700 XT) |
1440p @ 75-90 FPS | DLSS / FSR 2 (Quality) | Shadows: High Lighting: High |
Volumetrics: Medium AO: SSAO (GTAO Enabled) |
| High-End Enthusiast (RTX 4080 / RTX 4090 / RX 7900 XTX) |
4K @ 100+ FPS | DLSS (Quality) / Native TAA | Shadows: Ultra Lighting: Ultra |
Volumetrics: High AO: RTAO (Optional) or SSAO |
If you are rocking an 8GB VRAM graphics card at 1440p, monitor your memory allocation closely. Dead Space is notorious for filling video memory buffers over extended play sessions. Keeping Texture Quality at Medium or High ensures you never cross the VRAM threshold where Windows begins paging textures out to system memory—an issue that causes instant frame rate free-falls. We have addressed similar memory leak behaviors in our ELEX PC crashing and FPS guide as well as the Filament FPS performance pass, proving that proactive memory headroom is essential for maintaining consistent performance.
Driver-Level Tweaks and Essential Config Adjustments
Beyond the in-game display panel, fine-tuning your GPU driver and Windows configuration eliminates background hitches and stabilizes shader delivery. Before launching the game on Steam or the EA App, open your GPU control software and apply these system-level overrides.
First, navigate to the Nvidia Control Panel or AMD Software and force the Shader Cache Size to at least 10 GB (or 'Unlimited' on Nvidia systems). The remake compiles shaders on its opening startup screen, but dynamic shader compilation still occurs in the background as you encounter new dismemberment effects and elemental hazards. Expanding the shader cache prevents the driver from dumping pre-compiled caches, eradicating combat-related micro-stutter when Necromorphs ignite from your Line Gun mines. For additional guidance on how hardware baselines dictate rendering stability, review our system breakdowns for Fatal Fury: City of the Wolves and Far Cry 2 hardware specs.
Second, ensure Resizable BAR (ReBAR) is enabled in your motherboard BIOS. Resizable BAR allows your CPU to access the entire GPU frame buffer concurrently rather than through small 256MB chunks. Because the Frostbite engine constantly cycles textures and mesh data across the PCIe bus, ReBAR minimizes frame time spikes during intense quarantine lockdowns. Finally, toggle Windows 11's Hardware-Accelerated GPU Scheduling (HAGS) to 'On' under your OS Graphics Settings to streamline command buffer scheduling. Similar to the system stabilization tips we covered in our Everspace 2 stability guide, these OS-level tweaks strip away rendering latency so you can focus on surviving the horrors lurking within the Ishimura.