If EscapeVR: The Basement crashes on launch or runs with ugly stutter, start with the VR basics: verify the Steam installation, use a supported headset connection, lower SteamVR resolution to 80% or 90%, and disable overlays. Then test the game at a stable 72 or 80 FPS target before raising visual quality. That order matters because VR judder is usually caused by missed frame timing, not simply a low average FPS number.
This guide focuses on the PC version of EscapeVR: The Basement. It avoids the usual bad advice—randomly deleting folders, forcing undocumented launch commands, or pretending that a miracle “ultra performance” preset exists. The exact menu labels can vary between builds, so use the closest matching option in your copy. Before changing anything, note your headset, GPU, SteamVR render resolution, refresh rate, and whether the crash happens before the title screen or during a specific room.
Check the VR setup before touching graphics
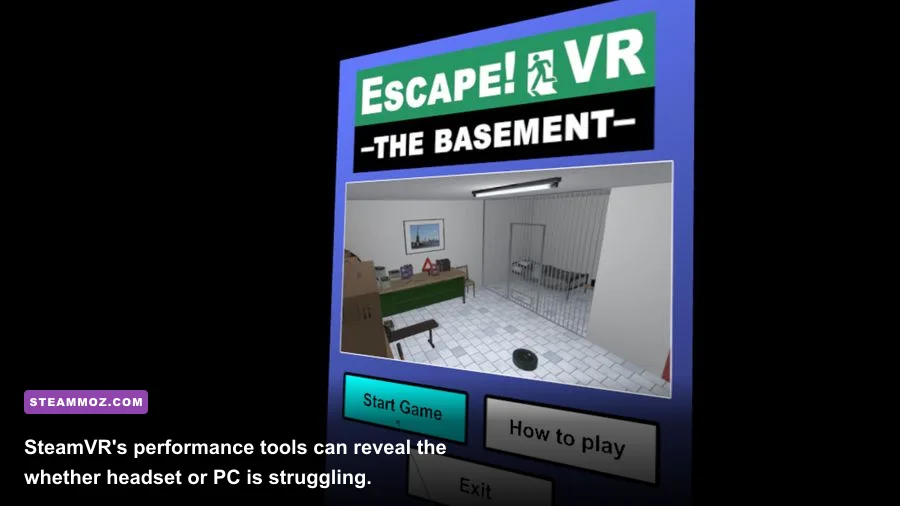
A surprising number of EscapeVR crashes are connection or runtime failures rather than game bugs. Launch SteamVR first, wait until the headset and controllers show as ready, and only then start the game from Steam. If you use Quest Link or Air Link, test a wired Link connection once. If you use a Windows Mixed Reality headset, confirm that its runtime is active before SteamVR opens. The goal is to remove one variable at a time.
Use a clean launch sequence
- Restart the PC, especially after a GPU driver or Windows update.
- Connect the headset directly to the motherboard or graphics card rather than a passive USB hub.
- Open SteamVR and confirm that the headset displays its home environment without flickering.
- Close MSI Afterburner overlays, Discord overlay, Xbox Game Bar, OBS hooks, and third-party FPS counters for the first test.
- Launch EscapeVR: The Basement from the Steam library, not through several nested shortcuts.
Steam's official store search is the safest place to confirm that you are launching the intended app and checking its current patch notes. If the game starts in desktop mode but not in VR, the problem points toward SteamVR, OpenXR, or the headset runtime. If it crashes in both modes, verify the game files next.

🎮 EscapeVR: The Basement
Looking to experience this game? Grab your digital key directly on our store for $4.19.
View on Steammoz Store →Stop launch crashes with verification and a clean config test
Open Steam, right-click EscapeVR: The Basement, choose Properties, select Installed Files, and click Verify integrity of game files. This replaces missing or damaged files without reinstalling the whole game. It is especially worth doing after a failed update, a power cut, or moving the installation between drives.
Next, disable Steam's overlay for this title under Properties > General. VR overlays can collide with capture software and runtime layers, and the crash may look like a game failure because it occurs immediately after the headset view appears. Also disable any headset-specific overlay temporarily, then test again.
Read the crash pattern
| Crash point | Most likely cause | First action | Useful second test |
|---|---|---|---|
| Before SteamVR opens | Corrupt files, runtime mismatch, blocked executable | Verify files and launch SteamVR first | Run Steam and the game normally, not as administrator |
| When the headset view appears | Overlay conflict or unstable render resolution | Disable overlays and lower SteamVR resolution | Try a wired headset connection |
| During a loading screen | Driver timeout, shader compilation, memory pressure | Update or clean-install the GPU driver | Close browsers, recording tools, and launchers |
| After entering a room | Scene-specific GPU load or damaged saved data | Use the lowest graphics preset and retry | Test a new save if the game allows it |
Don't start by deleting your saves. Back them up first if you locate them, then rename the configuration folder rather than destroying it. A renamed folder gives the game a clean configuration while preserving a rollback path. Folder locations differ by engine and build, so use Windows search for “EscapeVR” inside %APPDATA%, %LOCALAPPDATA%, and the game's installation folder. Only rename folders clearly associated with settings or cache data.
Set SteamVR resolution for smooth 72 or 80 FPS
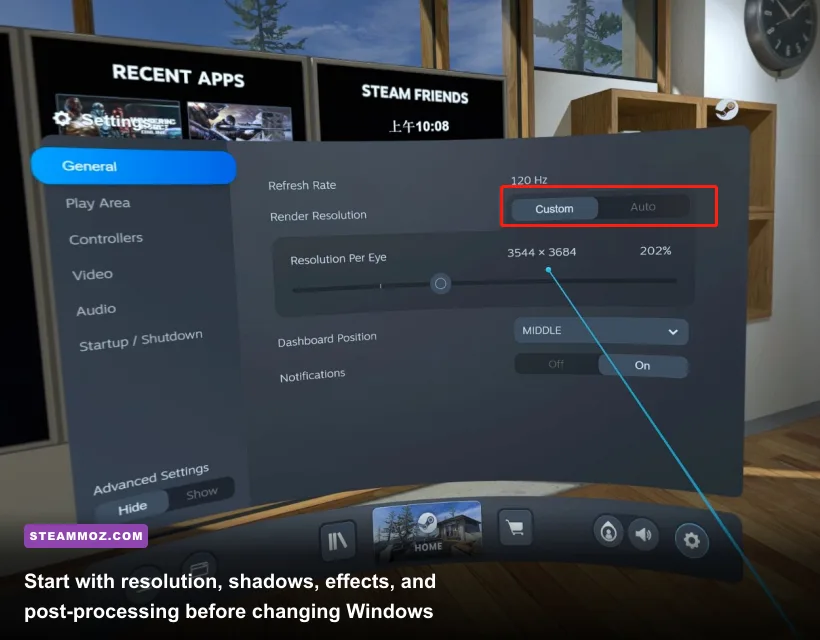
In SteamVR, open Settings > Video and switch from automatic resolution to a manual value for testing. Begin at 80% per-eye resolution. If your headset refreshes at 72Hz, a steady 72 FPS is the target; at 80Hz, target 80 FPS. A 90Hz headset demands 90 delivered frames every second, so it can expose a weak GPU much faster. Do not confuse headset refresh rate with the game's actual frame rate: missed frames create reprojection, ghosting, and the awful double-image effect.
Use SteamVR's frame-time graph while standing in the most visually demanding basement area. At 72Hz, the frame budget is about 13.9 milliseconds; at 80Hz it is 12.5ms; at 90Hz it is only 11.1ms. If the GPU line repeatedly crosses that budget, lower resolution or shadows. If the CPU line spikes while GPU time remains comfortable, reduce background tasks, physics-heavy overlays, and capture software instead.
| Setting or profile | Recommended starting value | FPS impact | Visual trade-off |
|---|---|---|---|
| SteamVR resolution | 80% manual | Very high | Less headset sharpness, usually the fastest performance win |
| Headset refresh rate | 72Hz or 80Hz | High | Lower motion target, but easier frame pacing |
| Shadows | Low or Medium | High | Reduced contact detail in dark rooms |
| Post-processing | Low or Off for testing | Medium to high | Less bloom, blur, and cinematic contrast |
| Volumetric effects or fog | Low | Medium | Lighting looks flatter, especially around the flashlight |
| Textures | Medium or High | Low if VRAM is sufficient | Keep higher than shadows when possible |
| Anti-aliasing | Medium or the lowest stable option | Medium | More jagged edges at lower values |
For a practical low-FPS profile, choose 72Hz, 80% SteamVR resolution, low shadows, low post-processing, low fog, medium textures, and medium anti-aliasing. Once the frame graph stays under budget for several minutes, raise only one setting at a time. Textures are usually the safest upgrade because they consume VRAM more than raw shader time; shadows, fog, and resolution are the settings most likely to punish a mid-range GPU.
Fix stutter caused by drivers, power, and Windows
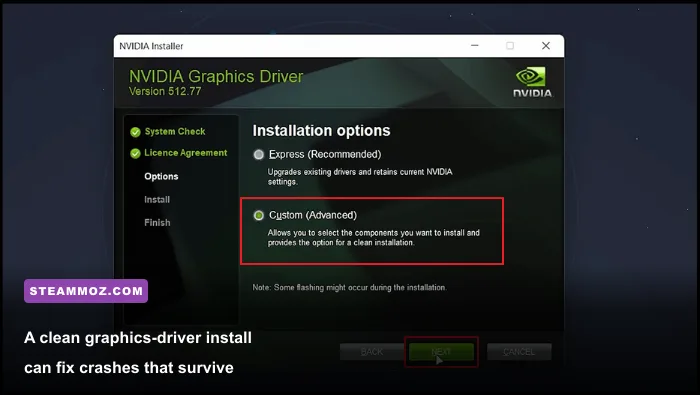
If lowering resolution barely changes performance, the bottleneck may not be the GPU. Install the latest driver for your NVIDIA, AMD, or Intel graphics card from the manufacturer's official page, choosing a clean installation when the installer offers one. Avoid installing a beta driver during troubleshooting. After rebooting, let the system sit for a minute before launching SteamVR so background driver services finish starting.
Set the game to use the dedicated GPU on laptops through Windows Settings > System > Display > Graphics. Select the game's executable, choose Options, and pick High performance. Keep the laptop plugged in and use its high-performance power mode. Battery-saving modes can produce severe frame-time spikes even when the FPS counter briefly looks acceptable.
Close Chrome tabs, RGB utilities, motherboard monitoring suites, cloud-sync clients, and video capture tools. VR streaming already uses CPU, USB, and network bandwidth; Air Link adds another load on top. If you are wireless, use a 5GHz or Wi-Fi 6 router in the same room and keep the PC connected to that router by Ethernet. For diagnosis, though, wired VR is the cleaner test.
Steam's official troubleshooting support is useful for library and client problems, while Valve's SteamVR page provides the current runtime download and hardware context. For broader PC crash comparisons, Steamoz's ELEX PC fixes and Everspace 2 crashing guide cover the same driver, overlay, and frame-time logic in non-VR games.
Separate a game bug from a headset problem
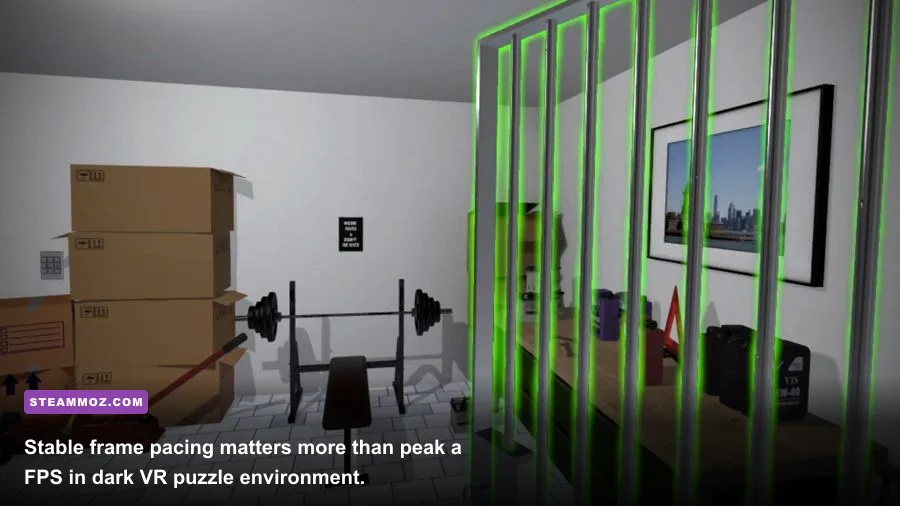
Run three controlled tests. First, launch SteamVR's home environment for five minutes. Second, run another demanding VR title at the same headset refresh rate. Third, launch EscapeVR: The Basement at 72Hz and 80% resolution with overlays disabled. If SteamVR Home and other games are smooth but EscapeVR crashes in one specific scene, capture the exact room, action, and time before reporting it. Reproducible reports are dramatically more useful than “it crashes randomly.”
If every VR title stutters, inspect USB power management, headset firmware, cable condition, and the runtime itself. Avoid front-panel USB ports and unpowered hubs while testing. For wireless headsets, compare Air Link, Steam Link, or a wired connection only if your hardware supports them. A bad cable can look like a rendering problem because the headset may freeze, reconnect, or display a black screen at the same moment the game appears to crash.
Use this final troubleshooting order
- Restart Windows and launch SteamVR before EscapeVR: The Basement.
- Verify the game's files and disable Steam, Discord, Xbox, and capture overlays.
- Set 72Hz or 80Hz, then choose 80% manual SteamVR resolution.
- Lower shadows, fog, post-processing, and anti-aliasing before lowering textures.
- Clean-install the GPU driver and force the dedicated GPU on laptops.
- Test a direct USB and DisplayPort connection, or compare wired and wireless VR.
- Rename only configuration or cache folders after backing up saves.
- Record the headset, GPU, CPU, refresh rate, resolution percentage, crash location, and error message for a developer report.
For more PC performance troubleshooting, Steamoz's Far Cry 6 FPS settings guide explains why resolution scaling should be adjusted before visual effects. The same principle applies here: stabilize frame timing first, then rebuild image quality one setting at a time. EscapeVR: The Basement is far more comfortable at a locked 72 FPS than it is at an unstable 90 FPS, and that single change fixes a surprising amount of perceived “low FPS.”
If the game still crashes after verification, a clean driver install, overlay removal, and a low-resolution wired test, the remaining evidence points toward a build-specific compatibility issue rather than a setting you missed. Submit the crash details through the game's Steam community or developer support channel. Include your headset model, SteamVR version, GPU driver version, Windows version, launch point, and whether the crash occurs in desktop mode. That gives the developer a real path to reproduce the failure—and gives you the best chance of a proper patch instead of another guess.
For official runtime information, use SteamVR on Steam and your GPU manufacturer's support page rather than third-party driver mirrors. Keep the changes reversible, test one variable at a time, and judge success by consistent frame timing inside the headset—not by a desktop FPS counter that can hide VR reprojection.