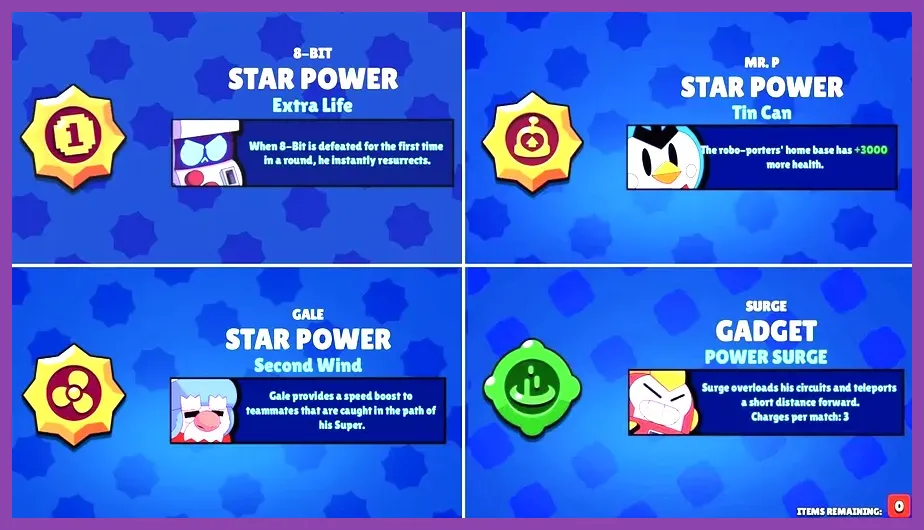
To win consistently in Brawl Stars while conserving valuable Coins and Power Points, the best skills to unlock first are Shelly’s Clay Pigeons Gadget, Dynamike’s Satchel Charge Gadget, Colt’s Speedloader Gadget, and Edgar’s Let’s Fly Gadget. Prioritizing these low-cost (1,000 Coins each) active abilities at Power Level 7 yields an immediate jump in win rate across Showdown, Gem Grab, and Brawl Ball. Once your core brawlers hit Power Level 9, unlocking high-impact Star Powers (2,000 Coins) like Shelly’s Shell Shock or Piper’s Snappy Sniping secures top-tier competitive utility without wasting hard-earned resources.
Core Coin Economy: Priorities for Power Level Unlocks
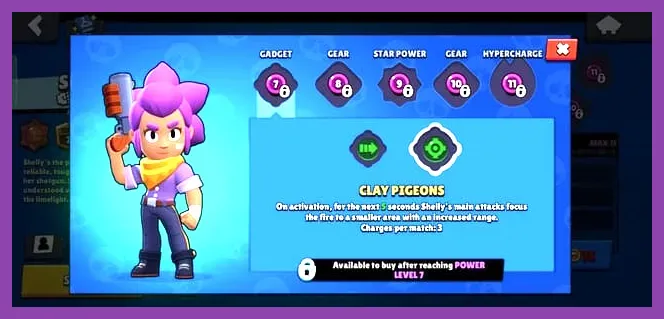
Navigating the progression system in Brawl Stars requires strategic spending. Power Points upgrade base attributes—Health, Attack Damage, and Super Damage—by roughly 5% to 10% per level up to Power Level 11. However, raw stats rarely dictate the outcome of a duel compared to mechanical utility. Unlocking your first Gadget slot at Power Level 7 costs 1,000 Coins and gives you an active ability usable three times per match (or four with the Gadget Gear equipped). This single unlock fundamentally alters how a Brawler engages in combat.
Star Powers unlock at Power Level 9 and cost 2,000 Coins. These passive perks operate continuously throughout the match. Finally, Gears unlock at Power Level 8 and 10 (costing 1,000 to 1,500 Coins), while Hypercharges become available at Power Level 11 for a hefty 5,000 Coins. If you are starting fresh or managing an account with limited resources, spending Coins haphazardly across dozens of low-level characters will stall your progress. You should focus on pushing a selective group of versatile Brawlers to Power Level 7, equipping their single best Gadget, and then taking key meta picks directly to Power Level 9 and 11. Similar to mastering competitive rotations in Marvel Rivals beginner setups, establishing a strong character pool early determines how quickly you climb the leaderboards.
S-Tier Must-Unlock Gadgets for Early Brawlers
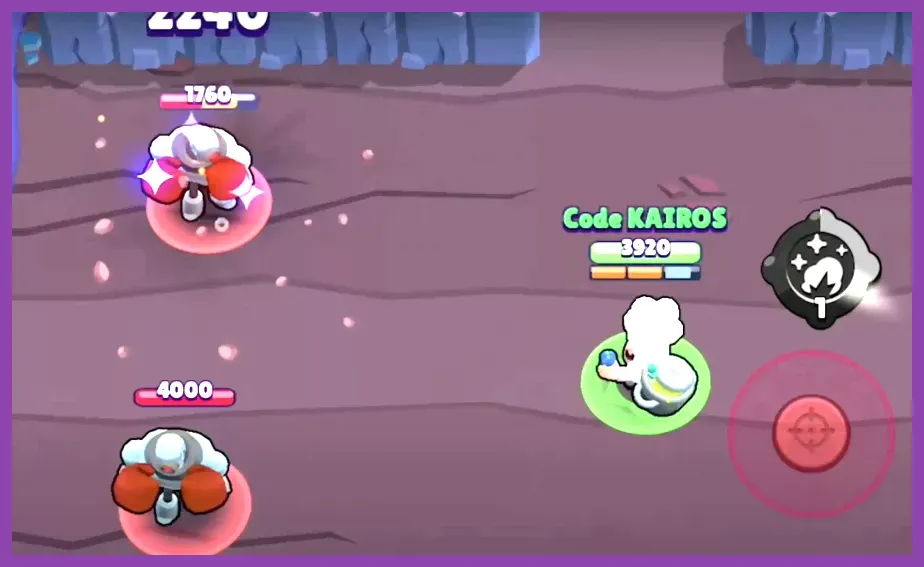
Gadgets are the most cost-effective upgrades in the entire game. For just 1,000 Coins, an S-Tier Gadget instantly upgrades a Brawler from mediocre to top-tier. Below are the absolute priority Gadgets you should purchase as soon as you hit Power Level 7:
- Shelly — Clay Pigeons: For 5 seconds after activation, Shelly’s main attack narrows its spread and increases its range dramatically. This allows her shotgun to deal massive point-blank damage from long sniper distances, completely deleting squishy targets like Piper, Brock, or Crow before they can react.
- Dynamike — Satchel Charge: Dynamike’s next main attack stuns hit enemies for a full 1.5 seconds. In mid-range engagements or choke points, hitting a enemy with Satchel Charge guarantees a follow-up attack, resulting in an instant burst of over 4,000 damage.
- Colt — Speedloader: Colt instantly reloads 2 ammo bars upon activation. Colt relies heavily on continuous pressure, and having 2 extra ammo slots on demand enables sustained damage output to destroy Heist safes, clear Brawl Ball waves, or dominate straight lanes.
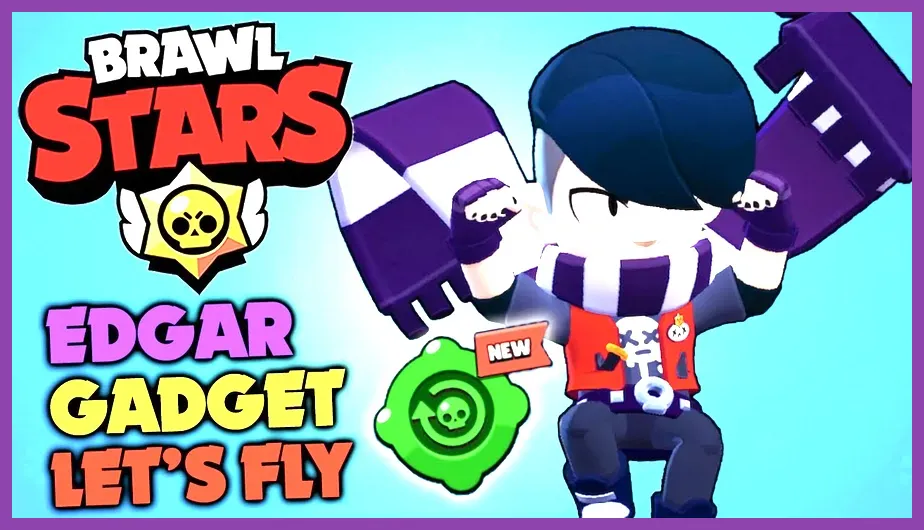
- Edgar — Let’s Fly: Edgar’s Super charges 525% faster over 4 seconds, granting him a free jump without needing to wait out his natural passive charge time. Because Edgar is virtually useless until he lands on top of a target, Let's Fly is mandatory for opening engagements in Solo Showdown and Knockout.
- Gene — Lamp Puff: Gene immediately knocks back all nearby enemies in a 4-tile radius while healing himself for 800 HP. This acts as a hard counter against aggressive divers like Mortis, Buzz, and Edgar, turning Gene into a dominant lane controller.
Investing in these abilities right away allows low-level accounts to hold their ground against higher-level players. Resource management plays as big a role here as it does when looking for fast efficiency strategies in Subway Surfers or maintaining optimal character builds in RPGs.
Game-Changing Star Powers to Upgrade First
Reaching Power Level 9 unlocks Star Powers for 2,000 Coins. Unlike Gadgets, which require precise timing, Star Powers alter your fundamental gameplay loop passively. Picking the wrong Star Power can waste 2,000 Coins on a sub-optimal effect, so here are the essential passive skills to grab first:
Shelly: Shell Shock vs. Band-Aid
Shell Shock slows down enemies hit by Shelly’s Super for 2.0 seconds. This slow makes it practically impossible for targets to dodge follow-up shots, letting you cycle endless Supers. Band-Aid heals Shelly for 2,000 HP whenever her health drops below 40% (with a 15-second cooldown). For 3v3 modes, Shell Shock is mandatory, whereas Band-Aid shines in Solo Showdown survival tactics.
Piper: Snappy Sniping
Whenever Piper hits an enemy with her main attack, she instantly reloads 0.4 ammo. When paired with her long-range baseline kit, hitting three consecutive shots grants almost an entire extra attack bar. This allows continuous long-range suppression that locks down open maps like Shooting Star and Outlaw Camp.
Spike: Curveball
Spike’s main attack spikes spin in a circular pattern as they split. Without Curveball, dodging Spike’s projectiles is straightforward at long distance. With Curveball active, the trajectory curves radically, making his attacks almost impossible to dodge without cover. It lowers the mechanical skill floor required to dominate open lanes in Gem Grab and Hot Zone.
Fang: Fresh Kicks
If Fang eliminates an enemy with his Super (Dragon Kick), his Super meter instantly recharges to 100%. In team wipe scenarios or grouped 3v3 engagements, Fresh Kicks lets you chain multiple Super kicks back-to-back, clearing an entire enemy team in under three seconds.
Hypercharge Upgrade Hierarchy: Where to Invest 5,000 Coins
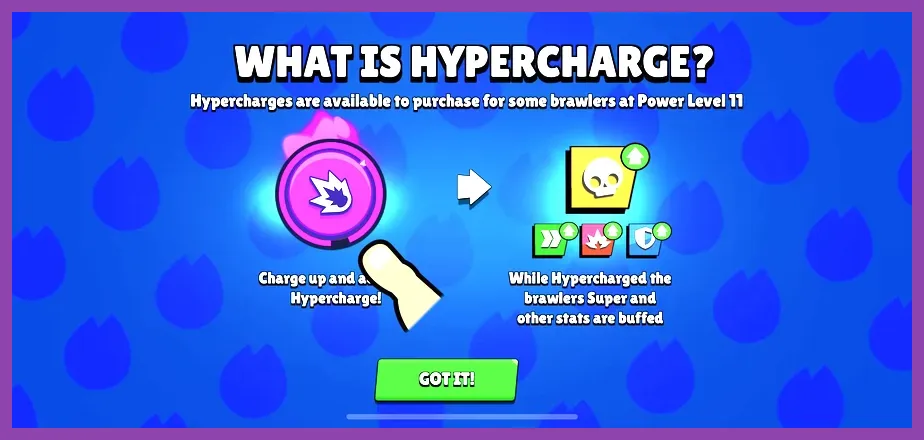
Unlocking a Hypercharge at Power Level 11 requires a steep investment of 5,000 Coins (or getting lucky with Legendary Starr Drops). Hypercharges grant temporary Stat Buffs (+20% Speed, +25% Damage, +15% Shield) along with a supercharged main Super ability. Because of the high cost, you should only purchase Hypercharges for Brawlers that define the meta across multiple game modes.
| Brawler | Hypercharge Name | Super Effect Upgrade | Priority Level |
|---|---|---|---|
| Shelly | Double Barrel | Super spread is reduced by 33%, dealing 20% extra concentrated damage. | S-Tier (Must Have) |
| Lou | Ice Freezy | Super instantly freezes all enemies caught in the zone without delay. | S-Tier (Competitive) |
| Maisie | Aftermath | Super fires normal attacks in 360 degrees simultaneously upon cast. | A-Tier (High Value) |
| Edgar | Outburst | After using Super, gains +25% Reload Speed and Super Charge rate for 5s. | A-Tier (Aggressive) |
Shelly’s Double Barrel remains one of the best overall initial investments because Shelly is a free starting character, making her versatile in every meta shift. Maximizing your power level efficiently is just as rewarding here as finding the quickest ways to level up fast in Dragon Ball Sparking Zero.
Best Super Rare & Epic Brawler Skill Synergies
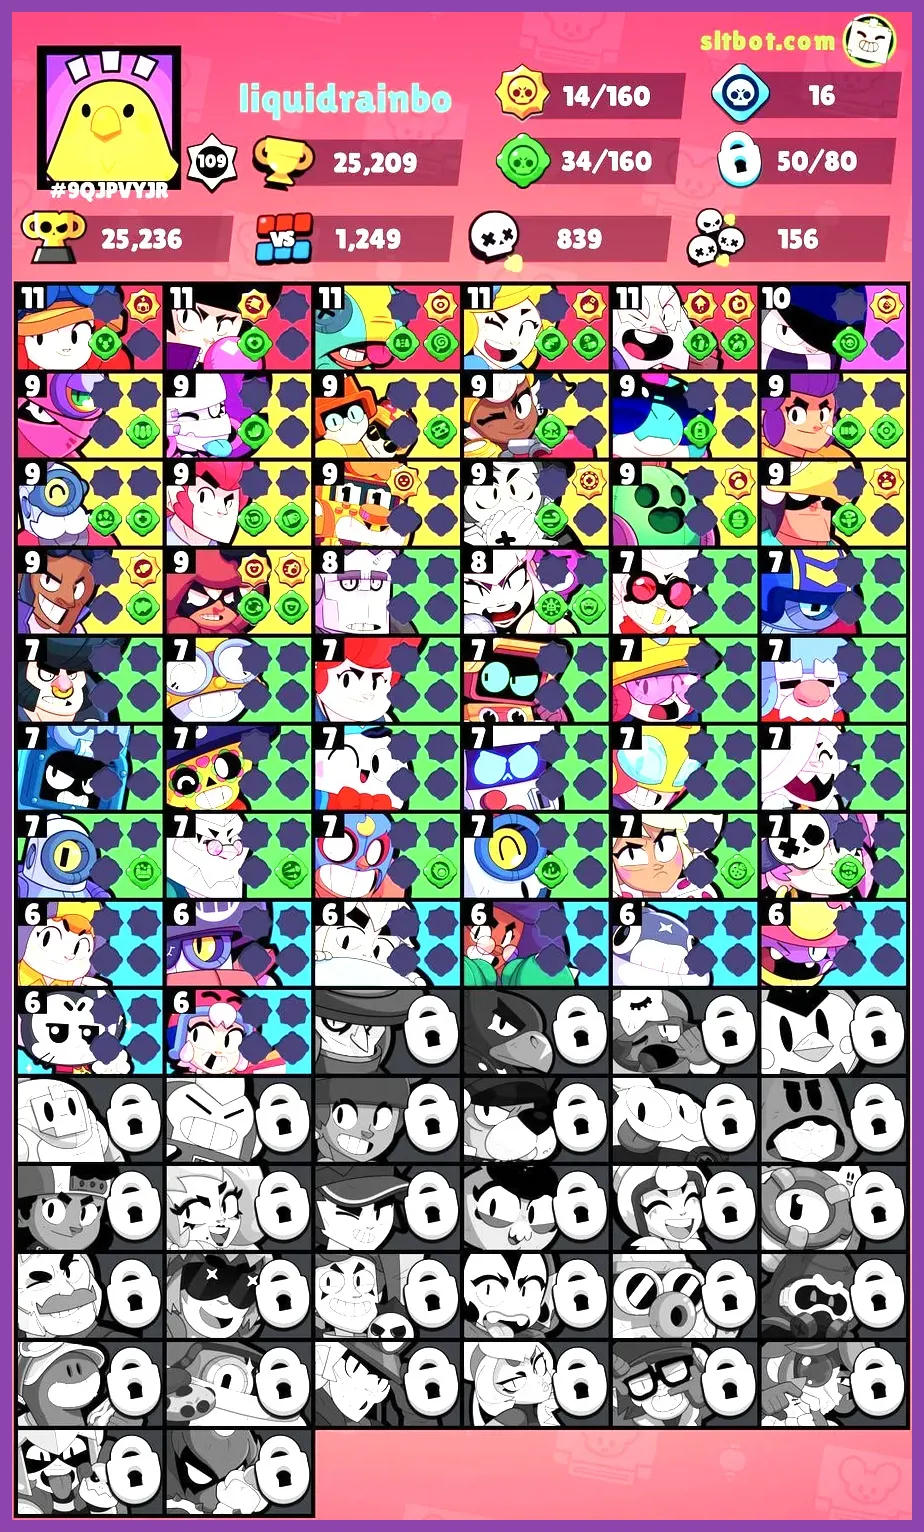
Moving beyond starting characters, expanding your roster into Super Rare and Epic tiers requires specific Gadget and Star Power combos to maximize efficiency. According to the official Brawl Stars Wiki, combining complementary active and passive abilities creates potent loadout synergies:
Rico (Super Rare): Bouncy Castle + Super Bouncy
Rico's Bouncy Castle Gadget makes his next project projectiles heal him for 300 HP per bounce. Paired with the Super Bouncy Star Power (which adds +160 extra damage per bounce), Rico becomes nearly invincible on enclosed maps like Cavern Churn and Split, simultaneously dealing massive area damage while recovering lost health.
Bulls (Super Rare): T-Bone Injector + Tough Guy
Bull functions as a close-quarters tank. His T-Bone Injector Gadget instantly restores 1,500 HP. Combine this with Tough Guy (which grants a 30% damage reduction shield whenever health drops below 40%), and Bull gains an enormous effective health pool that allows him to charge straight through heavy fire to secure objectives in Brawl Ball.
Stu (Epic): Breakthrough + Zero Drag
Stu gains his Super after landing just a single attack projectile. His Breakthrough Gadget allows his next Super to smash straight through walls, destroying cover and dropping debris on enemies. Paired with Zero Drag (which increases his Super dash distance by 71%), Stu becomes an hyper-mobile menace that easily breaks defensive turtle strategies in Knockout and Bounty.
Mastering these combinations helps build multi-role proficiency for both casual play and high-rank competitive play, similar to evaluating team member synergy using a character strength tier list.
Resource Allocation Strategy for Ranked and Trophy Progression
To optimize your account's progression curve, you must strictly manage how you spend Coins on Gears and abilities. Never buy Vision Gear or Shield Gear on close-range tanks; instead, prioritize Speed Gear (for extra movement in bushes) and Damage Gear (which grants 15% bonus damage when falling below 50% HP). Damage Gear is almost universally effective across all classes, making it the safest 1,000 Coin investment for any Power Level 8 or 10 Brawler.
For Ranked mode (formerly Power League), draft versatility demands having at least one maxed-out Brawler for each core archetype: Tank (Bull/El Primo), Sniper (Piper/Brock), Damage Dealer (Colt/Shelly), and Controller (Emz/Gene). Prioritize buying single Gadgets for six core characters before purchasing a single Hypercharge. This ensures you are never caught in a Draft phase with under-leveled heroes who lack crucial ability mechanics.
If you enjoy tactical handheld and portable experiences, check out our editorial on whether Minecraft PE is worth playing on modern mobile screens. By staying disciplined with your currency and unlocking high-tier Gadgets like Clay Pigeons and Satchel Charge first, you'll maximize your competitive edge and climb the leaderboards faster than ever.