
For fast leveling and gold farming in Borderlands: The Handsome Collection, stop killing whatever happens to be nearby. Use mission checkpoints and repeatable encounters instead: Bad Maw in Borderlands 2 for the early campaign, Pyro Pete's Bar Brawl for mid-to-late cash, and Tinder Snowflake's loot train for endgame money and gear. In The Pre-Sequel, rotate story bosses with The Grinder, sell every non-essential drop, and keep your gear within roughly three levels of your character. That combination beats wandering through old areas and hoping the next chest pays out.
One important correction before we start: Borderlands uses cash, not a traditional gold currency. Cash pays for SDUs, ammo, health, and the occasional vending-machine purchase. Eridium in Borderlands 2 and moonstones in The Pre-Sequel are separate currencies, so don't confuse a cash route with an Eridium or moonstone farm. This guide covers both games included in the collection, with the most efficient routes separated where their scaling and systems differ.

🎮 Get Borderlands: The Handsome Collection
Ready to dive in? Grab your copy today for just $14.94.
Check OfferHow Borderlands Level Scaling Really Works
Enemy level matters more than raw kill speed. A level 20 enemy killed by a level 25 Vault Hunter gives miserable experience compared with a level 24 target, even if the lower-level target dies instantly. That is why repeatedly clearing the opening areas eventually feels useless. The game applies a steep penalty when enemies fall too far below your level.
During the first playthrough, most areas are tied to the campaign's progression. The sensible route is to complete missions while taking every opportunity to kill named enemies that respawn after a save-and-quit. In Borderlands 2, Normal Mode generally carries you to around level 30, True Vault Hunter Mode pushes toward level 50, and Ultimate Vault Hunter Mode scales enemies and missions to your level. The original Handsome Collection version of Borderlands 2 reaches level 72 and includes Overpower levels up to OP8 when the relevant DLC is installed.
The Pre-Sequel follows a similar curve, but its campaign and DLC progression usually land you near level 30 in Normal, level 50 in True Vault Hunter Mode, and level 60 with the level-cap content available in the collection. The exact cap depends on installed DLC and platform version. Before farming, check the mission reward level: accepting a quest too early can permanently lock its reward below your eventual build level on that playthrough.
| Goal | Borderlands 2 Route | The Pre-Sequel Route | Why It Works |
|---|---|---|---|
| Levels 1–20 | Story missions, named bosses, side missions | Story missions and Deadlift/RedBelly checkpoints | Mission XP is faster than low-level open-world clearing |
| Levels 20–35 | Bad Maw, Wilhelm, The Warrior | Deadlift, RedBelly, and RK5 | Bosses respawn quickly and drop level-appropriate gear |
| Levels 35–50 | Pyro Pete’s Bar Brawl or TVHM story | TVHM story bosses and Grinder upgrades | Repeatable enemies stay relevant longer |
| UVHM/endgame | Pyro Pete, Snowman, raid bosses | Claptastic Voyage enemies and legendary Grinder recipes | Scaling keeps XP and loot meaningful |
For a broader look at how modern games handle progression loops, Steamoz's time-loop RPG analysis is a useful comparison. Borderlands is less subtle, but its checkpoint design is similarly built around repeatable cycles.
🎮 Borderlands: The Handsome Collection
Looking to experience this game? Grab your digital key directly on our store for $14.94.
View on Steammoz Store →The Fastest Borderlands 2 Leveling Routes
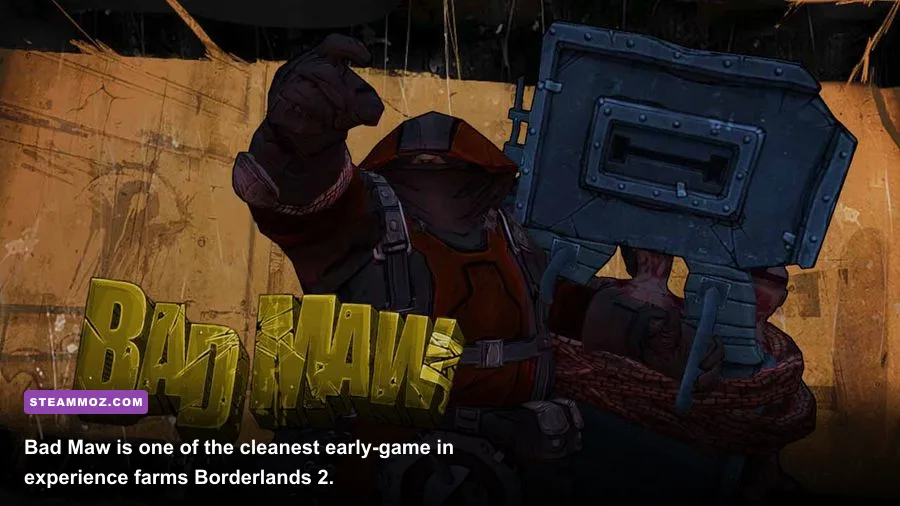
Bad Maw is the standout early-to-mid-game farm. You meet him at the entrance to Bloodshot Stronghold during “Bright Lights, Flying City.” After killing Bad Maw, save and quit, reload, and run back to the gate. His arena is close enough that the loop is quick, and he awards strong XP for the part of the campaign where ordinary mobs begin to lag behind your level. Bring a corrosive weapon for loaders and a shock weapon if surveyors are slowing the run, though Bad Maw himself is not a complicated elemental puzzle.
Don't turn in the mission immediately if you're using it as a repeatable checkpoint. Finish the fight, collect the drops, quit, and reload. Once the mission is completed, move on to a different farm or continue the story. Bad Maw is most efficient when he is within two or three levels of you; if the XP bar barely moves, you're overleveled for that encounter.
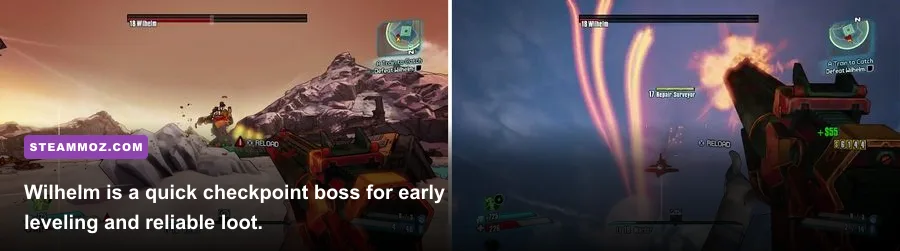
Wilhelm at End of the Line is another excellent checkpoint, especially for a fresh character entering the late-20s range. His shield makes shock damage valuable, while corrosive weapons help against his mechanical support units. Focus on the repair drones and deployable threats first if the fight drags out. A fast Wilhelm kill gives XP, cash, weapon drops, and a chance at the Rolling Thunder grenade mod, although the legendary drop is not guaranteed.
Once your character is strong enough, The Warrior becomes a practical repeatable farm. The travel time is longer than Bad Maw's, but the boss drops a large pile of weapons and substantial cash. In Normal and TVHM, the run is also useful for checking the Warrior's dedicated drops, including the Conference Call shotgun and The Volcano sniper rifle. Don't mistake a lucky legendary for the best XP-per-minute route, though; if your only goal is levels, a closer named enemy can still win.
For characters with access to the Captain Scarlett DLC, Master Gee and Hyperius are not my first recommendation for leveling. Their mechanics consume too much time and demand specific builds. The DLC's treasure rooms can be lucrative, but standard mob loops and Pyro Pete's Bar Brawl are safer, faster, and less frustrating for a normal playthrough.
| Farm | Best Level Range | Required Tool | Strength | Weakness |
|---|---|---|---|---|
| Bad Maw | 18–30 | Any reliable DPS weapon | Very short run and strong XP | Falls off when enemies are underleveled |
| Wilhelm | 25–38 | Shock weapon, corrosive backup | Boss XP and useful loot | Support units can extend the fight |
| The Warrior | 30–50 | Fire, slag, or high burst damage | Cash, loot, and legendary chance | Longer travel and fight time |
| Pyro Pete’s Bar Brawl | 30–72 | Area damage and survivability | Repeatable XP, cash, and Tokens | Requires Torgue’s Campaign DLC |
For character-specific optimization, match the farm to your build rather than copying a streamer’s loadout. A Maya using Chain Reaction, Cloud Kill, and Converge clears clustered mobs beautifully, while Salvador's Money Shot and Inconceivable make boss loops much faster. Zer0 benefits from B0re against large mechanical targets, and Axton's Scorched Earth turret helps control the Bar Brawl arena.
Best Borderlands 2 Cash Farms and Spending Priorities
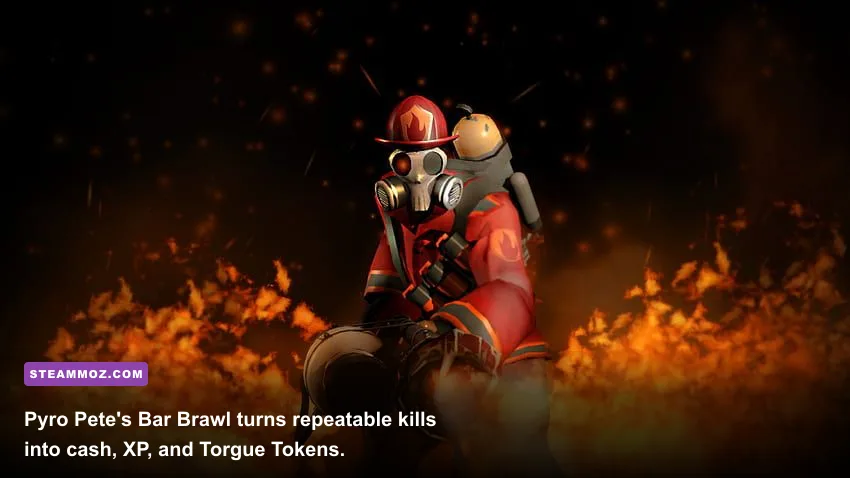
The best direct cash farm is Pyro Pete's Bar Brawl in the Torgue's Campaign of Carnage DLC. Accept the repeatable mission from Moxxi, enter the bar, activate the fight, and survive the timed waves. Completing rounds awards cash and Torgue Tokens, while enemy drops add more money when sold. The arena is excellent because every run also produces experience and weapon rolls instead of paying you for a single boss kill.
Build for control, not just burst. Enemies arrive from several entrances, so a shotgun for close threats, a rocket launcher for emergency crowd clearing, and a transfusion grenade are more valuable than one perfect single-target weapon. Watch the explosive barrels: they can erase your shields and put you into Fight for Your Life if you detonate one while surrounded. In UVHM, slag remains important for damage amplification, but never waste time trying to slag every basic enemy if the wave is already dying quickly.
Spend cash on ammo SDUs and backpack upgrades before buying white or green vending-machine weapons. The Black Market in Sanctuary sells permanent SDUs for Eridium, not cash, so save Eridium for capacity increases rather than treating it as ordinary loot money. Keep a reserve large enough to refill rocket, sniper, and shotgun ammunition after a difficult boss run. Dying costs a percentage of your cash, so carrying millions is not always useful if you are repeatedly failing a raid encounter.
The strongest money trick is simple: sell intelligently. Keep one weapon per damage type, one emergency healing option, and class mods or relics with real stat synergy. A level 28 shield with great capacity is not worth storing when you're level 36 and the enemies are hitting several times harder. Loot rarity affects sale value, but an unusable purple item is still cash. Make a fast pass through every vending machine after a farm and sell from the “sell junk” menu instead of comparing every white item manually.
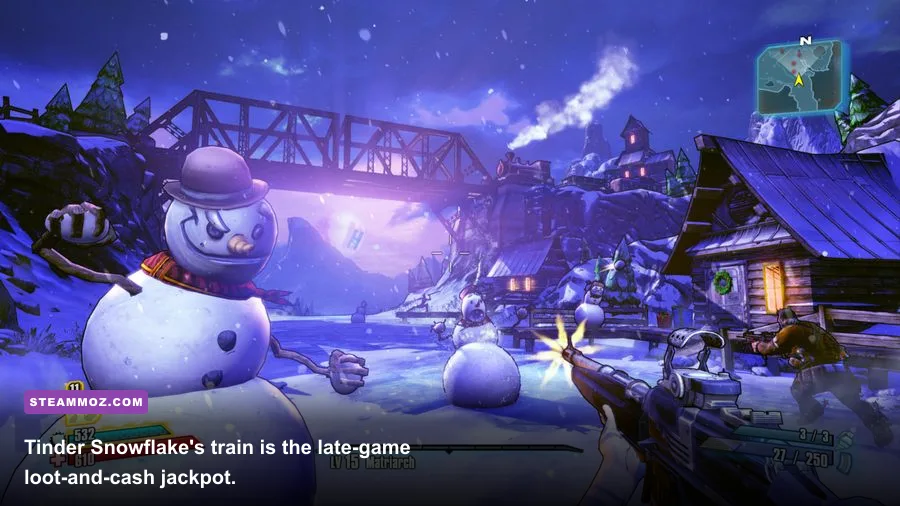
For dedicated players, the Marcus Mercenary Day DLC offers the best late-game loop. Fight Tinder Snowflake in the Frozen Lake, use the nearby train trigger, then loot the train chests after the encounter. Save and quit to reset the area. The train can produce a high volume of weapons, shields, grenade mods, and class mods; sell what your build cannot use. It is slower than Bar Brawl at low levels but far better once the loot rolls and cash values scale upward.
The Pre-Sequel Leveling and Moonstone Economy
The Pre-Sequel's fastest progression is less about one famous farm and more about chaining story bosses with low-travel checkpoints. Deadlift in Triton Flats is a useful early target because his shield mechanic teaches you to use shock damage and the fight awards respectable XP. RedBelly in Serenity's Waste is another quick reset point; focus on the two-part boss sequence and use fire or explosive damage against flesh targets after the armor phase is handled.
Later, RK5 in the Eleseer can become a reliable XP and cash loop if your build has strong aerial or sustained damage. The fight punishes players who ignore the arena's verticality: stay mobile, watch the rocket patterns, and use the launch pads to avoid being trapped by the shockwave. If a boss takes longer than the run back, return to the story. The Pre-Sequel's low-gravity movement can make a supposedly “fast” farm inefficient when you spend half the attempt chasing a target across the arena.
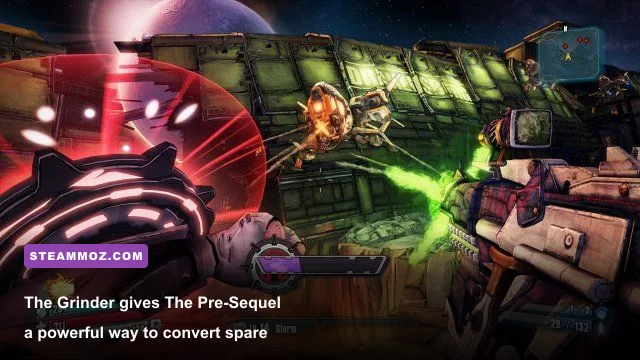
The Grinder in Concordia is the game's defining loot-conversion system. Feed it three weapons, three shields, or three grenade mods to create a new item. Moonstones let you produce better results through moonstone grinding, but don't burn moonstones on random recipes early. Save them for a controlled attempt using items close to your desired level and type. The Grinder is not a cash printer by itself; it is a way to turn surplus loot into gear that can reduce future farming time.
| Activity | Primary Reward | Best Use | Efficiency Warning |
|---|---|---|---|
| Deadlift | XP, cash, early loot | Levels 8–15 | Bring shock damage for his shield |
| RedBelly | XP and weapon drops | Levels 12–20 | Two-stage fight adds reset time |
| RK5 | XP, cash, boss loot | Late Normal/TVHM | Rocket patterns punish stationary builds |
| Grinder | Scaled equipment | Replacing underleveled gear | Moonstones are limited; use recipes deliberately |
Unlike Borderlands 2's slag-heavy UVHM, The Pre-Sequel rewards elemental matching, cryo setup, and vertical positioning. Athena can stack survivability with Maelstrom and Vanguard, while Nisha's Ordered Chaos and Faster 'n You make boss kills brutally quick when her weapon accuracy is under control. Wilhelm's drones help during longer farms, but they aren't a substitute for keeping a level-appropriate weapon in your hands.
Gear, Settings, and a Repeatable Farming Routine
Use this routine whenever you start a new Vault Hunter. First, push the story until a repeatable boss or arena opens. Second, farm for two or three levels if your weapons are falling behind. Third, replace your shield and class mod before chasing a perfect legendary. Finally, sell the entire overflow, buy ammunition, and move forward. This avoids the classic mistake of spending forty minutes farming a level 15 gun for a level 25 character.
For PC players, stable frame pacing matters during fast farms. Borderlands 2 and The Pre-Sequel can suffer from stutter when PhysX is pushed too high, especially during explosions and Bar Brawl waves. Set PhysX to Low or Medium, disable unnecessary depth-of-field if clarity matters, and cap the frame rate to a value your system holds consistently. A locked 60 FPS is more useful for aiming than an unstable 100 FPS that collapses during particle-heavy fights.
| Setting | Recommended Value | FPS Impact | Visual Note |
|---|---|---|---|
| PhysX Effects | Low or Medium | High during explosions | Biggest performance gain in crowded fights |
| Texture Quality | High if VRAM allows | Low to medium | Improves weapon and environment detail |
| View Distance | High | Medium | Useful for spotting enemies in open areas |
| Ambient Occlusion | Medium or Off | Medium | Shadows are less important than stable aim |
| Frame Rate Cap | 60 or stable monitor refresh | Improves consistency | Avoids dramatic dips during particle effects |
Don't hesitate to lower settings when a farm is grenade-heavy. You can find more PC troubleshooting ideas in Steamoz's PC fixes for The F.E.A.R. Collection and Formido performance guide. They aren't Borderlands-specific, but the same rule applies: remove the setting that causes frame-time spikes first.
Common Farming Mistakes That Waste Hours
The biggest error is farming before the game makes the activity worthwhile. Killing level 10 enemies at level 18 is not “efficient” because every kill is fast; the XP penalty destroys the loop. Move to a higher-level area or advance the campaign. The second mistake is hoarding every purple item. Inventory management is part of the economy, and a full backpack means missed legendary drops.
Another trap is opening golden chests too early. Borderlands 2's Golden Keys produce level-appropriate purple gear, but the reward is tied to the current level. Save keys for a genuine gear wall in TVHM or UVHM instead of spending them at level 12. You can check official account and key information through the official Borderlands website, while the Borderlands 2 Steam page lists the included editions and DLC details.
Finally, don't judge a farm by loot rarity alone. Measure the whole loop: travel time, kill time, reload time, inventory cleanup, ammunition cost, and deaths. Pyro Pete's Bar Brawl wins for repeatable cash because it pays in several ways at once. Bad Maw wins early because the checkpoint is close. The Snowman train wins late because the loot volume is enormous. Pick the route that matches your level, build, and actual objective, and the Handsome Collection stops feeling grindy remarkably quickly.
For more loot-focused reading, compare this approach with Steamoz's weapon tier-list breakdown and its secret rewards guide. The principle is the same across both Borderlands games: farm with a purpose, preserve your best resources, and let the progression system work for you.