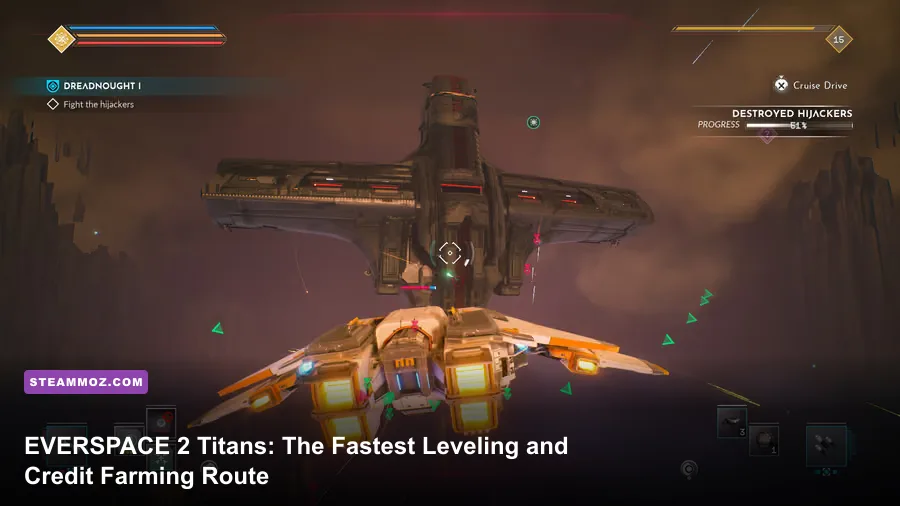
The fastest EVERSPACE 2 Titans leveling and credit route is a combat loop, not a blind story rush: keep Titans missions at your current level, clear nearby high-value objectives, dismantle or sell obsolete gear, then repeat elite encounters and challenge activities after the area refreshes. A Scout or Gunship built around constant weapon uptime, Cruise Mode travel, EMP disruption, and carefully chosen devices will outpace a slow exploration-only setup by a huge margin.
This guide assumes you own the official Steam version of EVERSPACE 2 with the Titans expansion installed. The exact credit total from a drop changes with your level, difficulty, enemy type, and loot modifiers, so there is no single fixed gold payout to memorize. The reliable advantage comes from shortening each encounter while keeping every profitable detour close to your route.

Start Titans at the right level and difficulty
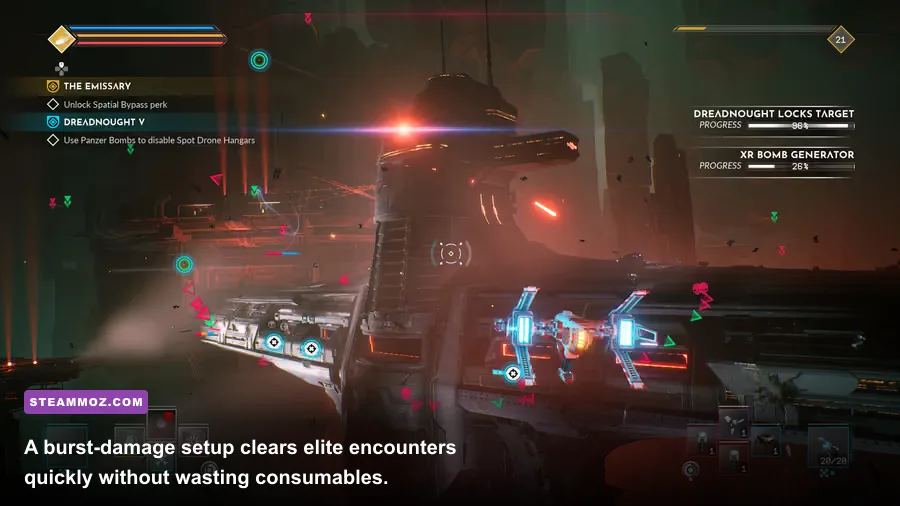
Don't launch directly into the Titans storyline with a half-upgraded ship just because the next objective is available. First, return to your nearest base, sell junk, repair, and replace gear that sits several levels below your current character level. EVERSPACE 2 scales loot and encounters around progression, which means an old legendary can still be useful, but a collection of under-levelled blue and purple items makes every elite fight longer than it should be.
Use the mission journal to identify the highest-level Titans objective you can complete without crossing a large difficulty spike. Story missions are excellent experience sources because they combine combat, travel, objectives, and boss rewards, but they are not always the best credits per minute. If a mission sends you through several empty jumps or forces a long puzzle detour, clear nearby activities first and return when your ship is stronger.
Difficulty also changes the economics of the run. Higher settings increase danger and can improve the quality of rewards, but a dead ship earns zero credits and loses time. If you are taking repeated hull damage, drop difficulty temporarily rather than spending ten minutes kiting one encounter. Once your weapons kill standard enemies in one or two attack cycles, move back up.
| Player Situation | Best Farming Choice | Why It Works | Warning |
|---|---|---|---|
| Below current story level | Side missions and nearby activities | Fast experience catches up your character and ship | Don't chase remote objectives |
| At story level with stable kills | Titans missions plus elite encounters | Strong XP, equipment, and credit flow | Watch repair and consumable costs |
| Over-levelled and well-geared | High-difficulty challenges and boss rematches | Better loot quality and valuable elite drops | Slow defensive builds reduce credits per minute |
| Struggling with a boss | Repeat nearby combat activities | Funds upgrades without abandoning progression | Do not sell core set pieces blindly |
🎮 EVERSPACE 2 - Titans
Looking to experience this game? Grab your digital key directly on our store for $7.19.
View on Steammoz Store →The fastest Titans leveling loop
Use this five-step loop whenever you enter a new Titans region or unlock a fresh mission chain.
1. Clear the mission objective first
Story objectives award a large, predictable chunk of experience and often unlock new vendors, activities, or travel options. Push through the main objective until the next mission requires a noticeably stronger ship. That is your signal to farm, not a reason to wander randomly.
2. Sweep nearby marked activities
Before leaving the system, clear distress calls, outlaw groups, high-value targets, and enemy-held points that sit close to your route. These encounters are better than random asteroid mining for leveling because they give direct combat experience, equipment drops, and salvage. Prioritize activities with clustered enemies: area damage and device cooldowns become more valuable when several targets arrive together.
3. Loot fast, filter faster
Grab equipment that is at your level, has a useful primary effect, or belongs to a build you are actively testing. Don't spend half the run comparing five minor stat rolls. Mark obvious trash for sale or dismantling at the next base. The few seconds saved per wreck become several minutes over a full farming session.
4. Return to base only when your cargo justifies it
Base visits are part of the loop, but constant backtracking kills efficiency. Use Cruise Mode between objectives, collect clusters of containers on the direct path, and return when your cargo is close to full or your repair state demands it. A full hold of low-value equipment is not profitable if you waste multiple jumps getting rid of it.
5. Finish with a challenge activity
End the circuit with an elite group, challenge arena, or repeatable combat activity. Your devices should be off cooldown, your consumables stocked, and your cargo space open. This final encounter tests the build and usually produces the most interesting loot of the loop. If the fight takes longer than normal, adjust the build before repeating it.
For a useful comparison, the same principle applies to other progression-focused games: prioritize repeatable objectives over aimless wandering, as shown in Steamoz's Death Howl fast-leveling guide and Decay: The Mare progression tips.
Best ship builds for XP and credit efficiency
There is no universal best ship in Titans, but three approaches consistently farm well. The Scout is excellent for fast travel, repositioning, and exploiting weak points. The Gunship is the safer choice when you want elite kills to end quickly through raw weapon damage. The Sentinel can be extremely comfortable because its energy-focused tools reward sustained firing, though it needs better heat and energy management.
For general farming, prioritize weapon damage, weapon energy efficiency, cooldown reduction, and survivability that prevents repair stops. Don't sacrifice every defensive stat for a paper damage number. A build that kills 10 percent faster but forces a base visit after every fight loses to a setup that maintains full uptime.
Recommended combat rotation
Open from Cruise Mode when possible, launch your first missile or special weapon into the most dangerous target, then use EMP Generator to shut down a shielded or heavily armed enemy. Follow with your highest burst weapon while the target is disabled. Deploy Shield Matrix or Annihilator Virus when the group becomes crowded, and use Teleporter to break line of fire rather than turning every emergency into a hull repair bill.
Exact weapon rolls vary by level and rarity, so focus on weapon roles rather than hunting one magical number. Thermo Gun and Coil Gun are dependable sustained-damage choices, while Plasma Gun offers strong shield pressure and the Rail Gun rewards careful weak-point shots. The Flak Cannon is devastating at close range against dense groups, but it loses value when you spend the fight chasing fast targets. Missiles are best saved for elites, exposed systems, or a dangerous reinforcement wave.
| Build Focus | Core Weapons | Device Pairing | Best Farming Situation |
|---|---|---|---|
| Scout burst | Rail Gun, Plasma Gun, missiles | EMP Generator, Teleporter | Weak-point attacks and fast elite kills |
| Gunship pressure | Flak Cannon, Thermo Gun, missiles | Shield Matrix, Annihilator Virus | Dense groups and close-range brawls |
| Sentinel sustain | Coil Gun, Plasma Gun | EMP Generator, Shield Matrix | Long fights where energy control matters |
| Safe progression | Thermo Gun, Coil Gun, one burst weapon | Shield Matrix, Teleporter | New Titans missions and unfamiliar elites |
For perks, select bonuses that trigger during normal farming rather than effects that require a perfect low-hull state. Damage against disabled targets, weapon energy recovery, shield restoration, and cooldown reduction all have obvious value in repeated encounters. Keep one defensive option in the build until you can reliably read enemy telegraphs; greed is expensive when every death interrupts your route.
How to farm credits without wasting valuable loot
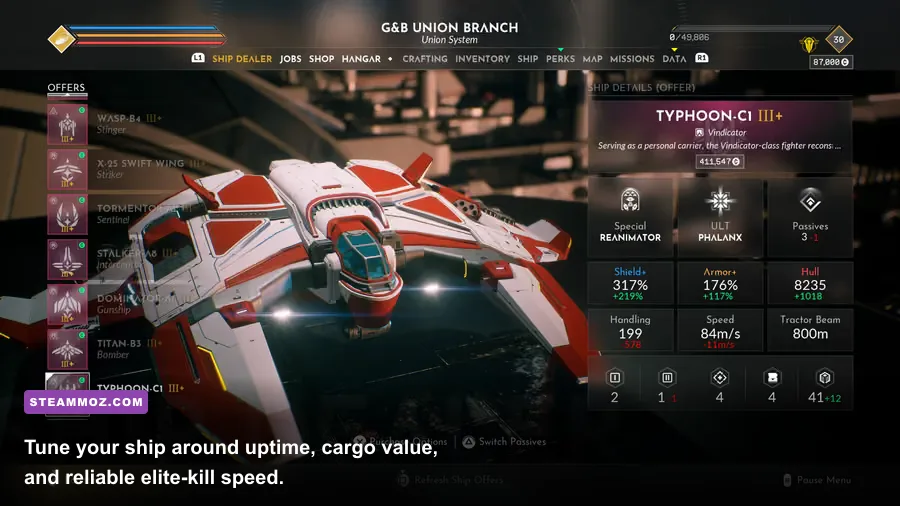
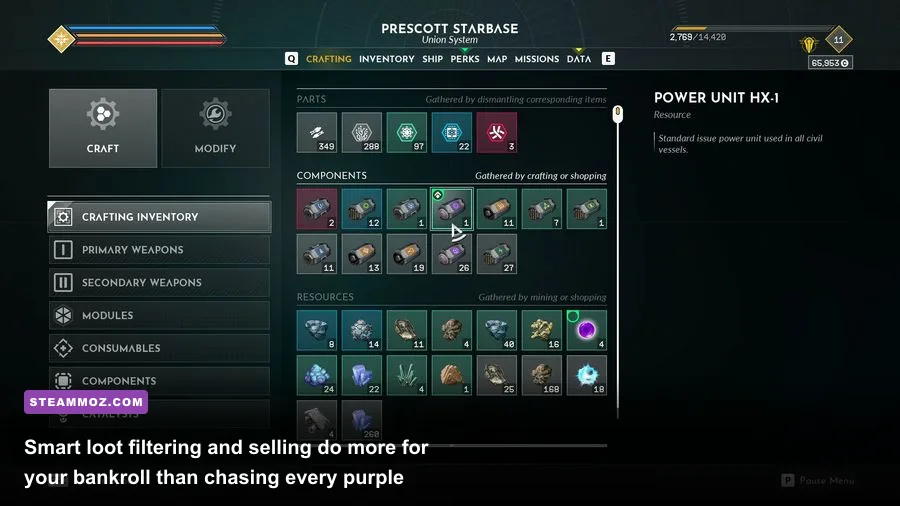
Credits come from three sources: mission rewards, direct enemy and container drops, and selling or dismantling equipment. The biggest mistake is treating every item as a sale. Before selling, compare the item with your equipped gear, check whether it completes a set or supports your secondary ship, and decide whether dismantling provides crafting materials you actually need.
Sell common and obsolete equipment when your crafting stock is healthy. Dismantle items when you are chasing a specific upgrade, improving consumables, or building around components that require materials more often than credits. Valuable high-rarity gear should never be sold immediately after a busy fight. Mark it, finish the activity, and compare it at base with a clear head.
Containers and wrecks are worth opening when they are on your route, especially in a combat-heavy sector. They are not worth a long detour across a system unless the objective is already complete and you are deliberately exploring. Use tractor beam range and cargo space upgrades if you regularly farm; the small quality-of-life gains add up across dozens of runs.
| Loot Type | Default Action | Reason | Exception |
|---|---|---|---|
| Low-level white or green gear | Sell | Minimal build value and quick credits | Keep a needed weapon type if under-geared |
| Same-level blue gear | Compare, then sell or dismantle | Useful rolls can replace weak equipment | Save a strong perk combination |
| Purple gear | Inspect before disposal | Can support a complete build or set | Keep viable secondary-ship equipment |
| Legendary or named equipment | Keep until tested | Unique effects can outperform raw item level | Sell only after confirming it has no use |
| Crafting materials | Retain selectively | Needed for upgrades and consumables | Sell excess only when a vendor offers the option |
Vendor inventories and stock refreshes are also worth checking whenever you return to a hub. Don't buy every upgrade just because you can afford it. Purchase a weapon when it fixes a real damage problem, not when its item level is one point higher. That discipline leaves more credits for ship components and prevents the common mid-campaign cash drought.
Beating Titans encounters without losing the run
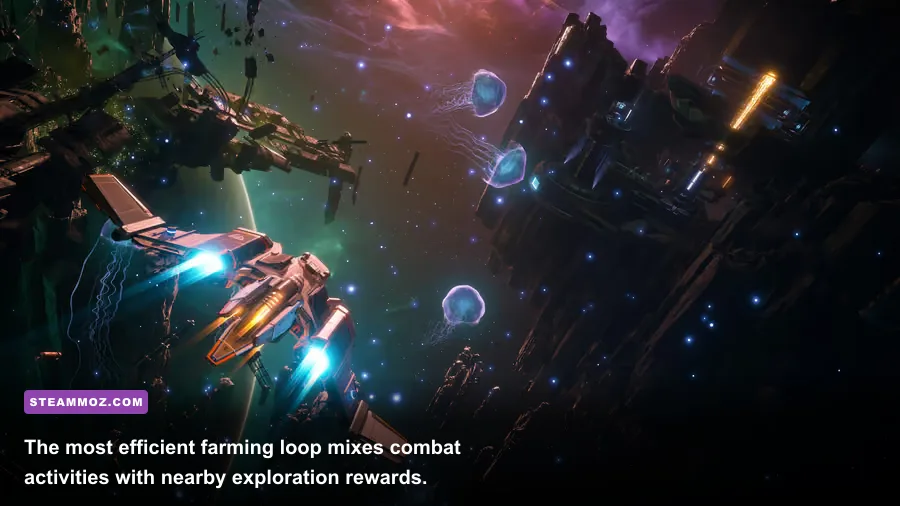
Titans encounters punish tunnel vision. Large targets are designed to make you track multiple threats at once, and the fastest kill is usually the one that removes a weapon system or support enemy first. Watch for charging animations, bright projectile tells, rotating turrets, and exposed modules. Break line of sight behind structures when the arena gives you cover; constantly boosting in open space burns energy and makes your approach predictable.
Against a Dreadnought-style target, don't dump every missile into the central hull during the opening phase. Clear escorts, disable exposed weapons, and attack marked weak points when the target's systems become vulnerable. EMP Generator is especially valuable for creating a clean burst window, while Shield Matrix buys time when the boss turns its main battery toward you. After a major phase transition, reassess the arena before committing your ultimate or special weapon.
| Threat | Telegraph | Counter | Best Tool |
|---|---|---|---|
| Heavy frontal battery | Weapon ports glow and tracking tightens | Break angle or hide behind cover | Teleporter |
| Shielded elite | Shield bar remains stable under normal fire | Disable, then burst during the opening | EMP Generator |
| Escort swarm | Multiple fast contacts converge | Thin the group before returning to the boss | Flak Cannon or Annihilator Virus |
| Exposed weak point | Module opens after a phase or system break | Hold fire until your aim is aligned | Rail Gun and missiles |
| Hull-critical scramble | Warning alarm and concentrated incoming fire | Disengage, restore shields, re-enter from cover | Shield Matrix |
That rhythm matters for farming because repair costs, consumables, and failed travel time eat into your credit rate. A clean clear with moderate damage is more profitable than a reckless speed kill followed by a costly reset. If you are repeatedly dying to the same telegraph, pause the farm and change one thing: shield capacity, resistances, device timing, or your entry angle.
Settings and route habits that save time
Performance affects farming more than many players admit. A stable frame rate makes Rail Gun timing, weak-point tracking, and projectile avoidance noticeably easier. On PC, start with a locked 60 fps target, then raise image quality only if the frame time remains consistent during large fights. Motion blur is worth disabling for clearer target tracking, while reducing volumetric effects and shadows usually costs less visual quality than lowering overall resolution.
| Setting | Recommended Value | FPS Impact | Visual Trade-Off |
|---|---|---|---|
| Frame-rate cap | Stable 60 fps or your monitor's refresh target | Improves consistency | Lower peak FPS, cleaner input |
| Motion blur | Off | Small performance gain | Sharper fast movement |
| Shadows | Medium | Moderate gain in busy fights | Less detailed ship and station shadows |
| Volumetric effects | Medium or Low | Useful gain around explosions | Less dramatic nebula lighting |
| Resolution scale | 100 percent first | Highest image-quality priority | Reduce only after other settings |
Keep the route simple: mission marker, nearby activity cluster, base, then repeat. Use the star map to group objectives before launching, and avoid jumping to a distant side activity when three profitable encounters are sitting beside your current story destination. If your cargo is nearly full, sell before starting a boss rather than abandoning valuable drops halfway through the reward phase.
Steamoz's Dragonkin performance guide covers the same frame-time mindset, while the City of Gangsters low-FPS fixes are useful if your broader PC setup needs troubleshooting.
The clean farming plan to follow tonight
Before leaving base, equip weapons close to your level, stock consumables, clear cargo space, and choose a ship whose strengths match the encounter. Run the current Titans story objective, sweep every marked combat activity on the direct route, collect nearby containers, and return only when your hold or repairs demand it. Sell low-value gear immediately, preserve useful high-rarity rolls, and finish each circuit with an elite or challenge activity while your cooldowns are ready.
When your kill time improves, raise difficulty and repeat the same route instead of inventing a new one. When your kill time gets worse, inspect weapon energy, device cooldowns, and gear level before blaming enemy scaling. The official EVERSPACE 2 site and Steam community hub are useful for checking patch changes, but the core rule stays consistent: complete dense objectives, sell intelligently, and keep moving.
That approach levels you quickly, builds a healthy credit reserve, and prepares your ship for the Titans' toughest fights without turning the campaign into a mindless grind. The expansion rewards pilots who manage time as carefully as ammunition—and once your route is dialed in, the credits start stacking surprisingly fast.